

There’s something oddly satisfying about making a nail color yourself, especially when the shade you want doesn’t quite exist in any store display. Brown polish can be surprisingly hard to pin down. One bottle leans orange, another turns gray on the nail, and the one that looked promising under the store lights somehow reads flat once you get it home. If that sounds familiar, mixing your own may be worth the small effort.
The process is fairly simple, though it helps to be patient. With a few polishes you may already own, you can make a brown that feels warmer, deeper, softer, or more neutral, depending on what you actually want to wear. This guide on how to make brown nail polish walks through the basics, then the mixing process, and then the small adjustments that often make the difference between “close enough” and “that’s exactly it.”
What You’ll Need
It helps to set everything out before you start. Nail polish begins to thicken the longer it sits open, and once you are mid-mix, hunting for a toothpick with wet polish on your hands is annoying at best.
- Clear nail polish or a clear base coat
- Opaque nail polishes in red, yellow, and blue, or a pair of complementary colors such as red and green or orange and blue
- A small palette, paper plate, or disposable cup
- Toothpicks or a clean cuticle stick for mixing
- An empty nail polish bottle with a brush
- A very small funnel, if you have one
- Nail polish remover and cotton swabs for cleanup
A Quick Note on How Brown Is Made
Brown usually comes from balancing color rather than simply choosing a “brown-looking” mix. In practical terms, that often means combining red, yellow, and blue in careful amounts. The proportions matter more than people expect. Push the yellow and red slightly higher and the result may look caramel-like or cinnamon-toned. Add a touch more blue and the shade can move toward espresso, walnut, or a cooler taupe.
You can also get there by mixing opposites from the color wheel. Red with green can work. So can orange with blue. These pairings tend to cancel out some of each other’s intensity, which is why they often settle into brown. Not every Polish person behaves neatly, though. Formula, pigment load, and finish all affect the outcome. If your mix starts drifting purple, for example, that usually suggests you need more yellow to pull it back.
How to Make Brown Nail Polish: 7 Steps
Step 1: Set Up Your Space First
Before you open anything, make sure you’re working somewhere with decent airflow. Nail polish fumes can build up quickly, and even if they don’t bother you at first, they can catch up with you after ten or fifteen minutes. A table near an open window is usually enough.
Put down paper towels, old mail, or scrap paper to protect the surface underneath. Then line up your colors, clear polish, mixing tool, and palette. Try to use polishes that still flow easily. If one of your bottles is thick, stringy, or half-dried around the neck, it may throw off the texture of the whole mixture.
Step 2: Begin with Yellow
This may feel backward if you think of brown as a dark shade, but starting light gives you more control. Put a small puddle of yellow polish on your palette or into your cup. You do not need much at first. In fact, smaller batches are often easier to correct.
Yellow creates the base warmth. More importantly, it gives you room to deepen the color gradually rather than overshooting it in the first minute. If you begin with blue or a dark red, the mix can get muddy fast, and pulling it back may take more polish than you intended to use.
Step 3: Add Red to Make Orange
Once the yellow is down, add a little red. Not a big drop. Just enough to turn the mix orange when stirred. Use a toothpick or cuticle stick and blend until the color looks even all the way through.
At this stage, you are not trying to create the final shade. You are building the bridge toward it. A rough ratio of two parts yellow to one part red often works as a starting point, though some reds are much stronger than others. Brick red, cherry red, coral-red—they will all push the orange in different directions. That’s normal.
Step 4: Introduce Blue Very Slowly
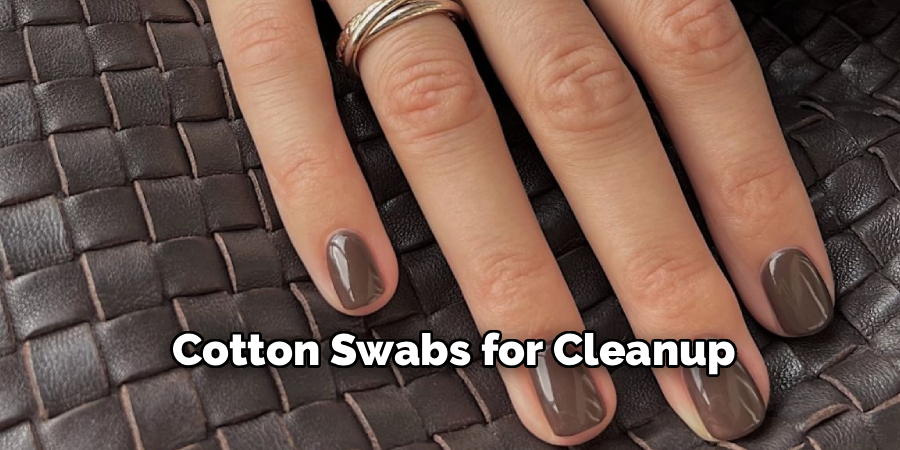
This is the step where the color begins to look like brown rather than a craft experiment gone sideways. Dip just the tip of your mixing tool into blue polish and transfer a tiny amount into the orange. Then stir thoroughly before deciding whether it needs more.
Blue tends to dominate. A little can shift the tone quickly, and too much can flatten the mix into something dull or nearly charcoal. As the orange neutralizes, you should start seeing brown emerge. It may not be pretty right away. Sometimes the first version looks muddy. Don’t panic yet; that’s often just the base shade before fine-tuning.
Step 5: Adjust the Undertone
Now you can decide what kind of brown you actually want. A warmer brown usually needs a touch more yellow or red. That can move it toward honey brown, cocoa, or something with a slight terracotta cast. If you want a cooler shade—more espresso, mushroom-brown, or taupe-adjacent—add the smallest bit more blue.
This is where testing helps. Swipe a little polish onto white paper, a plastic nail swatch, or even the edge of a clear bag. Brown on the palette can be misleading. What looks rich in the cup may be cooler, darker, or more muted than expected.
Step 6: Thin or Sheer It with Clear Polish
Once the color looks right, pay attention to texture. Mixed polishes can become thick, especially if you are blending several opaque formulas together. Add a few drops of clear polish or base coat and stir well. That often helps the mixture level out more smoothly on the nail.
Clear polish also lets you control opacity. If you want a soft wash of brown rather than a fully opaque cream, add more clear. The result may look more like a jelly tint than a standard polish, which can be beautiful in its own way. It really depends on the finish you want.
Step 7: Transfer It to a Bottle
When you’re happy with both color and consistency, pour the mixture into a clean empty bottle. A miniature funnel makes this easier, but a folded piece of paper can work if you’re careful. Scrape down the palette so you don’t waste the polish you just spent time adjusting.
Seal the bottle tightly, then roll it between your palms to mix. Try not to shake it hard. That tends to trap air bubbles, and those bubbles can show up later when you paint your nails. Not always, but often enough to be frustrating.
Following these steps on how to make brown nail polish will give you a smooth, richly colored polish that’s perfect for fall and winter.
Safety and Skin Notes
It’s best to mix polish in a ventilated room. Solvents can cause headaches, lightheadedness, or just that unpleasant chemical fog that hangs in the air. Open a window if you can. If not, at least avoid working in a very small, closed room.
Try to keep wet polish off the skin around your nails, especially if you’re sensitive to fragrance or solvents. A little contact is common, of course, but if you get polish on your cuticles or fingers, wipe it away with remover fairly quickly.
Tips for Applying Your Custom Shade
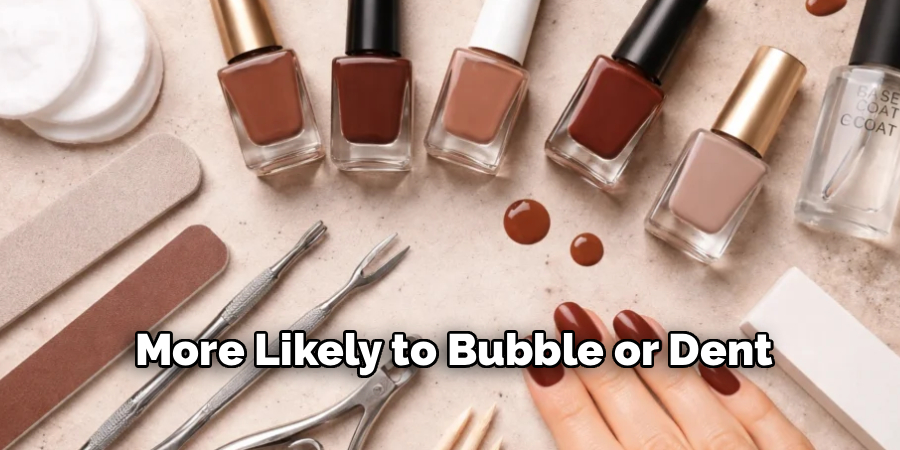
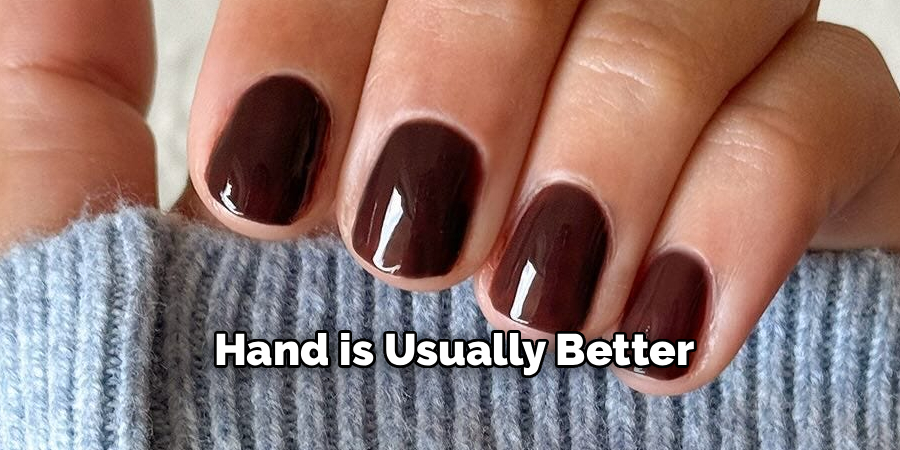
Use a base coat first, especially if the brown you mixed has strong red, yellow, or blue pigment. Those colors can sometimes stain the nail plate more than people expect. Apply the polish in thin coats rather than trying to get full coverage all at once. Thick layers take longer to dry and are more likely to bubble or dent.
Finish with a top coat once the color has set. Gloss will make the shade look deeper and smoother. Matte can soften it and make it look more muted, almost velvety. Neither is inherently better. They just change the mood of the color.
Storage and Shelf Life
Keep the bottle in a cool, dark place—a drawer works well. Direct sunlight and heat can alter both the texture and the color over time. If the bottle is sealed properly, the polish may last quite a while, potentially a year or longer, though the exact shelf life depends on the formulas you mixed together and how often the bottle is opened.
If you notice slight separation, that isn’t necessarily a sign the batch has gone bad. It often just means the pigments have settled.
Mistakes That Can Ruin the Mix
The most common problem is adding dark pigment too quickly. Blue, in particular, can take over before you realize what happened. Once the mix turns nearly black, there’s no easy rescue unless you are willing to add a lot more yellow and red, which can leave you with far more polish than you meant to make.
Another issue is poor texture. If one of the polishes you used was already old or gummy, the finished blend may drag on the nail. And yes, shaking the bottle aggressively can cause bubbles. People ignore this advice all the time until the manicure dries with tiny dents and they remember why it matters.
Care and Maintenance
If your custom polish sits for a while, roll the bottle between your hands before using it. That usually recombines the pigments without adding excess air. If the formula thickens after a few months, use a proper nail polish thinner—just a drop or two at first.
Avoid acetone for this. It may seem like the obvious fix, but it can break down the formula and change how the polish applies. In some cases, it can also affect the finish enough that the color no longer looks the way it did when you first mixed it.
Frequently Asked Questions
Q1: Can I mix gel polish to make brown?
Yes, but only with other gel polishes. Do not combine gel with regular air-dry nail polish. The formulas are different, and the result is unlikely to behave well. Also, keep gel mixtures away from sunlight or curing lamps while you work, since even incidental UV exposure may begin hardening the polish before you’re ready.
Q2: What if my brown starts looking purple?
That usually means the mix has too much red and blue relative to yellow. Add a bit more yellow, stir fully, and reassess. You may need to repeat that once or twice, depending on how strong your pigments are.
Q3: How do I make it shimmery?
You can mix in a little glitter polish or a small amount of cosmetic-grade mica powder. Go slowly. Too much shimmer can overwhelm the base color and make the polish look more bronze than brown. If that is the effect you want, great. If not, a restrained hand is usually better.
Final Thoughts
Making your own brown nail polish is part color theory, part trial and error, and part personal taste. That’s really the appeal of it. Store-bought shades are fine, but they are fixed. When you mix your own, you can push the color warmer, cooler, softer, deeper—whatever feels right to you.
It may take one or two attempts to land on the exact shade you had in mind. Even so, the process is useful. You start to see how small shifts in pigment change everything. And when the final color works, it feels a little more satisfying because you made it yourself. Thanks for reading this guide on how to make brown nail polish.

About the Author
Jane Hubbard is a passionate beauty expert with a wealth of experience in makeup, hair, and overall beauty techniques. After years of working as a hairdresser specialist, she followed her entrepreneurial spirit and started her own consultancy business.
Jane has always been driven by her desire to help others feel confident in their own skin, and she does this by sharing her knowledge, experiences, and practical beauty tips. Through her consultancy, she empowers individuals to embrace their unique beauty, offering tailored guidance that boosts both self-esteem and personal style.
Professional Focus
Specializes in makeup, hairstyling, and beauty consulting.
Provides personalized beauty advice, tips, and techniques to help individuals feel confident in their appearance.
Dedicated to staying up-to-date with the latest industry trends and developments.
Passionate about creating a comfortable and empowering experience for every client.
Education History
University of Craft and Design – Bachelor of Fine Arts (BFA) in Woodworking and Furniture Design
Woodworking Apprenticeships – Extensive hands-on training with skilled craftsmen to refine carpentry and furniture making techniques
Online Courses & Masterclasses – Continued education in advanced woodworking techniques, design principles, and specialized tools
Expertise:
Makeup artistry, hairstyling, and beauty consulting.
Personalized beauty techniques to enhance confidence and self-expression.
Educating clients on how to maintain their beauty routines at home.