
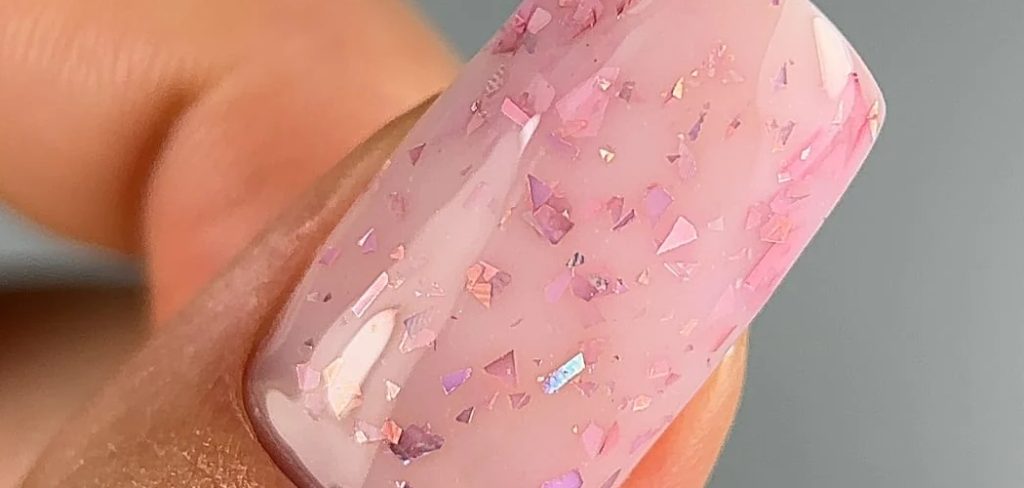
A flawless gradient on your nails can completely elevate your look. You might think creating a seamless ombre effect requires a trip to an expensive salon, but achieving this stunning style at home is entirely possible. Dip powder offers a fantastic way to blend two beautiful colors smoothly while giving your nails a strong, long-lasting finish.
This guide on how to do ombre with dip powder will walk you through exactly how to master the dip powder ombre technique. We will cover the specific tools you need, the exact steps to create a perfect color transition, and common mistakes to avoid.
By the end of this tutorial, you will possess all the knowledge required to create salon-quality ombre nails right from your own living room.
What Are the Benefits of Dip Powder Ombre?
Choosing dip powder for your ombre manicure comes with several fantastic advantages. First, dip powder provides incredible durability. Unlike traditional polish that chips within days, a dip powder manicure can last up to four weeks without losing its shine or structural integrity. The powder adds a reinforcing layer to your natural nails, making them much less likely to break or split.
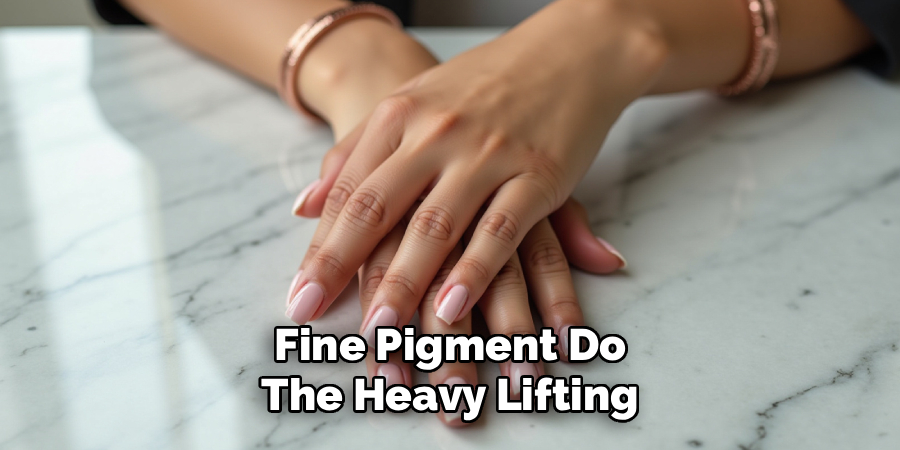
Another major benefit is the blending process itself. Mixing wet polishes to create an ombre effect can be messy and frustrating. With dip powder, you use a tapping technique that lets gravity and fine pigment do the heavy lifting, resulting in a perfectly diffused gradient. Furthermore, dip powder systems dry quickly with an activator liquid, meaning you do not need to expose your hands to UV or LED lamps to cure the product.
What Will You Need?
Before you begin, gather all your supplies. Having everything within reach makes the process smooth and prevents your base coat from drying out before you apply the powder. You will need:
- Nail prep tools
- Buffer block
- Dip powder liquids
- Two dip powder colors
- Clear dip powder
- A fluffy makeup brush or nail dusting brush
- A stiff brush
- Rubbing alcohol and lint-free wipes
10 Easy Steps on How to Do Ombre with Dip Powder
Creating a seamless gradient requires patience and the right technique. Follow these ten detailed steps to achieve a flawless ombre manicure.
Step 1: Prepare Your Natural Nails
The foundation of any great manicure is proper nail preparation. Start by washing your hands thoroughly with soap and water to remove any surface dirt. Use a cuticle pusher to gently push back your cuticles. This prevents the dip powder from lifting at the edges later on. Next, use your nail file to shape the free edge of your nails to your desired look—whether that is almond, square, or oval. Finally, take your buffer block and lightly remove the shine from the surface of your natural nails. This rough texture gives the dip base coat something to grip. Wipe the nails down with rubbing alcohol on a lint-free wipe to remove any lingering dust and natural oils.
Step 2: Apply the First Layer of Base Coat
Work on one nail at a time so the liquid does not dry prematurely. Take your dip powder base coat and apply a thin, even layer across the entire nail plate. Keep the liquid about a hairline away from your cuticles and the sidewalls of your skin. If you apply the base coat too thickly or let it flood your cuticles, the powder will clump and look messy. Use smooth, steady strokes from the base of the nail to the free edge.
Step 3: Dip into Your Base Color
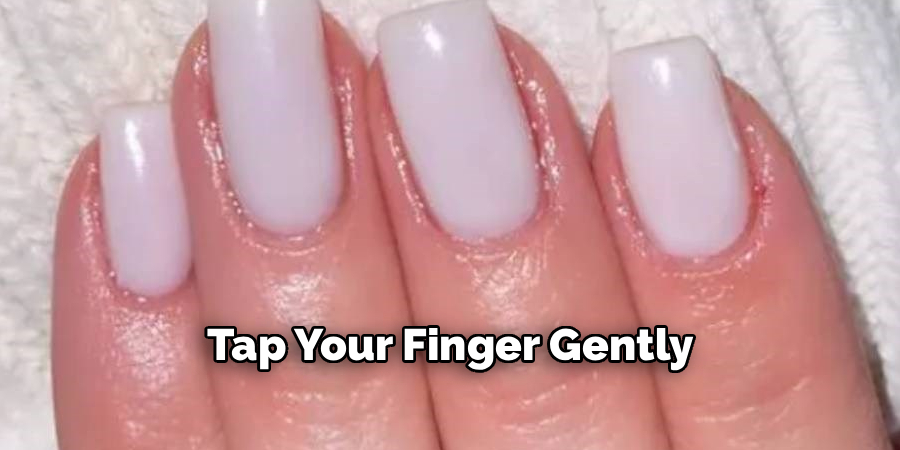
Immediately after applying the base coat, dip your entire nail into your lighter dip powder color at a 45-degree angle. This angle pushes the powder evenly across the nail bed without creating lumps. Slide the nail out of the powder and tap your finger gently to release any loose clumps. This first layer establishes the background color for your ombre design. Repeat Steps 2 and 3 on all your fingers.
Step 4: Brush Away the Excess Powder
Allow the powder to set for about thirty seconds. Once the layer is dry to the touch, take your fluffy makeup brush or nail dusting brush and gently sweep away all the excess powder from your nails and the surrounding skin. Brushing away the excess is crucial; if you leave loose powder on the nail and apply another layer of base coat, your brush will harden, and the next layer of powder will look incredibly bumpy.
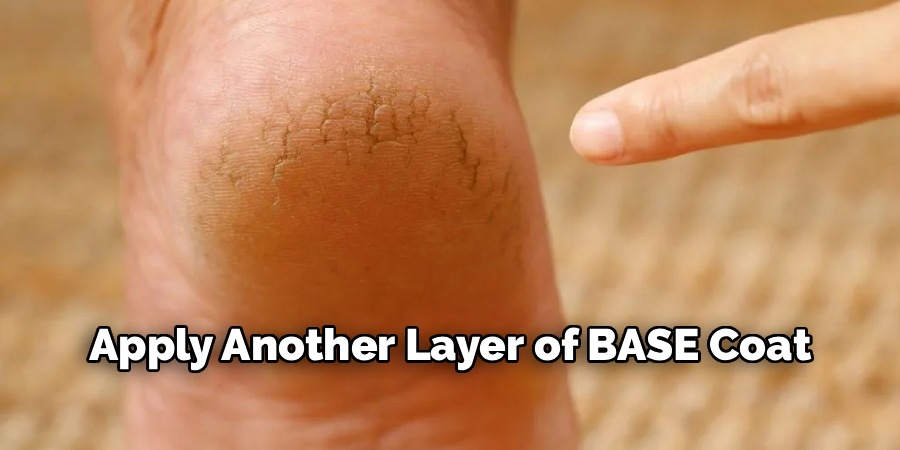
Step 5: Apply the Second Layer of Base Coat
Now it is time to build the ombre effect. Apply a second thin, even layer of base coat over the entire nail, just as you did in Step 2. Again, work one nail at a time. Make sure you cover the edges and the tip of the nail so the powder has a wet surface to adhere to. The evenness of this base coat directly determines how smooth your color gradient will look.
Step 6: Create the Ombre Gradient
This is where the magic happens. Hold your finger horizontally over a paper towel. Take a fluffy brush and dip it into your second, darker powder color. Hold the brush directly over the tip of your nail and gently tap the handle of the brush with your other hand. This tapping motion allows a light dusting of the dark powder to fall onto the tip of the nail. Concentrate the heaviest amount of powder right at the free edge, and let it fade out as it reaches the middle of the nail.
Step 7: Dip the Base Color
While the base coat on the top half of your nail is still wet, quickly dip the entire nail back into your lighter base color at a 45-degree angle. Alternatively, you can use a clean fluffy brush to tap the lighter color over the top half of the nail, letting it cascade down into the darker color. The two powders will meet in the middle and create a beautifully blended transition. Tap your finger to remove the loose powder and let it dry for thirty seconds before dusting it thoroughly with your brush.
Step 8: Encapsulate with Clear Powder
Because you will need to file and buff your nails to make them smooth, you must protect your ombre design. If you file directly over the colored powder, you will ruin the gradient you just created. Apply one final thin layer of base coat over the entire nail. Immediately dip the nail into your clear dip powder. This clear layer acts as a protective shield. Let it dry completely and brush off the excess.
Step 9: Apply Activator and Shape the Nails
Apply a generous coat of the activator liquid to all your nails. The activator causes a chemical reaction that hardens the dip powder, turning it into a solid, durable surface. Let the activator dry for about two to three minutes. Tap your nail with the end of your brush handle; if it makes a sharp clicking sound, it is hard and ready. Take your nail file and refine the shape of your nails. Then, use your buffer block to smooth out the entire surface until it is perfectly even. Wipe the nails clean with a lint-free wipe and apply a second coat of activator. Wait two minutes, then wipe the nails with a dry lint-free wipe to remove any excess activator.
Step 10: Seal with the Top Coat
Finally, apply a thin layer of your dip powder top coat to seal in your design and add a brilliant shine. Apply this first layer quickly with light strokes, as the activator on the nail will cause the top coat to dry fast. Wait about two minutes for the first layer to dry, and then apply a second, slightly thicker layer of top coat. Make sure to cap the free edge of your nails to prevent lifting. Let the nails dry completely for about three to five minutes, apply some cuticle oil to hydrate your skin, and enjoy your stunning ombre manicure!
Frequently Asked Questions
1. Can I Do Dip Powder Ombre on My Natural Short Nails?
Yes, you absolutely can perform a dip powder ombre on short natural nails. The technique works the same way regardless of the nail length. You simply focus on the darker color, tapping closer to the very edge of your short tips. It looks elegant and adds immense strength to your natural nails as they grow.
2. How Long Does a Dip Powder Ombre Manicure Last?
When applied correctly with proper nail preparation, a dip powder ombre manicure can last anywhere from three to four weeks. The layered powder and activator create an incredibly durable shell that resists chipping and peeling. To maximize longevity, make sure you cap the free edge with your top coat.
3. How Do I Safely Remove My Dip Powder Ombre Nails?
To remove your dip powder safely, start by filing the shiny top layer off completely using a coarse nail file. Next, soak your nails in a bowl of pure acetone, or wrap them in cotton balls soaked in acetone and aluminum foil. After about fifteen to twenty minutes, the powder will crumble and easily wipe away without damaging your natural nails.
Conclusion
How to do ombre with dip powder is a rewarding process that saves you time and money at the salon.
By following these steps carefully, prepping your nails properly, and using the right tapping technique, you can achieve a seamless color transition that looks professionally done. Remember to take your time, encapsulate your design with clear powder, and avoid common mistakes like flooding your cuticles.
With a little bit of practice, you will be designing gorgeous, long-lasting ombre nails that perfectly match your personal style. Grab your powders and give it a try today!
About the Author
Jane Hubbard is a passionate beauty expert with a wealth of experience in makeup, hair, and overall beauty techniques. After years of working as a hairdresser specialist, she followed her entrepreneurial spirit and started her own consultancy business.
Jane has always been driven by her desire to help others feel confident in their own skin, and she does this by sharing her knowledge, experiences, and practical beauty tips. Through her consultancy, she empowers individuals to embrace their unique beauty, offering tailored guidance that boosts both self-esteem and personal style.
Professional Focus
Specializes in makeup, hairstyling, and beauty consulting.
Provides personalized beauty advice, tips, and techniques to help individuals feel confident in their appearance.
Dedicated to staying up-to-date with the latest industry trends and developments.
Passionate about creating a comfortable and empowering experience for every client.
Education History
University of Craft and Design – Bachelor of Fine Arts (BFA) in Woodworking and Furniture Design
Woodworking Apprenticeships – Extensive hands-on training with skilled craftsmen to refine carpentry and furniture making techniques
Online Courses & Masterclasses – Continued education in advanced woodworking techniques, design principles, and specialized tools
Expertise:
Makeup artistry, hairstyling, and beauty consulting.
Personalized beauty techniques to enhance confidence and self-expression.
Educating clients on how to maintain their beauty routines at home.