
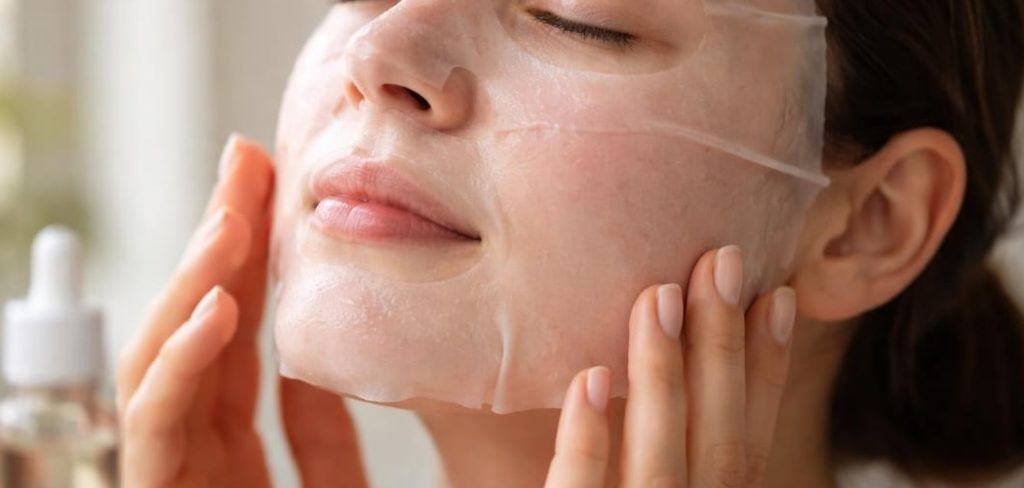
Have you ever looked at the back of your makeup remover bottle and wondered what all those complicated ingredients actually do? You are not alone. Taking control of your skincare routine starts with understanding exactly what you put on your face. Creating your own homemade makeup remover offers a simple, effective way to gently cleanse your skin while nourishing it with natural ingredients.
The purpose of this guide is to walk you through the entire process of crafting a safe, natural, and highly effective makeup remover right in your own kitchen.
Let’s dive into how to make homemade makeup remover.
Benefits of Homemade Makeup Remover
Switching to a homemade makeup remover offers incredible advantages for both your skin and your wallet. First, it allows you to completely eliminate harsh chemicals, synthetic fragrances, and artificial preservatives from your nightly routine. Commercial products often strip the skin of its natural moisture barrier, leading to dryness and irritation.
When you make your own formula, you rely on pure, hydrating ingredients that condition your skin while breaking down cosmetics. Furthermore, making your own skincare products is incredibly cost-effective. A single bottle of high-quality oil can yield dozens of batches. Finally, creating your own remover helps the environment by reducing single-use plastic packaging and keeping synthetic chemicals out of our water systems.
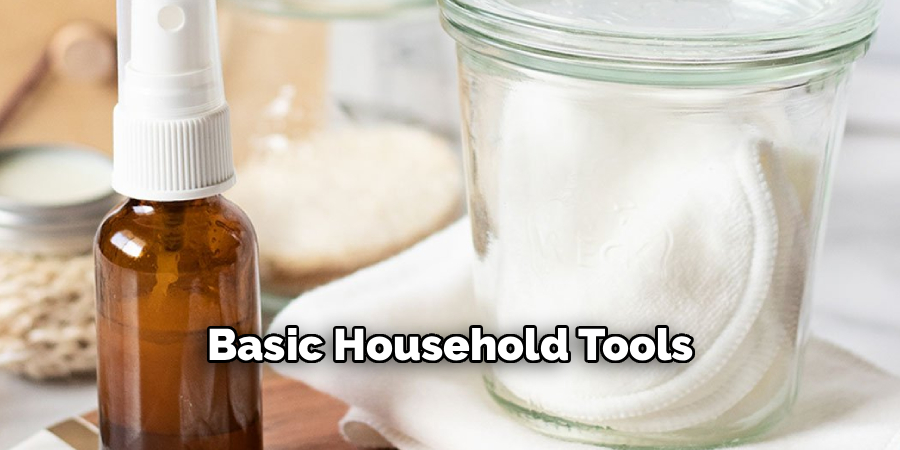
What Will You Need?
Before you begin, gather these simple, natural ingredients and basic household tools. You can find most of these items at your local grocery store or pharmacy.
Ingredients:
- Aloe Vera Gel: Provides a soothing, hydrating base that calms the skin.
- Witch Hazel: Acts as a gentle astringent to lift dirt and balance the skin. Ensure you buy an alcohol-free version.
- Carrier Oil: Jojoba oil, sweet almond oil, or fractionated coconut oil work beautifully to dissolve stubborn makeup.
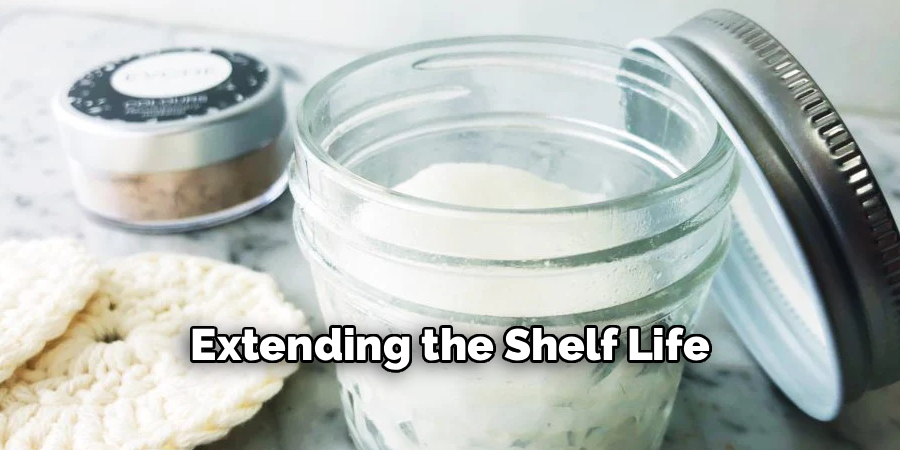
- Distilled Water: Essential for diluting the mixture and extending the shelf life. Do not use tap water.
Tools:
- A clean glass bottle or jar with a tight-fitting lid (pump or dropper bottles work best)
- A small funnel
- Measuring spoons
- A small mixing bowl and a whisk
10 Easy Steps on How to Make Homemade Makeup Remover
Step 1: Sanitize Your Equipment Properly
The most crucial part of making any DIY skincare product is ensuring your workspace and tools are completely sterile. Since natural products lack strong synthetic preservatives, bacteria can easily grow if you are not careful. Wash your glass bottle, funnel, mixing bowl, and measuring spoons with hot, soapy water. After rinsing them thoroughly, wipe them down with rubbing alcohol and let them air dry completely. This creates a safe, clean environment for your ingredients and ensures your final product remains safe to use on your delicate facial skin.
Step 2: Measure the Distilled Water Base
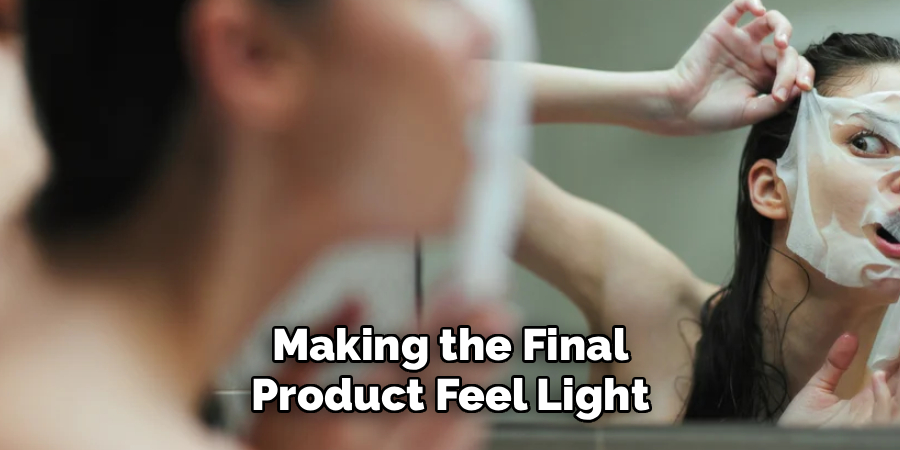
Start by adding two tablespoons of distilled water to your clean mixing bowl. You must use distilled water rather than standard tap water or even filtered drinking water. Tap water contains microscopic minerals, trace elements, and potential bacteria that will cause your homemade makeup remover to spoil rapidly. Distilled water serves as the neutral, pure base of your formula, helping to thin out the heavier oils and making the final product feel light and refreshing on your skin.
Step 3: Add the Soothing Aloe Vera
Measure out one tablespoon of pure aloe vera gel and add it to the distilled water. Aloe vera is a powerhouse ingredient that provides a cooling sensation and deep hydration. When you wipe away makeup, the friction can sometimes cause minor irritation. Aloe vera acts as a buffer, soothing the skin and reducing any redness. Make sure you use 100% pure aloe vera gel without any added green dyes or artificial fragrances, as these additives can irritate the sensitive area around your eyes.
Step 4: Introduce the Cleansing Witch Hazel
Next, pour one tablespoon of alcohol-free witch hazel into the mixture. Witch hazel is a natural astringent derived from a botanical plant. It works by gently pulling dirt, excess sebum, and makeup residue out of your pores without drying out your skin. It also helps to emulsify the mixture slightly. You must double-check the label on your witch hazel to ensure it does not contain alcohol, as alcohol will severely dry out your skin and cause a burning sensation if it gets near your eyes.
Step 5: Incorporate the Nourishing Oil
Now it is time to add the heavy lifter of the recipe: the oil. Add two tablespoons of your chosen carrier oil, such as jojoba oil or fractionated coconut oil. Oil is the secret to breaking down water-resistant and waterproof makeup, including long-lasting foundation and stubborn mascara. The principle of “like dissolves like” means the natural oils in the remover will effortlessly melt away the synthetic oils and waxes in your cosmetics. Jojoba oil is particularly excellent because it closely mimics human sebum and will not clog your pores.
Step 6: Whisk the Ingredients Thoroughly
With all your ingredients in the mixing bowl, take your small whisk and blend the mixture vigorously for about sixty seconds. Because you are mixing oil and water-based ingredients without a chemical emulsifier, they will naturally want to separate. Whisking them creates a temporary emulsion, allowing you to see the final consistency of your product. The mixture should look slightly milky and feel incredibly smooth. If it feels too thick, you can add another teaspoon of distilled water to thin it out.
Step 7: Transfer the Mixture to Your Container
Place your small funnel into the neck of your sanitized glass bottle. Carefully and slowly pour your freshly whisked mixture from the bowl into the bottle. A glass bottle is vastly superior to plastic because essential oils and natural ingredients can degrade certain plastics over time, which might leach unwanted chemicals into your beautiful natural product. A bottle with a pump or a treatment pump dispenser is highly recommended, as it allows you to extract the liquid without exposing the rest of the batch to the bacteria on your fingers.
Step 8: Label and Date Your Product
Never skip this organizational step. Take a small adhesive label and write down the name of the product and the exact date you made it. Because this makeup remover relies on natural ingredients and lacks industrial preservatives, it will not last forever. Having the date clearly visible reminds you when it is time to throw out any remaining liquid and whip up a fresh batch. A standard batch made with distilled water will typically stay fresh for about one month when stored properly.
Step 9: Perform a Quick Patch Test
Even though you are using gentle, natural ingredients, your skin might still react unexpectedly to a new botanical extract or oil. Before you slather this all over your face and eyes, apply a small drop of the remover to the inside of your wrist or just behind your ear. Leave it there for twenty-four hours to ensure you do not experience any redness, itching, or swelling. Once you confirm your skin is perfectly happy with the formula, you can confidently move forward with using it in your nightly routine.
Step 10: Shake Well Before Every Use
Because this formula does not contain artificial binding agents, the oil and water components will naturally separate while sitting on your bathroom counter. This is completely normal and actually a great sign that your product is truly natural. Every single time you prepare to use your makeup remover, you must give the bottle a vigorous shake for three to five seconds. This briefly binds the ingredients back together, ensuring every pump delivers the perfect ratio of hydrating water, soothing aloe, and makeup-melting oil to your cotton pad.
Frequently Asked Questions
- How Long Does This Homemade Makeup Remover Last?
When you use distilled water, your homemade makeup remover will generally stay fresh for about one month.
Storing the glass bottle in the refrigerator can help extend its shelf life by a few extra weeks.
Always check the mixture before use to ensure it has not changed in color or developed a strange odor.
If you notice any unusual cloudiness or smell, discard the batch immediately and make a fresh one.
Making small batches is the best way to ensure you always have a fresh and safe product on hand. - Can I Use This Remover on Waterproof Mascara?
Yes, this natural makeup remover is highly effective at breaking down stubborn waterproof mascara.
The nourishing oils in the formula gently dissolve the waterproof bonds without requiring harsh scrubbing.
You simply need to hold a saturated cotton pad over your closed eye for twenty seconds.
This waiting period allows the oils to deeply penetrate the mascara and loosen it from your lashes.
Afterward, gently swipe downward to wipe away the makeup without pulling out any delicate eyelashes. - Is This Formula Safe for Acne-Prone Skin?
This specific recipe is generally safe for acne-prone skin because it avoids heavy pore-clogging ingredients.
Jojoba oil closely mimics your skin’s natural sebum, making it an excellent non-comedogenic choice.
The addition of witch hazel helps to balance oil production and soothe inflammation while cleansing.
If you find coconut oil causes breakouts, simply swap it out for sweet almond or grapeseed oil.
Always remember to follow up with your regular facial cleanser to remove any lingering oil residue.
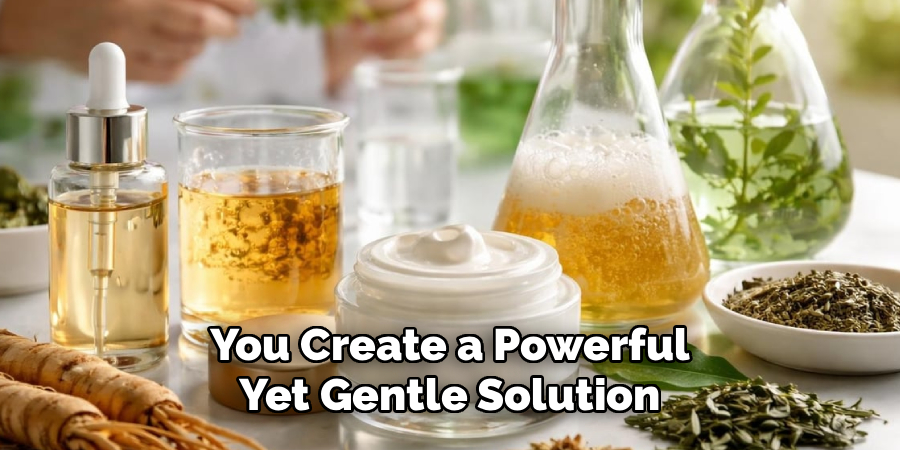
Conclusion
Taking the time to make your own homemade makeup remover is a rewarding choice that benefits your health, your budget, and the environment. By blending pure aloe vera, witch hazel, and natural oils, you create a powerful yet gentle solution that respects your skin’s delicate balance.
Now that you have the right ingredients and a simple ten-step process to follow, you are fully equipped to transform your nightly skincare routine.
Hopefully, this guide on how to make homemade makeup remover has shown you how easy it is to make your own makeup remover at home. With a little creativity and experimentation, you can customize the recipe to suit your skin’s unique needs and preferences. Happy cleansing!
About the Author
Jane Hubbard is a passionate beauty expert with a wealth of experience in makeup, hair, and overall beauty techniques. After years of working as a hairdresser specialist, she followed her entrepreneurial spirit and started her own consultancy business.
Jane has always been driven by her desire to help others feel confident in their own skin, and she does this by sharing her knowledge, experiences, and practical beauty tips. Through her consultancy, she empowers individuals to embrace their unique beauty, offering tailored guidance that boosts both self-esteem and personal style.
Professional Focus
Specializes in makeup, hairstyling, and beauty consulting.
Provides personalized beauty advice, tips, and techniques to help individuals feel confident in their appearance.
Dedicated to staying up-to-date with the latest industry trends and developments.
Passionate about creating a comfortable and empowering experience for every client.
Education History
University of Craft and Design – Bachelor of Fine Arts (BFA) in Woodworking and Furniture Design
Woodworking Apprenticeships – Extensive hands-on training with skilled craftsmen to refine carpentry and furniture making techniques
Online Courses & Masterclasses – Continued education in advanced woodworking techniques, design principles, and specialized tools
Expertise:
Makeup artistry, hairstyling, and beauty consulting.
Personalized beauty techniques to enhance confidence and self-expression.
Educating clients on how to maintain their beauty routines at home.