
Are you looking to switch up your regular manicure routine? Dip powder is a great way to give yourself longer-lasting, gorgeous nails without dealing with the harsh chemicals of acrylic or gel. This nail application gives an extra layer of durability and requires minimal effort.
Whether you’re new to dip powder or want to brush up on your skills, this guide will walk you through applying dip powder with a brush. Just follow these simple steps, and you’ll have salon-worthy nails soon!
Keep reading our blog post for a step-by-step guide on how to apply dip powder with brush techniques. It’s quick, easy, and sure to enhance your look!
What Will You Need?
Before we get into the application process, let’s ensure you have everything you need. Here are the essential supplies for applying dip powder with a brush:
- Dip powder kit (includes base coat, activator, and top coat)
- Dip the powder color of your choice
- Nail file and buffer
- Cuticle pusher or orange stick
- Brush for applying dip powder
- Alcohol or nail polish remover
- Cotton balls or pads
Ensure that your nails are clean and old polish-free before starting the application process. Now, let’s dive into applying dip powder with a brush.
10 Easy Steps on How to Apply Dip Powder With Brush
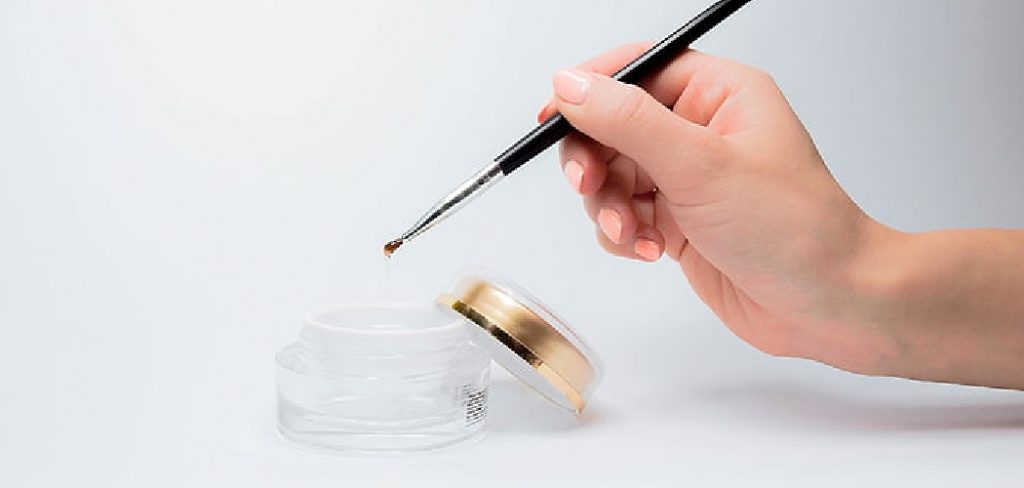
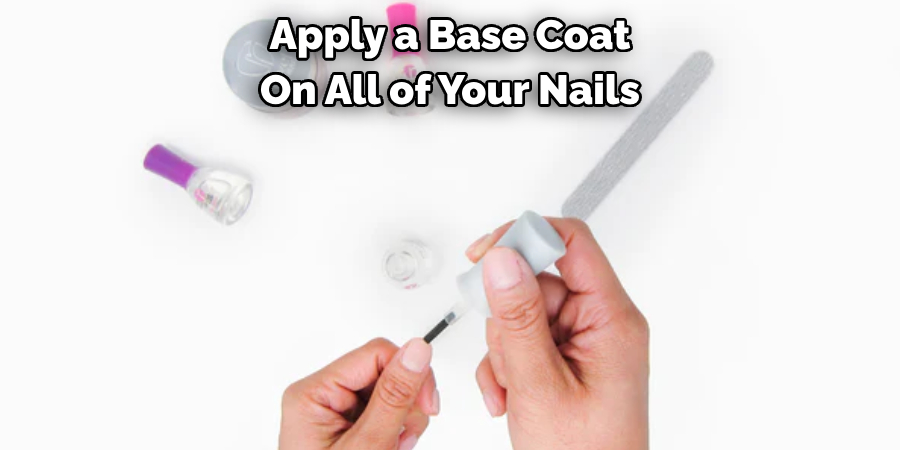
Step 1: Apply a Base Coat
The first step is to apply a base coat on all of your nails. This will help the dip powder adhere to your nails and create a smooth base for the color. Make sure to avoid getting any base coat on your cuticles or skin.
Step 2: Dip Your Nail in Powder
Once the base coat is applied, dip your nail into the powder. Submerge your nail at a 45-degree angle and then slowly remove it. You’ll notice the nail is covered with a fine layer of powder. Don’t worry if it looks uneven or too thick at this stage; we’ll take care of it in the next steps.
Step 3: Brush Off the Excess Powder
After dipping your nail into the powder, there will be some excess. Use your brush to sweep off the extra powder from your nail gently. Ensure you brush off the powder in a direction away from your body to avoid messes. After brushing, your nail should have an even layer of powder. This step is crucial to getting that smooth, professional finish.
Step 4: Apply Another Layer of Base Coat and Powder
Repeat Step 1 and Step 2 by applying another layer of base coat to your nail, then dipping it into the powder. This second layer will give your nails a rich color and add strength. Be careful not to touch the skin or cuticles with the base coat or powder.
Step 5: Apply the Activator
It’s time to use the activator after applying the base coat and dip powder layers. The activator helps harden the powder and prepare it for buffing. Apply a generous amount of activator to each nail, covering the entire nail surface. Allow the activator to dry for a few minutes before moving on to the next step.
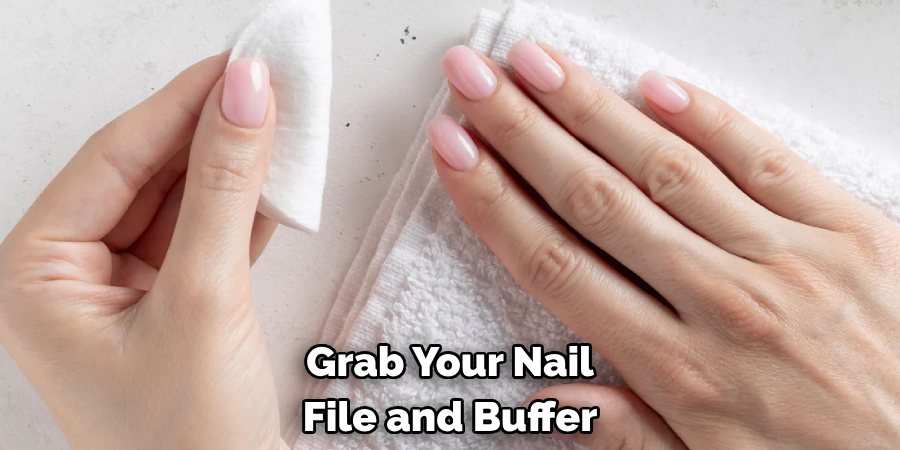
Step 6: Buff and Shape
After the activator has fully dried, grab your nail file and buffer. Start by shaping your nails to your desired shape. Then, use the buffer to smooth out the surface of your nails. This step helps to eliminate any lumps and create a perfect, smooth finish.
Step 7: Apply a Second Coat of Activator
Now that your nails are shaped and buffed apply a second coat of activator. This will ensure that the dip powder is completely set and ready for the final steps. Cover the entire nail surface and allow it to dry completely.
Step 8: Apply the Top Coat
Once the second layer of the activator is dry, it’s time to apply the top coat. The top coat adds shine and seals in the color of the dip powder, giving your nails a professional, glossy finish. Apply two layers of top coat, allowing each to dry fully before proceeding to the next.
Step 9: Clean Up Around the Nails
After you have applied the final top coat and it is dry, take a cotton ball or pad dipped in alcohol or nail polish remover and clean up around the nail area. This helps to remove any residue of dip powder or base, activator, or top coat that may have gotten on your skin. Use a cuticle pusher or orange stick to gently clean up any excess around the edges of your nails.
Step 10: Moisturize
The final step is to moisturize your hands and nails. The chemicals in dip powder can be harsh on the skin, so it’s essential to rehydrate after the application process. Massage a hydrating lotion into your hands and nails to keep them healthy and nourished.
With these ten easy steps, you’ll be able to achieve beautiful, long-lasting nails without the need for harsh chemicals. Now, sit back, relax, and enjoy your salon-worthy manicure at home.
5 Additional Tips and Tricks
- Preparation is Key: Ensure your nails are clean and dry before you begin. This will facilitate better adhesion of the dip powder. Use a brush to remove any dust or oils.
- The Right Brush: Use a soft, high-quality brush for applying the dip powder. A stiff brush may not distribute the powder evenly, leading to a lumpy finish.
- Consistent Application: Apply the dip powder using smooth, even strokes. This will ensure a uniform thickness across the nail, leading to a more professional finish.
- Shake the Powder: Before you start, shake your dip powder well. This helps in evenly distributing the pigments and prevents clumping.
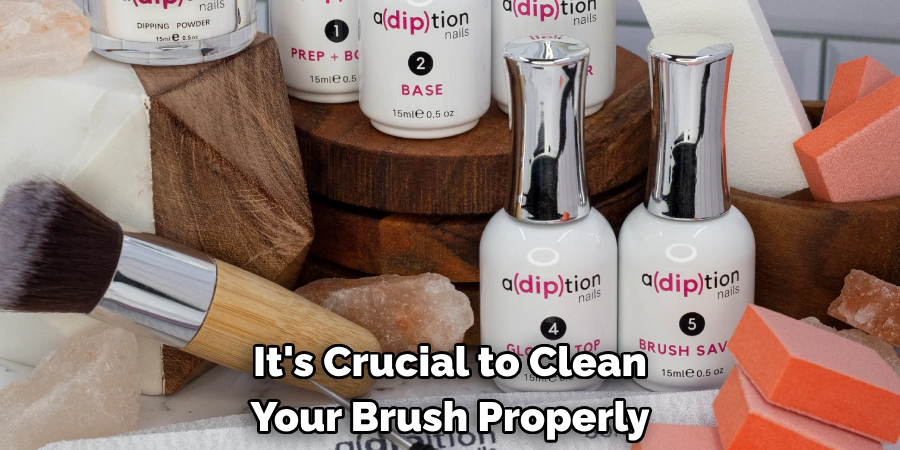
- Care for the Brush: Post application, it’s crucial to clean your brush properly. Leaving powder in the brush can cause it to harden and lose effectiveness. Use a brush cleaner, warm water, and mild soap, gently swirling the brush around before patting it dry.
With these additional tips and tricks, you’ll be able to achieve a flawless dip powder manicure every time.
6 Things You Should Avoid
- Avoid Rushing: Patience is key to a flawless dip powder manicure. Rushing through the steps could lead to a messy finish or even damage your nails.
- Avoid Skin Contact: Keep the base coat, activator, and top coat off your skin and cuticles. Contact with the skin can cause irritation and hinder the proper adhesion of the dip powder to the nails.
- Avoid Using Old Products: Ensure your dip powder products are not expired or dried. Old or low-quality products can compromise the results.
- Avoid Thick Layers: When applying the base coat or dip powder, avoid thick layers. Over-application can lead to a lumpy finish and longer drying times.
- Avoid Neglecting Aftercare: Do not neglect moisturizing your hands post-application. A good hand cream or oil will help rehydrate the skin and the nail bed, promoting healthier and stronger nails.
- Avoid Peeling Off the Dip Powder: Avoid peeling off the dip powder when it’s time for a change or removal. This can damage your nails and weaken them. Instead, use a gentle nail polish remover or follow proper soak-off techniques to remove the dip powder safely.
By avoiding these common mistakes, you’ll be on your way to achieving a professional-looking dip powder manicure that lasts for weeks.
Is Dip Stronger Than Gel?
One of the most significant advantages of dip powder is its strength. Dip powder manicures are known to be stronger than gel or traditional nail polish, making them a popular choice for those with weak or brittle nails. The layers of dip powder create a durable shield over the natural nail, providing added strength and preventing breakage. Moreover, since there is no need for curing under UV or LED lights, there is no risk of damaging the nail bed.
However, remember that proper application and aftercare play a crucial role in maintaining the strength of your dip powder manicure. Be gentle with your nails and avoid using them as tools to prevent accidental breakage. Moisturizing regularly will also help keep your nails strong and healthy.
In conclusion, applying dip powder with a brush and following the right techniques and precautions will help you achieve beautiful, long-lasting nails without any salon visits. So go ahead and give this trendy manicure a try – your nails will thank you!
Conclusion
Now that you have learned how to apply dip powder nails with a brush in steps, why not try it? In no time, you will be mastering this technique and feeling great about having perfected your roaring look. Dip powder nails let you show off your style while also making sure you’re safe and looking healthy. Moreover, they are generally easier to do since the only required equipment is a brush.
Hopefully, the article on how to apply dip powder with brush has given you the confidence to try this at-home manicure. With the right tools and techniques, you can achieve salon-worthy nails from the comfort of your own home.
So don’t hesitate – get creative with some colors today and start dipping! With enough practice and determination, you’ll have stunning nails in no time!
About the Author
Jane Hubbard is a passionate beauty expert with a wealth of experience in makeup, hair, and overall beauty techniques. After years of working as a hairdresser specialist, she followed her entrepreneurial spirit and started her own consultancy business.
Jane has always been driven by her desire to help others feel confident in their own skin, and she does this by sharing her knowledge, experiences, and practical beauty tips. Through her consultancy, she empowers individuals to embrace their unique beauty, offering tailored guidance that boosts both self-esteem and personal style.
Professional Focus
Specializes in makeup, hairstyling, and beauty consulting.
Provides personalized beauty advice, tips, and techniques to help individuals feel confident in their appearance.
Dedicated to staying up-to-date with the latest industry trends and developments.
Passionate about creating a comfortable and empowering experience for every client.
Education History
University of Craft and Design – Bachelor of Fine Arts (BFA) in Woodworking and Furniture Design
Woodworking Apprenticeships – Extensive hands-on training with skilled craftsmen to refine carpentry and furniture making techniques
Online Courses & Masterclasses – Continued education in advanced woodworking techniques, design principles, and specialized tools
Expertise:
Makeup artistry, hairstyling, and beauty consulting.
Personalized beauty techniques to enhance confidence and self-expression.
Educating clients on how to maintain their beauty routines at home.