
Are you tired of purchasing expensive makeup brush cleaners? Not only can they be costly, but they may also contain harsh chemicals that can damage your brushes over time.
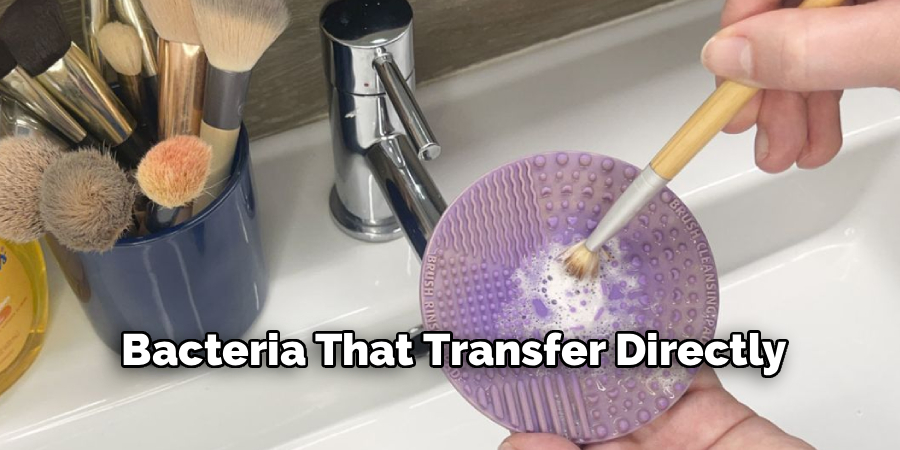
Dirty makeup brushes harbor oils, dead skin cells, and bacteria that transfer directly to your face with every application. Keeping your beauty tools sanitary is a fundamental part of any skincare routine, yet many people skip it because they lack expensive, specialized brush cleaners. You can easily achieve soft, sanitary bristles using common items you already have at home.
This guide on how to clean makeup brushes without brush cleaner provides a simple, effective method to keep your tools in perfect condition without buying commercial brush shampoos.

What Are the Benefits of Clean Brushes?
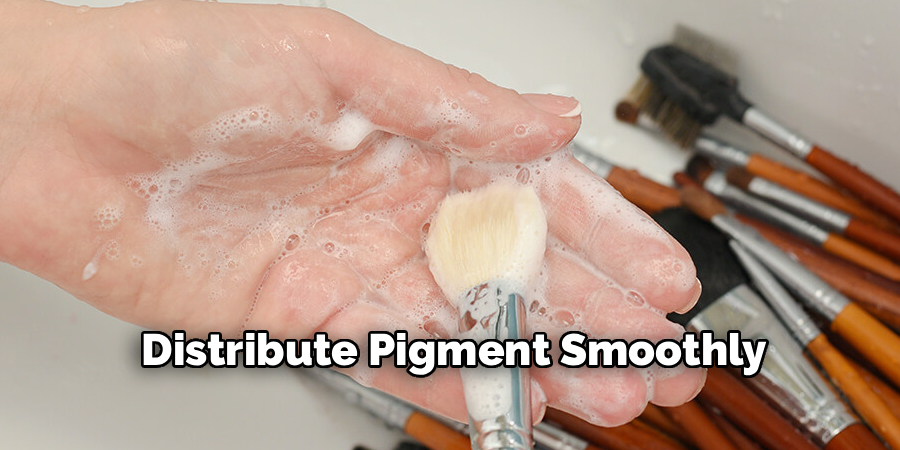
Washing your cosmetic tools regularly offers numerous advantages for both your skin and your makeup application. Clean bristles pick up and distribute pigment smoothly, preventing the muddy, patchy look caused by old product buildup. Removing trapped oils and bacteria significantly reduces your risk of breakouts, clogged pores, and skin irritation. Regular maintenance also extends the lifespan of your brushes by keeping the synthetic or natural hairs conditioned and preventing them from becoming brittle or shedding prematurely.
What Will You Need?
You do not need specialized equipment to get started. Gather the following household items before you begin the washing process:
- Gentle dish soap (preferably clear to avoid dye transfer)
- Extra-virgin olive oil or baby oil (for conditioning)
- A small, shallow bowl
- A clean, dry microfiber cloth or highly absorbent towel
- Access to a sink with running lukewarm water
10 Easy Steps on How to Clean Makeup Brushes Without Brush Cleaner
Step 1: Inspect and Group Your Brushes
Start by separating your brushes based on the type of products they handle daily. Group brushes used for liquid foundations and cream concealers together, as these require more heavy-duty oil breakdown. Place powder brushes, eyeshadow blenders, and blush tools in a second pile since they generally hold less stubborn residue. Sorting them beforehand streamlines your workflow and ensures you apply the right amount of cleansing mixture to each specific tool without wasting supplies or over-soaking delicate bristles.
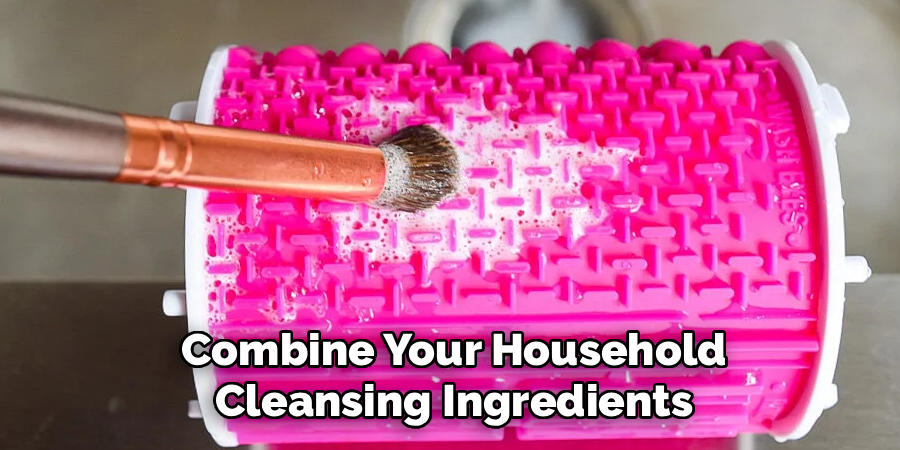
Step 2: Create Your Cleaning Mixture
Take your small, shallow bowl and combine your household cleansing ingredients. Pour in one tablespoon of gentle liquid dish soap, which acts as a powerful degreaser to cut through heavy makeup buildup and oils. Add one teaspoon of olive oil or baby oil to the soap. The oil prevents the dish soap from stripping all moisture from the hairs, keeping both synthetic and natural bristles incredibly soft. Swirl the two liquids together gently with a spoon or your finger until they form a uniform, slightly cloudy mixture.
Step 3: Wet the Bristles Carefully
Turn on your faucet and adjust the temperature until the water feels lukewarm to the touch. Hold your first brush at a downward angle under the running water, ensuring the stream only hits the bristles. You must keep the ferrule—the metal part connecting the hairs to the handle—completely dry during this step. If water seeps inside the ferrule, it breaks down the glue holding the brush together, leading to severe shedding and eventual destruction of your favorite beauty tools.
Step 4: Dip and Swirl in the Mixture
Dip the damp bristles lightly into your prepared soap and oil mixture. You only need a small amount of the solution to generate a good lather, so avoid fully submerging the brush head. Gently swirl the brush around in the bowl to distribute the cleanser evenly across the lower half of the bristles. Allow the soap and oil a few seconds to penetrate the trapped makeup, which begins breaking down the stubborn foundation or bright pigment clinging to the inner fibers.
Step 5: Massage the Bristles
Transfer the brush to the palm of your clean hand and begin swirling it in gentle, circular motions. You will immediately see the soap lather turning the color of your makeup as the dirt and oils release from the fibers. Use your fingertips to softly massage the lather deep into the center of the brush head, working from the base of the bristles down to the tips. Apply light pressure to work out stubborn cream products, taking care not to aggressively bend or splay the hairs.
Step 6: Rinse Under Lukewarm Water
Move the brush back under the lukewarm running water to wash away the dirty lather. Keep the brush angled downward, just as you did in the initial wetting stage, to protect the glued ferrule. Use your thumb and index finger to gently squeeze the bristles from base to tip, guiding the soapy, colored water down the drain. Continue this squeezing and rinsing process until the water running through the brush turns completely clear, indicating that all makeup and soap residue is gone.
Step 7: Repeat the Process if Necessary
Heavily soiled tools, particularly thick foundation brushes or dense kabuki brushes, often require a second round of cleansing. If the water remains cloudy or tinted after your first thorough rinse, dip the bristles back into your soap and oil mixture. Repeat the swirling and massaging motions in the palm of your hand to coax out the remaining product deeply embedded in the center of the brush. Rinse again until the water is completely clear and the bristles feel squeaky clean.
Step 8: Squeeze Out Excess Water
Once the water runs clear, turn off the faucet and gently squeeze the wet bristles with your fingers to remove the bulk of the moisture. Lay your clean microfiber cloth or soft towel flat on the counter. Press the brush head softly into the towel, allowing the absorbent material to pull out the remaining water. Never twist, pull, or wring the bristles during this step, as aggressive handling permanently alters the shape of the brush and weakens the structural integrity of the hairs.
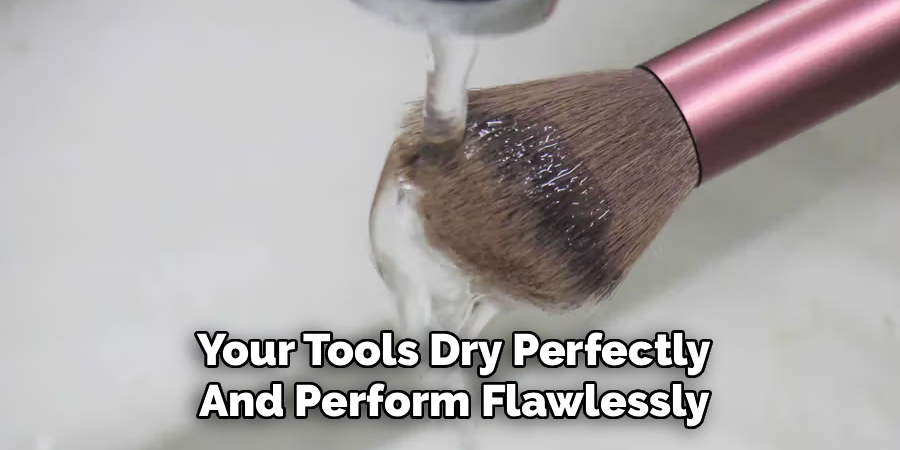
Step 9: Reshape the Brush Head
Damp bristles are highly malleable, making this the perfect time to restore your brush to its original form. Use your fingers to gently smooth and mold the hairs back into their proper shape, whether that is a tapered point, a flat edge, or a fluffy dome. Pinch the tips of fine eyeliner or lip brushes to recreate a sharp, precise edge. Taking a few seconds to carefully reshape the wet fibers ensures your tools dry perfectly and perform flawlessly during your next makeup application.
Step 10: Dry Flat Over an Edge
Proper drying technique is vital for maintaining the longevity of your cosmetic tools. Lay your freshly washed and reshaped brushes flat on a dry towel, positioning them so the bristle ends hang slightly over the edge of the counter. This overhang allows air to circulate entirely around the brush head, drastically speeding up the drying time and preventing mildew. Never dry your brushes standing upright in a cup, as gravity pulls residual water down into the ferrule, loosening the glue and rotting the wooden handles.
5 Things You Should Avoid
- Using Hot Water: Scalding water damages delicate synthetic fibers and weakens the glue holding the brush together.
- Submerging the Ferrule: Never soak the entire brush head in water; moisture inside the metal casing causes handles to swell and hairs to shed.
- Harsh Detergents: Avoid standard laundry detergents or heavy surface cleaners, which strip moisture and leave skin-irritating residues.
- Drying Upright: Standing wet brushes in a jar allows water to seep down into the glue, ruining the tool over time.
- Using Heat Tools: Do not use blow dryers or radiators to speed up drying, as intense heat melts synthetic bristles instantly.
Frequently Asked Questions
- Can I Use Shampoo Instead of Dish SOAP?
Yes, baby shampoo is an excellent alternative to liquid dish soap for cleaning your cosmetic tools. It offers a very gentle cleanse that easily breaks down powders and light liquids without damaging natural hair fibers. You might need to wash heavy cream foundation brushes twice when using gentle shampoo since it lacks aggressive degreasing agents. Many people prefer baby shampoo because it rinses out quickly and leaves no harsh residue behind. Ensure you still reshape and dry the tools flat to maintain their quality. - How Often Should I Wash My Makeup Brushes?
You should clean your brushes used for liquid foundations, concealers, and creams at least once every week to prevent severe bacterial growth. Brushes reserved strictly for dry powder products, like blush or setting powder, can be washed once every two weeks. Sponges and beauty blenders require washing after every single use because their porous nature traps dangerous microbes quickly. Keeping to this schedule prevents breakouts and keeps your makeup looking fresh. Waiting too long between washes degrades the bristles permanently. - Will Olive Oil Make My Brushes Greasy?
Adding a small amount of olive oil to your dish soap will not leave your tools feeling greasy if you rinse them properly. The dish soap acts as an emulsifier, breaking down the heavy makeup while simultaneously washing away the excess oil. The tiny amount of oil simply conditions the bristles, preventing them from feeling brittle or scratching your face during application. You only need one small drop of oil per wash to achieve the perfect balance. Rinse the bristles until the water runs completely clear to ensure no slippery film remains.
Conclusion
How to clean makeup brushes without brush cleaner does not require expensive, chemical-heavy commercial products.
By using a simple mixture of dish soap and a touch of conditioning oil, you can completely sanitize your brushes and protect your skin from harmful bacteria. Follow these steps regularly to prolong the life of your cosmetic tools, ensure flawless makeup application, and maintain a clear, healthy complexion.
Grab your supplies and give your brushes the refresh they deserve.
About the Author
Jane Hubbard is a passionate beauty expert with a wealth of experience in makeup, hair, and overall beauty techniques. After years of working as a hairdresser specialist, she followed her entrepreneurial spirit and started her own consultancy business.
Jane has always been driven by her desire to help others feel confident in their own skin, and she does this by sharing her knowledge, experiences, and practical beauty tips. Through her consultancy, she empowers individuals to embrace their unique beauty, offering tailored guidance that boosts both self-esteem and personal style.
Professional Focus
Specializes in makeup, hairstyling, and beauty consulting.
Provides personalized beauty advice, tips, and techniques to help individuals feel confident in their appearance.
Dedicated to staying up-to-date with the latest industry trends and developments.
Passionate about creating a comfortable and empowering experience for every client.
Education History
University of Craft and Design – Bachelor of Fine Arts (BFA) in Woodworking and Furniture Design
Woodworking Apprenticeships – Extensive hands-on training with skilled craftsmen to refine carpentry and furniture making techniques
Online Courses & Masterclasses – Continued education in advanced woodworking techniques, design principles, and specialized tools
Expertise:
Makeup artistry, hairstyling, and beauty consulting.
Personalized beauty techniques to enhance confidence and self-expression.
Educating clients on how to maintain their beauty routines at home.