
Are you tired of your eyelash perm and want to get rid of it?
Walking out of a salon with perfectly curled lashes feels amazing, but sometimes a lash lift goes wrong. If your lashes look over-processed, crinkled, or curled back into your eyelids, you probably want a quick fix. You do not have to wait weeks for the perm solution to grow out entirely. You can relax the curl right at home using gentle, nourishing methods.
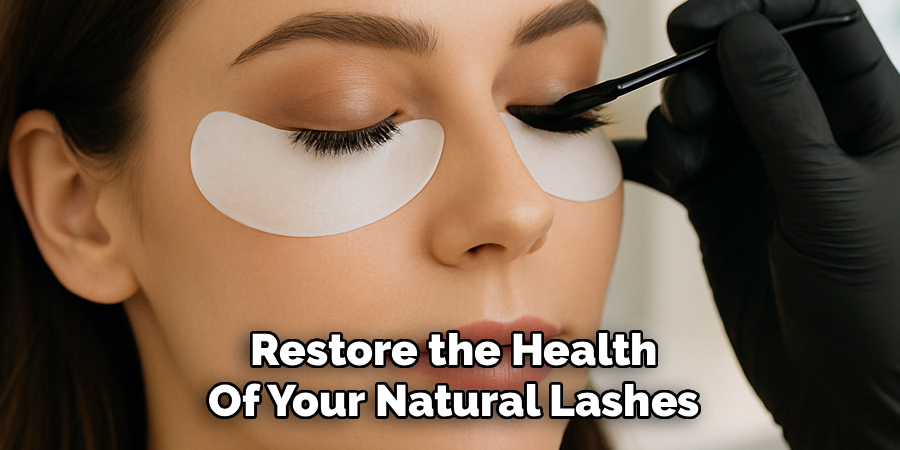
This complete guide on how to get rid of eyelash perm walks you through everything you need to safely reverse a bad eyelash perm and restore the health of your natural lashes.
What Will You Need?
Before you start the relaxing process, gather these simple, safe supplies from around your house:
- A high-quality carrier oil (pure castor oil, coconut oil, or jojoba oil)
- Clean mascara wands (spoolie brushes)
- Soft cotton pads or reusable makeup rounds
- A large bowl of hot water or a facial steamer
- A gentle, oil-based makeup remover
- A clean, thick towel
10 Easy Steps on How to Get Rid of Eyelash Perm
If your lashes feel too curled, overly stiff, or uncomfortable after a lash perm, the best approach is to relax them slowly and gently. The goal is not to force the curl out in one day, but to soften the lashes, restore moisture, and help them return to a more natural shape over time. Below are ten simple steps you can follow at home with care and patience.
Step 1: Assess the Damage to Your Lashes
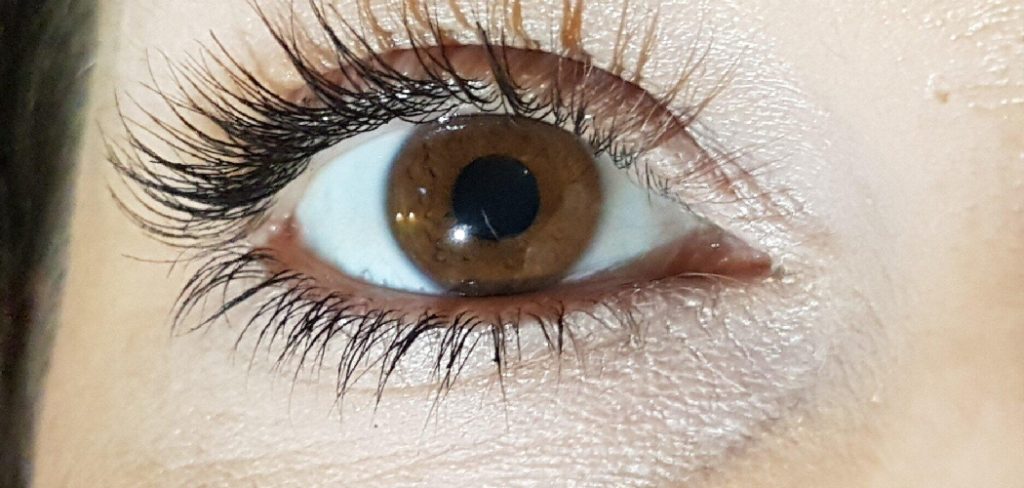
Start by taking a close look at your eyelashes in natural light or in front of a bright mirror. This step matters because not every bad lash perm looks the same. Some lashes may only be curled more tightly than expected, while others may appear frizzy, bent, dry, or even slightly crossed over one another. By checking their condition first, you can better understand how gentle you need to be during the removal process.
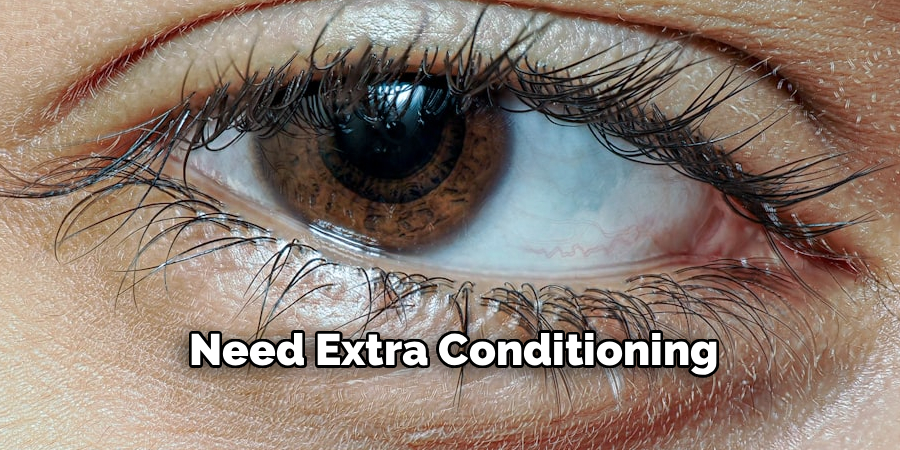
Pay attention to signs of overprocessing. If the lashes look wiry, feel crunchy, or seem weak at the tips, that usually means they have lost moisture and need extra conditioning. If the lashes are curling back toward your eyelid and causing discomfort, you should focus on softening them as soon as possible. However, if you notice redness, swelling, burning, or irritation around the eyes, stop home treatment and seek professional advice. Healthy recovery starts with knowing exactly what your lashes need.
Step 2: Thoroughly Cleanse Your Eye Area
Before you begin any treatment, make sure your lashes are completely clean. Dirt, mascara, eyeliner, and leftover makeup remover can create a barrier that prevents steam and oil from working properly. Wash your face using a mild cleanser that does not sting the eyes. Then gently remove any eye makeup using a soft cotton pad and a gentle oil-based remover.
Do not scrub or rub hard, even if the mascara is difficult to remove. Your lashes are already fragile after a perm, and rough handling can make breakage worse. Instead, press the cotton pad lightly over the eyelid for a few seconds to loosen the product, then wipe downward in a soft motion. Clean lashes absorb moisture more easily, and that helps prepare them for the next steps in the process.
Step 3: Prepare a Gentle Facial Steam
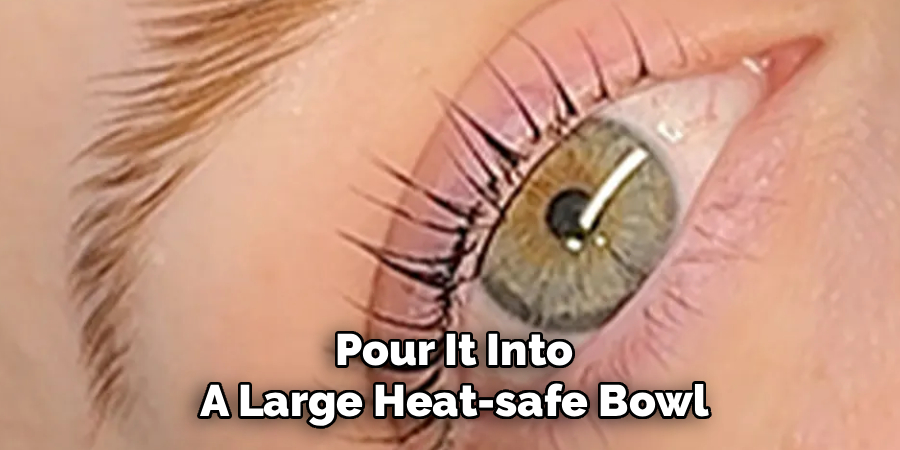
Steam is helpful because warmth and moisture can gradually loosen the structure that holds the perm in place. To do this safely, boil water and pour it into a large heat-safe bowl. Set the bowl on a stable surface where you can sit comfortably. If you have a facial steamer, that works even better because it gives you more controlled steam.
Make sure the steam is warm, not harsh. You do not want your face too close to the water. The skin around the eyes is delicate, so comfort and safety should come first. You are not trying to shock the lashes with heat. Instead, you want to create a soothing environment that softens the lash hairs and prepares them to absorb nourishing oil more effectively.
Step 4: Steam Your Lashes to Soften the Curl
Once your steam is ready, lean over the bowl and place a towel loosely over your head to trap the warmth. Keep your eyes closed and stay far enough back so the heat feels comfortable. Let the steam reach your lashes for about ten to fifteen minutes. This gentle exposure helps soften the lash fibers and can reduce some of the stiffness caused by the perm solution.
Try to relax during this step and avoid moving too much. If the steam feels too strong, lift the towel or sit back for a moment. The process should feel calming, never painful. This step does not remove the perm instantly, but it helps make the lashes more flexible. That flexibility is important because dry, stiff lashes are harder to reshape and more likely to snap if handled roughly.
Step 5: Choose a Nourishing, Heavy Oil
After steaming, the next step is choosing an oil that will moisturize and weigh the lashes down slightly. Castor oil is a popular choice because it is thick and deeply conditioning. Coconut oil and jojoba oil are also good options, especially if you prefer a lighter feel. The main purpose of the oil is to restore lost moisture and help relax the curl little by little.
Use only a very small amount. Pour a drop or two into a clean dish so you do not contaminate the whole bottle. Make sure the oil is pure and free from strong fragrance or added irritants. Since the eye area is sensitive, simple products are best. A good oil treatment can make lashes feel softer, smoother, and less brittle after just a few applications.
Step 6: Apply the Oil Generously to Your Lashes
Using a clean spoolie, cotton swab, or even a fingertip with clean hands, carefully apply the oil to your lashes. Start at the base and sweep outward toward the ends. You want each lash coated lightly but evenly. Do not flood the eye area, as too much oil can slip into the eyes and cause blurry vision or irritation.
Take your time with this step. The more evenly the oil is applied, the more effective it will be. Focus especially on the tips of the lashes, since that is often where dryness and damage show up first. The oil helps counter the dryness from the perm and begins the process of gently pulling the curl downward. If applied consistently, it can help lashes regain a softer, more natural appearance.
Step 7: Brush Through the Lashes with a Spoolie
After applying the oil, use a clean spoolie brush to comb through your lashes gently. This helps spread the oil from root to tip and encourages the lashes into a straighter shape. Brush slowly and carefully, always moving in a soft downward motion for upper lashes. Do not tug or press hard, because weakened lashes can break easily.
This step is especially useful if your lashes look uneven or tangled after the perm. Brushing helps separate them and trains them into a more relaxed position. Think of it like reshaping the lashes while they are softened by steam and coated with moisture. Repeating this daily can gradually reduce the tight curl and improve the overall look of your lashes without causing extra stress.
Step 8: Let the Oil Soak In Overnight
One of the best things you can do for overprocessed lashes is give the oil enough time to work. Leaving it on overnight allows the lashes to stay hydrated for several hours without interruption. During that time, the oil can sink into the hair shaft, soften dryness, and help weigh down the over-curled shape naturally.
If you do this before bed, try to sleep on your back if possible, so your lashes do not rub too much against the pillow. You may also want to place a clean towel over your pillowcase in case any oil transfers while you sleep. If overnight treatment does not feel comfortable, leave the oil on for at least a few hours during the evening. The longer contact time usually brings better results than a quick treatment.
Step 9: Gently Wipe Away the Excess Oil
In the morning, or after several hours, remove the extra oil carefully. Soak a soft cotton pad in warm water and press it gently over the closed eyelid for a few seconds. This loosens the oil so you can wipe it away without pulling on the lashes. Move in a slow downward direction and repeat if needed until the lashes feel clean but not stripped.
If your eye area still feels greasy, wash gently with a mild cleanser. Avoid using strong soaps or anything that leaves the lashes feeling dry again. This step is important because it resets the lashes and prepares them for another treatment later if needed. Gentle cleansing keeps the area fresh while protecting the fragile lashes from unnecessary friction.
Step 10: Repeat the Process Daily Until Relaxed
A lash perm usually cannot be reversed in one session, so consistency is key. Repeat the steam, oil, and brushing routine once a day for several days. In many cases, you will begin to notice that the lashes feel softer and the curl starts to loosen within three to five days. Very strong perms may take longer, especially if the lashes were processed heavily.
Do not rush the process by adding harsh products or trying to flatten the lashes by force. Slow care is much safer and more effective. Continue conditioning the lashes even after they begin to look better, because healthy lashes recover gradually. With patience, daily moisture, and gentle handling, your lashes can return to a softer, more natural shape while staying stronger and healthier in the process.
Conclusion
A botched lash perm feels incredibly frustrating, but it does not have to be a permanent problem.
By using simple heat and heavy, nourishing oils, you can safely encourage the chemical bonds to relax without causing further damage. Remember to be gentle with your eyes, avoid harsh mechanical tools, and give the process a few days to work.
Hopefully, this guide on how to get rid of eyelash perm has given you some insight into how to fix your lash perm at home in a safe and effective way.
About the Author
Jane Hubbard is a passionate beauty expert with a wealth of experience in makeup, hair, and overall beauty techniques. After years of working as a hairdresser specialist, she followed her entrepreneurial spirit and started her own consultancy business.
Jane has always been driven by her desire to help others feel confident in their own skin, and she does this by sharing her knowledge, experiences, and practical beauty tips. Through her consultancy, she empowers individuals to embrace their unique beauty, offering tailored guidance that boosts both self-esteem and personal style.
Professional Focus
Specializes in makeup, hairstyling, and beauty consulting.
Provides personalized beauty advice, tips, and techniques to help individuals feel confident in their appearance.
Dedicated to staying up-to-date with the latest industry trends and developments.
Passionate about creating a comfortable and empowering experience for every client.
Education History
University of Craft and Design – Bachelor of Fine Arts (BFA) in Woodworking and Furniture Design
Woodworking Apprenticeships – Extensive hands-on training with skilled craftsmen to refine carpentry and furniture making techniques
Online Courses & Masterclasses – Continued education in advanced woodworking techniques, design principles, and specialized tools
Expertise:
Makeup artistry, hairstyling, and beauty consulting.
Personalized beauty techniques to enhance confidence and self-expression.
Educating clients on how to maintain their beauty routines at home.