

A streak of neon ink on a shirt can feel oddly catastrophic, especially if it lands on something you actually like wearing. It looks loud. Permanent, even. Still, highlighter stains are often removable if you deal with them before heat or friction drives the color deeper into the fabric.
That said, not every garment should be treated the same way, and not every marker behaves alike. A cotton T-shirt gives you more room for error than silk does. A water-based highlighter may rinse out with relative ease; a gel or alcohol-based one can hang on much longer. The method below is practical, not magical, but in many cases it works well. In this guide on how to remove highlighter from clothes, we will go over some tips and tricks that can help you save your favorite garment from an accidental highlighter stain.
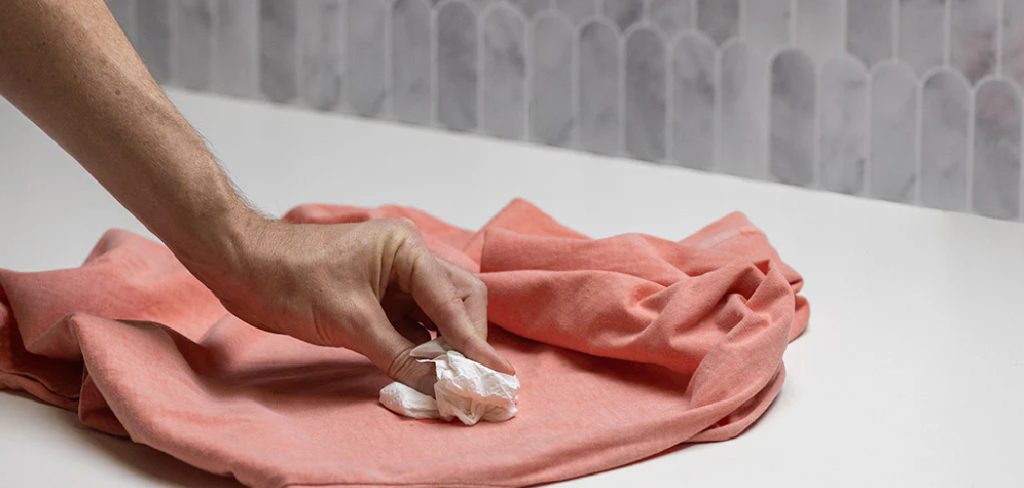
Identify the Fabric First
Start there. Always.
The fabric matters as much as the stain itself, because the wrong cleaning method can create a second problem while you are trying to solve the first. Cotton, denim, and many polyester blends usually tolerate careful stain treatment without much drama. They tend to hold up reasonably well to rubbing alcohol, laundry detergent, and repeated blotting.
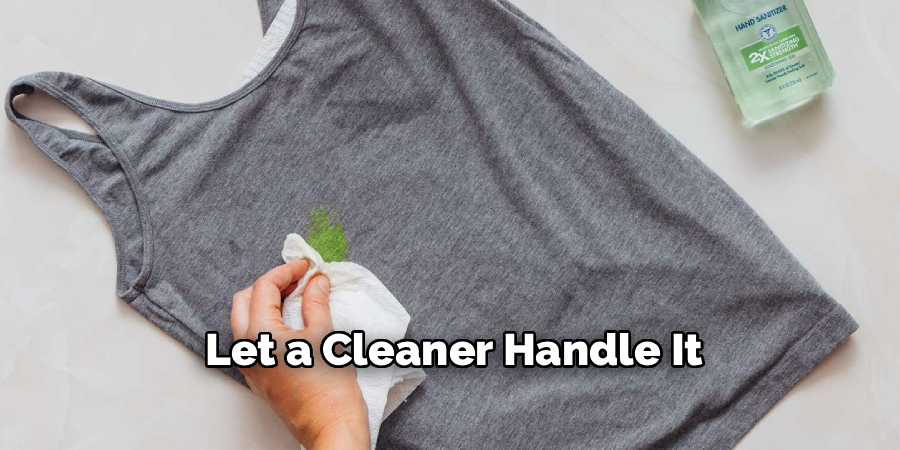
More delicate materials are a different story. Silk, satin, wool, and cashmere can react badly to strong solvents or rough handling. Sometimes the stain is removable, but the treatment leaves a ring, a faded patch, or a change in texture. That is not much of a win. If the care label says dry clean only, it is usually smarter to stop experimenting and let a cleaner handle it.
So before you do anything else, check the tag. Two seconds now may save the garment later.
Check What Kind of Highlighter Caused the Stain
This part is easy to skip, but it helps more than people think.
A standard school or office highlighter is often water-based, which means the stain may loosen with cold water, soap, and patient blotting. Those are the easier cases. Not pleasant, exactly, but manageable.
Some formulas, though, are alcohol-based. Others are gel-based and leave behind a waxier residue. Those tend to behave differently on fabric. Alcohol-based ink can dry fast and cling to fibers in a way that plain water will not touch. Gel highlighters may leave both color and a greasy film, which is why dish soap sometimes helps in addition to alcohol.
If you still have the pen, check the label. If not, you can make an educated guess based on the stain: a slick, smeary mark may point to gel, while a sharp fluorescent streak often suggests a liquid formula. It is not an exact science, but it can guide your next step.
What You’ll Need
No elaborate stain-removal kit is required. Most people already have enough supplies at home.
Here’s what helps:
- Isopropyl rubbing alcohol
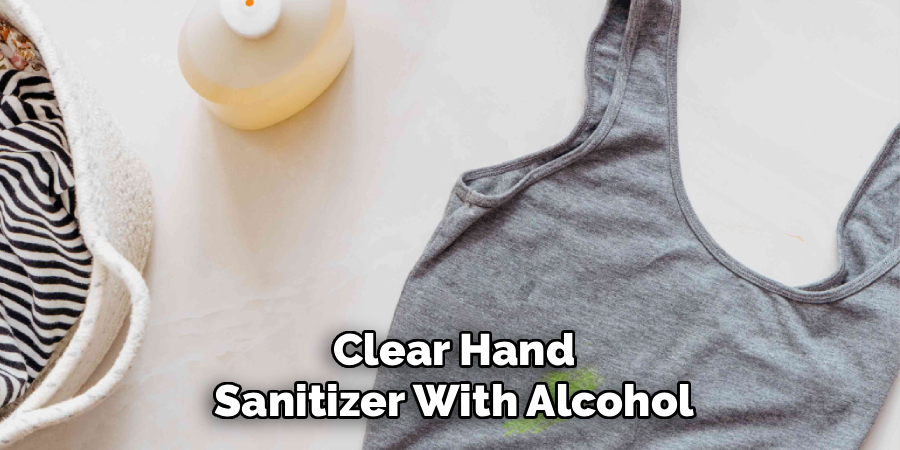
- Or, if needed, clear hand sanitizer with alcohol
- White paper towels or a plain white cloth
- Liquid dish soap
- Liquid laundry detergent
- Cotton swabs or a soft toothbrush
- Cold running water
Use white cloths if you can. Colored towels may bleed once alcohol hits them, and then you are no longer dealing with one stain.
A small note on substitutes: Some people use unflavored vodka in a pinch. It may help, though rubbing alcohol is generally more dependable for this kind of job.
7 Simple Step-by-Step Guidelines on How to Remove Highlighter from Clothes
Step 1: Blot the Stain Right Away
Fresh stains are easier. Not always easy, but easier.
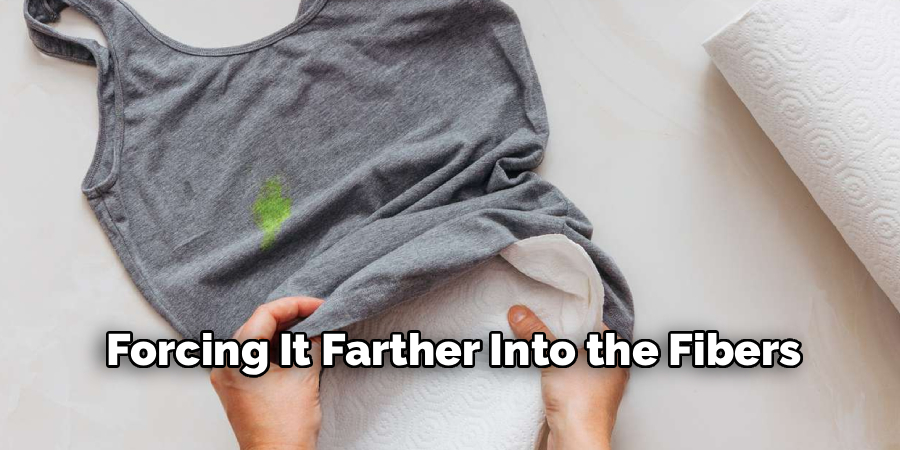
As soon as you notice the highlighter mark, press a clean white cloth or paper towel onto it to absorb any excess ink. Do not scrub. That instinct is understandable, but it usually makes things worse by spreading the color and forcing it farther into the fibers.
Try blotting from the outer edge toward the center. That keeps the stain from expanding. If the mark is still wet, this first pass may remove more ink than you would expect.
Step 2: Test Your Cleaner in a Hidden Spot
Before you put rubbing alcohol directly on the stain, test it somewhere no one will see. An inside seam works. So does the hem or the underside of a cuff.
Dab on a tiny amount with a cotton swab, wait a minute, then press with a white paper towel. If the fabric dye transfers, fades, or the material changes texture, stop there. The garment may not be able to handle home treatment safely.
This step feels annoying when you are in a hurry. It is still worth doing. A neon mark is bad enough; a pale chemical blotch across the front of a shirt is usually worse.
Step 3: Apply the Rubbing Alcohol
Once the fabric passes the test, place folded paper towels or a white cloth underneath the stained area. That layer catches the ink as it lifts, instead of letting it soak through to the other side.
Then apply rubbing alcohol to the stain with a cotton swab, cloth, or soft toothbrush. You want the area damp, not dripping all over the table. As the alcohol hits the ink, you may notice the color start to loosen almost immediately. Bright yellow and pink highlighters often bleed fast.
Work gently. This is a stain-removal process, not a battle.
Step 4: Blot and Lift
Now press a clean white paper towel onto the damp stain. Lift it away. Move to a fresh section. Press again.
That repetition matters. If you keep using the same stained patch of towel, you can transfer the ink right back onto the garment. Keep blotting, reapplying small amounts of alcohol as needed, until the towel stops picking up much color.
Sometimes the change is dramatic. Other times, it is slow and a little tedious. Both are normal.
Step 5: Rinse with Cold Water
Once most of the pigment seems to be out, rinse the area under cold running water. If possible, let the water run through the back of the stain so it pushes residue forward and away from the fabric.
Avoid warm or hot water here. Heat can set dye, and once that happens, removal becomes much harder.
Rinse until the alcohol smell fades and the water runs clear. At this stage, you may still see a faint shadow. That does not necessarily mean the process failed; it may just need detergent treatment next.
Step 6: Work in Detergent or Dish Soap
After rinsing, apply a small amount of liquid laundry detergent or grease-cutting dish soap directly to the stained area. If the highlighter was gel-based, dish soap may be especially useful because it can help break up the waxy residue.
Rub the soap in gently with your fingers or a soft toothbrush. No hard scrubbing. Just enough to work it into the fibers.
Let it sit for about 10 to 15 minutes. That pause gives the cleaner time to do something useful before the item goes into the wash.
Step 7: Wash, Then Check Before Drying
Wash the garment according to the care label, using the coldest setting that makes sense for the fabric. Your regular detergent is fine.
Once the cycle finishes, inspect the stained area while the item is still wet. This part is important. If any trace of the highlighter remains, even a faint fluorescent blur, treat it again before drying.
Do not put the garment in the dryer until you are sure the stain is gone. Dryer heat can set what is left, and after that, the mark may become much more stubborn.
Following these steps on how to remove highlighter from clothes
Special Tips for Delicate Fabrics
Delicate fabrics need a lighter hand and, frankly, a bit more humility. You may not want to attack silk with straight rubbing alcohol and hope for the best.
For silk, satin, or fine wool, try a weak mix of mild dish soap and cold water first. Apply it with a cotton swab and blot softly. Avoid brushes unless the fabric is sturdy enough to handle them. Even a soft toothbrush can rough up fragile fibers.
If the stain does not lift fairly quickly, professional cleaning is probably the safer route. Tell the cleaner exactly what caused the stain if you know. That detail can help.
Common Mistakes to Avoid
A few habits tend to make highlighter stains worse:
- Putting the garment in the dryer before the stain is fully gone
- Scrubbing aggressively instead of blotting
- Rinsing with hot water
- Using bleach on colored or synthetic fabric
- Skipping the colorfastness test
The dryer is the big one. People often assume the wash took care of it, toss the item in with the rest of the load, and only notice the stain once the heat has fixed it in place. At that point, your odds drop.
Prevention Tips
Prevention is not exciting, but it is easier than stain removal.
Make sure highlighter caps snap shut before you toss them into a backpack, jacket pocket, or tote bag. If you carry pens and markers regularly, keep them in a small zippered pouch rather than loose among your things. That alone may prevent a mess.
During long study sessions or office work, watch where your sleeve rests. Fresh highlighter on paper can transfer more easily than people expect, especially onto cuffs and sweater sleeves. Gel highlighters may also be worth considering if leaks are your main problem. They can still mark fabric, yes, but they are less likely to burst inside a pocket.
Frequently Asked Questions
Q1: Can Hand Sanitizer Remove Highlighter Stains?
Often, yes.
If the sanitizer contains a decent amount of alcohol and is clear rather than heavily dyed or perfumed, it can work in much the same way as rubbing alcohol. Apply a small amount, let it sit briefly, and blot with a white cloth or paper towel. It may be especially useful when you are away from home and need a quick first response.
Q2: Does Hairspray Work on Neon Ink Stains?
Sometimes, but it is less reliable than it used to be.
Older aerosol hairsprays often contained enough alcohol to help loosen ink stains. Many modern versions do not. Some leave behind sticky residue that creates a new mess without removing much color at all. If you try hairspray, check the ingredients first and test it in a hidden area.
Still, if rubbing alcohol is available, it is usually the better option.
Q3: Will Vinegar and Baking Soda Remove Highlighter?
They may help a little with very light, water-based stains, but they are generally not strong enough for most fluorescent inks. The bigger issue is that people often compensate by scrubbing too hard, which can damage the fabric.
For a fresh, minor mark, vinegar and baking soda might reduce the stain. For a bold neon line that has already started to set, alcohol-based treatment is typically more effective.
Restoring Your Favorite Clothes
A highlighter stain can look dramatic, but it does not always mean the garment is done for. In many cases, the real difference comes down to speed, fabric type, and whether you avoid the usual mistakes. Blot first. Test the cleaner. Keep heat out of the equation until you know the mark is gone.
That approach will not save every item. Some stains set. Some fabrics react badly. But if you catch the ink early and work carefully, there is a decent chance your shirt, sweater, or pair of pants makes it back into regular rotation. Thanks for reading this guide on how to remove highlighter from clothes.

About the Author
Jane Hubbard is a passionate beauty expert with a wealth of experience in makeup, hair, and overall beauty techniques. After years of working as a hairdresser specialist, she followed her entrepreneurial spirit and started her own consultancy business.
Jane has always been driven by her desire to help others feel confident in their own skin, and she does this by sharing her knowledge, experiences, and practical beauty tips. Through her consultancy, she empowers individuals to embrace their unique beauty, offering tailored guidance that boosts both self-esteem and personal style.
Professional Focus
Specializes in makeup, hairstyling, and beauty consulting.
Provides personalized beauty advice, tips, and techniques to help individuals feel confident in their appearance.
Dedicated to staying up-to-date with the latest industry trends and developments.
Passionate about creating a comfortable and empowering experience for every client.
Education History
University of Craft and Design – Bachelor of Fine Arts (BFA) in Woodworking and Furniture Design
Woodworking Apprenticeships – Extensive hands-on training with skilled craftsmen to refine carpentry and furniture making techniques
Online Courses & Masterclasses – Continued education in advanced woodworking techniques, design principles, and specialized tools
Expertise:
Makeup artistry, hairstyling, and beauty consulting.
Personalized beauty techniques to enhance confidence and self-expression.
Educating clients on how to maintain their beauty routines at home.