
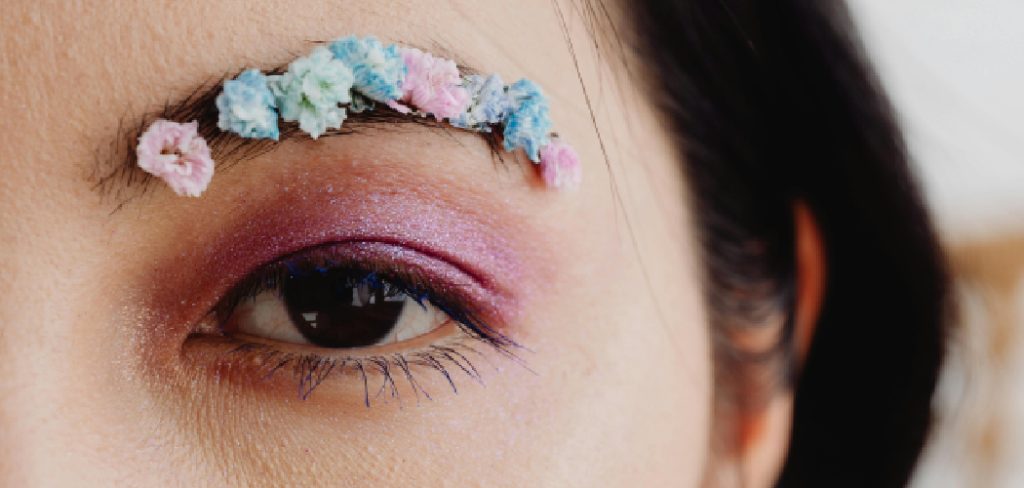
Applying makeup often feels like a delicate balancing act, especially when working with limited lid space. Many beauty tutorials feature massive, dramatic strokes that completely overwhelm delicate facial features. If you follow those standard routines, you might accidentally make your peepers look heavily hooded or closed off. You need a tailored approach that lifts and widens your natural shape. Knowing exactly how to put eyeliner for small eyes changes your entire makeup routine, transforming a frustrating process into a quick, empowering habit.
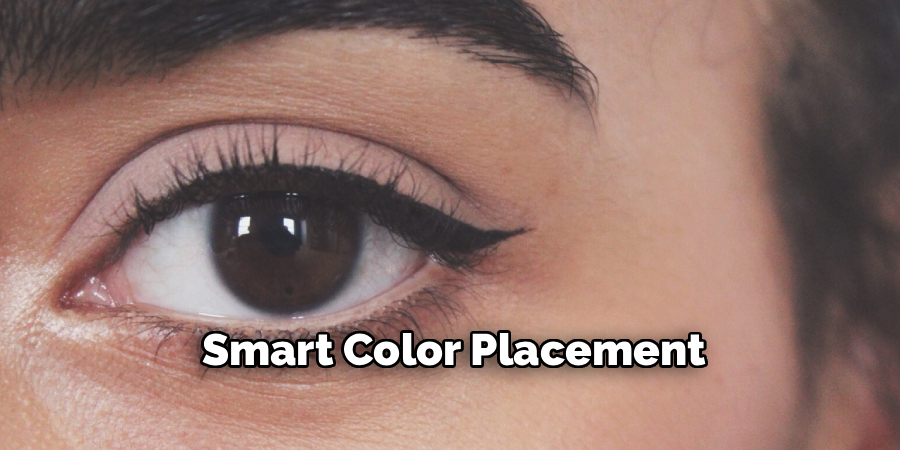
This guide breaks down professional makeup artist secrets into simple, actionable steps. You will learn specific techniques like tightlining, micro-winging, and smart color placement. By applying the right product to the exact right zones, you create an optical illusion that brightens and stretches your facial proportions. Get ready to ditch the heavy, dark circles and welcome a bright, awake, and beautifully enhanced appearance.
Why Proper Placement Matters For Your Eye Shape
A strategic makeup application does much more than just add color to your face. The right technique creates a visual lift that stretches your lash line and opens up the entire area. When you swipe a thick, heavy band of black liquid across a small lid, you erase the visible skin. This makes the area look heavy, tired, and disproportionate. By contrast, a thin, precise line draws focus outward and upward.
Choosing specific colors and placing them perfectly fundamentally alters how light hits your face. Brightening the inner corners and leaving the lower waterline bare allows your eyes to look rounder and more prominent. Mastering this skill gives you ultimate control over your final look. You save time in the morning, stop wasting expensive products, and walk out the door feeling completely confident in your beautiful, natural features.
Step-By-Step Guide To How to Put Eyeliner for Small Eyes
Step 1: Gather Your Tools
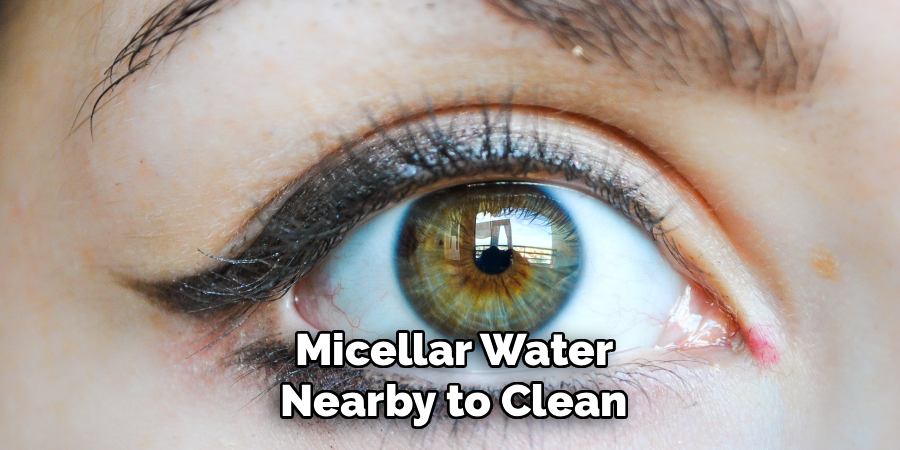
Setting yourself up for success begins with selecting the proper equipment. You want high-quality tools that offer maximum control and precision. Grab a soft, waterproof pencil for tightlining, a fine-tipped liquid pen for the upper lash line, and a nude pencil for brightening. Having everything laid out prevents you from scrambling midway through your routine. You should also keep pointed cotton swabs and micellar water nearby to clean up any tiny mistakes. Using a magnifying mirror greatly assists with this process. It lets you see every single lash, ensuring your application stays as close to the root as possible.
Step 2: Prep And Prime Your Eyelids For A Flawless Base
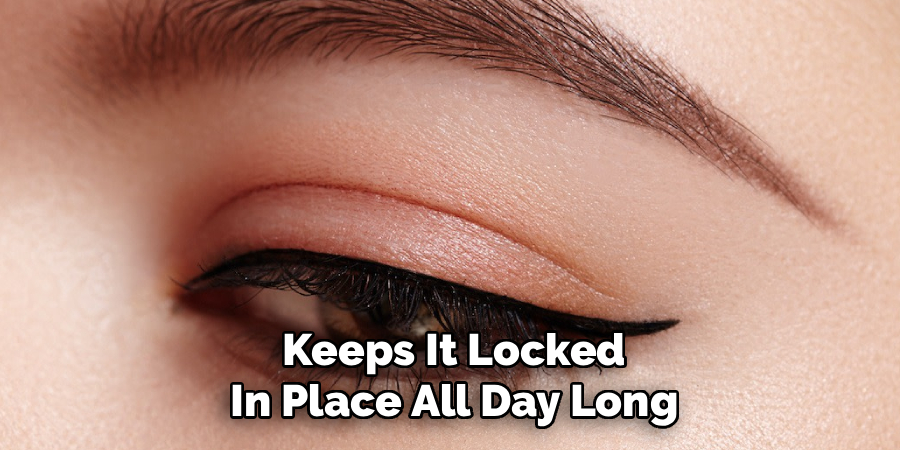
Color tends to transfer, smudge, and fade, particularly on smaller or hooded lids where the skin folds over itself. To prevent this messy outcome, you must start with a completely clean and primed canvas. Wash away any lingering skincare oils or leftover makeup from the day before. Dab a tiny amount of eye primer across the entire lid, blending it upward toward the brow bone. Allow the primer to dry completely for about thirty seconds. Once it sets, lightly dust a translucent setting powder over the area. This creates a smooth, oil-free surface that grips the pigment and keeps it locked in place all day long.
Step 3: Choose The Right Formula And Shade
While stark black remains a classic choice, it often looks too harsh on a limited canvas. Opting for softer shades creates a more flattering and widening effect. Deep brown, charcoal gray, or even a rich plum provide excellent definition without visually shrinking your features. You should also consider the formula carefully. Liquid pens deliver crisp, sharp lines that work perfectly for extending the outer edge. Gel and pencil formulas offer a softer finish that blends easily along the lash roots. Mixing and matching these formulas allows you to achieve a multidimensional look that highlights your natural beauty beautifully.
Step 4: Master Tightlining To Thicken Lashes
Tightlining serves as the absolute most important technique for limited lid space. Instead of drawing a thick line above the lashes, you deposit color directly into the roots and the upper waterline. Gently lift your upper lid with your ring finger to expose the base of your lashes. Take a waterproof pencil and gently wiggle it between the individual hairs. This deposits pigment exactly where you need it, creating the illusion of a naturally thick, voluminous lash base. It adds beautiful definition and depth without consuming a single millimeter of your precious visible eyelid space.
Step 5: Keep The Line Ultra Thin On The Upper Lid
If you decide to apply color above the lashes, keep the line as thin and precise as humanly possible. Press a fine-tipped liquid pen or a sharply crafted brush directly against the lash line. Start from the center of the pupil and slowly drag the color outward toward the edge. Avoid starting all the way at the inner corner, as this naturally closes off the eye. Focusing only on the outer half of the lid visually pulls the gaze outward. This strategic placement elongates the shape, making your eyes look wider, brighter, and incredibly captivating.
Step 6: Create A Micro Wing To Elongate The Shape
A heavy, thick cat-eye easily overpowers delicate features, but a micro wing provides the perfect amount of lift. Once you reach the outer corner of your lash line, stop and look straight into the mirror. Map out a tiny, upward flick that follows the natural upward trajectory of your lower lash line. Use a liquid pen to stamp a very fine, thin tail. Keep the stroke short and delicate. This subtle extension pulls the corners upward and outward, giving your face a naturally lifted appearance. It adds a touch of glamour while perfectly respecting your natural proportions.
Step 7: Avoid Dark Colors On The Lower Waterline
Many people instinctively trace their lower waterline with black pencil to create drama. Unfortunately, this creates a harsh border that instantly shrinks the overall appearance of the eye. Enclosing the shape in dark pigment serves as a visual boundary. Instead, you should leave the lower waterline completely bare or trace it softly with a nude or flesh-toned pencil. The bright, neutral shade neutralizes redness and blends seamlessly with the whites of your eyes. This simple color swap immediately makes your peepers look twice as large, brilliantly awake, and beautifully refreshed.
Frequently Asked Questions
Can I Wear Black Eyeliner If I Have Small Eyes?
You can certainly wear black, but you must apply it with extreme precision. Using a thick black marker on top of your lids will instantly make your features look much smaller and heavier. If you love a dark finish, stick strictly to the tightlining technique where you push the color directly into the lash roots. Alternatively, you can use black exclusively on the outer third of the lid to create a subtle outward lift without overpowering your face.
Does Liquid Or Pencil Eyeliner Work Better?
Both formulas serve very different and highly useful purposes for this specific shape. A waterproof pencil works flawlessly for tightlining the upper waterlines and filling in gaps between the lashes without making a mess. A liquid pen features a precise, sharp tip that excels at drawing ultra-thin lines across the lid and stamping tiny micro wings at the corners. Keeping both formulas in your makeup bag allows you to combine their strengths for a flawless, long-lasting finish.
Should I Connect The Top And Bottom Eyeliner?
Connecting the upper and lower lines at the outer corner creates a stark, closed-off circle that shrinks your features entirely. You want to leave a tiny gap of bare skin between the top wing and the bottom lash line. This negative space allows the shape to remain open and airy. If you apply color to the lower lash line, keep it extremely soft, smudged, and strictly confined to the outer edge to maintain a lifted, expansive look.
What Color Should I Use On My Waterline?
You should strictly avoid dark browns and blacks on the lower waterline because they create a harsh border. A flesh-toned, nude, or soft cream pencil serves as the absolute best choice for this area. White pencils can sometimes look stark and theatrical, whereas a peach or nude tone blends perfectly with the whites of your eyes. This bright shade neutralizes any redness and creates a stunning optical illusion of rounder, much larger eyes.
How Do I Stop My Eyeliner From Smudging?
Smudging occurs rapidly when your skin naturally produces oil throughout the day. You must prepare your canvas by using a dedicated eyeshadow primer and setting it firmly with a translucent powder before applying any color. Always choose long-wearing, waterproof formulas for both your pencils and liquid pens. Additionally, keeping your lines very thin prevents excess product from transferring into the crease of your eyelid when you blink or look upward.
Conclusion
Enhancing your natural features does not require complicated, heavy makeup routines that hide your face. By focusing on smart placement and precise application, you can easily create the illusion of a much wider, brighter gaze. Embrace techniques like tightlining the roots, avoiding harsh borders on the lower waterline, and utilizing nude pencils for an instant lifting effect. Remembering how to put eyeliner for small eyes guarantees a beautiful, open appearance every single time you sit down at your vanity. Grab your favorite fine-tipped pen, follow these straightforward steps, and confidently show off your stunning, beautifully defined look to the world.
You may read also- How to Make Natural Hair Dye
About the Author
Jane Hubbard is a passionate beauty expert with a wealth of experience in makeup, hair, and overall beauty techniques. After years of working as a hairdresser specialist, she followed her entrepreneurial spirit and started her own consultancy business.
Jane has always been driven by her desire to help others feel confident in their own skin, and she does this by sharing her knowledge, experiences, and practical beauty tips. Through her consultancy, she empowers individuals to embrace their unique beauty, offering tailored guidance that boosts both self-esteem and personal style.
Professional Focus
Specializes in makeup, hairstyling, and beauty consulting.
Provides personalized beauty advice, tips, and techniques to help individuals feel confident in their appearance.
Dedicated to staying up-to-date with the latest industry trends and developments.
Passionate about creating a comfortable and empowering experience for every client.
Education History
University of Craft and Design – Bachelor of Fine Arts (BFA) in Woodworking and Furniture Design
Woodworking Apprenticeships – Extensive hands-on training with skilled craftsmen to refine carpentry and furniture making techniques
Online Courses & Masterclasses – Continued education in advanced woodworking techniques, design principles, and specialized tools
Expertise:
Makeup artistry, hairstyling, and beauty consulting.
Personalized beauty techniques to enhance confidence and self-expression.
Educating clients on how to maintain their beauty routines at home.