
A cold sore has a way of showing up at the least convenient time. Before a meeting. Before a date. Before the photos, you did not ask to be in. Wanting to cover it is understandable. The catch is that a cold sore is not just another dry patch or breakout, and treating it like one can make the area angrier, slower to heal, and easier to contaminate.
That is really the balance this guide is trying to strike. Yes, you may be able to camouflage the spot well enough to feel more comfortable in public. No, every stage of a cold sore is not suitable for makeup, and some “cover it and move on” advice online tends to skip that distinction. If you are careful with hygiene, use disposable tools, and avoid piling on product, you can often reduce how noticeable it looks without creating a bigger problem later. In this guide on how to conceal a cold sore with makeup, we’ll go through each stage and what to consider.
Important Precautions Before Applying Makeup
Hygiene comes first here. Not because it sounds sensible, but because the virus that causes cold sores can spread through contact, and makeup routines are full of contact points: fingers, brushes, sponge tips, lipstick bullets, drawer handles, countertops, the whole little ecosystem. Once a product touches the sore, you should assume it could be contaminated.
So wash your hands before you start, then wash them again when you are done. Use disposable cotton swabs or single-use sponges instead of your usual brushes, especially around the sore itself. That may feel wasteful, admittedly, but it is usually better than risking contamination of the tools you use all over your face. Sharing makeup is a bad idea in general; during a cold sore outbreak, it is an especially clear one to avoid.
One small note of caution: “antibacterial” products are often mentioned in advice like this, but the more practical point is simple handwashing and clean handling. The goal is not perfection. It is reducing the chances that you spread the virus or irritate already damaged skin.
When Should You Avoid Makeup?
Sometimes the safest approach is not to cover the cold sore at all.
If the area is open, leaking fluid, freshly cracked, or bleeding, skip the makeup. At that stage, cosmetics are likely to sit badly anyway, and they may trap residue against broken skin. That can delay healing and may raise the risk of irritation or secondary infection. In plain terms: if it looks wet, raw, or unstable, leave it alone.
You should also pause if the area feels unusually hot, swollen, or painful. That kind of inflammation may suggest the skin needs treatment and rest more than camouflage. A pharmacist or clinician may be able to recommend an antiviral cream or another appropriate product, especially if outbreaks are frequent or severe.
In most cases, makeup is easier—and probably safer—to use once the sore has dried and formed a firm scab, or when it can be covered with a patch without lifting at the edges.
Products You’ll Need
Before you begin, gather what you need so you are not rummaging through drawers with half-done concealer on your face:
- Cotton swabs (Q-tips) or disposable makeup sponges
- Rubbing alcohol, if you need to sanitize tweezers or a metal tool
- A medicated lip balm or a cold sore patch
- A color corrector, usually green for strong redness
- A full-coverage concealer with a matte or soft-matte finish
- Translucent setting powder
- Disposable lip wands, if the sore is close to the lips
You do not need an elaborate kit. In fact, too many products can make the area look thicker and more obvious.
7 Simple Step-by-Step Guidelines on How to Conceal a Cold Sore With Makeup
Step 1: Clean and Prepare the Area
Start with clean, dry skin. Use a mild, fragrance-free cleanser and lukewarm water, then pat—do not rub—the area with a clean paper towel or tissue. That distinction matters. Rubbing can lift the scab, reopen the sore, and undo a day or two of healing in about two seconds.
Once the skin is dry, apply a very thin layer of medicated treatment or protective balm with a fresh cotton swab. Thin is the operative word here. Too much slip under the makeup can make every layer on top slide around. Give it a few minutes to settle. Ten minutes is a reasonable benchmark if the product remains glossy at first.
The aim is not to moisturize the area beyond recognition. It is to create a light buffer so the concealer is not sitting directly on fragile skin.
Step 2: Apply a Protective Cold Sore Patch
If you have a clear cold sore patch and it sits flat on your skin, it may be the easiest option. Many people find that makeup behaves better over a smooth patch than over a textured scab, which tends to catch pigment in uneven ways. A patch can also reduce direct contact between the sore and your makeup products, and that is a meaningful advantage.
Place it carefully over the sore and press down the edges so they lie as flat as possible. If the patch bunches, lifts, or leaves a visible rim, it may not help much cosmetically. In that case, less intervention may actually look better. This is one of those moments where honesty with the mirror matters more than commitment to the process.
Step 3: Color Correct the Redness
Cold sores are often red in a way that ordinary concealer does not fully cancel out. If that redness is pronounced, tap on a very small amount of green corrector using a disposable applicator. Very small. Most people use too much here, then spend the next five minutes trying to cover a pale green halo.
Keep the product concentrated over the reddest part, then soften the edges lightly. Pressing works better than swiping. Swiping tends to drag the layer around and can disturb the surface underneath, especially if a scab has any dryness or uneven texture.
Let that layer set before moving on. If the corrector is still wet, the concealer on top may mix with it and turn patchy.
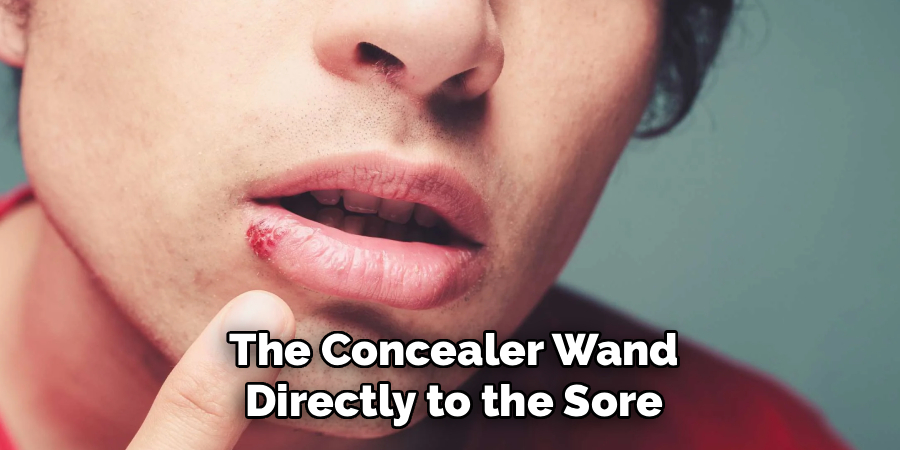
Step 4: Apply a High-Coverage Concealer
Now use a concealer that is close to your skin tone. Matte or soft-matte formulas usually look better than luminous ones here, not because glow is bad in principle, but because shine tends to draw the eye straight to raised texture. And a cold sore, even when well covered, often has at least some texture.
Do not apply the concealer wand directly to the sore. Dispense a little onto the back of your hand or a clean surface, then pick it up with a new disposable applicator. Press it over the area in thin layers. One careful pass is rarely enough, but one thick layer is often worse than two light ones.
This part takes a bit of restraint. If you keep adding product in search of total invisibility, the finish may start to crack or mound up. “Less is more” is overused advice, I know, yet on damaged skin it is often annoyingly true.

Step 5: Set the Concealer with Powder
If you stop at concealer, there is a fair chance it will shift, especially near the mouth, where movement is constant. A small amount of translucent setting powder can help reduce shine and keep the area from slipping apart by midday.
Use a fresh cotton swab or a clean edge of a disposable sponge to press on a light veil of powder. Press, again, is the keyword. Buffing or swirling can move the product underneath. You are not blending your whole face here; you are stabilizing one very specific spot.
Avoid heavy powdering. Too much can exaggerate the crusted texture of a healing sore and make the coverage look chalky rather than discreet.
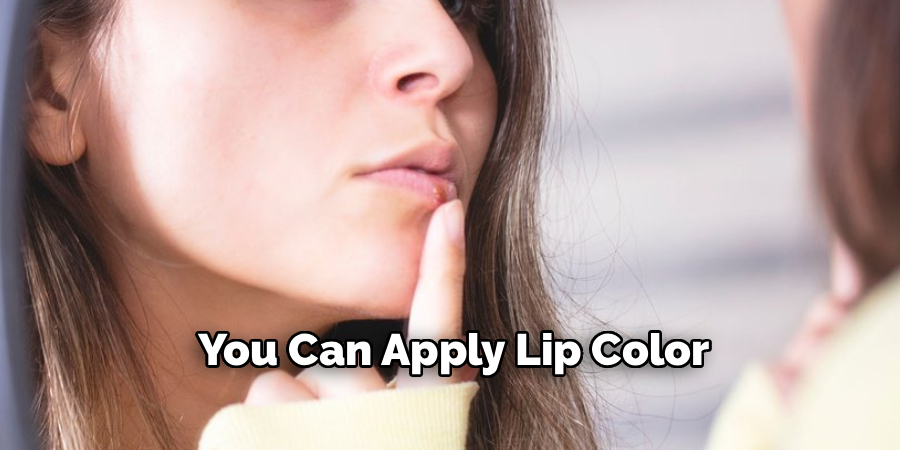
Step 6: Apply Lipstick or Lip Color
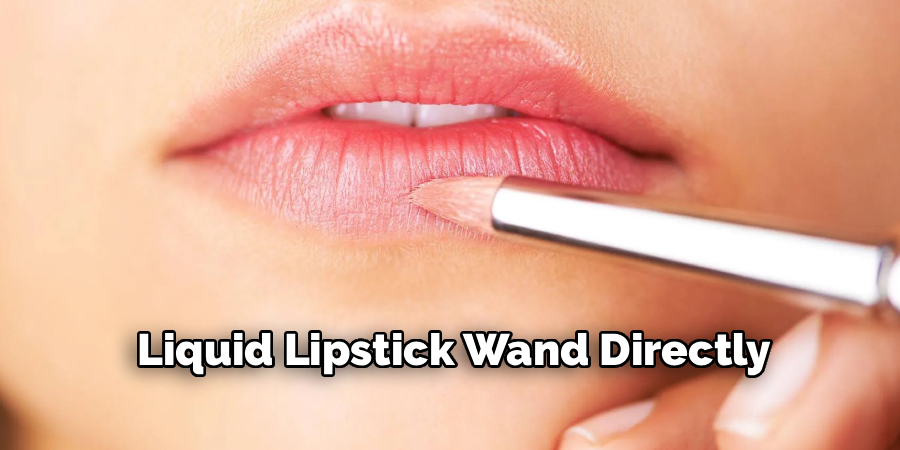
If the sore sits on the lip line or close enough that bare lips make the area stand out more, you can apply lip color—but carefully. Do not use your lipstick bullet or liquid lipstick wand directly on your mouth during an active outbreak. That product may no longer be safe to use later.
Instead, scrape or dab a small amount onto a clean palette or the back of your hand, then apply it with a disposable lip wand. Matte or satin shades usually attract less attention than gloss. Gloss catches light. Light emphasizes texture. That is not a moral failing of gloss; it is just bad timing.
Muted tones also tend to be easier to manage than bright red or hot pink, which can sharpen the eye around the mouth and make irregular edges more noticeable.
Step 7: Final Blending and Cleanup
When you think you are done, step into natural light if possible. Bathroom lighting forgives things daylight does not. Check whether the edges of the concealer fade into your skin or stop abruptly in a visible ring. If needed, soften only the perimeter with a clean swab. Try not to disturb the center.
After that, clean up properly. Close your products, throw away any disposable tools you used on or near the sore, and wash your hands again. It is an unglamorous ending, but it may be the part that matters most for preventing repeat contamination.
Following these steps on how to conceal a cold sore with makeup can help you feel more confident and comfortable while dealing with a cold sore.
Tips for a Natural Look
The most convincing coverage usually comes from thin layers and low shine. Heavy concealer can seem reassuring at first, but as you talk, smile, eat, or simply move your mouth, it may split and collect around the sore. Then the spot looks not only visible, but overworked.
Texture matters as much as color. That is the frustrating truth. You may be able to mute redness quite well, while the raised surface remains slightly noticeable. That is normal. Trying to erase every sign of the sore often makes the makeup itself more obvious.
If you can tolerate a little imperfection, the final result often looks better.
Aftercare
At the end of the day, remove everything gently. Use a mild makeup remover on a cotton pad and press it onto the area before wiping softly away. Do not scrub. Scrubbing can lift the scab, reopen the skin, and leave you right back where you started.
Once the makeup is off, wash your face with a gentle cleanser, pat dry, and apply your usual cold sore treatment. If the skin feels increasingly irritated after wearing makeup, consider skipping coverage the next day. There is no prize for persistence when the area is clearly asking for less interference.
Common Mistakes to Avoid
- Blending with your fingers directly over the sore, which can spread contamination and irritate the skin
- Applying makeup over a blister that is still open or weeping
- Using too much color corrector and creating a visible green cast
- Choosing glossy lip products that emphasize bumps and uneven texture
- Reusing sponges, swabs, or lip applicators after they have touched the area
- Piling on thick layers of concealer in an attempt to make the sore disappear completely
Frequently Asked Questions
Q1: Can makeup make a cold sore worse?
A1: It can, yes—especially if it is applied when the sore is still open or if the products and tools are not handled cleanly. Broken skin is easier to irritate, and contaminated applicators may introduce bacteria or spread the virus to other areas. The makeup itself is not always the problem; the timing and method are usually what make the difference.
Q2: How long should I wait before putting makeup on a cold sore?
A2: In general, wait until the area is dry and no longer weeping. For many people, that means a few days after the cold sore first appears, though timing can vary. If the surface is still raw, makeup is unlikely to sit well and may interfere with healing. A patch, if it adheres properly, may offer a better option during the in-between stage.
Q3: How do I clean my makeup brushes after an outbreak?
A3: The safest move is to avoid using regular brushes on the sore in the first place. If a brush does touch the area, wash it thoroughly with soap and warm water and let it dry completely before reusing it. Some people also sanitize tools with rubbing alcohol when appropriate for the material, though repeated alcohol exposure is not suitable for every brush type. When in doubt, disposable applicators are simpler and lower risk.
Moving Forward with Confidence
Covering a cold sore is possible in some cases, but it works best when the goal is modest: reduce the redness, soften the contrast, and avoid making things worse. That may not sound glamorous, though it is realistic. And realism tends to be more useful than promises of a perfectly flawless finish.
If you keep the area clean, wait for the right stage of healing, use disposable tools, and apply the product with a light hand, you can often make the sore less noticeable while still letting it recover. Sometimes that is enough. More than enough, really. Thanks for reading this guide on how to conceal a cold sore with makeup.
About the Author
Jane Hubbard is a passionate beauty expert with a wealth of experience in makeup, hair, and overall beauty techniques. After years of working as a hairdresser specialist, she followed her entrepreneurial spirit and started her own consultancy business.
Jane has always been driven by her desire to help others feel confident in their own skin, and she does this by sharing her knowledge, experiences, and practical beauty tips. Through her consultancy, she empowers individuals to embrace their unique beauty, offering tailored guidance that boosts both self-esteem and personal style.
Professional Focus
Specializes in makeup, hairstyling, and beauty consulting.
Provides personalized beauty advice, tips, and techniques to help individuals feel confident in their appearance.
Dedicated to staying up-to-date with the latest industry trends and developments.
Passionate about creating a comfortable and empowering experience for every client.
Education History
University of Craft and Design – Bachelor of Fine Arts (BFA) in Woodworking and Furniture Design
Woodworking Apprenticeships – Extensive hands-on training with skilled craftsmen to refine carpentry and furniture making techniques
Online Courses & Masterclasses – Continued education in advanced woodworking techniques, design principles, and specialized tools
Expertise:
Makeup artistry, hairstyling, and beauty consulting.
Personalized beauty techniques to enhance confidence and self-expression.
Educating clients on how to maintain their beauty routines at home.