

We have all been there. A stressful meeting, a beautiful movie, or just an overwhelming day happens, and suddenly, tears are flowing.
While a good cry releases pent-up emotion and genuinely helps your mental health, it leaves behind a frustrating physical aftermath: puffy eyes, blotchy red skin, and makeup running down your cheeks. You do not have to wash everything off and start from scratch. With a few targeted techniques and the right tools, you can easily salvage your look.

This guide on how to fix makeup after crying breaks down exactly how to reset your face, neutralize redness, and restore your makeup so you can step back out feeling confident, refreshed, and put-together.
The Benefits of Mastering the Post-Cry Touch-Up
Knowing how to quickly recover your makeup is an invaluable skill that goes far beyond simple aesthetics. It gives you the power to control your narrative. Sometimes you need to step right back into the office or attend a social event without answering questions about why you were upset. Mastering these techniques buys you privacy and peace of mind.
Furthermore, learning to spot-fix prevents the harsh scrubbing and rubbing involved in a complete makeup removal process. When you cry, your skin becomes incredibly sensitive. Aggressively wiping away ruined foundation and mascara only increases redness and irritation. By knowing how to patch and repair, you protect your delicate skin barrier.
Finally, having a reliable recovery routine saves you massive amounts of time. Re-doing a full face of makeup can take thirty minutes to an hour. A strategic touch-up takes less than ten minutes.
What Will You Need?
To successfully execute these repairs, keep a small emergency touch-up kit on hand. You will need:
- Micellar water or gentle makeup remover
- Cotton swabs (Q-tips) and a few soft tissues
- A cooling item (an ice cube, a cold metal spoon, or cooling eye patches)
- Hydrating facial mist or a lightweight moisturizer
- Color corrector (green for redness, peach/orange for dark circles)
- Cream concealer (matching your skin tone)
- A beauty sponge or a small fluffy blending brush
- Waterproof mascara and your original eyeliner
- Eye drops (specifically formulated to reduce redness)
10 Easy Steps on How to Fix Makeup After Crying
Step 1: Cool Down and Depuff
The first and most critical action you must take involves bringing the temperature of your skin down. Crying dilates the blood vessels around your eyes and nose, leading to the telltale puffiness. Grab a cold metal spoon, an ice cube wrapped in a paper towel, or a cold gel pack. Press it gently against your under-eye area for a few minutes. If you have cooling eye drops, apply one drop to each eye to clear the red vessels in the sclera. Taking deep, steady breaths during this step also lowers your heart rate and physically stops the flushing in your face.

Step 2: Gently Clean Up Smudges
Never wipe your face with a dry tissue, as this smears black mascara into your foundation and creates a muddy gray stain on your skin. Instead, dip a cotton swab into a small amount of micellar water. Carefully roll the swab over the streaked mascara and eyeliner. Work with precision, only removing the makeup that has been ruined. Dab, rather than drag, to lift the pigment off your skin without disturbing the foundation underneath. Keep your movements restricted strictly to the damaged areas to minimize the repair work needed.
Step 3: Rehydrate the Skin
Tears contain a high amount of salt, which instantly dehydrates the delicate skin on your face, leaving it tight and prone to creasing. Before applying any new makeup, you must restore the moisture balance. Lightly spray a hydrating facial mist over the affected areas, or tap a tiny drop of lightweight moisturizer over your under-eyes and cheeks. Let this hydration sink in for thirty seconds. This crucial step prevents your new concealer from catching on dry, salty patches and looking cakey or textured.
Step 4: Neutralize Redness
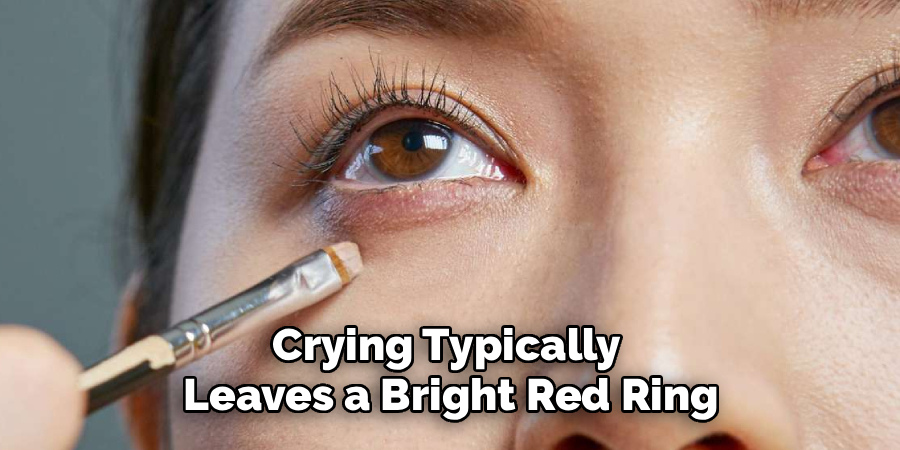
Crying typically leaves a bright red ring around the eyes and a severely flushed nose. If you apply a standard concealer directly over this redness, it will peek through and look muddy. Use the color wheel to your advantage. Take a tiny amount of green color corrector and lightly tap it over the reddest parts of your nose and cheeks. The green cancels out the red instantly. Use a light hand; you only need a sheer wash of color to neutralize the flush before you move on to your actual skin tone coverage.
Step 5: Conceal the Under-Eye Area
With the redness neutralized, it is time to tackle the shadows and puffiness. Choose a creamy, hydrating concealer rather than a matte one, as your skin is already stressed. If you have dark circles that look worse post-cry, use a peach or orange-toned corrector first. Then, apply a thin layer of your matching concealer exactly where the shadow falls—usually right under the puffy bag, not directly on top of it. Highlighting the puffy area only makes it look larger.
Step 6: Blend and Set the Base
Take a slightly damp beauty sponge or your ring finger and gently press the concealer into the skin. Pressing, rather than swiping, ensures you do not move the green corrector underneath. Blend the edges seamlessly into your surviving foundation. Once the cream products look smooth, take a small, fluffy brush and a tiny amount of translucent setting powder. Lightly dust the powder over the concealed areas to lock them in place. Avoid heavy baking, which will emphasize any remaining dehydration or texture.
Step 7: Fix the Eyeliner and Mascara
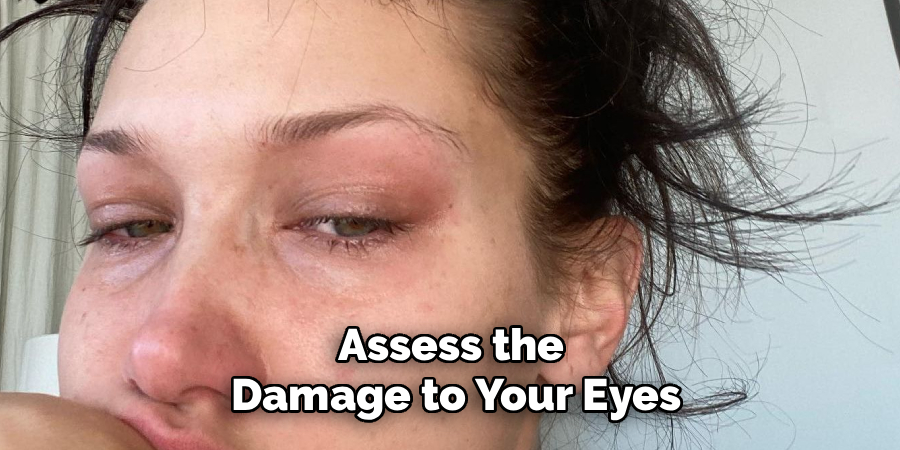
Now that your canvas is even, assess the damage to your eyes. If your eyeliner has skipped or faded, take a sharp pencil or liquid liner and trace only over the gaps. Do not draw a thicker line to compensate; just patch the holes. For your lashes, avoid adding multiple coats of mascara over dried product, which causes clumping. Instead, focus on the tips of the lashes to restore their length, or use a clean spoolie to separate any lashes that have stuck together from the tears.
Step 8: Brighten the Inner Corners
Tears and rubbing naturally cause the inner corners of your eyes to look dark, red, and sunken. This specific area gives away the fact that you have been upset. Take a brightening pencil or a shimmery, champagne-colored powder eyeshadow and press it directly into the inner tear duct area. This brings immediate light back to your eyes, making them appear wide, awake, and clear. This simple trick is one of the most effective ways to fake a fully rested appearance.
Step 9: Reapply Blush and Bronzer
Because you had to remove and rebuild the makeup on your cheeks, your face might look a bit flat or pale in the center. To restore dimension, lightly sweep your bronzer back over the perimeters of your face. Then, apply a touch of blush to the apples of your cheeks. Make sure you use the same color you originally applied. A fresh pop of blush breathes life back into your complexion and disguises any lingering natural flush by making it look intentional.
Step 10: Refresh the Lips and Set
Tears and tissues often ruin lipstick around the edges of the mouth. Wipe away any feathered lip product and reapply your lip color. A hydrating gloss or a tinted lip balm works wonders here, as it distracts from the eyes and adds a healthy, plump look to your face. Finally, spray your entire face with a gentle, hydrating setting spray. This melts all the layers of old and new makeup together, removing any powdery finish and locking your restored look into place.

Frequently Asked Questions
- How Long Should I Wait Before Trying to Fix My Makeup?
You should wait at least five to ten minutes after you have completely stopped crying. Your heart rate needs time to slow down, and your skin needs to stop actively producing tears and heat. Attempting to fix makeup while you are still tearing up will only ruin the new makeup you apply. Taking this short break allows the swelling to begin subsiding naturally. - Can I Just Put Foundation Over My Tear Streaks?
Applying foundation directly over tear streaks is strongly discouraged because tears contain salt. When the salt dries on your skin, it leaves a tight, textured residue that causes new foundation to separate, pill, and look incredibly patchy. You must always wipe away the streaks with micellar water and rehydrate the skin first. This ensures a smooth canvas for the new foundation. - What is the Best Way to Hide Swollen, Puffy Eyelids?
To hide swollen eyelids, avoid applying any light, shimmery eyeshadows on the puffy areas, as shimmer catches the light and emphasizes volume. Instead, apply a matte eyeshadow that is one or two shades darker than your skin tone across the swollen part of the lid. The darker matte shade absorbs light, creating an optical illusion that makes the swelling recede and look much flatter.
Conclusion
Crying is a natural, healthy response to life’s ups and downs, and it should never be something that ruins your entire day or your confidence.
By understanding the chemistry of tears and how they interact with cosmetics, you can easily undo the damage. The key lies in patience: cooling the skin, gently removing the ruined products, and restoring hydration before attempting any cover-up.
Hopefully, this guide on how to fix makeup after crying has given you some useful tips and tricks for dealing with makeup mishaps caused by crying. Happy crying (and makeup fixing)!

About the Author
Jane Hubbard is a passionate beauty expert with a wealth of experience in makeup, hair, and overall beauty techniques. After years of working as a hairdresser specialist, she followed her entrepreneurial spirit and started her own consultancy business.
Jane has always been driven by her desire to help others feel confident in their own skin, and she does this by sharing her knowledge, experiences, and practical beauty tips. Through her consultancy, she empowers individuals to embrace their unique beauty, offering tailored guidance that boosts both self-esteem and personal style.
Professional Focus
Specializes in makeup, hairstyling, and beauty consulting.
Provides personalized beauty advice, tips, and techniques to help individuals feel confident in their appearance.
Dedicated to staying up-to-date with the latest industry trends and developments.
Passionate about creating a comfortable and empowering experience for every client.
Education History
University of Craft and Design – Bachelor of Fine Arts (BFA) in Woodworking and Furniture Design
Woodworking Apprenticeships – Extensive hands-on training with skilled craftsmen to refine carpentry and furniture making techniques
Online Courses & Masterclasses – Continued education in advanced woodworking techniques, design principles, and specialized tools
Expertise:
Makeup artistry, hairstyling, and beauty consulting.
Personalized beauty techniques to enhance confidence and self-expression.
Educating clients on how to maintain their beauty routines at home.