

Taping your eyelids shut might sound like a highly unusual practice, but it serves a vital medical purpose for many people. If you suffer from conditions like Bell’s palsy, facial paralysis, lagophthalmos, or are recovering from specific facial or ocular surgeries, your eyelids may lose their natural ability to close completely.
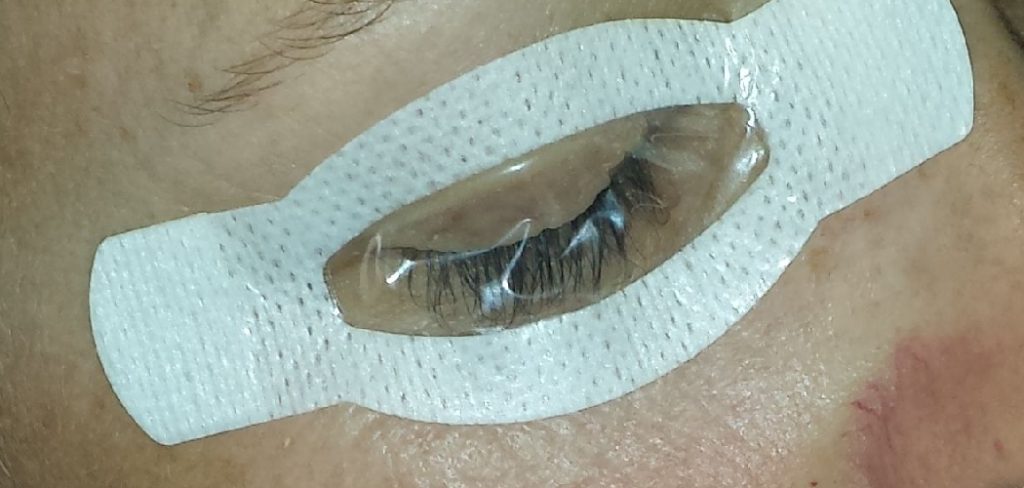
When your eyelids remain even slightly open during sleep, your eyes become exposed to the air. This exposure can quickly lead to severe dry eye, corneal abrasions, and even permanent vision damage. Taping your eyelids shut creates a physical barrier that keeps the eye protected, moist, and safe while you heal or manage your condition.
This comprehensive guide on how to tape eyelids shut will walk you through the entire process of safely taping your eyelids shut.
What Will You Need?
Before you begin, you need to gather the right materials. Using incorrect supplies can cause skin irritation, damage your eyelashes, or fail to keep the eye closed. Gather the following items to create a safe and effective taping kit:
- Hypoallergenic Medical Tape: This is the most critical item. Look for paper tape or specialized silicone-based medical tape. These tapes adhere well to the skin but release gently without tearing the delicate tissue around your eyes. Never use household tape, duct tape, or standard bandages.
- Prescribed Eye Ointment or Drops: Many doctors recommend applying a thick, lubricating eye ointment right before taping. This acts as an extra layer of moisture.
- Sterile Cotton Pads (Optional): Some people prefer to place a small, sterile cotton pad over the closed eyelid before applying the tape. This prevents the tape from sticking directly to the eyelashes.
- A Clean, Well-Lit Mirror: You need to see exactly what you are doing to ensure the tape is placed correctly without scratching the eye.
- Mild Facial Cleanser: You will need to clean your face to ensure the tape sticks properly.
- Clean Scissors: If your medical tape does not tear easily by hand, keep a small pair of clean scissors nearby to cut the tape to the appropriate length.
10 Easy Steps on How to Tape Eyelids Shut
The process of taping your eyelids requires care, patience, and attention to detail. Follow these ten simple steps to ensure you protect your eye safely and effectively every single time.
Step 1: Consult Your Healthcare Provider
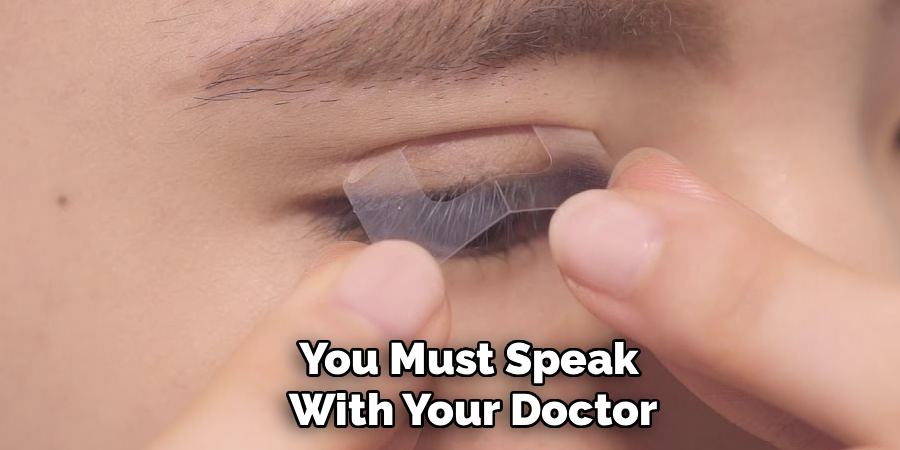
Before you ever apply a piece of tape to your face, you must speak with your doctor. Eye health is incredibly delicate, and improper taping can sometimes cause more harm than good. Your doctor will assess your specific condition, whether it is facial paralysis or post-surgical recovery, and confirm if taping is the right choice for you. They can also recommend specific brands of hypoallergenic tape that work best for sensitive skin. Never start a medical routine without professional guidance, as they may suggest alternative treatments like moisture goggles depending on your exact needs.
Step 2: Gather and Prepare Your Supplies
Set up a clean, organized workspace before you begin. Place your medical tape, scissors, prescribed ointments, and any sterile cotton pads on a clean towel in front of a well-lit mirror. Having everything within arm’s reach prevents you from scrambling for items once your eyes are blurry from ointment or partially taped shut. Preparation reduces anxiety and helps you focus entirely on the delicate task at hand. Keep this kit in a designated spot in your bathroom or bedroom so it is always ready for your nightly routine.
Step 3: Wash Your Hands Thoroughly
Hygiene is absolutely paramount when dealing with your eyes. An infection can severely complicate your recovery and damage your vision. Go to your sink and wash your hands with warm water and antibacterial soap for at least twenty seconds. Scrub under your fingernails, between your fingers, and up to your wrists. Rinse all the soap off completely and dry your hands with a clean, lint-free towel. Never touch your eyes or your medical supplies with unwashed hands, as introducing bacteria to a compromised eye can lead to serious consequences.
Step 4: Clean and Dry Your Face
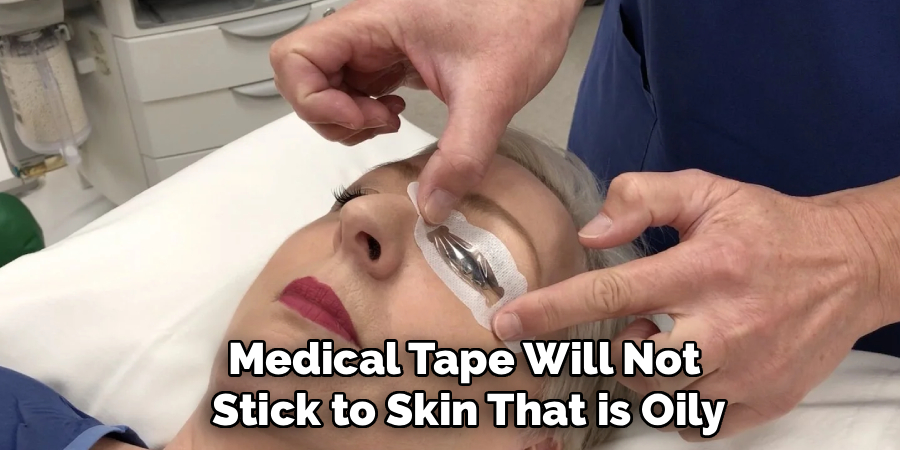
Medical tape will not stick to skin that is oily, sweaty, or covered in makeup. Use a mild, unscented facial cleanser to wash the area around your eyes. Be very gentle; do not scrub the delicate skin of your eyelids. Rinse away all the cleanser with lukewarm water. After washing, gently pat the area completely dry with a clean towel. Ensure there is no residual moisture, as even a small amount of water will cause the tape to lose its adhesive properties and peel off while you sleep.
Step 5: Cut the Tape to the Correct Size
Instead of trying to tear the tape while holding your eye closed, cut your pieces beforehand. You generally need one to three pieces of tape, depending on the method your doctor recommends. Cut the tape into strips that are about one to two inches long. The strips need to be long enough to reach from your upper eyelid to your cheekbone securely. Place these pre-cut strips lightly on the edge of your clean counter so they are ready to grab the moment you need them.
Step 6: Apply Prescribed Ointments or Drops
If your healthcare provider prescribed a lubricating gel, ointment, or specific artificial tears, apply them now. Look up slightly and gently pull down your lower lid to create a small pocket. Squeeze a tiny ribbon of ointment or a drop of liquid into this space, taking care not to touch the tip of the tube to your actual eye. This moisture barrier will sustain your eye throughout the night. Your vision will likely become blurry after applying the ointment, which is why preparing your tape in the previous step is so crucial.
Step 7: Close Your Eyes Naturally
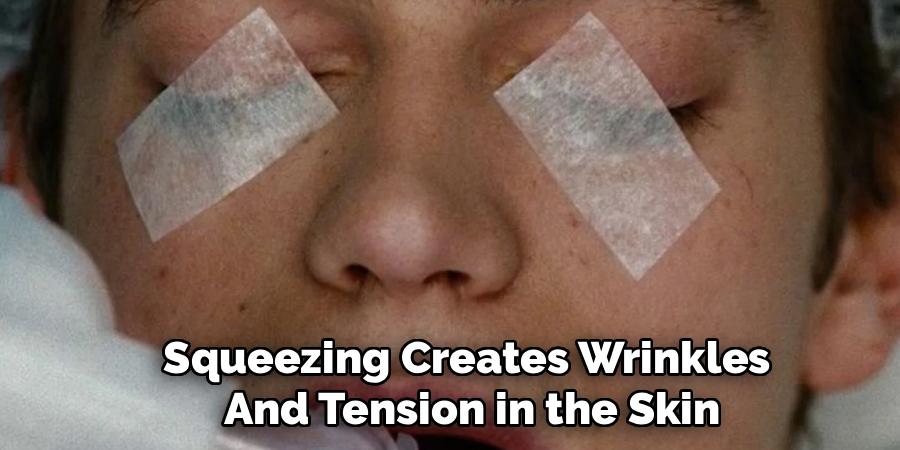
Do not squeeze your eyes tightly shut. Squeezing creates wrinkles and tension in the skin, which will cause the tape to bunch up and eventually pop off. Instead, relax your facial muscles entirely. Use your functional muscles to gently lower your upper eyelid as much as possible, mimicking a natural, relaxed sleeping state. If your eyelid does not close completely on its own, use a clean finger to gently sweep the upper lid downward until the upper and lower eyelashes meet. Keep your face completely relaxed.
Step 8: Apply the First Piece of Tape
With your eye gently held closed, pick up your first strip of tape. Place the top half of the tape securely onto the center of your upper eyelid, right above the eyelashes. Press it down gently so it adheres to the skin. Then, smoothly pull the tape downward and anchor the bottom half onto your cheek. The goal is to hold the upper eyelid down without creating harsh pulling or stretching. Make sure the tape is smoothed out completely so there are no gaps where air can enter.
Step 9: Secure the Lid with Additional Tape
For many people, a single vertical strip of tape is not enough to keep the eye fully sealed throughout the night. If instructed by your doctor, apply a second piece of tape diagonally across the eye to form an “X” shape, or apply a second strip parallel to the first. Ensure that the inner and outer corners of the eyelid are secured and that the eye remains firmly shut. Run your finger lightly over the tape to ensure the adhesive is fully bonded to your clean, dry skin.
Step 10: Gently Remove the Tape When Appropriate
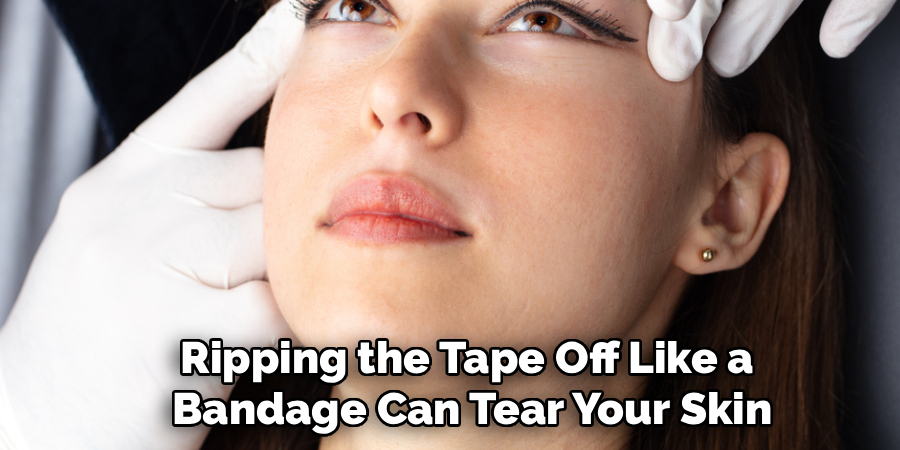
When you wake up, you must remove the tape with extreme care. Ripping the tape off like a bandage can tear your skin and pull out your eyelashes. Moisten a washcloth with warm water and hold it over the taped eye for a minute. The warmth and moisture will soften the adhesive. Slowly peel the tape downward, starting from the eyebrow area toward the cheek, moving in the direction of hair growth. If any sticky residue remains, use a gentle facial cleanser to wash it away.
5 Things You Should Avoid
To ensure your safety and comfort, there are several common mistakes you must avoid when taping your eyelids.
- First, absolutely avoid using non-medical tape. Cellophane tape, masking tape, and duct tape contain harsh adhesives that will rip your skin and cause severe allergic reactions. Always stick to hypoallergenic paper or silicone medical tapes designed specifically for delicate skin.
- Second, avoid placing tape directly over your eyebrows. Eyebrow hair will stick strongly to the adhesive, making removal incredibly painful and likely pulling out your hair. If you must place tape near the brow, you can place a tiny piece of tissue paper between the tape and the hair to prevent sticking.
- Third, avoid stretching your skin tightly. When you apply the tape, your facial muscles should be relaxed. If you pull the skin too taut, the tension will cause the tape to detach as soon as you move your face or roll over in your sleep.
- Fourth, do not tape an eye that feels painful, scratched, or infected without seeing a doctor. If you feel a sharp scratching sensation after closing the eye and applying the tape, your eyelashes might be turned inward, or you may have debris trapped under the lid. Remove the tape immediately and flush the eye.
- Finally, avoid poor hygiene. Never reuse a piece of tape from a previous night, and never skip washing your hands. Reusing tape introduces bacteria to your eye area, increasing your risk of developing conjunctivitis or a corneal infection. Always use fresh, clean supplies.
Conclusion
How to tape eyelids shut is a straightforward yet incredibly powerful way to protect your vision during a medical recovery.
By creating a physical barrier, you shield your delicate cornea from dryness, abrasions, and permanent damage. Remember that preparation and hygiene are just as important as the taping technique itself. Always wash your hands, clean your face thoroughly, and use high-quality hypoallergenic medical tape. While it may take a few nights to get used to the sensation, following these ten detailed steps will ensure you can rest comfortably and safely.
Hopefully, this guide has provided you with all the information needed to properly tape your eyes for medical recovery. Take care of yourself and your eyes, and happy taping!

About the Author
Jane Hubbard is a passionate beauty expert with a wealth of experience in makeup, hair, and overall beauty techniques. After years of working as a hairdresser specialist, she followed her entrepreneurial spirit and started her own consultancy business.
Jane has always been driven by her desire to help others feel confident in their own skin, and she does this by sharing her knowledge, experiences, and practical beauty tips. Through her consultancy, she empowers individuals to embrace their unique beauty, offering tailored guidance that boosts both self-esteem and personal style.
Professional Focus
Specializes in makeup, hairstyling, and beauty consulting.
Provides personalized beauty advice, tips, and techniques to help individuals feel confident in their appearance.
Dedicated to staying up-to-date with the latest industry trends and developments.
Passionate about creating a comfortable and empowering experience for every client.
Education History
University of Craft and Design – Bachelor of Fine Arts (BFA) in Woodworking and Furniture Design
Woodworking Apprenticeships – Extensive hands-on training with skilled craftsmen to refine carpentry and furniture making techniques
Online Courses & Masterclasses – Continued education in advanced woodworking techniques, design principles, and specialized tools
Expertise:
Makeup artistry, hairstyling, and beauty consulting.
Personalized beauty techniques to enhance confidence and self-expression.
Educating clients on how to maintain their beauty routines at home.