

Spilling brightly colored nail polish on your bare cement floor or driveway can feel like a permanent disaster. Cement is highly porous, meaning it quickly absorbs liquids, allowing the pigments to settle deep into the surface. However, you can completely remove these stubborn stains with the right approach and a bit of elbow grease.

This guide provides a comprehensive walkthrough on safely lifting nail polish from concrete surfaces. We will cover the tools you need, the exact steps to follow, and the common mistakes you must avoid.
By the end of this article on how to get nail polish off cement, you will have all the knowledge required to restore your cement to its original, spotless condition.
What Will You Need?
Gathering your supplies beforehand ensures you can act quickly and efficiently. You will need the following items to complete this task safely:
- Chemical solvent: Acetone or a high-acetone nail polish remover.
- Absorbent material: Paper towels, clean cotton rags, or an old t-shirt.
- Scraping tool: A plastic putty knife or an old credit card.
- Scrubbing tool: A stiff-bristled nylon brush (never use metal wire brushes).
- Cleaning solution: Mild dish soap mixed with warm water.
- Safety gear: Heavy-duty rubber gloves, safety goggles, and a face mask.
- Protective covering: Painter’s tape and plastic sheeting to protect surrounding areas.
10 Easy Steps on How to Get Nail Polish Off Cement
Removing nail polish from porous surfaces requires patience and a methodical approach. Follow these ten detailed steps to safely and effectively lift the stain without damaging your cement.
Step 1: Act Quickly and Assess the Spill
The moment the spill occurs, evaluate the size and state of the polish. If the polish is still wet, you have a major advantage. Quickly grab a highly absorbent paper towel and gently blot the surface to lift as much liquid as possible. Do not wipe or rub the wet polish, as this will aggressively push the bright pigments deeper into the porous cement. Lift straight up with your towel and discard it immediately. If the polish has already dried, skip the blotting and focus on evaluating the thickness of the dried puddle to determine how much scraping will be required.

Step 2: Put on Your Safety Gear
Acetone and heavy-duty nail polish removers emit strong fumes that can irritate your respiratory system and eyes. Before opening any chemical solvents, put on your safety goggles, a protective face mask, and a pair of thick rubber gloves. Ensure the area is properly ventilated by opening nearby windows, opening the garage door, or turning on an industrial fan. Protecting your skin and lungs is a crucial part of this process, especially since you will be working closely with the chemicals for an extended period. Never skip this vital safety preparation phase.
Step 3: Carefully Scrape Away Excess Dried Polish
If you are dealing with a dried stain, your first physical intervention is to remove the top layer of the hardened polish. Take your plastic putty knife or an old, stiff plastic card and hold it at a 45-degree angle against the cement. Apply firm, steady pressure to chip away the raised portions of the polish. Keep your strokes short and controlled to avoid slipping. The goal here is to reduce the thickness of the stain, which allows your chemical solvent to penetrate the remaining polish much faster. Sweep up and discard the dried flakes immediately.

Step 4: Protect the Surrounding Area
Cement surfaces often feature sealants, painted borders, or nearby baseboards that can be severely damaged by harsh solvents like acetone. Take a few minutes to apply painter’s tape around the perimeter of the stain. If the spill is near a wall or a piece of fixed furniture, lay down a small piece of plastic sheeting and secure it with tape. Creating this protective barrier ensures that your heavy-duty cleaning efforts remain localized. It prevents the solvent from running off and creating a larger secondary mess that you will have to fix later.
Step 5: Apply the Acetone or Solvent
Now it is time to break down the chemical bonds of the stubborn polish. Saturate a clean cotton rag or a thick paper towel with pure acetone. Place the soaked rag directly over the remaining nail polish stain, ensuring it covers the entirety of the discolored area. Press down firmly so the liquid makes direct contact with the concrete pores. Do not simply pour the acetone directly from the bottle onto the floor, as it will spread rapidly and evaporate before it has a chance to soften the paint. Using a saturated cloth keeps the solvent concentrated.
Step 6: Let the Solvent Dwell
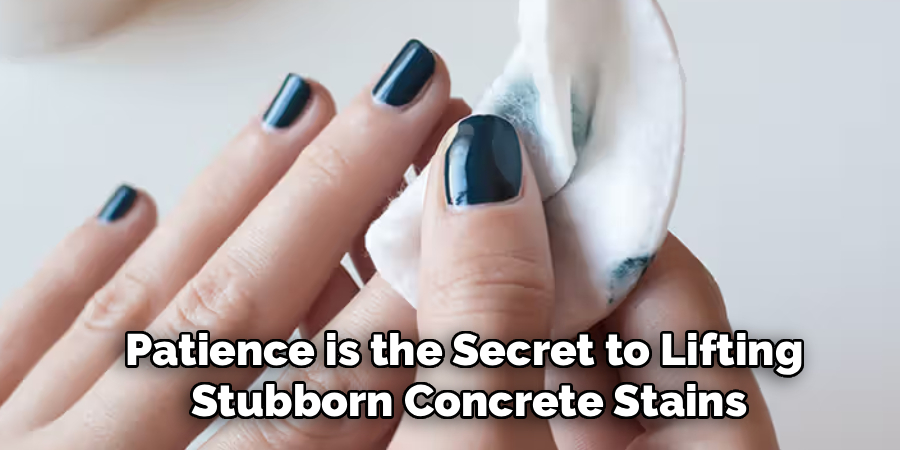
Patience is the secret to lifting stubborn concrete stains. Leave the acetone-soaked rag sitting perfectly still on top of the stain for about three to five minutes. Concrete is highly porous, and the solvent needs adequate time to seep into the tiny crevices and dissolve the hardened resins in the nail polish. If you are working outside on a hot day, the acetone might evaporate quickly. Keep a close eye on the rag, and apply a few more drops of solvent to the top of the cloth if it begins to feel dry before the dwell time is up.
Step 7: Scrub Vigorously with a Nylon Brush
Remove the rag and immediately pick up your stiff-bristled nylon brush. While the polish is still soft and wet from the acetone, scrub the stained area using tight, circular motions. Apply significant downward pressure to work the bristles into the microscopic pits of the cement. As you scrub, you will see the polish begin to liquify and transfer onto the brush. Work quickly during this phase, as acetone evaporates rapidly, and the polish can easily re-harden if left alone. Focus intensely on the darkest parts of the stain to ensure even removal.
Step 8: Wipe Away the Dissolved Polish
As the scrubbing lifts the polish out of the cement, it will create a messy, colored slurry on the surface. Take a fresh, clean paper towel or an old cloth and firmly wipe away this loosened material. Always wipe from the outside edges of the stain toward the center to prevent the color from spreading outward. Check your progress once the area is wiped clean. If a faint shadow of the color remains, you will need to repeat Steps 5 through 8. Apply more acetone, let it sit, scrub again, and wipe until the color is completely gone.
Step 9: Wash the Area with Soapy Water
Once the nail polish is entirely removed, you must neutralize the area and clean up any residual chemicals. Mix a few drops of mild liquid dish soap into a bucket of warm water. Dip a clean rag or a fresh scrub brush into the soapy water and thoroughly wash the spot where the stain used to be. This step removes the lingering acetone, breaks down any remaining oils, and lifts away the last microscopic traces of the polish slurry. Cleaning the area thoroughly ensures no chemical residue is left behind to degrade the concrete over time.
Step 10: Rinse and Dry the Concrete
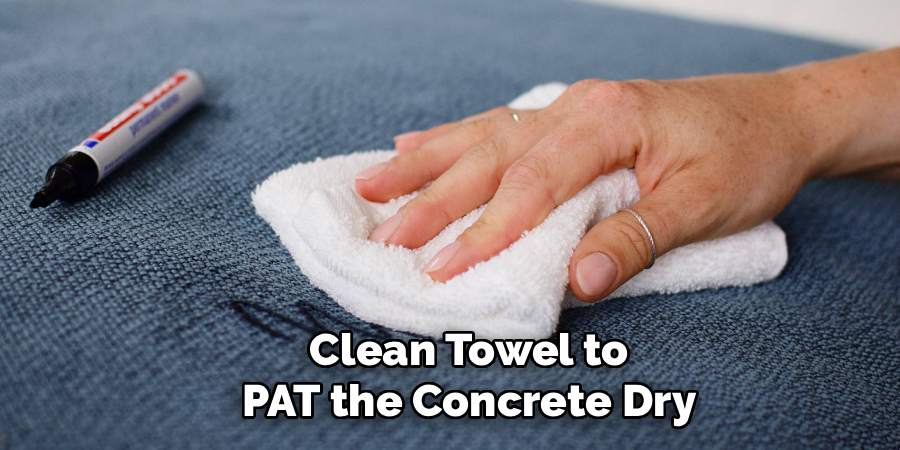
The final step is to remove the soapy residue and inspect your work. Pour clean, cool water over the washed area to rinse away all the suds. Use a dry, clean towel to pat the concrete dry, absorbing as much moisture as possible. Allow the area to air dry completely for a few hours. Once the cement returns to its normal light gray color, inspect the spot closely under good lighting. The surface should look uniform and entirely free of color, marking the successful completion of your concrete restoration project.
Frequently Asked Questions
- Can I Use Non-acetone Nail Polish Remover on Cement?
Non-acetone removers are generally too weak to dissolve polish that has cured into porous cement. While they might work slightly on very fresh, surface-level spills, they lack the chemical strength needed for deep extraction. You will likely spend hours scrubbing with minimal results. Pure acetone is highly recommended for porous surfaces because it breaks down the resins quickly. Save your non-acetone removers for your actual fingernails or delicate indoor surfaces. - Will Acetone Damage My Concrete Driveway or Garage Floor?
Pure acetone is safe to use on bare, unsealed concrete and will not degrade the structural integrity of the cement. However, if your floor is painted, dyed, or sealed with an epoxy coating, acetone will eat right through that finish. You should always test a small, hidden corner of your floor with acetone before applying it to a massive stain. If you accidentally strip the sealant while cleaning the polish, you will need to reapply a concrete sealer to that specific patch. - What Should I Do if the Stain Leaves a Permanent Shadow?
Sometimes brightly colored red or dark blue polishes leave a faint shadow even after rigorous cleaning. You can try applying a commercial poultice powder mixed with acetone to draw out the deepest pigments overnight. If the stain remains entirely unyielding, you might need to try a stronger commercial concrete degreaser or paint stripper. In extreme cases where the aesthetic is ruined, lightly sanding the concrete surface or applying a fresh coat of garage floor paint can hide the shadow.
Conclusion
Removing nail polish from cement requires quick thinking, the right chemical solvents, and a structured cleaning approach.
By acting fast, utilizing pure acetone, and employing a stiff nylon brush, you can successfully draw those stubborn pigments out of the porous surface. Always prioritize your safety by wearing gloves and working in a well-ventilated area.
With this comprehensive guide on how to get nail polish off cement, you can confidently tackle accidental spills and keep your driveways, patios, and garage floors looking perfectly clean.

About the Author
Jane Hubbard is a passionate beauty expert with a wealth of experience in makeup, hair, and overall beauty techniques. After years of working as a hairdresser specialist, she followed her entrepreneurial spirit and started her own consultancy business.
Jane has always been driven by her desire to help others feel confident in their own skin, and she does this by sharing her knowledge, experiences, and practical beauty tips. Through her consultancy, she empowers individuals to embrace their unique beauty, offering tailored guidance that boosts both self-esteem and personal style.
Professional Focus
Specializes in makeup, hairstyling, and beauty consulting.
Provides personalized beauty advice, tips, and techniques to help individuals feel confident in their appearance.
Dedicated to staying up-to-date with the latest industry trends and developments.
Passionate about creating a comfortable and empowering experience for every client.
Education History
University of Craft and Design – Bachelor of Fine Arts (BFA) in Woodworking and Furniture Design
Woodworking Apprenticeships – Extensive hands-on training with skilled craftsmen to refine carpentry and furniture making techniques
Online Courses & Masterclasses – Continued education in advanced woodworking techniques, design principles, and specialized tools
Expertise:
Makeup artistry, hairstyling, and beauty consulting.
Personalized beauty techniques to enhance confidence and self-expression.
Educating clients on how to maintain their beauty routines at home.