
Removing nail strengthener properly is essential to maintaining the health and appearance of your nails. Improper removal can lead to damage, brittleness, or peeling, which can undermine your nail care efforts. With the right techniques and tools, the process can be simple, efficient, and gentle on your nails. This guide will walk you through the best methods for how to remove nail strengthener.
What Are Nail Strengtheners?
Nail strengtheners are specially formulated products designed to enhance the durability and resilience of your natural nails. They often contain ingredients like proteins, vitamins, and minerals to promote healthy nail growth and minimize brittleness. Nail strengtheners work by creating a protective layer over the nail surface, preventing splitting, peeling, and breaking. Some formulas also include moisturizing agents to combat dryness and restore flexibility. These products are particularly beneficial for individuals with weak, thin, or damaged nails, providing both immediate defense and long-term nourishment for healthier nails.
Types of Nail Strengtheners
Nail strengthener diy come in various forms, each designed to address specific nail concerns. The most common types include:
- Hardening Strengtheners – These products are formulated to make the nails harder and more resistant to breakage. They often contain ingredients like calcium or formaldehyde to enhance durability, making them suitable for individuals with soft nails prone to bending.
- Moisturizing Strengtheners – Ideal for dry and brittle nails, these strengtheners are infused with hydrating ingredients such as keratin, aloe vera, or vitamin E. They work to restore moisture and improve the flexibility of the nails.
- Protein-Based Strengtheners – These formulas typically include hydrolyzed proteins or peptides to reinforce the nail’s natural structure. They are especially effective for repairing weak, thin, or damaged nails over time.
- Treatment Polishes – These multitasking strengtheners combine nail care with an aesthetic appeal by providing a glossy finish. They deliver nourishment to the nails while enhancing their appearance.
- Natural or Organic Strengtheners – For those seeking chemical-free options, natural strengtheners made with plant-based ingredients can help improve nail health without artificial additives or harsh chemicals.
Selecting the right type of nail strengthener depends on the specific needs of the nails, ensuring targeted care and optimal results.
Tools and Materials You’ll Need
To properly apply and maintain nail strengtheners, having the right tools and materials is essential. Here’s what you’ll need:
- Nail File – A quality nail file helps shape and smooth the edges of your nails, creating an even surface for the strengthener to adhere to.
- Cuticle Pusher – This tool allows you to gently push back your cuticles, ensuring a clean and polished appearance.
- Nail Buffer – Buffing your nails lightly can improve the strengthener’s adhesion and create a glossy finish.
- Cotton Pads or Balls – Useful for cleaning the nails with a gentle nail polish remover before application.
- Non-Acetone Nail Polish Remover – A non-drying remover ensures nails are clean and free from oils or residues.
- Base Coat (Optional) – For additional protection or as part of a multi-step routine, a base coat can provide added benefits.
- The Nail Strengthener of Your Choice – Based on your needs, choose a strengthener from the types outlined earlier.
Having these tools and materials on hand will help you achieve the best results while maintaining strong, beautiful nails.
10 Methods How to Remove Nail Strengthener
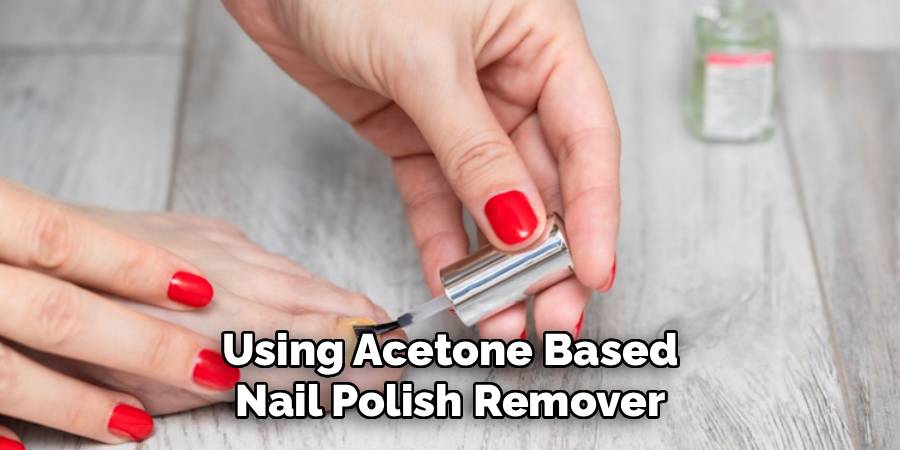
1. Using Acetone-Based Nail Polish Remover
The most common and effective method for removing nail strengthener is an acetone-based nail polish remover. Acetone penetrates the nail’s surface and dissolves the hardened layer, allowing it to be wiped away. Begin by soaking a cotton ball with acetone, place it on the nail, and wrap the fingertip in aluminum foil for ten to fifteen minutes. After soaking, gently wipe the nail clean. This method is particularly effective for thick, stubborn nail strengtheners but should be followed with moisturizing treatment, as acetone can be drying to nails and cuticles.
2. Non-Acetone Remover for Gentle Removal
For those with sensitive or brittle nails, non-acetone removers offer a less harsh alternative. These removers often contain ethyl acetate or other solvents that dissolve nail strengtheners more gently. Apply with a cotton pad, hold it against the nail for several minutes, and rub gently to remove the product. Although this method may take longer than acetone, it reduces the risk of excessive drying and is suitable for frequent use or for nails that are already compromised.
3. Soaking Nails in Warm Soapy Water
Soaking nails in warm soapy water is a gentle, chemical-free method for softening and loosening nail strengthener. Fill a small bowl with warm water and a few drops of mild soap, then immerse the nails for ten to fifteen minutes. After soaking, use a soft nail brush or an orangewood stick to gently lift and remove the softened nail strengthener. This method is ideal for individuals with sensitive skin or those who prefer natural alternatives, though it may require more time and patience.
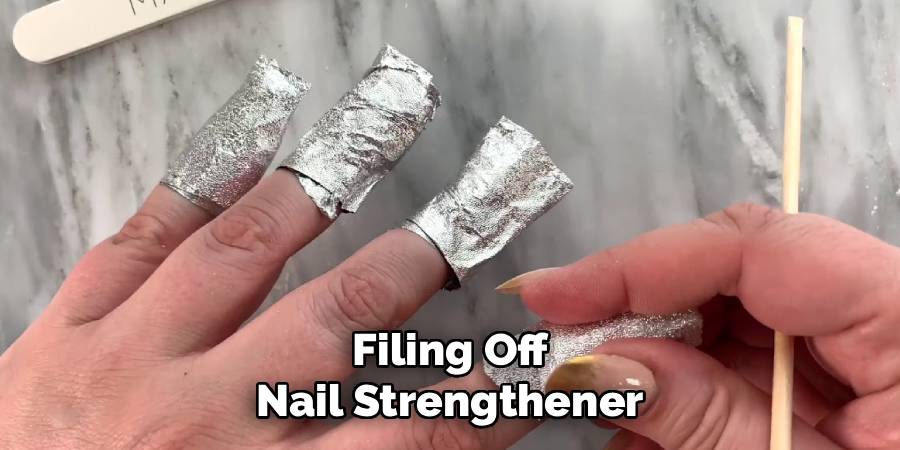
4. Filing Off Nail Strengthener
Mechanical removal with a nail file or buffer can be used in combination with other methods to remove stubborn nail strengthener. Using a fine-grit file, gently buff the surface of the nail to break down the hard coating. Take care not to file aggressively, as this can thin the nail and cause damage. This method works best when used after soaking or applying a remover, allowing for easier removal without excessive abrasion.
5. Using the Foil Method for Stubborn Coatings
For thick, long-lasting nail strengtheners, the foil method ensures more effective removal. Soak cotton balls in acetone, place them over each nail, and wrap the fingertips in aluminum foil for ten to twenty minutes. The foil traps heat and moisture, helping the acetone penetrate the nail strengthener and soften it. Once removed, gently wipe the nails with a cotton pad. This method is highly effective for removing multiple layers or particularly resilient formulas.
6. Employing a Cuticle Pusher or Orangewood Stick
After softening the nail strengthener with remover or soaking, use a cuticle pusher or orangewood stick to gently lift the edges of the coating. Work carefully from the base toward the tip, avoiding excessive pressure that could damage the nail surface. This method is ideal for precision removal, ensuring that the nail is clean without leaving residue or scratches. It also allows for detailed work around cuticles and edges that may be harder to reach.
7. Using a Nail Strengthener Remover Pen
Some cosmetic brands offer remover pens specifically designed for nail strengtheners. These pens contain a solvent that targets the strengthener without harming the natural nail. Apply the solution along the edges and surfaces of the nail, letting it penetrate for a few minutes, then wipe away. This method is convenient, precise, and reduces the risk of accidental contact with skin, making it suitable for home or on-the-go use.
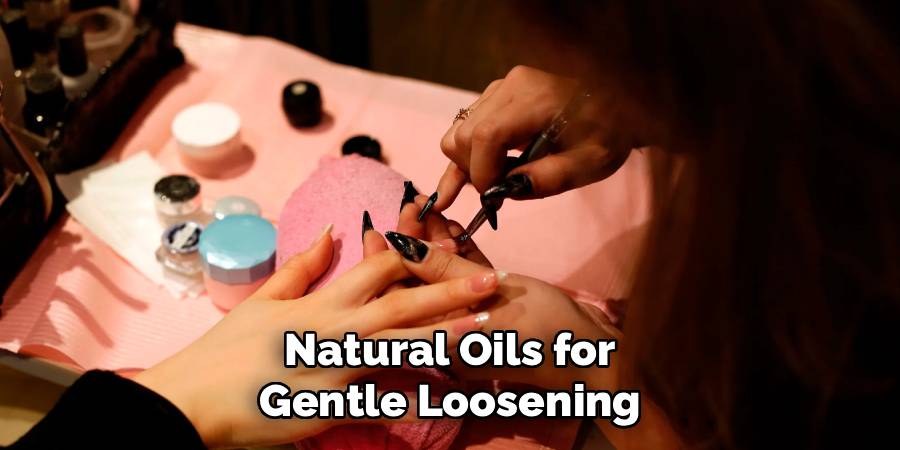
8. Natural Oils for Gentle Loosening
Natural oils such as olive oil, coconut oil, or cuticle oil can help loosen nail strengtheners gradually while nourishing the nail and surrounding skin. Apply the oil generously to the nails and cuticles, massage for a few minutes, then let it sit for ten to fifteen minutes. Gently buff or wipe the nail to remove the softened coating. While slower than chemical removers, this method is highly beneficial for nails that are weak or sensitive, providing hydration as well as gentle removal.
9. Steam Method for Softening
The steam method uses warm steam to soften the nail strengthener for easier removal. Boil water in a small pot, then carefully hold the fingertips over the steam for five to ten minutes. The heat and moisture help relax the hardened coating, making it easier to remove with a nail file, orangewood stick, or cotton pad. This method is chemical-free and can be combined with gentle filing or oil application to enhance effectiveness.
10. Following Up with Moisturization and Nail Care
Regardless of the removal method, it is essential to follow up with proper nail care. Wash hands thoroughly, apply a nourishing cuticle oil, and use a hydrating hand cream or nail serum. Strengtheners often contain chemicals that, while beneficial for growth, can leave nails slightly dry after removal. This final step restores moisture, strengthens nails, and prevents peeling or brittleness, ensuring that nails remain healthy and prepared for the next application or natural growth.
Conclusion
Removing nail strengthener requires a combination of effective techniques, patience, and careful nail care. Acetone-based and non-acetone removers are the most common methods, while soaking, filing, and the foil method offer additional solutions for stubborn or multiple layers. Precision tools like cuticle pushers, orangewood sticks, and remover pens ensure thorough removal without damaging the nail surface. Natural oils and steam provide gentle alternatives for sensitive or weakened nails, combining removal with hydration. Following up with proper moisturization and nail care completes the process, keeping nails healthy, strong, and ready for future applications. Be sure to follow all instructions on how to remove nail strengthener carefully, and always consult an expert when in doubt.
About the Author
Jane Hubbard is a passionate beauty expert with a wealth of experience in makeup, hair, and overall beauty techniques. After years of working as a hairdresser specialist, she followed her entrepreneurial spirit and started her own consultancy business.
Jane has always been driven by her desire to help others feel confident in their own skin, and she does this by sharing her knowledge, experiences, and practical beauty tips. Through her consultancy, she empowers individuals to embrace their unique beauty, offering tailored guidance that boosts both self-esteem and personal style.
Professional Focus
Specializes in makeup, hairstyling, and beauty consulting.
Provides personalized beauty advice, tips, and techniques to help individuals feel confident in their appearance.
Dedicated to staying up-to-date with the latest industry trends and developments.
Passionate about creating a comfortable and empowering experience for every client.
Education History
University of Craft and Design – Bachelor of Fine Arts (BFA) in Woodworking and Furniture Design
Woodworking Apprenticeships – Extensive hands-on training with skilled craftsmen to refine carpentry and furniture making techniques
Online Courses & Masterclasses – Continued education in advanced woodworking techniques, design principles, and specialized tools
Expertise:
Makeup artistry, hairstyling, and beauty consulting.
Personalized beauty techniques to enhance confidence and self-expression.
Educating clients on how to maintain their beauty routines at home.