

You finally reach for your favorite matte shade for a night out, only to find the formula has turned into a cracked, unusable solid inside the tube. Few things feel more frustrating than losing a beloved makeup product before you even finish it.
Instead of throwing away your expensive cosmetics, you can easily revive them right at home.
This comprehensive guide will walk you through exactly how to fix dry liquid matte lipstick. You will learn the hidden culprits behind formula dry-out, gather the exact tools you need for the rescue mission, and follow ten simple steps to restore your lipstick to its original smooth, velvety perfection.
What Are the Causes?
Understanding why your lipstick dries out helps you prevent the problem in the future. Liquid matte formulas rely on volatile ingredients that evaporate quickly upon application, leaving behind that transfer-proof finish. When these ingredients evaporate inside the tube, the pigment turns hard and crumbly.
Several factors speed up this evaporation process. Leaving the cap slightly loose allows air to seep in, continuously drying out the product. Pumping the applicator wand in and out of the tube forces air down into the formula. Extreme temperature changes, especially exposure to heat or direct sunlight, can separate the ingredients and ruin the texture. Finally, every makeup product has a shelf life. If your lipstick is older than 12 to 18 months, the natural breakdown of the chemical formula might be causing the dryness.
What Will You Need?
Before you begin the revival process, gather your supplies. You likely already have most of these items in your house.
- A small bowl or mug
- Hot (but not boiling) water
- A hydrating agent (Inglot Duraline, pure aloe vera gel, or a cosmetic-grade oil like jojoba, almond, or coconut oil)
- A clean toothpick or a thin makeup spatula
- Paper towels or tissues
10 Easy Steps on How to Fix Dry Liquid Matte Lipstick
Follow these steps carefully to bring your favorite makeup product back to life without ruining its matte finish.
Step 1: Assess the Damage
Begin by checking how dry the lipstick has become before trying to fix it. Pull out the wand and look closely at the texture on the applicator and around the inside of the tube. If the formula still looks smooth but feels slightly thicker than usual, the dryness is mild and can often be corrected with gentle warming alone or just a tiny amount of rehydrating agent.
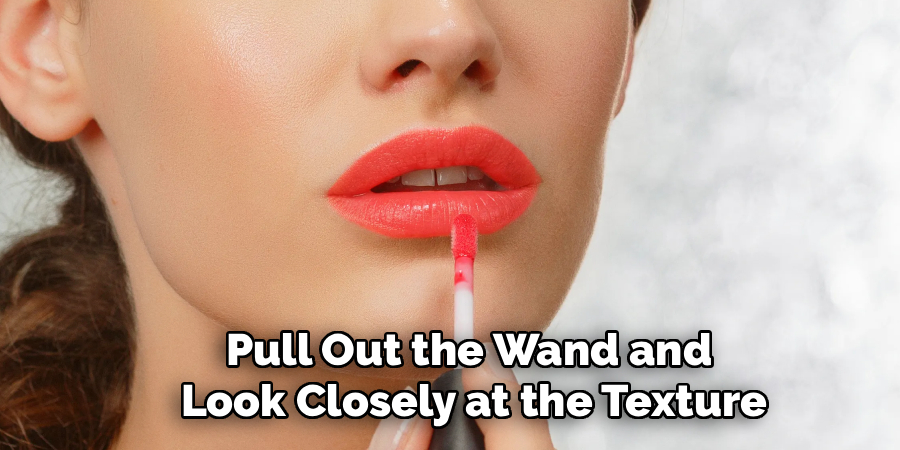
If the lipstick appears clumpy, uneven, or begins to drag when swatched on your hand, it is moderately dry and will likely need both heat and a small added drop of product to loosen it properly. In more severe cases, the lipstick may look cracked, hardened, or separated, and you may notice that the product has pulled away from the sides of the tube or formed a stiff mass at the bottom. This level of dryness requires a more careful approach with warming, gradual mixing, and very small additions of a suitable hydrating agent.
Step 2: Prepare a Warm Water Bath
Fill a mug or small bowl with hot water, making sure it is warm enough to soften the dried formula without damaging the tube. The ideal temperature is generally between 120°F and 140°F, which is hot to the touch but not boiling. If you do not have a thermometer, let freshly heated water sit for a minute or two before using it, or mix a little cool water into very hot tap water to bring the temperature down.
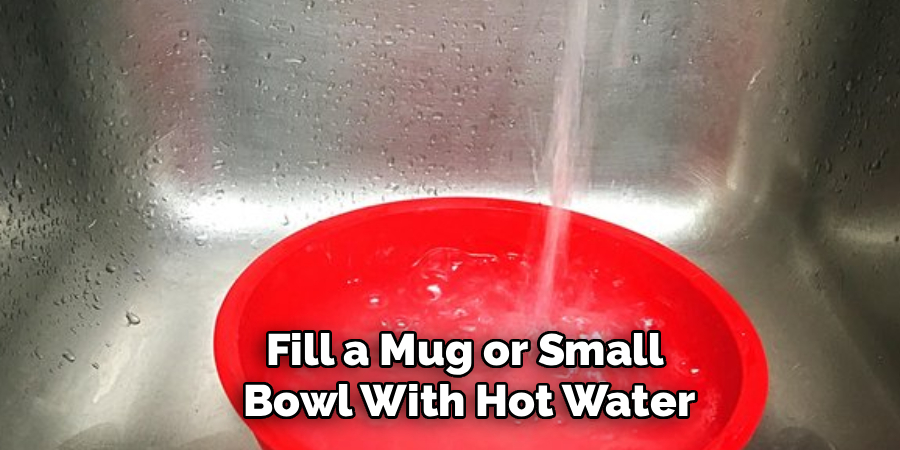
Avoid boiling water completely, since excessive heat can warp plastic packaging, loosen the seal, or affect the texture and performance of the lipstick itself. Choose a container deep enough to hold the tube upright but not so full that water risks reaching the cap. To maintain the right conditions, place the bowl on a stable surface away from direct sunlight or drafts, and if the water cools too quickly, replace it with a fresh batch of warm water rather than reheating the tube in overly hot water.
Step 3: Submerge the Tube
Tightly seal the cap of your lipstick to prevent any water from getting inside. Place the closed tube upright into the hot water bath. Let it sit for about 10 to 15 minutes. This gentle heat helps loosen the hardened formula clinging to the sides of the packaging.
Step 4: Choose Your Rehydrating Agent
Select your reviving liquid carefully. Inglot Duraline is a makeup artist favorite because it restores cosmetics without changing their finish. If you prefer a natural route, pure aloe vera gel adds moisture without adding grease. You can also use a lightweight oil like jojoba, but use it sparingly to avoid turning your matte lipstick into a gloss.
Step 5: Start With a Single Drop
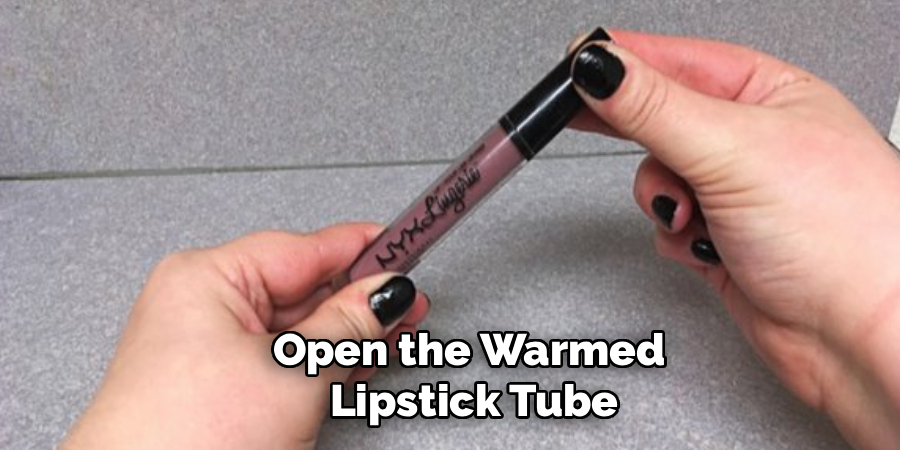
Open the warmed lipstick tube. Carefully add just one or two drops of your chosen hydrating agent. You can always add more later, but you cannot take it out once it mixes with the pigment. If you are using a brush, use it to blend the hydrating agent with the lipstick until it reaches your desired consistency.
Step 6: Stir the Mixture Carefully
Take a clean toothpick or a thin, sterile makeup spatula and insert it into the tube. Gently stir the formula, scraping the sides to mix the hardened pigment with the new hydrating drops. Work slowly so you do not break the toothpick inside the tube.
Step 7: Shake the Tube Vigorously
Remove your stirring tool and tightly screw the wand back onto the tube. Shake the lipstick vigorously for at least one minute. The internal friction will blend the hydrating agent completely into the pigment, smoothing out any remaining clumps.
Step 8: Test the Consistency
Pull the applicator wand out and swipe a small amount of the lipstick onto the back of your clean hand. Observe the texture and the pigmentation. It should apply smoothly without dragging across your skin, and the color should look opaque and vibrant.
Step 9: Adjust the Formula if Needed
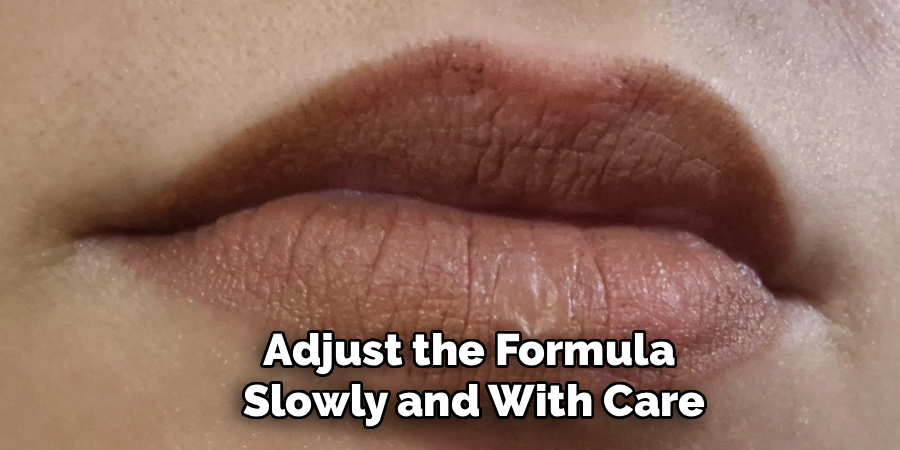
If the lipstick still feels stiff, skips during application, or drags across your skin, adjust the formula slowly and with care. Add only one small drop of your chosen hydrating agent at a time, then stir thoroughly, close the tube, shake it well, and test it again on the back of your hand. The right consistency should feel smooth, spread evenly, and deliver rich color without looking watery, overly shiny, or thin. If the lipstick applies with a soft, creamy glide but still keeps its matte character, you are close to the ideal texture.
Step 10: Store Properly for the Future
Wipe the threads of the tube clean with a tissue so the cap can form an airtight seal. Store your newly revived lipstick in a cool, dry place away from direct sunlight. Make sure to close it tightly after every single use to lock the moisture inside. Remember to check the lipstick periodically for any changes in smell, texture or color. If you notice any signs of mold, bacteria growth or discoloration, it is time to discard your beloved lipstick and invest in a new one.
5 Things You Should Avoid
- Never Use Water Inside the Tube: Adding plain water breeds bacteria and ruins the oil-and-wax balance of the formula.
- Avoid Pumping the Wand: Scraping the wand around the inside of the rim is fine, but pushing it in and out forces air into the product.
- Do Not Overdo the Oil: Adding too much oil breaks down the transfer-proof ingredients, making your lipstick bleed and smear during wear.
- Never Use Saliva: Spitting into your makeup introduces harmful bacteria that can cause severe lip and mouth infections.
- Stop Using Expired Products: If the lipstick smells like crayons, sour milk, or chemicals, throw it away immediately, as the ingredients have gone bad.
Frequently Asked Questions
- Can I Use Water to Fix My Dry Liquid Lipstick?
You should never put water directly into the formula.
Water encourages dangerous mold and bacterial growth inside the tube.
It also separates from the waxes and oils in the cosmetic base.
This separation permanently ruins the texture and pigmentation.
Instead, strictly use cosmetic mixing mediums or lightweight oils. - How Long Does a Revived Liquid Matte Lipstick Last?
A successfully revived lipstick usually buys you a few more months of use.
The exact timeline depends on the rehydrating agent you chose to add.
Products fixed with aloe vera gel tend to dry out again relatively quickly.
Using a professional mixing medium provides the longest-lasting results.
Always monitor the smell and texture to ensure it has not expired. - Is It Safe to Use Eye Drops in My Lipstick?
Many beauty enthusiasts use eye drops to revive dry mascara safely.
However, eye drops do not mix well with heavy matte lipstick formulas.
The saline solution clashes with the dense waxes used for lip products.
This usually leads to a patchy, uneven application on your lips.
Stick to oils or dedicated cosmetic mixing fluids for the best finish.
Conclusion
Fixing dry liquid matte lipstick does not require a degree in cosmetic chemistry. Knowing how to fix dry liquid matte lipstick simply requires a bit of heat, the right hydrating agent, and patience.
By identifying the causes of evaporation and maintaining good storage habits, you can extend the life of your entire collection. Now that you know these insider tricks, grab that dried-out tube from the bottom of your makeup bag and bring it back to life today.
Keep your caps tight, store your makeup in a cool place, and enjoy your flawless matte finish all day long.

About the Author
Jane Hubbard is a passionate beauty expert with a wealth of experience in makeup, hair, and overall beauty techniques. After years of working as a hairdresser specialist, she followed her entrepreneurial spirit and started her own consultancy business.
Jane has always been driven by her desire to help others feel confident in their own skin, and she does this by sharing her knowledge, experiences, and practical beauty tips. Through her consultancy, she empowers individuals to embrace their unique beauty, offering tailored guidance that boosts both self-esteem and personal style.
Professional Focus
Specializes in makeup, hairstyling, and beauty consulting.
Provides personalized beauty advice, tips, and techniques to help individuals feel confident in their appearance.
Dedicated to staying up-to-date with the latest industry trends and developments.
Passionate about creating a comfortable and empowering experience for every client.
Education History
University of Craft and Design – Bachelor of Fine Arts (BFA) in Woodworking and Furniture Design
Woodworking Apprenticeships – Extensive hands-on training with skilled craftsmen to refine carpentry and furniture making techniques
Online Courses & Masterclasses – Continued education in advanced woodworking techniques, design principles, and specialized tools
Expertise:
Makeup artistry, hairstyling, and beauty consulting.
Personalized beauty techniques to enhance confidence and self-expression.
Educating clients on how to maintain their beauty routines at home.