

Depotting makeup involves moving cosmetic products from their original bulky packaging into a single, empty magnetic palette. To depot makeup safely, you need a flat iron or heat source, a thin depotting spatula, rubbing alcohol, and a customized palette. Gentle heat application helps melt the underlying glue for easy extraction.
Have you ever stared at a sprawling, chaotic makeup collection and felt a subtle wave of overwhelm? That feeling may suggest it is time to rethink how you store your cosmetics. Depotting your makeup could be the exact organizational shift you need. This method allows beauty enthusiasts to extract their favorite eyeshadows, blushes, and bronzers, migrating them into a single custom magnetic palette.
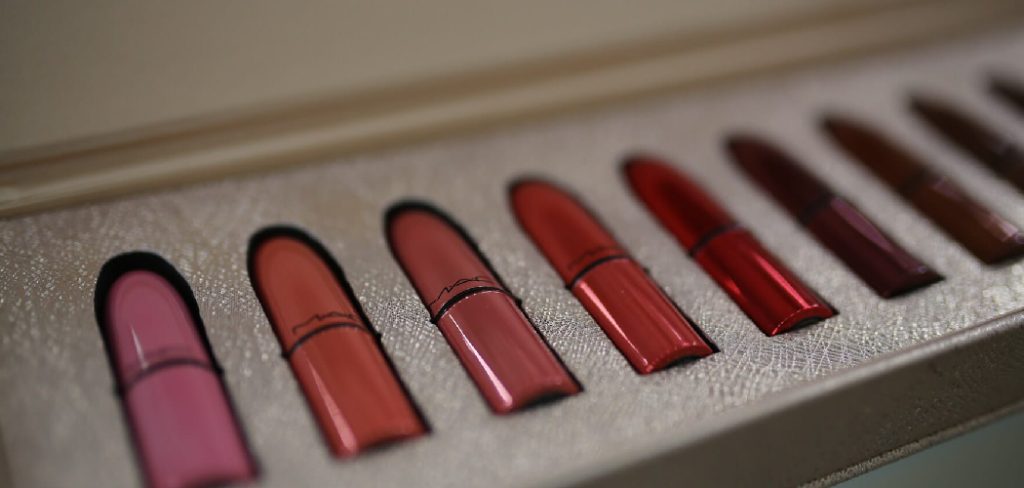
The beauty industry produces a staggering amount of plastic packaging every year. Consolidating your items not only reclaims physical space on your vanity, but it might also limit the daily friction of opening ten different compacts just to find one specific transition shade. You actually end up using the colors you own, rather than letting them languish in the back of a dark drawer.
Extracting metal product pans from plastic compacts gives you a surprising amount of control over your routine. A working makeup artist might view this as a physical necessity to lighten a heavy travel kit. An everyday consumer might just want a simpler morning. Once you understand the basic mechanics of applying heat and gently prying out the metal pans, creating personalized color stories becomes surprisingly straightforward. In this guide on how to depot makeup, we’ll explore the process step-by-step and give some tips on how to make it easier.
What Are the Essential Tools Needed for Depotting Makeup?
To successfully depot your makeup, you will need a few essential tools. These include:
- A flat iron or hair straightener
- An X-Acto knife or similar sharp tool
- A spatula or small metal tool for prying out pans
- Rubbing alcohol and cotton pads for cleaning
- Magnetic palette or empty eyeshadow pans to store the depotted products
What Safety Precautions Should You Take Before Starting?
Working with high heat and melting plastics carries inherent risks. You should always work in a well-ventilated room, as melting plastic packaging sometimes releases unpleasant fumes. Clear your workspace of flammable materials entirely. Leaving a hot flat iron unattended could easily lead to an accident.
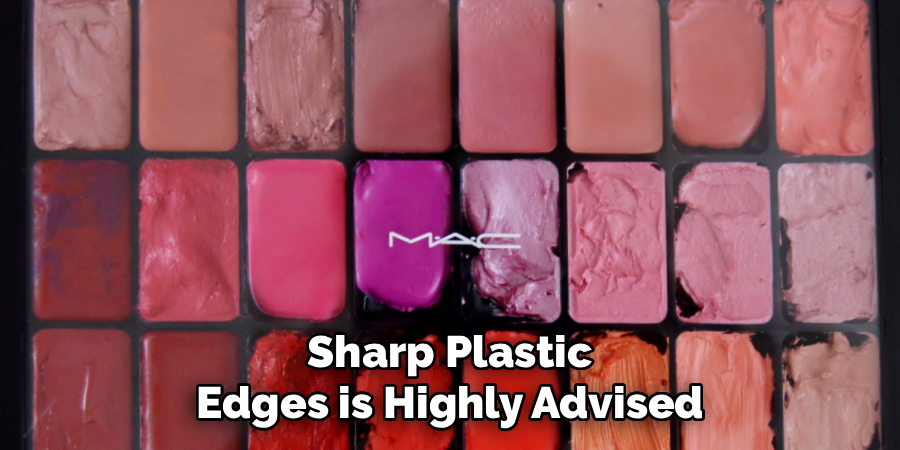
Protecting your hands from burns and sharp plastic edges is highly advised. Wearing heat-resistant gloves might feel clumsy, so thick towels and tweezers offer a reasonable alternative for handling hot compacts. Rushing the prying process often leads to disaster. Applying aggressive force with a sharp metal spatula frequently results in a slipped tool, a ruined eyeshadow, or a deep cut.
8 Simple Step-By-Step Guidelines on How to Depot Makeup
Step 1: Prepare Your Workspace and Heat Source
Setting up a clean and heat-safe workspace sets the tone for the entire project. Lay down an old towel or a silicone mat across your table. This barrier protects the underlying surface from accidental burns, spilled alcohol, and loose pigment dust. Plug in your flat iron, setting it to a medium temperature.
Tear off a small square of parchment paper. Place this directly over the hot ceramic plates of your straightener. This protective layer prevents the plastic makeup compact from melting directly onto your expensive hair tool, which would ruin it permanently.
Step 2: Remove the Plastic Insert from the Compact
Many makeup compacts contain an inner plastic insert that holds the metal pan, sitting inside a larger outer shell. Prying this inner insert out before applying heat speeds up the process considerably. Wedge your metal spatula into the narrow seam between the insert and the outer casing.
Wiggle the tool back and forth slowly. Work your way around the edge until the inner tray pops free. You are now left with a much thinner piece of plastic. Heat penetrates this thin layer much faster. If your compact is a single molded piece, you can skip this step, though the heating phase will take a bit longer.
Step 3: Apply Heat to Melt the Glue
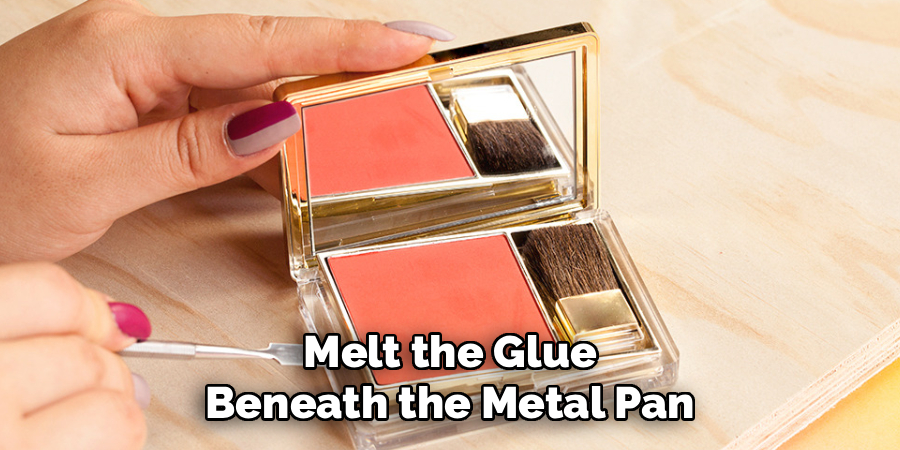
Rest the thin plastic insert directly on the parchment paper covering your heated flat iron. Let it sit for about two minutes. Watch it closely to make sure the plastic does not melt into a liquid puddle. The objective here is merely to soften the plastic and melt the glue beneath the metal pan.
The plastic will likely become malleable. The edges might even start to warp slightly. This visual cue generally indicates the adhesive is melted enough to proceed. Use tweezers to carefully lift the hot plastic off the heat source.
Step 4: Pry the Metal Pan Out of the Packaging
Look for a tiny gap between the metal pan and the surrounding plastic casing. The softened plastic might even allow you to push up gently from the bottom of the insert to lift the pan. Slide the very tip of your spatula under the metal rim. Apply incredibly slow, even pressure.
Do not force the pan if it feels cemented in place. Bending the metal usually causes the delicate powder inside to shatter entirely. If it resists, place the plastic insert back onto the heat for another minute.
Step 5: Clean the Back of the Extracted Pan
A thick layer of sticky residue usually coats the bottom of a freshly extracted pan. Failing to remove this glue means the pan will stick permanently to your new palette’s floor. Let the metal cool down before handling it.
Soak a cotton pad in high-proof rubbing alcohol. Rub the back of the metal pan vigorously. The alcohol breaks down the adhesive quite effectively. You can peel the original shade name sticker off the bulky compact and stick it onto the clean pan for future reference.
Step 6: Add a Magnetic Sticker if Necessary
Not all makeup pans are magnetic. Drugstore brands frequently use aluminum pans, which will simply slide right out of a magnetic palette. Hover your cleaned pan over the empty palette to test the magnetic pull.
If it fails to stick, apply a magnetic sticker to the bottom. These adhesive-backed metal squares are easily sourced online. Press the sticky side onto the clean aluminum base, rendering the product compatible with your new storage system.
Step 7: Fix Any Broken Powders Immediately
Cracking an eyeshadow happens to almost everyone who tries depotting. Broken powder makeup is actually quite easy to salvage using rubbing alcohol. Gather the shattered pieces and press them back into the metal pan. Crush them into a fine dust with your spatula.
Add a few drops of alcohol to form a moldable paste. Place a clean tissue over the wet mixture. Press down firmly with a flat object, like a coin, to pack the powder tightly. Leave it open overnight to let the alcohol evaporate.
Step 8: Arrange Your Custom Palette
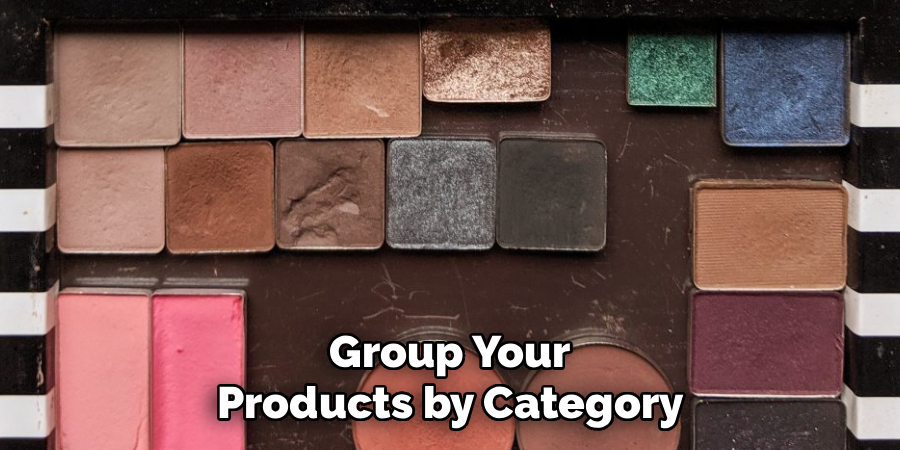
Arranging your newly freed makeup pans is easily the most rewarding phase. Group your products by category, keeping blushes and bronzers in their own sections. You could also organize eyeshadows strictly by color family.
Experimenting with different layouts might spark new ideas for your daily routine. The magnetic base means you can rearrange or swap pans as the seasons change. Customization allows you to extract maximum value from the items you already own.
Following these steps on how to depot makeup will save you time, space and money. Not only will it make your makeup collection more organized and accessible, but it will also reduce the amount of clutter in your vanity or makeup bag.
What Are the Main Benefits of Depotting Makeup?
Saving physical space stands out as the primary advantage. A dozen bulky compacts easily condense down into one slim magnetic palette. Professional makeup artists rely heavily on this space-saving trick to manage massive product inventories on set.
It also encourages actual usage of your collection. Products hidden away in individual plastic squares are easily forgotten. Seeing all your available shades side-by-side inspires creativity and stops you from accidentally buying identical colors.
When Not to Depot Makeup?
Depotting works wonders for pressed powders, but certain formulas should be left alone. Baked products—like domed blushes and bronzers—sit on fragile terracotta tiles rather than metal pans. Attempting to pry these out almost always ends in destruction.
Cream blushes and liquid-to-powder formulas also fare poorly in open magnetic palettes. Creams need airtight packaging to keep from drying out or spoiling. Transferring creams requires scooping the product into sealed pillboxes rather than applying heat.
Frequently Asked Questions
Can I Depot Makeup Without Using a Flat Iron or Heat Source?
Yes, using high-proof rubbing alcohol dissolves the glue without heat. Squeeze alcohol into the seams between the metal pan and the plastic casing. Allow it to sit for several minutes until the adhesive breaks down entirely.
What Should I Do if the Plastic Packaging Starts Smoking While Heating?
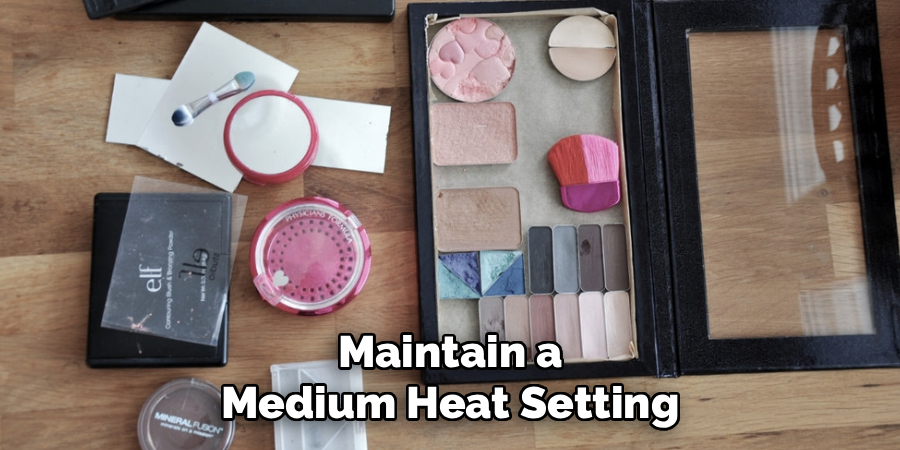
Immediately unplug your flat iron and remove the compact using heavy tweezers. Smoking plastic suggests your heat setting is too high or the compact was left sitting too long. Always use parchment paper and maintain a medium heat setting.
How Do I Know What Size Empty Magnetic Palette to Buy?
Your ideal palette size depends on the volume of products you intend to depot. A small palette comfortably holds a single nine-pan eyeshadow collection. Consolidating larger items like bronzers and highlighters usually requires a pro-sized magnetic palette.
Take Control of Your Makeup Collection Today
Depotting your makeup initially seems like a daunting task. Yet, armed with a flat iron, a steady hand, and a little patience, it evolves into a highly satisfying organizational endeavor. Freeing your cosmetics from their plastic confines can dramatically simplify your morning routine.
Stop allowing expensive products to collect dust in a drawer. Build the custom color stories you have always envisioned. Once you experience the convenience of a streamlined vanity, you might wonder why you waited so long to reorganize your collection. Thanks for reading this guide on how to depot makeup.

About the Author
Jane Hubbard is a passionate beauty expert with a wealth of experience in makeup, hair, and overall beauty techniques. After years of working as a hairdresser specialist, she followed her entrepreneurial spirit and started her own consultancy business.
Jane has always been driven by her desire to help others feel confident in their own skin, and she does this by sharing her knowledge, experiences, and practical beauty tips. Through her consultancy, she empowers individuals to embrace their unique beauty, offering tailored guidance that boosts both self-esteem and personal style.
Professional Focus
Specializes in makeup, hairstyling, and beauty consulting.
Provides personalized beauty advice, tips, and techniques to help individuals feel confident in their appearance.
Dedicated to staying up-to-date with the latest industry trends and developments.
Passionate about creating a comfortable and empowering experience for every client.
Education History
University of Craft and Design – Bachelor of Fine Arts (BFA) in Woodworking and Furniture Design
Woodworking Apprenticeships – Extensive hands-on training with skilled craftsmen to refine carpentry and furniture making techniques
Online Courses & Masterclasses – Continued education in advanced woodworking techniques, design principles, and specialized tools
Expertise:
Makeup artistry, hairstyling, and beauty consulting.
Personalized beauty techniques to enhance confidence and self-expression.
Educating clients on how to maintain their beauty routines at home.