

Few beauty frustrations sting quite like swiping on mascara and watching your lashes turn into spiky, tangled clumps. Instead of long, fluttery lashes, you end up with heavy blobs that stick together and smudge before you even leave the house. The good news is that clumpy mascara is almost always fixable, and you don’t need to buy an expensive new tube to solve it.
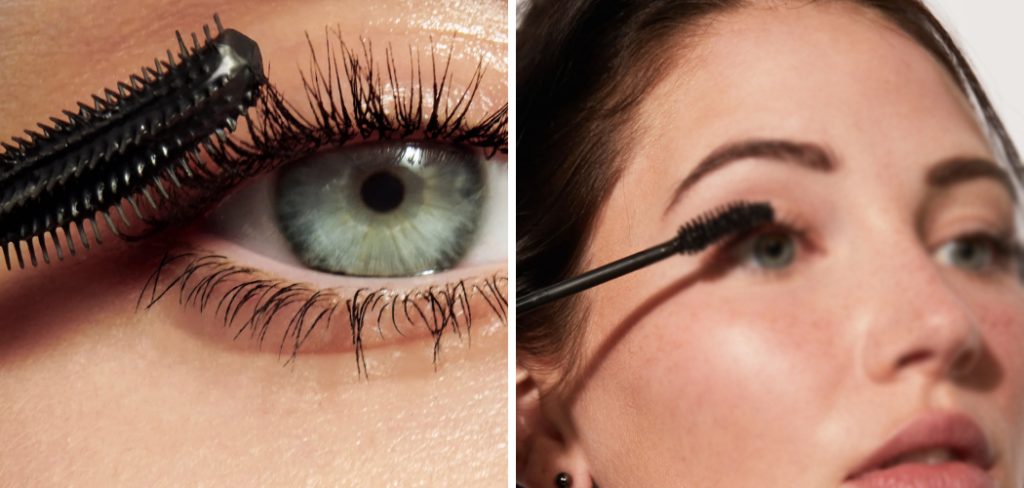
Mascara clumps for a few common reasons. The formula may be drying out, you might be applying too many coats, or your technique could use a small tweak. Whatever the cause, knowing how to make mascara less clumpy gives you the power to fix the problem in minutes and enjoy smooth, defined lashes every single time.
In this friendly, beginner-friendly guide, we’ll walk you through exactly why clumps happen and what to do about them. You’ll find practical steps anyone can follow, plus answers to the questions people ask most. By the end, you’ll feel confident reaching for your mascara wand and creating a clean, natural-looking finish that lasts all day.
Why Making Mascara Less Clumpy Matters
Clump-free lashes make a real difference to your whole look. Smooth, separated lashes appear longer, fuller, and more natural, while clumps draw attention for all the wrong reasons. Learning to fix the problem saves you money too, since a little care can rescue a tube you were ready to toss and stretch its life for weeks.
Beyond looks and savings, clean application protects your comfort and confidence. Heavy clumps flake, smudge under your eyes, and can even irritate your lashes or eyelids. When your mascara glides on evenly, it dries faster, wears longer, and feels lighter throughout the day. That means fewer touch-ups, less frustration, and more time enjoying a polished finish you can rely on from morning to night.
Step-by-Step Guide To How To Make Mascara Less Clumpy
Step 1: Check The Age Of Your Mascara
Before blaming your technique, take a moment to check how old your tube actually is. Most mascaras last around three to six months once opened, and after that the formula begins to dry, thicken, and clump no matter how carefully you apply it. Look for a small jar symbol on the packaging, which shows the recommended months of use.
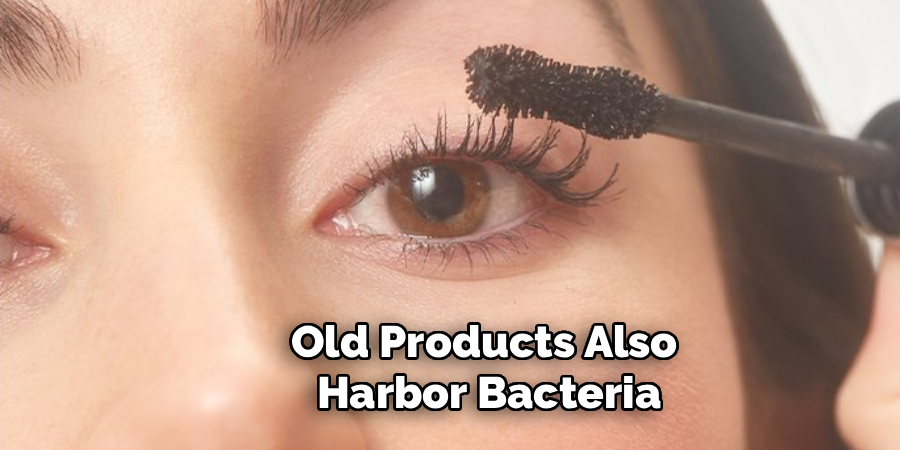
If your mascara smells odd, feels stiff, or has separated inside the tube, it has likely passed its prime. Old products also harbor bacteria that can irritate your eyes. When a tube is well past its date, replacing it is the safest and simplest fix for a clump-free result.
Step 2: Wipe The Wand Before Applying
One of the biggest causes of clumps is too much product loaded onto the wand. Every time you pull the brush out, it picks up excess formula that piles onto your lashes and sticks them together. A quick wipe solves this instantly and costs you nothing.
Keep a clean tissue or paper towel nearby and gently drag the wand across it once or twice before each use. This removes the heavy blob at the tip while leaving just enough product for smooth coverage. Learning how to make mascara less clumpy often comes down to this one small habit, so make wiping the wand part of your routine every time you reach for the tube.
Step 3: Avoid Pumping The Tube
Many people pump the wand in and out of the tube, thinking it loads more product onto the brush. Unfortunately, this common habit does the opposite of what you want. Pumping pushes air deep into the tube, which dries out the formula faster and creates thick, uneven clumps over time.
Instead of pumping, gently swirl the wand inside the tube in a slow, circular motion. This coats the brush evenly without introducing air. If you feel you need more product, swirl a little longer rather than pumping. This gentle approach keeps your mascara smooth and workable, extends its lifespan, and helps you avoid those frustrating clumps from the very first swipe.

Step 4: Apply Thin Coats
Piling on coat after coat is a fast track to clumpy, spidery lashes. Thick layers never dry evenly, so they bunch together and flake as the day goes on. The smarter approach is to build gradually with thin, even coats that dry properly between passes.
Start with a single light layer, wiggling the wand from the base of your lashes to the tips. Let it dry for a few seconds, then add a second thin coat only if you want more volume. This patient, layered method gives you fuller lashes without the heaviness. Knowing how to make mascara less clumpy really means resisting the urge to overload and trusting thin layers to do the work.
Step 5: Comb Through Your Lashes
Even with careful application, a stray clump or two can appear. This is where a lash comb or clean spoolie brush becomes your best friend. Combing separates lashes, redistributes product, and instantly smooths away any bumps for a clean, defined finish.
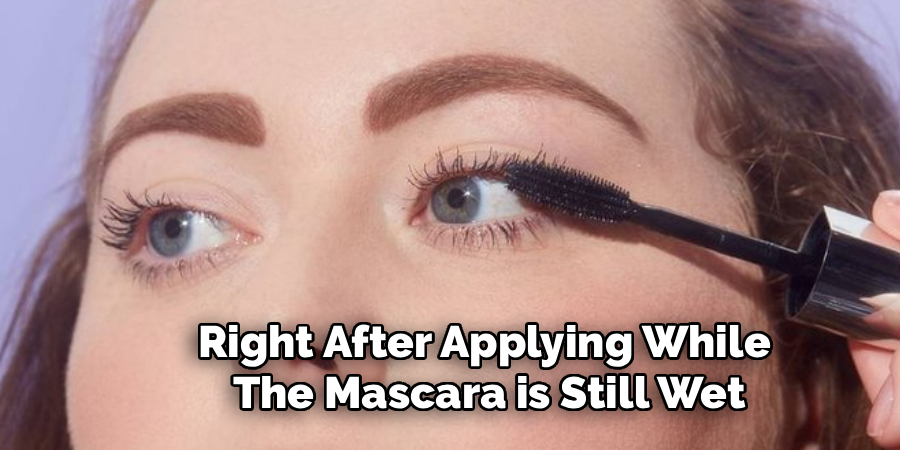
Right after applying while the mascara is still wet, run the comb gently from root to tip in slow, steady strokes. Work on one eye at a time so you catch clumps before they dry. A dried, empty mascara wand cleaned with makeup remover also works well for this. This quick step takes seconds and transforms uneven lashes into soft, feathery ones.
Step 6: Warm The Tube Slightly
If your mascara feels thick and dry but hasn’t expired yet, a little gentle warmth can restore its smooth texture. Heat softens the formula and helps it glide onto your lashes more evenly, reducing clumps without any extra products.
Fill a cup with warm, not boiling, water and stand the tightly closed tube inside for about two or three minutes. The mild heat loosens the formula so it flows better. Avoid running the tube under hot water directly or using a microwave, since too much heat can damage the product. After warming, swirl the wand gently and test the consistency before applying to your lashes.
Step 7: Store Mascara Correctly
Smart storage prevents clumps before they start. Heat, air, and sunlight all speed up drying, so where you keep your mascara truly matters. A cool, shaded spot keeps the formula fresh and smooth for far longer than a warm, humid bathroom shelf.
Always screw the cap on tightly after every use to lock out air, and store the tube upright in a drawer or cabinet away from direct light. Avoid leaving it in a hot car or near a sunny window. With these simple storage habits, your mascara stays workable through its full lifespan, so you spend less time fighting clumps and more time enjoying beautiful, defined lashes.
Frequently Asked Questions
Why Does My Mascara Clump So Quickly?
Mascara usually clumps because the formula is drying out, you are applying too many coats, or you are pumping air into the tube. Old products thicken and clump faster too. To fix it, wipe the wand before each use, apply thin layers, and store the tube in a cool place with the cap sealed tightly to keep the formula fresh.
Can I Add Water To Thin Out My Mascara?
Adding water is not a good idea, since it dilutes the formula and introduces bacteria that can irritate your eyes. Water also breaks down the ingredients and shortens the product’s lifespan. If your mascara feels too thick, warm the closed tube gently in a cup of warm water for a couple of minutes instead. This softens the texture safely without ruining the formula.
How Often Should I Replace My Mascara?
Most experts recommend replacing mascara every three to six months after opening. Over time, the formula dries out, thickens, and collects bacteria that can cause clumps and eye irritation. Check the small jar symbol on the packaging for guidance. If your mascara smells strange, looks separated, or feels stiff on the wand, it is time to swap it for a fresh tube.
What Tool Works Best For Separating Lashes?
A lash comb or a clean spoolie brush works best for separating clumped lashes. Use it while the mascara is still wet, gently combing from root to tip to smooth out bumps and redistribute product. You can also clean an old mascara wand with makeup remover and reuse it. Regular combing gives you defined, feathery lashes without any clumps.
Does Applying Mascara Warm Really Help?
Yes, gently warming your mascara can help if the formula feels thick but has not expired. Standing the closed tube in warm water for two or three minutes softens the product so it glides on more evenly. Just avoid boiling water or a microwave, since excessive heat damages the formula. Always test the consistency on the wand before applying it to your lashes.
Conclusion
Clumpy lashes don’t have to ruin your look or send a perfectly good tube to the trash. With a few simple habits, you can enjoy smooth, defined lashes every day. The key takeaways are easy to remember. Check the age of your mascara, wipe the wand before applying, skip the pumping, build with thin coats, and comb through for a clean finish. A little gentle warmth and smart storage keep the formula fresh even longer.
Now that you know how to make mascara less clumpy, you can transform your routine and feel confident in every swipe. Don’t settle for spiky, tangled lashes when the fix is this simple. Grab your mascara, put these friendly, expert-approved steps into action, and treat yourself to soft, beautiful lashes that last all day. Your best lash look is just a few small tweaks away, so go ahead and give it a try.

About the Author
Jane Hubbard is a passionate beauty expert with a wealth of experience in makeup, hair, and overall beauty techniques. After years of working as a hairdresser specialist, she followed her entrepreneurial spirit and started her own consultancy business.
Jane has always been driven by her desire to help others feel confident in their own skin, and she does this by sharing her knowledge, experiences, and practical beauty tips. Through her consultancy, she empowers individuals to embrace their unique beauty, offering tailored guidance that boosts both self-esteem and personal style.
Professional Focus
Specializes in makeup, hairstyling, and beauty consulting.
Provides personalized beauty advice, tips, and techniques to help individuals feel confident in their appearance.
Dedicated to staying up-to-date with the latest industry trends and developments.
Passionate about creating a comfortable and empowering experience for every client.
Education History
University of Craft and Design – Bachelor of Fine Arts (BFA) in Woodworking and Furniture Design
Woodworking Apprenticeships – Extensive hands-on training with skilled craftsmen to refine carpentry and furniture making techniques
Online Courses & Masterclasses – Continued education in advanced woodworking techniques, design principles, and specialized tools
Expertise:
Makeup artistry, hairstyling, and beauty consulting.
Personalized beauty techniques to enhance confidence and self-expression.
Educating clients on how to maintain their beauty routines at home.