

Stiff makeup brushes are usually caused by product buildup and a lack of conditioning—not permanent damage. In most cases, you can restore softness with a gentle shampoo, a conditioner soak, and proper drying technique. This guide walks through seven steps to bring your brushes back to life.
Makeup brushes don’t announce when they’ve had enough. One day, they’re blending seamlessly; the next, they’re scratching your cheek and leaving streaky, uneven patches across your foundation. It happens gradually—almost imperceptibly—until the brush that once felt like a dream becomes something you dread putting near your face.
Here’s the thing: stiff brushes aren’t automatically ruined brushes. Product buildup, infrequent cleaning, and skipped conditioning steps are the usual culprits, and all of them are fixable. With a handful of basic supplies and about fifteen minutes of effort, you can restore most brushes to something close to their original softness.
This guide on how to soften stiff makeup brushes breaks the process down into seven steps—clear, practical, and in the right order. It also covers why brushes stiffen in the first place, when restoration isn’t worth attempting, and how to maintain softness long after the initial fix.
Why Do Makeup Brushes Become Stiff?
Product buildup is the primary cause. Foundation, concealer, and cream blush don’t just sit on the surface of bristles—they work their way deep into the base, where they dry out and harden between washes. Over time, that hardening restricts how the bristles move, which is what creates that scratchy, inflexible feeling.
Washing habits play a significant role,e too. Brushes cleaned infrequently allow buildup to accumulate far more than it should before it’s addressed. And when people do wash, they often reach for whatever soap is nearby—dish soap, antibacterial hand wash—products that strip bristles of their natural oils and leave them drier than before. Both synthetic and natural bristles are vulnerable to this, just in slightly different ways.
Skipping conditioner after washing may be the most underrated mistake. Cleaning removes buildup, but it also removes moisture. Without something to replenish that moisture, bristles dry stiff even after a thorough wash.
Can Stiff Makeup Brushes Actually Be Restored?
In most cases, yes. If the stiffness comes from buildup and dryness—which it usually does—a proper cleaning and conditioning routine can make a real difference. The process addresses both problems at once rather than treating them separately.
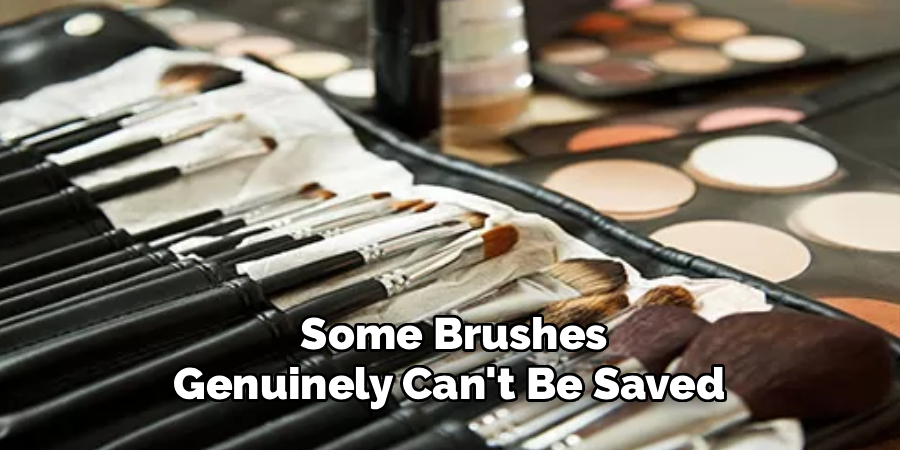
That said, some brushes genuinely can’t be saved. If the bristles are splayed beyond reshaping, breaking off at the ferrule (the metal band where bristles meet handle), or shedding with every use, restoration may be more effort than it’s worth. But for brushes that are simply neglected and dried out? They’re almost certainly candidates for a second life.
What Supplies Do You Need to Soften Stiff Makeup Brushes?
- Mild shampoo or dedicated brush cleanser
- Hair conditioner or brush conditioner
- Lukewarm water
- A clean towel or paper towels
- A small bowl or cup
- Brush guard or rubber band (optional)
- Brush drying rack or flat surface
Nothing unusual. Most of this is likely already in your bathroom.
7 Steps on How to Soften Stiff Makeup Brushes
Step 1: Rinse the Bristles With Lukewarm Water
Hold the brush with bristles pointing downward and run them under lukewarm water. Hot water may seem more effective, but it can loosen the glue inside the ferrule—the part that holds bristles in place—leading to shedding that gets worse over time.
Let the water run gently through the bristles until the outer layer of product starts to break down. Keep the handle and ferrule dry throughout; water trapped inside can quietly damage the brush structure in ways that aren’t obvious until weeks later.
Step 2: Apply a Mild Shampoo or Brush Cleanser
Squeeze a small amount of mild shampoo—or a dedicated brush cleanser, if you have one—into the palm of your hand. Baby shampoo is a reliable option. It cleans well without being aggressive on bristles.
Swirl the damp brush in small circular motions until the lather begins picking up color from the old product. Keep going until the lather runs mostly clear. This part takes longer than most people expect, especially for brushes that haven’t been washed in a while.
Step 3: Rinse Thoroughly, and Repeat if Needed
Rinse under lukewarm water again, bristles still pointed down. Use your fingers to gently squeeze the bristles and help release any cleanser or trapped product that’s worked its way deeper into the base.
For heavily built-up brushes, one round of shampoo may not be enough. Two or three passes are sometimes necessary. Don’t rush through this—residual cleanser left in the bristles can cause stiffness once the brush dries, which defeats the purpose entirely.
Step 4: Condition the Bristles
This step makes the biggest difference for stiffness, and it’s the one most people skip.
Apply a small amount of hair conditioner or brush conditioner directly to the bristles and work it in gently with your fingers. Conditioner replenishes the moisture that builds up and repeated washing strips away—it’s what gives bristles their flexibility back. Leave it on for two to three minutes before rinsing. That short wait gives the conditioner time to actually penetrate, rather than just sitting on the surface.
Step 5: Rinse and Reshape
Rinse out the conditioner thoroughly under lukewarm water. Once the water runs clear, squeeze out excess moisture gently using a clean towel or paper towel—press rather than rub to avoid distorting the bristles.
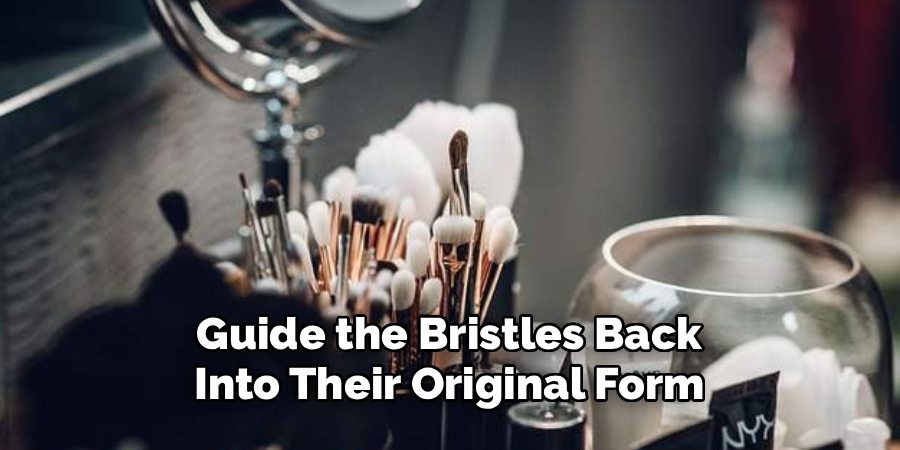
Then reshape. While the brush is still damp, use your fingers to guide the bristles back into their original form. A fan brush should fan; a flat foundation brush should lie flat. This step matters more than most people realize. Bristles set in whatever position they dry in, and a brush left to dry in a splayed mess will stay that way.
Step 6: Dry Flat or Upside Down
Standing a wet brush upright—bristles pointing up—is one of the most common mistakes in brush care. Water runs down into the ferrule, weakens the glue, and causes gradual but irreversible shedding. It seems like an efficient way to dry brushes. It isn’t.
Instead, lay brushes flat on a clean towel, or hang them upside down using a brush drying rack. Air drying takes several hours—sometimes overnight—so cleaning brushes at the end of the day rather than the morning tends to work better in practice.
Step 7: Test the Softness and Repeat if Necessary
Once fully dry, run the brush across the back of your hand. A properly restored brush should feel smooth and flexible, with no scratchy or stiff spots. If it still feels rough, run through the conditioning step again before the next full wash.
Some brushes—particularly those that have gone months without proper care—may need two or three treatment rounds before they return to anything close to their original softness. That’s not a sign the process isn’t working. It’s just how deep the buildup goes.
Following these steps on how to soften stiff makeup brushes can save you money in the long run.
How to Keep Brushes Soft After Restoring Them?
Maintenance is considerably easier than restoration. Cleaning brushes once every one to two weeks prevents product from hardening in the first place. Brushes used daily with liquid or cream formulas may need weekly washing; powder brushes tend to be more forgiving and can typically go a little longer.
After each use, a quick spot clean with a spray brush cleanser helps slow buildup between full washes. Store brushes either upright with bristles pointing up, or rolled in a brush wrap—both methods protect their shape without exposing them to the moisture accumulation that bathroom environments tend to create.
And always condition after washing. It adds two minutes to the process. The difference in how bristles feel—and how long they stay that way—is substantial.
When Should You Replace Makeup Brushes Instead of Restoring Them?
Even well-cared-for brushes eventually reach their limit. Persistent shedding, bristles that won’t hold their shape across multiple washes, visible damage at the ferrule, or a smell that simply won’t come out are all signs that it’s time to move on.
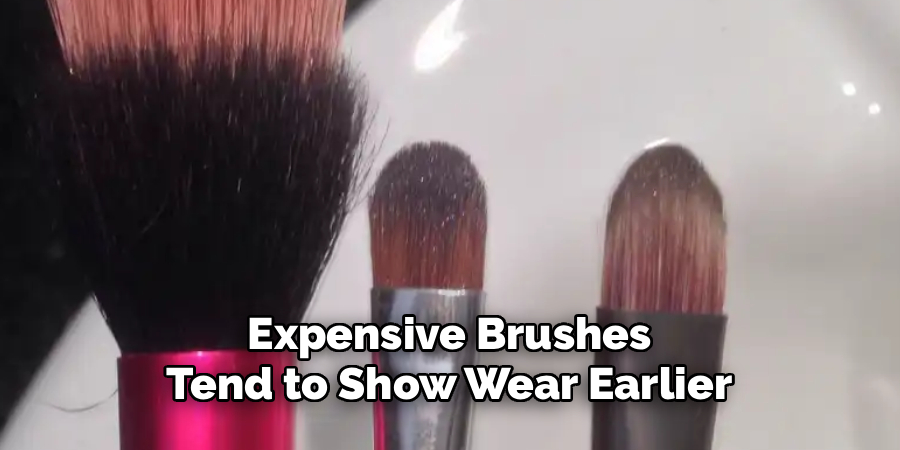
Generally speaking, high-quality brushes cleaned regularly may last three to five years. Less expensive brushes tend to show wear earlier—often within one to two years of regular use. Neither timeline is absolute, but they’re reasonable benchmarks for knowing when restoration stops being worth the effort.
Common Mistakes That Make Stiff Brushes Worse
- Soaking the entire brush—handle and all—in water, which loosens ferrule glue and accelerates shedding.
- Using hot water can warp bristles and weaken brush structure
- Skipping the conditioner step after washing
- Standing brushes upright to dry, which allows water to pool inside the ferrule
- Scrubbing bristles too aggressively, which can permanently distort their shape
Frequently Asked Questions
How Often Should You Wash Makeup Brushes to Prevent Stiffness?
Brushes used with liquid or cream products ideally need washing once a week. Brushes used only for powder can typically go one to two weeks between washes. Regular cleaning prevents the product from hardening deep in the bristles, which is the main cause of stiffness. A quick spot clean after each use also extends the time between full washes without compromising hygiene.
Can You Use Coconut Oil to Soften Stiff Makeup Brushes?
Yes. Coconut oil works as a natural alternative to conventional brush conditioners. Apply a small amount to the bristles after washing, work it in gently, and rinse thoroughly. The main caveat is using too much—excess oil leaves a residue that may interfere with makeup application. Coconut oil appears to work best as an occasional treatment rather than a routine conditioning agent.
What Is the Best Cleanser for Softening Makeup Brushes?
Baby shampoo is widely considered one of the better options—it cleans effectively without being harsh on bristles. Dedicated brush cleansers are also reliable and often include conditioning agents that support softness. Dish soap and antibacterial hand soap, while effective at removing buildup, tend to dry bristles out significantly, which can make stiffness worse rather than better.
How Long Does It Take to Restore a Stiff Makeup Brush?
The active process—rinsing, washing, conditioning, reshaping—takes around ten to fifteen minutes per brush. Drying time is the longer part: most brushes need several hours to dry fully, which is why cleaning them overnight tends to be the most practical approach.
Do Natural and Synthetic Bristles Respond Differently to Conditioning?
They can. Natural bristles—typically made from animal hair—tend to respond particularly well to conditioning because they share structural similarities with human hair. Synthetic bristles are generally less porous and may absorb conditioner more slowly, though they still benefit from the process. Either way, the steps remain the same.

Give Your Brushes the Care They Deserve
Stiff makeup brushes are frustrating, but they’re rarely a lost cause. A gentle wash, a proper conditioning soak, careful reshaping, and the right drying method can bring most brushes back to something close to peak softness—sometimes after just one treatment, sometimes after a few.
The payoff is immediate and tangible. Soft, conditioned bristles blend more evenly, feel noticeably better against skin, and hold up far longer than bristles left to dry out and harden between uses. Start with the seven steps on how to soften stiff makeup brushes above, build a consistent maintenance routine, and your brushes will last significantly longer than they would have otherwise.

About the Author
Jane Hubbard is a passionate beauty expert with a wealth of experience in makeup, hair, and overall beauty techniques. After years of working as a hairdresser specialist, she followed her entrepreneurial spirit and started her own consultancy business.
Jane has always been driven by her desire to help others feel confident in their own skin, and she does this by sharing her knowledge, experiences, and practical beauty tips. Through her consultancy, she empowers individuals to embrace their unique beauty, offering tailored guidance that boosts both self-esteem and personal style.
Professional Focus
Specializes in makeup, hairstyling, and beauty consulting.
Provides personalized beauty advice, tips, and techniques to help individuals feel confident in their appearance.
Dedicated to staying up-to-date with the latest industry trends and developments.
Passionate about creating a comfortable and empowering experience for every client.
Education History
University of Craft and Design – Bachelor of Fine Arts (BFA) in Woodworking and Furniture Design
Woodworking Apprenticeships – Extensive hands-on training with skilled craftsmen to refine carpentry and furniture making techniques
Online Courses & Masterclasses – Continued education in advanced woodworking techniques, design principles, and specialized tools
Expertise:
Makeup artistry, hairstyling, and beauty consulting.
Personalized beauty techniques to enhance confidence and self-expression.
Educating clients on how to maintain their beauty routines at home.