

Making green eyeshadow at home is safe and straightforward when you use cosmetic-grade pigments, a clean workspace, and the right base ingredients. Follow these seven steps to create a custom shade—from earthy olive to bold emerald—that no store-bought palette can replicate.
Here’s everything you need to know. In this guide on how to make green eyeshadow, we’ll cover everything from choosing the right shade to application techniques and tips for making it last all day.
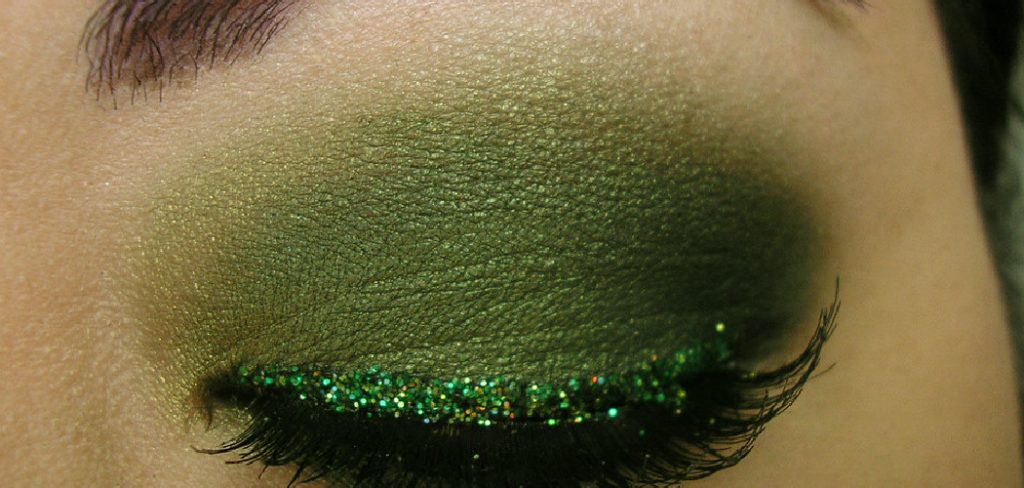
If you’ve ever stood at a makeup counter scanning rows of green eyeshadow, only to find that the exact shade you pictured doesn’t exist, DIY cosmetics may be your answer. Too blue, too bright, not pigmented enough—store palettes rarely get it exactly right. Making your own eyeshadow puts that control back in your hands: the color, the finish, the ingredients.
Green is a particularly interesting shade to work with. It flatters nearly every eye color—warming up brown eyes, intensifying blue ones, and adding depth to hazel. Whether you’re after a soft sage for everyday wear or a deep forest green for something more dramatic, the formula is more accessible than most people expect.
What Is Green Eyeshadow, and Why Make It Yourself?
Green eyeshadow is a pigmented cosmetic applied to the eyelids to define or enhance the eyes. It spans a wide spectrum—mint, sage, olive, hunter green, metallic emerald—and can be formulated as matte, shimmery, or glittery depending on which ingredients you use.
The case for making it at home goes beyond novelty. You choose exactly which pigments go into the formula, avoid fillers or preservatives you’d rather skip, and can fine-tune the shade until it’s precisely what you want. Once you understand how the base ingredients interact, recreating or adjusting your formula becomes second nature.
Is It Safe to Make Eyeshadow at Home?
Generally, yes—with one non-negotiable condition: every ingredient must be cosmetic-grade and specifically approved for use around the eye area. The skin on your eyelids is thin and sensitive. Pigments formulated for crafts, fabric dyeing, or art supplies are not held to the same safety standards as cosmetic ingredients, and using them near your eyes carries real risk.
Stick to suppliers who clearly label products as cosmetic-grade and eye-safe. Conduct a patch test on your inner wrist before applying any new formula to your eyelids. And keep every tool, bowl, and container clean—contamination shortens shelf life and can cause eye infections.
Ingredients You’ll Need
Gather these supplies before you start:
- Cosmetic-grade green pigment (chromium oxide green or ultramarine green) is a reliable choice)
- Mica powder (for shimmer or as a base)
- Zinc oxide (adds opacity and helps the shadow adhere)
- Magnesium stearate (improves slip and binding)
- Kaolin clay (absorbs oil and adds texture)
- Jojoba oil or fractionated coconut oil (a few drops, for pressed shadows only)
- Isopropyl alcohol (70% or higher, for pressing)
- Small mixing bowls, spatulas, and an empty eyeshadow pan or compact
All of these are available through cosmetic supply retailers online.
7 Steps on How to Make Green Eyeshadow
Step 1: Prepare Your Workspace
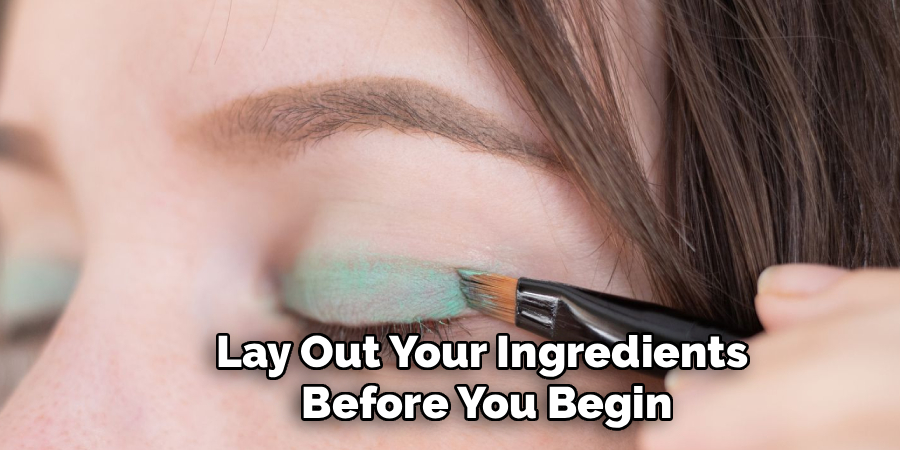
Wipe down your work surface, tools, and containers with isopropyl alcohol and let everything dry completely. Cleanliness at this stage isn’t a suggestion—it directly affects the safety and shelf life of the finished product. Lay out your ingredients before you begin, and work somewhere well-lit so you can accurately read the color as you mix.
Step 2: Measure Your Base Ingredients
Combine mica powder, zinc oxide, kaolin clay, and magnesium stearate in a small mixing bowl. A reasonable starting ratio is roughly 50% mica, 20% zinc oxide, 20% kaolin clay, and 10% magnesium stearate—though this can shift depending on the finish you want. More mica leans shinier; more kaolin clay pulls the result toward matte. Mix thoroughly until the dry ingredients are fully blended with no visible streaks.
Step 3: Add Your Green Pigment
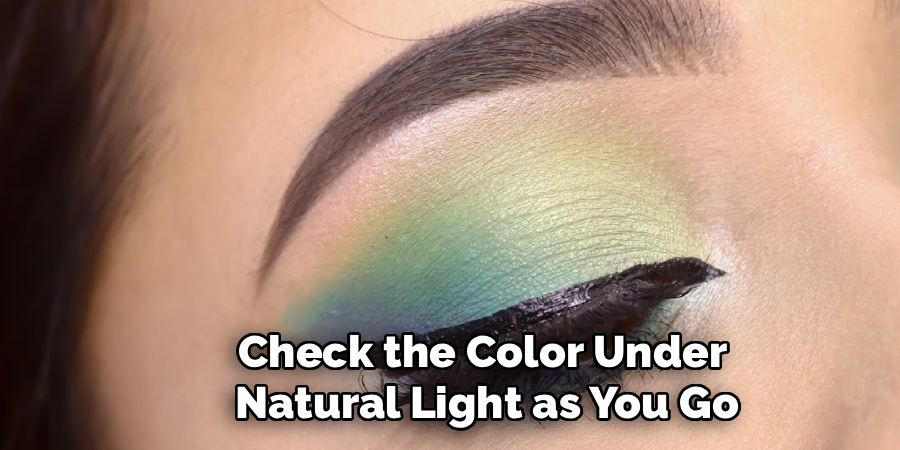
Start with a small amount of cosmetic-grade green pigment—around 5–10% of your total mixture—and blend it into the base using a pressing and folding motion. Adding pigment gradually gives you far more control over the final shade than tipping in a large amount at once. Check the color under natural light as you go; artificial lighting can distort greens significantly.
Step 4: Adjust the Shade
Once the pigment is incorporated, evaluate the result honestly. Too pale? Add more pigment. Leaning too blue? A small amount of yellow mica can shift it warmer. Too vivid for what you had in mind? A touch of brown or black will deepen and settle the tone. Change one thing at a time, and keep notes on your adjustments—this makes the formula reproducible later.
Step 5: Swatch and Test the Formula
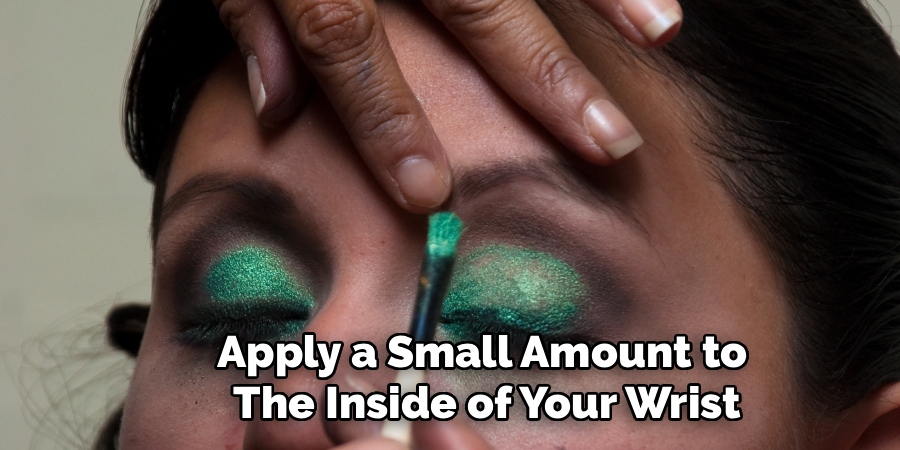
Apply a small amount to the inside of your wrist before committing to pressing or packaging. Check the color payoff, how it blends, and how it feels on skin. If the texture is too dry or powdery, a single drop of jojoba oil mixed back in can help. If it feels too slippery or doesn’t adhere well, a little more magnesium stearate may correct it.
Step 6: Press Your Eyeshadow (Optional)
For a pressed compact rather than a loose powder, add a few drops of isopropyl alcohol to your dry mixture and stir quickly—it will clump slightly. Spoon the mixture into an empty eyeshadow pan and press it firmly with the back of a spoon or a smooth coin wrapped in plastic wrap. Leave it to dry for 24 to 48 hours in a clean, dust-free spot before use.
Step 7: Store and Label Your Eyeshadow
Transfer the finished eyeshadow into a clean, airtight container. Label it with the creation date and ingredients used. Stored away from heat, humidity, and direct sunlight—not in a steamy bathroom—homemade eyeshadow typically lasts 6 to 12 months. Good labeling habits also help if you ever experience a reaction; you’ll know exactly what went into the batch.
Common Mistakes to Avoid
- Using non-cosmetic-grade pigments. Craft or art pigments are not formulated for skin contact and can cause irritation.
- Skipping the patch test. Even well-sourced ingredients can trigger reactions in some people.
- Adding too much oil. A heavy hand here makes pressed shadows too soft—they’ll crumble or fail to set.
- Inadequate mixing. Uneven blending results in patchy, inconsistent color on the lid.
- Ignoring hygiene. Dirty tools introduce bacteria, shortening shelf life and raising the risk of eye infections.
How to Make Green Eyeshadow Last Longer Throughout the Day?
Longevity comes down to application as much as formula. An eyeshadow primer—or a thin layer of concealer—applied to the lids before color creates a surface the pigment can actually grip. Pack loose powder formulas onto the lid with a flat brush rather than sweeping them on; this builds more intense color with less fallout. In humid conditions, a setting spray over your finished look can extend wear noticeably.

Creative Variations Worth Trying
Once the basic formula feels comfortable, there’s a lot of room to experiment. Blending chromium oxide green with gold mica produces a warm, earthy khaki that works well with neutral looks. Mixing emerald pigment with holographic glitter mica creates something more editorial.
A deep forest green—achieved by combining green and black pigments—translates well to smoky evening looks. For a teal variation, shift green toward blue; for something more jewel-toned, pull it toward purple. The way pigments interact becomes intuitive quickly.
Frequently Asked Questions
What Type of Green Pigment Is Best for Homemade Eyeshadow?
Chromium oxide green is widely considered one of the safest cosmetic-grade options for eye-area use. It produces a rich, earthy green and appears on approved lists from most major cosmetic regulatory bodies. Ultramarine green offers a cooler, slightly blue-toned alternative. Whichever you choose, confirm it is explicitly labeled as safe for eye use before adding it to your formula.
How Long Does Homemade Green Eyeshadow Last?
When stored in an airtight container away from heat and moisture, homemade eyeshadow typically lasts between 6 and 12 months. Any change in smell, texture, or color is a sign to discard the product and start fresh. Adding a small amount of vitamin E oil to the formula may extend shelf life slightly by acting as a natural preservative.
Can I Use Natural Colorants Like Spirulina to Make Green Eyeshadow?
Spirulina powder can produce a soft, organic green tint, but natural colorants tend to be less stable and less intensely pigmented than cosmetic-grade synthetic alternatives. They may fade faster and generally have a shorter shelf life. If you go this route, confirm the colorant is food-grade or specifically approved for cosmetic use, and expect a subtler color payoff than synthetic pigments deliver.
Do I Need Special Equipment to Make Eyeshadow at Home?
Not really. A digital scale helps with precise measurements, but most of the tools you need—small bowls, spatulas, and a clean work surface—are already in most kitchens. Empty eyeshadow pans and compacts are inexpensive and widely available from cosmetic supply retailers.
Your Perfect Green Eyeshadow Is Closer Than You Think
The learning curve here is genuinely short. With cosmetic-grade ingredients, a clean workspace, and a methodical approach to color adjustment, the gap between a first attempt and a formula you’d reach for every day can close surprisingly fast. Start simple, keep notes, and treat the early batches as experiments rather than finished products.
Once you’ve nailed your base green, the variations almost build themselves. Thanks for reading this guide on how to make green eyeshadow.

About the Author
Jane Hubbard is a passionate beauty expert with a wealth of experience in makeup, hair, and overall beauty techniques. After years of working as a hairdresser specialist, she followed her entrepreneurial spirit and started her own consultancy business.
Jane has always been driven by her desire to help others feel confident in their own skin, and she does this by sharing her knowledge, experiences, and practical beauty tips. Through her consultancy, she empowers individuals to embrace their unique beauty, offering tailored guidance that boosts both self-esteem and personal style.
Professional Focus
Specializes in makeup, hairstyling, and beauty consulting.
Provides personalized beauty advice, tips, and techniques to help individuals feel confident in their appearance.
Dedicated to staying up-to-date with the latest industry trends and developments.
Passionate about creating a comfortable and empowering experience for every client.
Education History
University of Craft and Design – Bachelor of Fine Arts (BFA) in Woodworking and Furniture Design
Woodworking Apprenticeships – Extensive hands-on training with skilled craftsmen to refine carpentry and furniture making techniques
Online Courses & Masterclasses – Continued education in advanced woodworking techniques, design principles, and specialized tools
Expertise:
Makeup artistry, hairstyling, and beauty consulting.
Personalized beauty techniques to enhance confidence and self-expression.
Educating clients on how to maintain their beauty routines at home.