

You can dry gel nail polish without an LED lamp by using UV sunlight exposure, ice-cold water, a standard UV nail lamp, or air-drying techniques. These methods may take longer than a professional LED lamp, but they can still produce a durable, glossy finish when applied correctly.
This guide on how to dry gel nail polish without led lamp covers eight practical methods for drying gel nail polish without an LED lamp, including what actually works, what to skip, and the mistakes that trip most people up the first time.
Gel nail polish has changed the home manicure game. Long-lasting, chip-resistant, and genuinely salon-quality when done right—it’s easy to see why so many people have switched from traditional polish. The catch? Most gel formulas need a UV or LED lamp to cure properly.
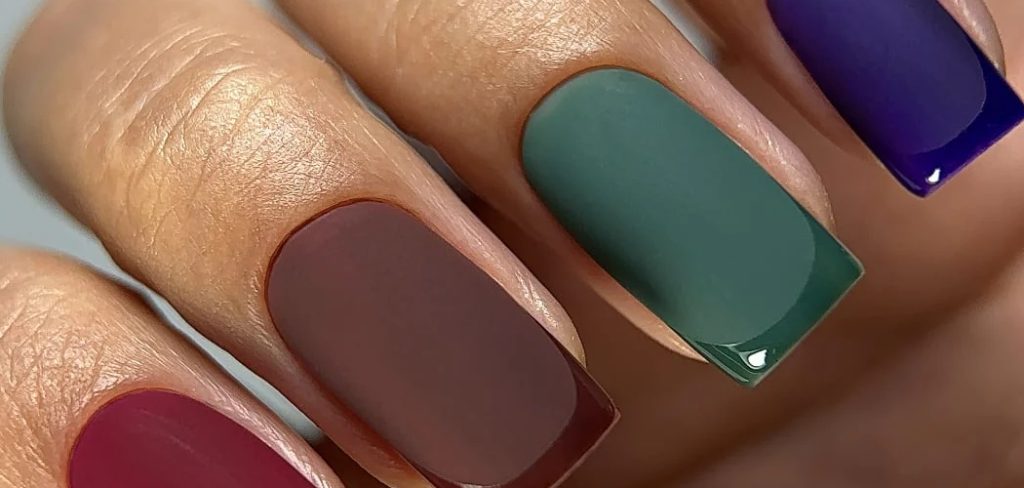
But lamps aren’t always on hand. Maybe yours broke, maybe you’re traveling, or maybe you’re just not ready to invest in one yet. Whatever the reason, you have more options than you might think.
Understanding Gel Nail Polish and Why Curing Matters
Regular nail polish dries through evaporation—the solvents in the formula slowly disappear, leaving behind a hardened film. Gel polish works differently. It relies on a chemical process called photopolymerization, where UV or LED light triggers the molecules in the gel to bond together and form a hard, durable layer.
Without that light exposure, the gel stays tacky. It doesn’t just dry slowly—it doesn’t fully dry at all in the traditional sense. That’s the core challenge when working without a lamp.
The good news is that some methods can trigger partial curing or create surface conditions that allow the gel to set well enough for everyday wear. They won’t replicate the strength of professional LED curing, but with careful application and a little patience, the results can be surprisingly solid.
8 Methods on How to Dry Gel Nail Polish Without LED Lamp
Step 1: Use Natural Sunlight as a UV Source
Sunlight emits UV rays—the same type of light used in professional nail lamps, just at a lower intensity. On a clear, sunny day, this can be enough to partially cure gel polish.
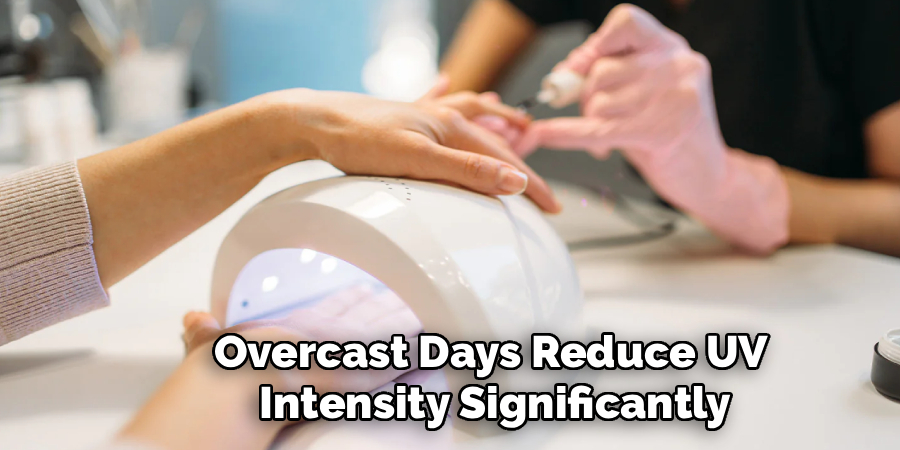
Apply a thin, even coat of gel polish, then head outside and hold your nails in direct sunlight for 30 to 45 minutes per coat. Thicker coats will need more time. Repeat for each layer, including the top coat. Overcast days reduce UV intensity significantly, so this method works best when the sky is clear and the sun is strong.
Step 2: Apply Thin Coats to Speed Up Drying
This isn’t so much a standalone method as it is the single most important habit to develop. Thick coats stay tacky far longer than thin ones—and in some cases, they never fully set without a lamp.
Start with a clean, lightly buffed nail surface. Dip your brush into the gel and wipe off the excess before applying. Each coat should be as thin and even as possible, stopping just short of the cuticle. Allow a few minutes between layers before adding the next. The thinner each coat, the better the chances of it setting properly.
Step 3: Try the Ice-Cold Water Method
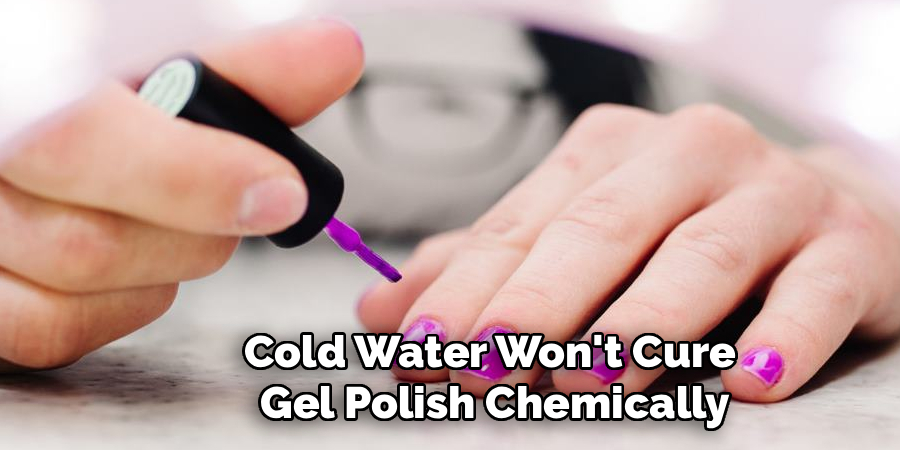
Cold water won’t cure gel polish chemically, but it can firm up the surface layer and reduce tackiness, which helps prevent smearing while the polish continues to set.
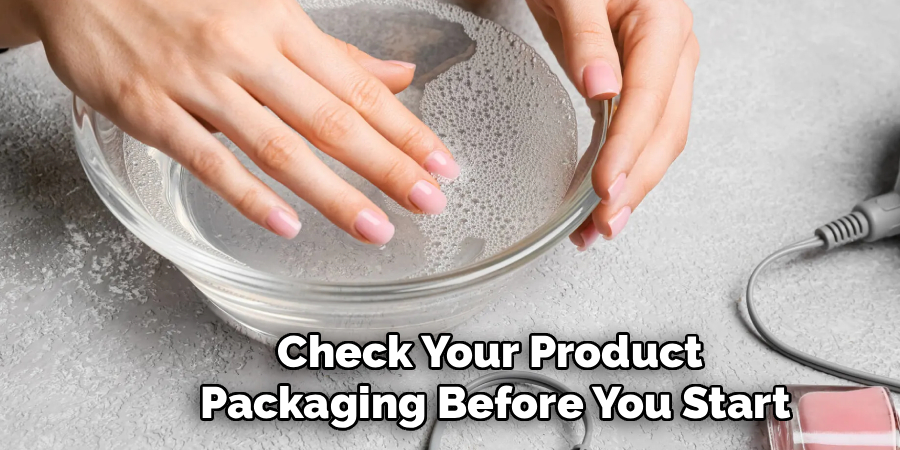
After applying all your coats, fill a bowl with ice-cold water and submerge your fingertips for three to five minutes. Pat your nails dry gently with a soft cloth. This method works best as a finishing step rather than a replacement for curing. Think of it as setting the surface so you can move on without immediately ruining your work.
Step 4: Use a Standard UV Nail Lamp
If an LED lamp isn’t available but a UV lamp is, that’s a reasonable substitute. UV lamps operate at a different wavelength than LED lamps, so curing times are longer—but they do work with most gel polish formulas.
Cure each coat for 60 to 120 seconds, depending on the lamp’s wattage. Lamps rated at 36W or higher tend to perform better. Rotate your hand slightly midway through to make sure all parts of the nail get adequate exposure, especially around the edges and sides.
Step 5: Switch to a No-Light Gel Formula
Some gel polishes are formulated specifically to dry without any UV or LED exposure. These “no-light” gels are worth knowing about if you regularly do your nails at home without a lamp.
Apply them the same way you would a standard gel—base coat, color coats, top coat—but each layer air-dries on its own in a few minutes. The finish tends to be glossy and more durable than traditional polish, though not quite as long-lasting as UV-cured gel. Check your product packaging before you start, as not all gel polishes are compatible with air-drying.
Step 6: Apply a Fast-Drying Top Coat
A fast-drying top coat won’t cure your gel, but it can protect the surface and reduce the window during which smudging is most likely to happen.
Once your color coats have had time to partially set, brush on a thin layer of fast-drying top coat. These products contain solvents that accelerate surface hardening and leave a glossy finish. Hold your nails still for at least five minutes after applying, and avoid handling any objects until the top coat has fully dried.
Step 7: Use a Hairdryer on a Cool Setting
Moving air helps firm up the surface layer of gel polish faster than still air. A hairdryer set to cool can speed things along—just make sure you never use heat.
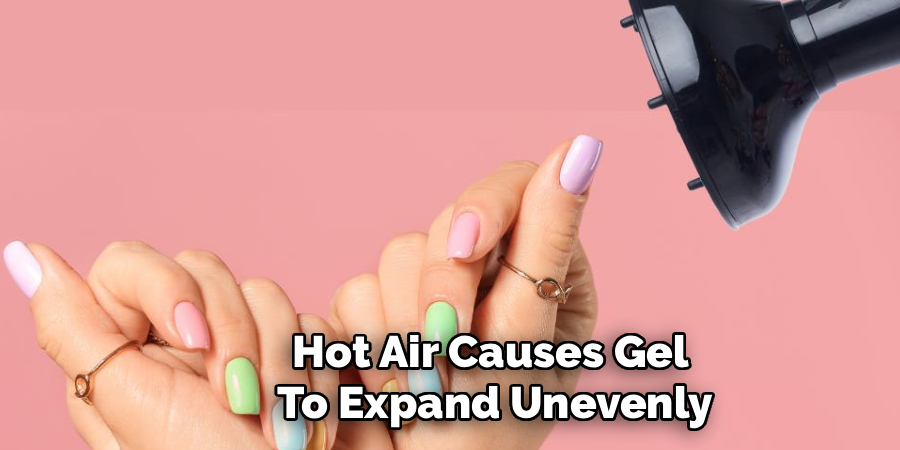
Hot air causes gel to expand unevenly, leading to bubbling, lifting, and peeling. Cool air, by contrast, encourages the surface to set without disrupting the formula underneath. Hold the dryer about 12 inches from your nails and blow cool air across them for three to five minutes per coat. Pair this with thin coats for the best outcome.
Step 8: Wait and Keep Your Hands Still
It sounds obvious, but it’s the step most people skip. Patience is one of the most effective drying strategies available.
After applying each coat, sit with your hands relaxed and still. Don’t press your nails together. Don’t rest them on a surface. Don’t test them by lightly tapping something to see if they’re dry—that almost always leaves a mark. Give each coat at least 10 minutes before moving on to the next, and once all coats are done, wait a full hour before returning to normal activities.
Following these steps on how to dry gel nail polish without LED lamp will ensure a smooth and long-lasting manicure.
Frequently Asked Questions
Can Gel Nail Polish Dry Completely Without a UV or LED Lamp?
Gel nail polish is designed to cure under UV or LED light, so a complete, professional-grade cure without one is difficult to achieve. That said, methods like sunlight exposure, standard UV lamps, or no-light gel formulas can get you quite close. The finish may not last as long as a salon result, but with careful application, it can remain chip-free for several days to a week or more.
How Long Does It Take to Dry Gel Nail Polish in Sunlight?
On a bright, sunny day with strong UV exposure, each coat may take 30 to 45 minutes to set. Overcast conditions reduce UV intensity significantly, which means longer drying times and less reliable results. For the best outcome, choose a clear day and apply each layer as thinly as possible.
Is It Safe to Use a Hairdryer on Gel Nail Polish?
Yes, provided you use the cool air setting only. Hot air causes the gel to expand unevenly, leading to bubbling and peeling. Cool air helps firm up the surface layer without disrupting the formula. Keep the dryer around 12 inches from your nails and use it alongside other techniques for better results.
How Does the Ice-Water Method Actually Work?
Cold water doesn’t cure gel chemically—it firms up the surface layer by reducing tackiness, which helps prevent smearing while the polish continues to set underneath. It’s best used as a finishing step, not a primary drying method.
Which Method Works Best If You Have No Equipment at All?
If you have no lamp, no UV nail lamp, and no fast-drying products, combining sunlight exposure with thin coats and a long still-air drying period gives you the best chance of a decent result. No-light gel formulas are also worth considering if you plan to do your nails at home regularly without a lamp.
Your Gel Manicure Doesn’t Require a Lamp to Look Great
Skipping the LED lamp doesn’t mean settling for a second-rate finish. With the right approach—thin coats, a smart drying method, and enough time to let each layer set—you can achieve a clean, glossy result that holds up well for days.
Preparation matters most. Clean and buff your nails before you start, apply each coat deliberately, and resist the urge to rush. Pair a fast-drying top coat with a proper no-touch drying period, and you may be surprised at how good your at-home gel manicure can actually look. Thanks for reading this guide on how to dry gel nail polish without led lamp.

About the Author
Jane Hubbard is a passionate beauty expert with a wealth of experience in makeup, hair, and overall beauty techniques. After years of working as a hairdresser specialist, she followed her entrepreneurial spirit and started her own consultancy business.
Jane has always been driven by her desire to help others feel confident in their own skin, and she does this by sharing her knowledge, experiences, and practical beauty tips. Through her consultancy, she empowers individuals to embrace their unique beauty, offering tailored guidance that boosts both self-esteem and personal style.
Professional Focus
Specializes in makeup, hairstyling, and beauty consulting.
Provides personalized beauty advice, tips, and techniques to help individuals feel confident in their appearance.
Dedicated to staying up-to-date with the latest industry trends and developments.
Passionate about creating a comfortable and empowering experience for every client.
Education History
University of Craft and Design – Bachelor of Fine Arts (BFA) in Woodworking and Furniture Design
Woodworking Apprenticeships – Extensive hands-on training with skilled craftsmen to refine carpentry and furniture making techniques
Online Courses & Masterclasses – Continued education in advanced woodworking techniques, design principles, and specialized tools
Expertise:
Makeup artistry, hairstyling, and beauty consulting.
Personalized beauty techniques to enhance confidence and self-expression.
Educating clients on how to maintain their beauty routines at home.