

Grease makeup has earned its place in theater, film, and costume work for a reason. The pigment sits dense on the skin, the texture stays workable, and it blends in ways that most everyday cosmetics simply can’t match. That flexibility is exactly why it lives in so many professional kits. Stage performance, Halloween, a themed shoot—whatever the occasion, applying grease makeup well is usually what separates a clean, finished look from something that slides off your face by hour two.
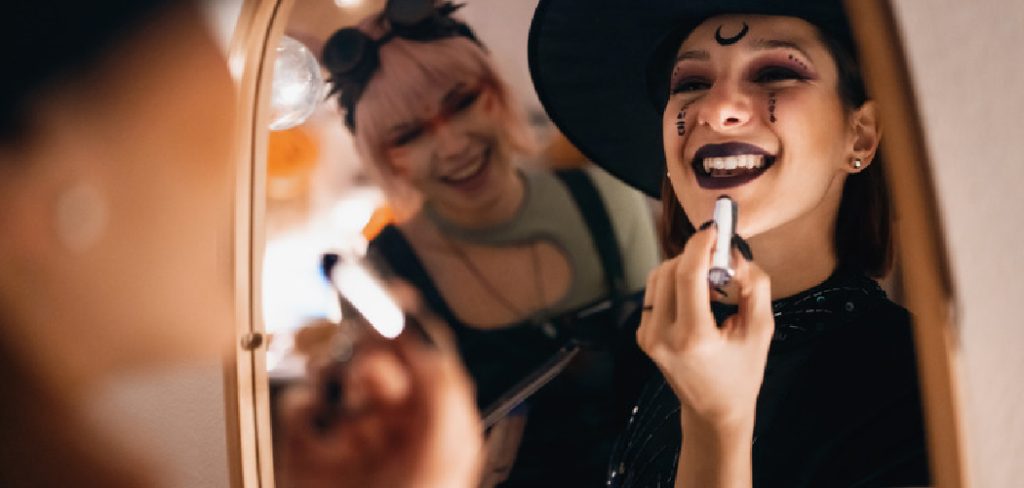
Here’s the thing, though. Beginners tend to assume the product does the work. It doesn’t. The technique does. So this guide on how to apply grease makeup walks through the whole sequence, from prepping your skin to that last setting mist, in a way that should make sense even if you’ve never picked up a tube of grease paint before.
8 Simple Step-By-Step Guidelines on How to Apply Grease Makeup
Step 1: Gather Your Supplies
Before you touch color to skin, get everything within arm’s reach. That means grease makeup in the shades you want, a clean set of brushes or sponges, setting powder, a powder puff or large fluffy brush, and a sealer spray. Organizing your tools first sounds obvious, but it genuinely keeps the whole thing calmer.
Why does this matter so much here when it barely matters for regular makeup? Grease paint stays wet and pliable far longer than standard cosmetics. Wander off to find a brush mid-application and you may come back to a smear you didn’t ask for. Lay it all out on a clean surface. Keep wipes close by for the inevitable small fixes.
Step 2: Prep and Clean Your Skin
A good base starts before any color goes on. Wash with a gentle cleanser to clear away dirt, oil, and whatever makeup might still be lingering. Then a light, oil-free moisturizer—and let it absorb fully before moving on.
Grease makeup grips best on a smooth, hydrated surface. Skip this and you could end up with patchy coverage or a look that fades faster than it should. If your skin runs dry, give that moisturizer a few extra minutes. It’s worth the wait.
Step 3: Apply a Thin Base Layer
Take a sponge or your fingertips and lay down a thin, even coat of your base shade across the face. Small circular motions tend to work well, blending out from the center toward your hairline and jaw. Resist the urge to load up on product. Thin, buildable layers are what give you that smooth finish in the end.

The trickier zones—around the nose, eyes, and mouth—crease more readily, so slow down through there. Patience pays off. Adding coverage later is easy. Rescuing a thick, cakey base is not.
Step 4: Build Coverage Where Needed
With the base settled, look at where it falls short. Maybe one cheek needs more depth; maybe the forehead reads uneven. Add a second layer only to those spots, blending until there’s no visible line between shades.
This is also where contouring comes in, if your look calls for it. A slightly darker shade tucked into the hollows of the cheeks, down the sides of the nose, along the temples. Blend it out properly. One nice quality of grease paint is how forgiving it is—it stays movable, so you have room to adjust without starting over.
Step 5: Add Detail Colors and Special Effects
Now the fun part. Detail work might mean bold theatrical color, character touches like scars or wounds, or just the eye and lip color a costume needs. Switch to smaller, precise brushes for the fine areas and keep larger ones for broad strokes.
Work big to small. Lay in the larger shapes first, then refine down to the details. If you’re recreating a specific character, reference images really do help here—more than you’d expect. And since grease paint layers cleanly over itself, feel free to build colors up until you hit the exact effect you’re chasing.
Step 6: Set the Makeup with Translucent Powder
You can’t skip this one. Without powder, the design will smear, transfer onto your collar, and fade well before you want it to. Load up a large powder puff or brush with translucent setting powder and press it into the skin across the whole painted area. Press, don’t sweep.
Let it sit for 30 to 60 seconds, then dust off the excess with a clean brush. What’s happening is the powder drinks up the oils in the grease paint and locks the color down. For heavier, more layered designs, you might set each layer as you go rather than waiting until the finish—it holds better that way.
Step 7: Seal the Makeup with a Setting Spray
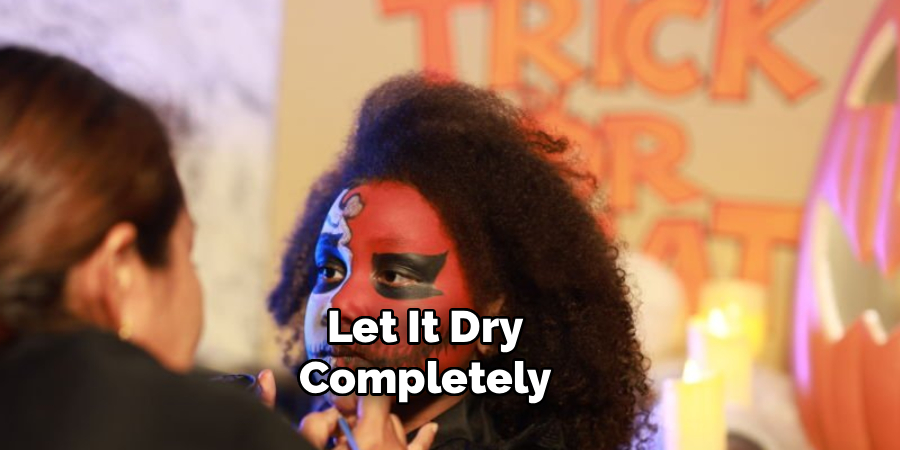
After the powder, reach for a sealer spray, sometimes called setting spray, for one more layer of staying power. Hold the bottle around 10 to 12 inches from your face and mist lightly with a sweeping pass. Then let it dry completely. No touching until it has.
This step earns its keep if you’ll be under hot stage lights, sweating, or wearing the look for hours. A decent sealer cuts the smudging risk dramatically and keeps the whole design where it belongs.
Step 8: Final Touches and Corrections
Step back. Look at the finished face from a few feet away, the way an audience would. Spot any thin patches, rough blending, or detail that needs sharpening. A clean brush or sponge with a touch of grease paint handles those last corrections.
Once it looks right, leave it alone—try not to touch your face. If there’s a costume or accessories involved, ease them on carefully so you don’t disturb the work. A final light mist of setting spray after touch-ups seals the deal.
Following these steps on how to apply grease makeup will give you a flawless and professional-looking result.
Common Mistakes to Avoid
Even people who do this for a living hit snags with grease makeup now and then. Knowing the usual culprits can spare you a fair amount of frustration.
- Skipping the setting powder: The most common slip, and the most expensive in terms of time. Unsealed grease paint smears the moment something brushes against it.
- Applying too much product at once: Thick layers crease and crack and end up looking off. Build gradually instead.
- Using the wrong brushes: Cheap brushes leave streaks and ragged edges. A decent set is a small investment for noticeably cleaner results.
- Not prepping the skin: Oily or unwashed skin won’t let the makeup adhere evenly, so coverage goes patchy.
- Rushing: Grease makeup rewards a slower hand. Work too fast and you create blending errors that are a pain to undo.
Frequently Asked Questions
Q1: How Long Does Grease Makeup Typically Last on Skin?
Applied and sealed properly, grease makeup can hold for roughly 6 to 12 hours. What moves that number around? Mostly how well you set it with powder, the quality of your sealer spray, and the conditions you’re in—heat and humidity in particular. Thin, well-set layers paired with a good setting spray give you the longest realistic wear, even through demanding performances.
Q2: Is Grease Makeup Safe for Sensitive Skin Types?
Most grease makeup formulas suit most skin types, but if yours leans sensitive or acne-prone, read the ingredient list first. Products labeled hypoallergenic or dermatologist-tested are the safer bet. A patch test on the inside of your wrist 24 hours ahead is also smart. Any irritation, redness, or itching, you should stop and switch to a gentler cosmetic-grade option.
Q3: How Do You Remove Grease Makeup Without Irritating Your Skin?
Because grease makeup is oil-based, water on its own won’t get it off. A dedicated makeup remover oil, cold cream, or micellar water works far better. Apply it generously, let it sit about 30 seconds to loosen everything, then wipe gently with a soft cloth or cotton pad. Follow with your usual cleanser to clear any residue, and finish with moisturizer to put back the hydration the removal process strips away.
Q4: What Is the Best Way to Remove Waterproof Mascara?
Removing waterproof mascara can be a bit trickier, but there are a few methods that work well. One option is to use an oil-based makeup remover specifically designed for waterproof products. Alternatively, you can use a gentle cleanser and warm water to gently massage and loosen the mascara before wiping it away with a soft cloth or cotton pad.

Final Thoughts
Used right, grease makeup is a remarkably capable tool. The sequence laid out here—prep, base, build, detail, set, seal—gives you a process you can lean on no matter how ambitious the design gets. The application starts to feel automatic after a few tries, and the results tend to make the case on their own.
Start small. Get comfortable with your base before you attempt full character work. The confidence builds from there, and so does what you’re able to create. Thanks for reading this guide on how to apply grease makeup.

About the Author
Jane Hubbard is a passionate beauty expert with a wealth of experience in makeup, hair, and overall beauty techniques. After years of working as a hairdresser specialist, she followed her entrepreneurial spirit and started her own consultancy business.
Jane has always been driven by her desire to help others feel confident in their own skin, and she does this by sharing her knowledge, experiences, and practical beauty tips. Through her consultancy, she empowers individuals to embrace their unique beauty, offering tailored guidance that boosts both self-esteem and personal style.
Professional Focus
Specializes in makeup, hairstyling, and beauty consulting.
Provides personalized beauty advice, tips, and techniques to help individuals feel confident in their appearance.
Dedicated to staying up-to-date with the latest industry trends and developments.
Passionate about creating a comfortable and empowering experience for every client.
Education History
University of Craft and Design – Bachelor of Fine Arts (BFA) in Woodworking and Furniture Design
Woodworking Apprenticeships – Extensive hands-on training with skilled craftsmen to refine carpentry and furniture making techniques
Online Courses & Masterclasses – Continued education in advanced woodworking techniques, design principles, and specialized tools
Expertise:
Makeup artistry, hairstyling, and beauty consulting.
Personalized beauty techniques to enhance confidence and self-expression.
Educating clients on how to maintain their beauty routines at home.