

If your lashes look thin, short, or flat no matter how much mascara you pile on, a primer might be the missing piece you never knew you needed. A lash primer is a lightweight, usually white or tinted product that you sweep onto clean lashes before your regular mascara. It coats each hair with a conditioning base that adds grip, volume, and length, giving your color mascara something to hold onto. Think of it like a smooth undercoat before a coat of paint, helping everything look fuller and last longer. Learning how to use primer mascara is one of the easiest ways to instantly upgrade your everyday eye look.
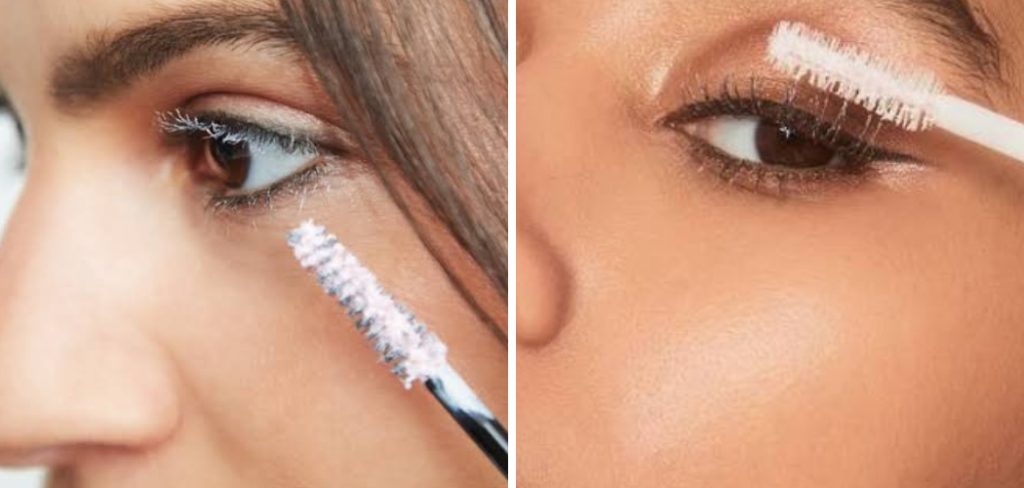
The best part is that this step takes only a few seconds, yet it makes a noticeable difference. Primer helps prevent clumping, boosts staying power, and can even nourish your lashes with caring ingredients over time. Whether you are a total beginner or someone who has worn makeup for years, this simple habit works for every skill level. In this friendly guide, we will walk you through the science, the benefits, and the exact steps to get salon-worthy lashes at home.
Why Using Primer Mascara Transforms Your Lash Game
Primer works because it prepares the surface before your color goes on, and that changes everything. The lightweight formula thickens each lash slightly and creates a textured base, so your mascara grips instead of sliding off. That means bigger volume, cleaner separation, and far less clumping. Many primers also contain nourishing ingredients like vitamins, peptides, or oils that condition your lashes while you wear them, so your natural fringe stays healthy over time.
Beyond looks, primer adds real staying power. When your mascara has a solid base to cling to, it resists flaking, smudging, and drooping throughout a long day. You get lashes that look lifted from morning until night without constant touch-ups. For anyone with short, sparse, or stubbornly straight lashes, this extra step delivers dramatic, buildable results that plain mascara alone simply cannot match, no matter the brand you reach for.
Step-by-Step Guide To How To Use Primer Mascara
Step 1: Start With Clean, Dry Lashes
Great results begin with a clean canvas, so always start here. Gently remove any old mascara, oil, or leftover eye cream with a soft cleanser, then let your lashes dry completely. Residue or moisture can stop the primer from bonding properly, which weakens the whole effect. If you use skincare around your eyes, give it a few minutes to fully absorb first. Dry, product-free lashes give the primer something solid to grip, so every following step works better. This quick prep takes seconds and sets the foundation for fuller, longer-lasting lashes all day.

Step 2: Curl Your Lashes First
Before you reach for any product, decide whether you want extra lift. Curling your lashes beforehand opens up your eyes and creates a beautiful, wide-awake shape. Position your lash curler at the base, squeeze gently for a few seconds, then release and repeat toward the tips for a natural bend. Always curl before applying anything wet, since curling over primer or mascara can crimp, break, or stick to your lashes. Learning how to use primer mascara the right way means locking in that curl early, so your lift holds strong from morning to night.
Step 3: Wipe Excess Off The Wand
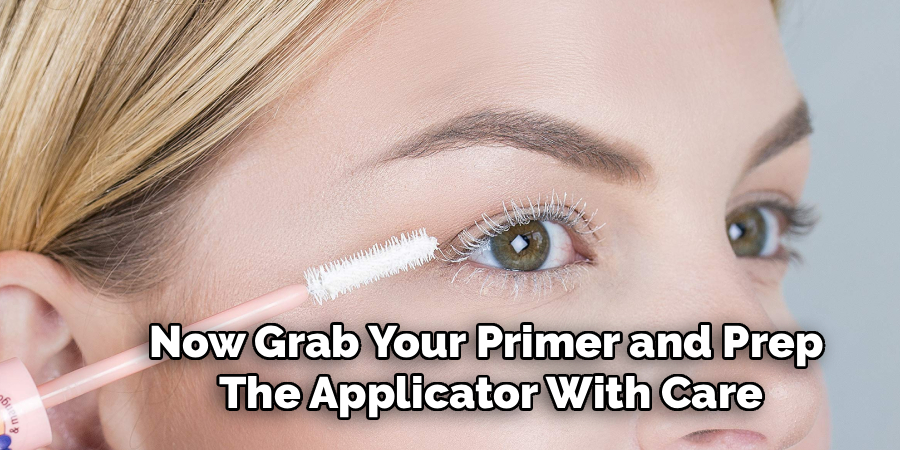
Now grab your primer and prep the applicator with care. Pull the wand out slowly, then gently wipe one side against the mouth of the tube to remove any extra product. Primers can be creamy or thick, and too much on the brush leads to heavy clumps that ruin the smooth base you want. You are aiming for a light, even coat, not a glob. A quick wipe gives you better control and cleaner separation. This small habit prevents mistakes and keeps your application tidy, which matters most when you are still building confidence.
Step 4: Apply Primer From Root To Tip
With your wand prepped, it is time to coat your lashes evenly. Place the brush at the base of your upper lashes and wiggle it slightly, then sweep upward toward the tips in one smooth motion. Work from the inner corner outward, covering every lash for consistent volume. Do not forget the tiny lashes at the ends of your eyes. The goal is a thin, uniform layer that adds grip and length. Applying from root to tip ensures full coverage, so your color mascara grabs onto a strong, textured base for maximum impact.
Step 5: Apply Mascara While Primer Is Wet
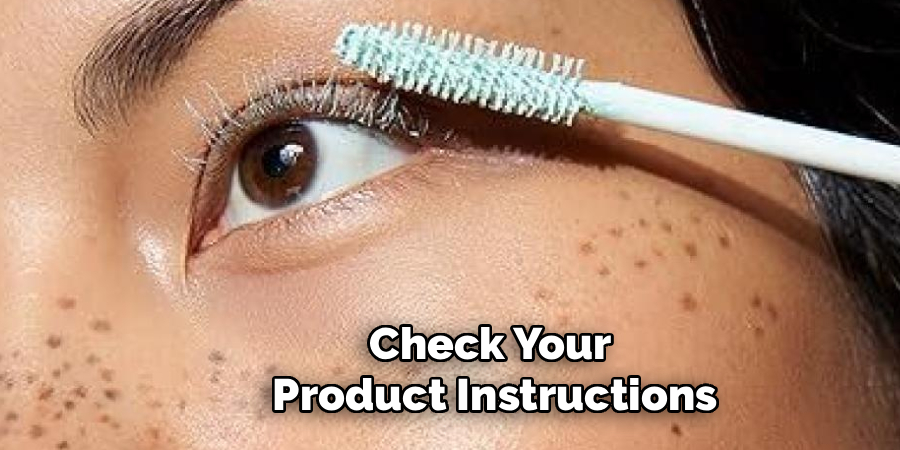
Timing is the secret that many beginners miss. Most primers work best when your color mascara goes on while the base is still slightly wet or tacky, so do not wait too long. Check your product instructions, since a few formulas prefer a short dry time, but most bond better with quick layering. Applying mascara over damp primer helps the two products blend into one seamless coat. Knowing how to use primer mascara with proper timing is what separates flat, clumpy results from full, dramatic, salon-quality lashes that hold their shape beautifully.
Step 6: Build Coats Slowly For Volume
Patience pays off, so resist the urge to rush this part. Apply your first coat of mascara using the same root-to-tip motion, wiggling at the base for a thicker look. Let it set for a few seconds, then add a second thin layer if you want more drama. Building slowly prevents heavy clumps and keeps your lashes separated and defined. Thin, layered coats always look cleaner and last longer than one thick, gloopy application. If you notice any clumps forming, use a clean spoolie to comb them out before the mascara dries.
Step 7: Comb Through And Finish
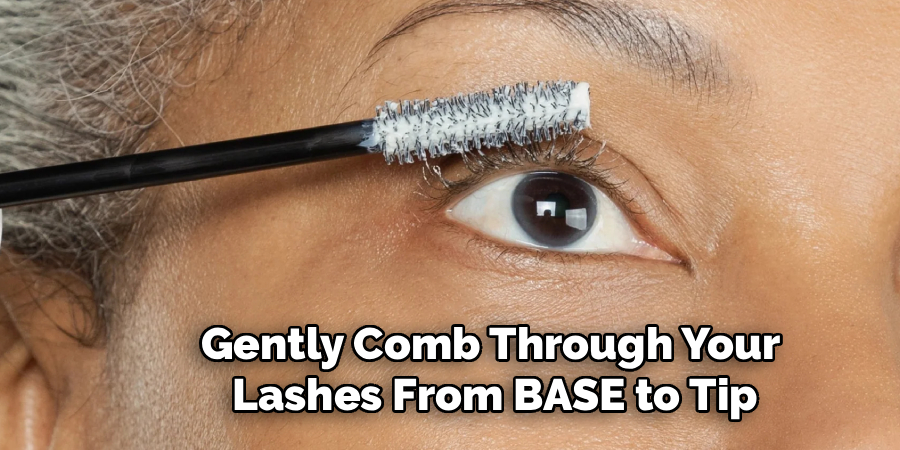
Finish strong with one final polishing move. Take a clean, dry spoolie brush and gently comb through your lashes from base to tip while the mascara is still slightly wet. This separates any stuck lashes, removes excess product, and creates a fluttery, feathered finish. If you spot smudges near your lash line, wait for everything to dry, then flake them away with a dry cotton swab. Give your lashes thirty to sixty seconds to fully set before you blink hard or apply eyeliner. That quick comb-through is the detail that makes your look feel truly professional.
Frequently Asked Questions
Do I Really Need A Separate Lash Primer?
You do not strictly need one, but it makes a real difference for many people. If your lashes are short, sparse, or refuse to hold a curl, a primer adds noticeable volume, length, and staying power. It also conditions your lashes over time. For a quick everyday look, plain mascara works fine. For fuller, longer-lasting results, that extra step is well worth the few added seconds.
What Color Should Lash Primer Be?
Primers usually come in white or clear formulas, and both work well. White primers are easier to see, so you can coat every lash evenly and know exactly where the product landed before your mascara covers it. Clear primers feel more natural and are great if you occasionally skip mascara. Either option adds grip and volume, so choose whichever feels more comfortable and beginner-friendly for your routine.
How Long Should I Wait Before Applying Mascara?
For most primers, you should apply your color mascara while the base is still slightly wet or tacky, which usually means within a few seconds. This helps the two products bond into one smooth, blended coat. A handful of formulas ask you to let the primer dry for around thirty seconds first, so always check the label. When in doubt, layering quickly gives the fullest, most seamless result.
Can Primer Damage My Natural Lashes?
When used correctly, a good primer is gentle and often beneficial for your lashes. Many formulas include conditioning ingredients like peptides, vitamins, or oils that strengthen and nourish over time. Damage typically comes from rough removal or tugging, not the product itself. Always remove your eye makeup gently with a proper cleanser, and avoid pulling at your lashes. Treated kindly, your natural fringe stays healthy and strong.
How Do I Remove Primer And Mascara At Night?
Removal should always be gentle to protect your delicate lashes. Soak a cotton pad with a mild eye makeup remover or micellar water, then press it against your closed eye for a few seconds to loosen everything. Wipe downward slowly without scrubbing or tugging. Repeat until your lashes are clean, then rinse with warm water. Taking your time here prevents breakage and keeps your lashes in great shape for tomorrow.
Conclusion
Adding a primer to your routine is one of the simplest ways to unlock fuller, longer, and longer-lasting lashes without spending a fortune. The key takeaways are easy to remember. Start with clean, dry lashes, curl before you apply anything wet, use a light and even coat, and layer your mascara while the base is still slightly tacky. Build your coats slowly, comb through for a polished finish, and always remove everything gently at night. Follow those steps and you will see a real difference from the very first try.
Now that you know how to use primer mascara like a pro, you have everything you need to transform your everyday eye look. Grab a primer that suits your lashes, follow this friendly, expert-backed routine, and give yourself a few extra seconds each morning to enjoy the payoff. Trust the process, keep practicing, and get ready to fall in love with bold, beautiful lashes that last from sunrise to well past sunset.

About the Author
Jane Hubbard is a passionate beauty expert with a wealth of experience in makeup, hair, and overall beauty techniques. After years of working as a hairdresser specialist, she followed her entrepreneurial spirit and started her own consultancy business.
Jane has always been driven by her desire to help others feel confident in their own skin, and she does this by sharing her knowledge, experiences, and practical beauty tips. Through her consultancy, she empowers individuals to embrace their unique beauty, offering tailored guidance that boosts both self-esteem and personal style.
Professional Focus
Specializes in makeup, hairstyling, and beauty consulting.
Provides personalized beauty advice, tips, and techniques to help individuals feel confident in their appearance.
Dedicated to staying up-to-date with the latest industry trends and developments.
Passionate about creating a comfortable and empowering experience for every client.
Education History
University of Craft and Design – Bachelor of Fine Arts (BFA) in Woodworking and Furniture Design
Woodworking Apprenticeships – Extensive hands-on training with skilled craftsmen to refine carpentry and furniture making techniques
Online Courses & Masterclasses – Continued education in advanced woodworking techniques, design principles, and specialized tools
Expertise:
Makeup artistry, hairstyling, and beauty consulting.
Personalized beauty techniques to enhance confidence and self-expression.
Educating clients on how to maintain their beauty routines at home.