

Quick answer: Achieving an airbrushed finish with powder foundation comes down to three things—hydrating your skin before application, layering thin coats gradually, and using the right tools. Build coverage slowly rather than all at once, and finish with a damp beauty sponge and setting spray to press the product into skin for a seamless, camera-ready result.
This guide on how to make powder foundation look airbrushed walks through exactly how to get there: the tools you’ll need, a seven-step application process, the mistakes worth avoiding, and a few tips to keep everything looking fresh through the day.
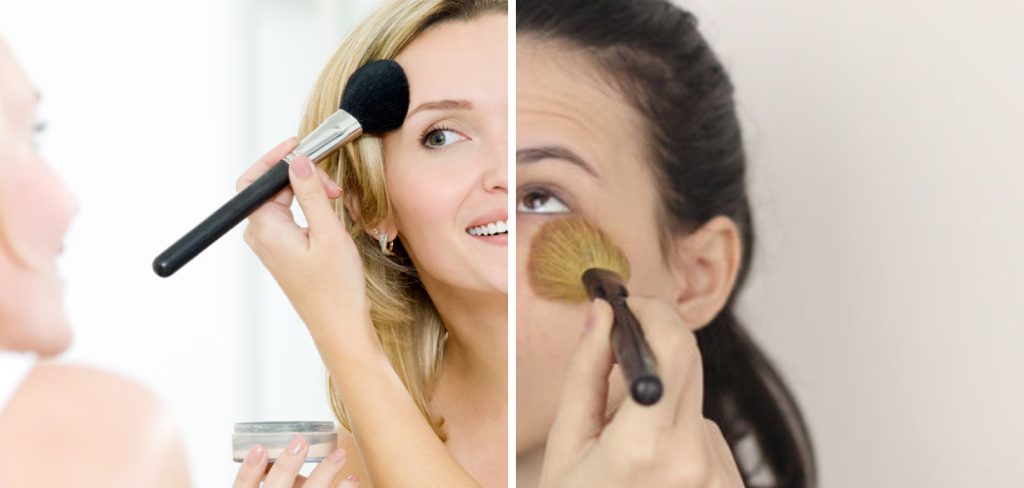
Powder foundation has a reputation problem. Ask most people why they avoid it, and you’ll hear the same complaints: cakey, flat, obvious. But here’s what those people are usually missing—the finish isn’t the product’s fault. Almost every “cakey powder” situation traces back to technique.
Apply powder correctly—on well-hydrated, primed skin, in thin buildable layers, with the right brush—and you can get a finish that genuinely rivals professional airbrush setups. Not “pretty good for powder.” Actually smooth. Refined. The kind of complexion that looks like you’re wearing nothing at all.
What Does an Airbrushed Makeup Finish Actually Look Like?
An airbrushed finish refers to a complexion that reads as smooth, even, and essentially pore-free—a second-skin effect where no individual layer of product is visible. Skin looks refined without appearing heavily made up.
Traditionally, this effect required specialized airbrush guns and compressor systems. Today, smart applications with standard products may suggest that you can replicate them at home. The gap between “professional airbrush result” and “what you can do yourself” has narrowed considerably.
Can Powder Foundation Actually Look Airbrushed?
Yes—though the finish depends far more on how the product is applied than what the packaging claims.
Powder applied to dry, unprimed skin settles into fine lines and pores, exaggerating texture rather than smoothing it. The same powder applied to a hydrated, well-prepped base behaves completely differently—it sits on top of the skin rather than sinking in, blending more seamlessly and holding more evenly throughout the day.
Surface preparation is where most people underinvest.
Tools and Materials You’ll Need
Before starting, gather the following:
- Hydrating primer (silicone- or water-based, depending on your skin type)
- Powder foundation (finely milled formulas tend to work best)
- Flat kabuki brush or dense buffing brush
- Beauty sponge (lightly dampened before use)
- Setting spray
- Fluffy powder brush (for touch-ups)
- Light-reflecting setting powder (optional, for targeted highlighting)
Tool quality matters here. A brush with tightly packed, dense bristles gives you significantly more control—it buffs product evenly rather than depositing it unevenly across the surface.
7 Steps on How to Make Powder Foundation Look Airbrushed
Step 1: Start With a Clean, Moisturized Base
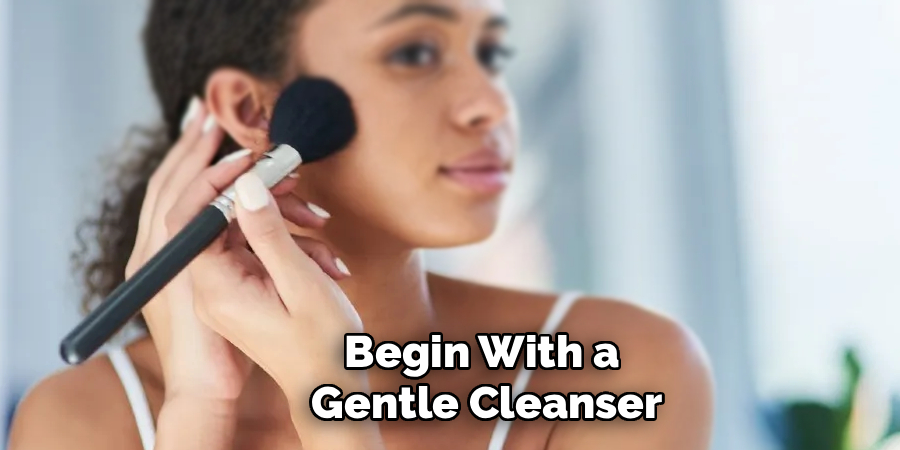
Powder performs best on skin that’s neither too dry nor too oily. Begin with a gentle cleanser, follow with a lightweight moisturizer suited to your skin type, and—this part matters—allow it to absorb fully before moving on. Three to five minutes, minimum.
Skipping moisturizer is one of the most reliable ways to end up with a patchy result. Hydrated skin creates a surface that powder can glide across rather than grip.
Step 2: Apply a Smoothing Primer
Once your moisturizer has absorbed, apply a thin, even layer of primer across the face. Silicone-based formulas are particularly effective at softening the appearance of pores and fine lines, creating a surface that’s more receptive to powder adhesion.
Focus on areas that tend to show texture—around the nose, across the forehead, along the chin. Blend toward the neck for a consistent finish, then allow the primer to set for about two minutes before applying foundation.
Step 3: Layer Powder Foundation Thinly
This is where most people go wrong. Applying too much product at once is the single biggest obstacle to a smooth powder finish.
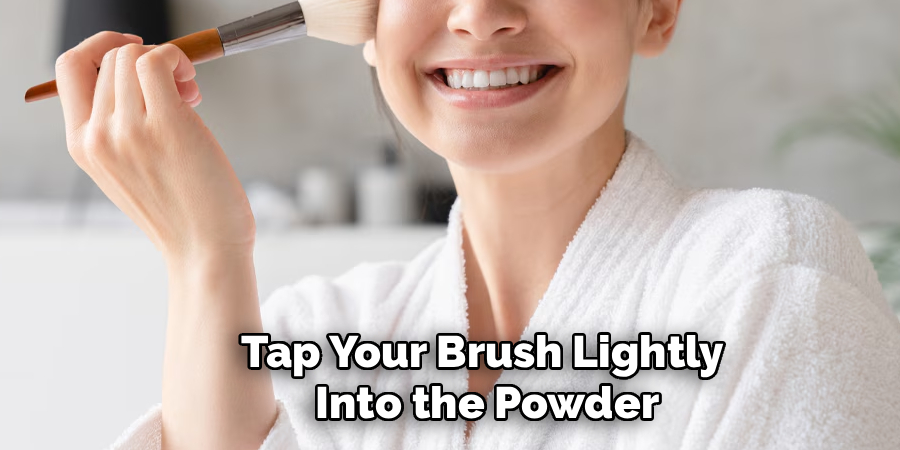
Tap your brush lightly into the powder, tap off the excess against the back of your hand, and apply in light, circular buffing motions—starting from the center of the face and working outward. One thin layer at a time. Allow each layer to settle before adding more. Two or three thin layers will almost always look better than one heavy application; the product stays light, and the coverage feels natural.
Step 4: Buff in Circular Motions for a Seamless Blend
After the first layer, shift your technique from application to blending. Circular motions work product into the skin and eliminate any streaks or brush marks.
Use a clean, dense buffing brush and work in small circles across each section of the face. Pay particular attention to the hairline, jaw, and the sides of the nose—these are the areas where powder most often looks unblended. The goal is for the foundation to appear to disappear into the skin rather than sit visibly on top.
Step 5: Set With a Light-Reflecting Powder
Once the base is in place, dust a small amount of finely milled setting powder over the face with a fluffy brush, focusing on the T-zone where oil breaks through first.
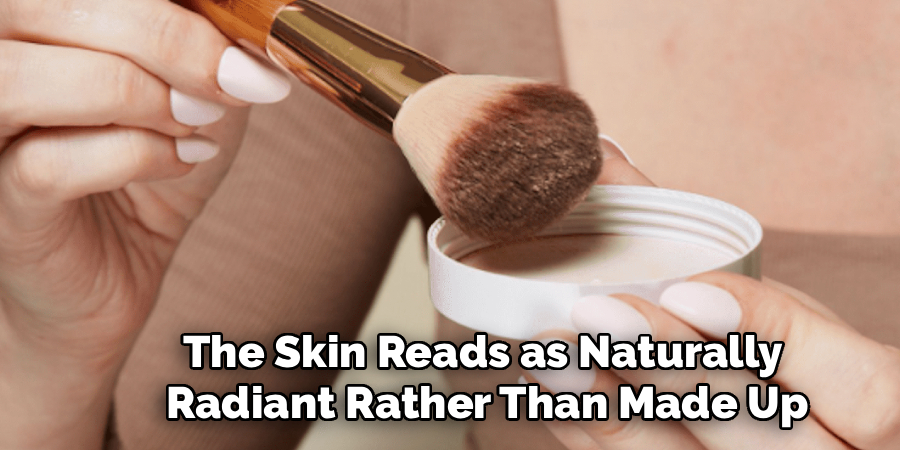
For a more luminous result, a light-reflecting or translucent powder on the high points of the face—cheekbones, brow bones, and the bridge of the nose—creates dimension without adding extra coverage. The skin reads as naturally radiant rather than made up.
Step 6: Press and Melt With a Damp Beauty Sponge
This step changes things considerably. Take a lightly dampened beauty sponge and press it gently over the entire face using a stippling motion—press and release, rather than dragging or wiping.
The pressing action embeds powder into the skin rather than leaving it sitting on the surface. The slight moisture helps the product melt into the base, producing the seamless, skin-like finish that defines an airbrushed look. It also helps prevent the powdery cast that sometimes appears in photographs—worth noting if you’re applying for an event.
Step 7: Lock Everything In With Setting Spray
Hold the setting spray approximately 30 centimeters from the face and mist it evenly across the skin. This final step binds all the layers together, adds a subtle glow, and extends wear significantly.
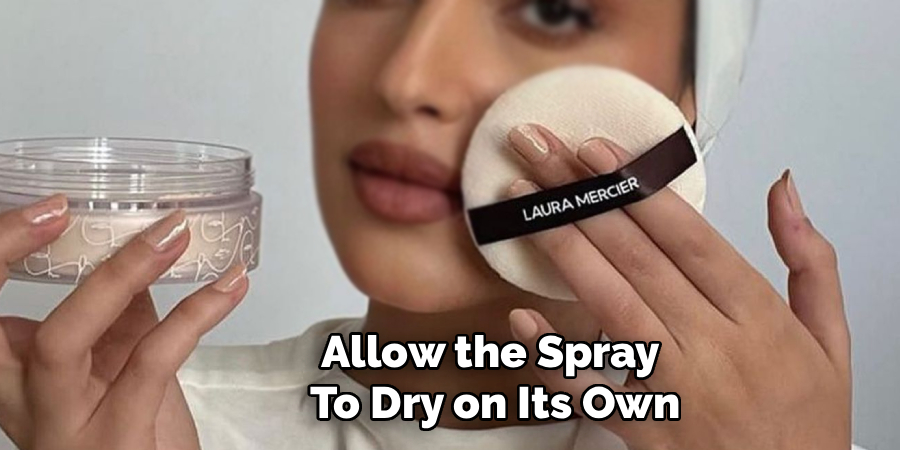
Allow the spray to dry on its own—don’t pat or rub it in. As it dries, it fuses product to skin and softens any remaining powdery texture, leaving a finish that looks fresh rather than applied.
Following these steps on how to make powder foundation look airbrushed will ensure a flawless and long-lasting finish.
How to Touch Up Without Caking
The key to a clean midday touch-up is removing surface oil before adding any more product. Blotting with an oil-absorbing sheet lifts shine without disturbing existing makeup. Once the oil is managed, use a clean brush and an extremely light hand to press a small amount of powder onto areas that need refreshing.
Avoid layering powder directly onto oil—that combination is what produces the thick, cakey look that powder gets blamed for. A small setting spray can also revive the finish without adding any product at all, which may be the better option for minor touch-ups.
If makeup has shifted significantly, gently press a damp sponge over the skin before adding anything new.
Tips for Long-Lasting Results
- Choose a formula specifically developed for extended wear; these typically include ingredients that help bond the product to the skin.
- Set primer with a very small amount of powder before applying foundation to create an extra layer of adhesion.
- Apply product in thin layers throughout the day rather than one heavy layer in the morning.
- Avoid touching your face—oil transfer breaks down the finish faster than almost anything else.
Common Myths About Powder Foundation
Myth: Powder is only for oily skin.
Powder works well across all skin types when paired with an appropriate primer and moisturizer. Drier skin types simply need more thorough prep beforehand.
Myth: Powder always looks flat and matte.
Finely milled formulas and light-reflecting powders can produce a genuinely luminous finish. The result is largely determined by the formula, not the format.
Myth: Powder can’t provide full coverage.
Building thin layers gradually can achieve significant coverage—it just requires patience rather than product volume.
Frequently Asked Questions
Can I Use Powder Foundation Over Liquid Foundation for a Better Finish?
Yes, and many makeup artists do exactly this. A light layer of powder foundation over a liquid base sets the liquid while adding coverage and a more refined surface texture. Use a very light hand and a damp sponge to press—not rub—the powder on top.
What Type of Brush Works Best for an Airbrushed Powder Finish?
A flat-top kabuki brush or a dense, dome-shaped buffing brush tends to work best. The tightly packed bristles allow for even buffing without streaks. Fluffy brushes deposit product less evenly, which could make a smooth finish harder to achieve.
How Do I Prevent Powder Foundation From Settling Into Fine Lines?
Preparation matters most here. Apply a hydrating primer that fills fine lines before foundation, avoid applying powder to dry or dehydrated skin, and use a pressing motion rather than dragging the brush across the face. Finishing with a damp sponge helps press product flat rather than letting it rest in creases.
Does Powder Foundation Work for Photographs and Events?
With the right technique, yes. The damp sponge step is particularly important for photographic settings, as it reduces the powdery cast that can appear under flash. Setting spray also helps the product read as more skin-like under studio or event lighting.
Small Adjustments, Dramatically Different Results
Powder foundation is one of the more underrated tools in a makeup kit. The finish it’s capable of producing—when the prep is right, the layers are thin, and the sponge step isn’t skipped—may surprise people who’ve written it off entirely.
Start with well-moisturized skin, build coverage gradually, and lock everything in with a setting spray. The steps on how to make powder foundation look airbrushed aren’t complicated. The results, though, can be.

About the Author
Jane Hubbard is a passionate beauty expert with a wealth of experience in makeup, hair, and overall beauty techniques. After years of working as a hairdresser specialist, she followed her entrepreneurial spirit and started her own consultancy business.
Jane has always been driven by her desire to help others feel confident in their own skin, and she does this by sharing her knowledge, experiences, and practical beauty tips. Through her consultancy, she empowers individuals to embrace their unique beauty, offering tailored guidance that boosts both self-esteem and personal style.
Professional Focus
Specializes in makeup, hairstyling, and beauty consulting.
Provides personalized beauty advice, tips, and techniques to help individuals feel confident in their appearance.
Dedicated to staying up-to-date with the latest industry trends and developments.
Passionate about creating a comfortable and empowering experience for every client.
Education History
University of Craft and Design – Bachelor of Fine Arts (BFA) in Woodworking and Furniture Design
Woodworking Apprenticeships – Extensive hands-on training with skilled craftsmen to refine carpentry and furniture making techniques
Online Courses & Masterclasses – Continued education in advanced woodworking techniques, design principles, and specialized tools
Expertise:
Makeup artistry, hairstyling, and beauty consulting.
Personalized beauty techniques to enhance confidence and self-expression.
Educating clients on how to maintain their beauty routines at home.