

A flawless base can transform your entire look, and getting there is easier than you might think. If you have picked up these popular products but feel unsure where to begin, you are in the right place. Learning how to apply il makiage concealer and foundation gives you the confidence to create smooth, natural coverage that lasts all day. These products are loved for their buildable formulas and skin-like finish, which makes them perfect for beginners and seasoned makeup fans alike.
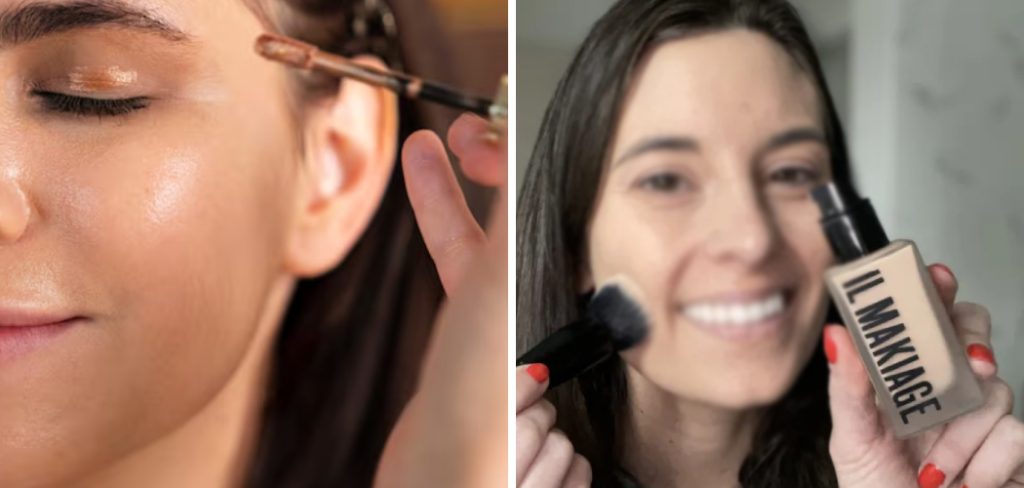
This friendly guide walks you through everything step by step, so you never feel lost. We break down each part of the process into simple, easy-to-follow instructions that suit all skill levels. Whether you want light, everyday coverage or a fuller finish for a special evening, the right technique makes all the difference. By the end, you will know exactly how to prep, apply, blend, and set your base like a pro. Let us dive in and help you master a routine you can rely on.
Why Applying Il Makiage Concealer And Foundation Matters
Your base sets the stage for the rest of your makeup, so getting it right truly counts. When you apply these products correctly, you achieve even coverage that hides redness, dark circles, and blemishes without looking cakey or heavy. A well-blended base also helps your blush, bronzer, and highlighter sit smoothly, giving you a polished, professional result.
Beyond appearance, proper technique protects your skin and saves you product. Applying thin, buildable layers prevents waste and reduces creasing throughout the day. It also means your makeup stays put during long hours, so you spend less time on touch-ups. Mastering this skill empowers you to feel confident in any setting, from busy workdays to weekend celebrations. Small adjustments in how you apply make a big impact on how long your look lasts and how natural it appears.
Step-by-Step Guide To How To Apply Il Makiage Concealer And Foundation
Step 1: Prep Your Skin
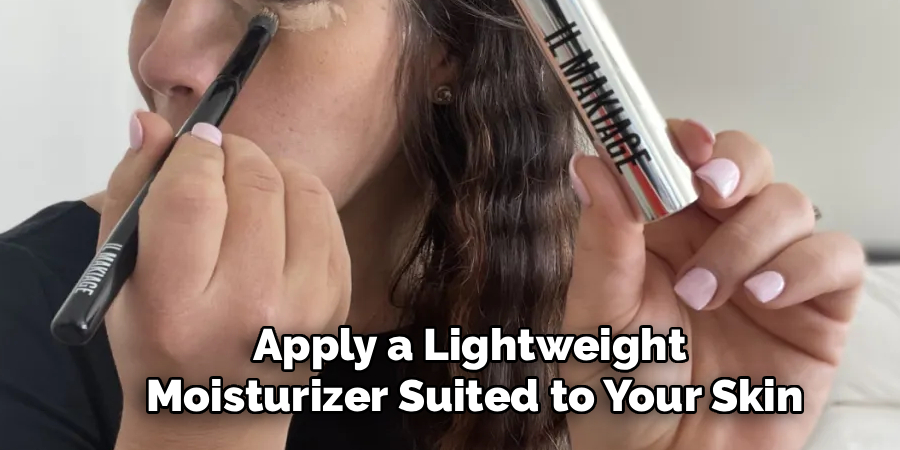
Start with a clean, moisturized face for the smoothest results. Wash away any dirt or leftover makeup, then pat your skin dry with a soft towel. Apply a lightweight moisturizer suited to your skin type and let it absorb fully for a minute or two. This step creates a hydrated canvas that helps your base glide on evenly. If your skin tends to get oily, use an oil-free formula to keep shine at bay. Well-prepped skin prevents patchiness and helps your makeup last longer. Never skip hydration, because dry patches can cause foundation to cling and look uneven throughout the day.
Step 2: Apply A Smoothing Primer
Once your moisturizer settles, reach for a primer to create a seamless surface. Squeeze a pea-sized amount onto your fingertips and gently press it across your forehead, cheeks, nose, and chin. Focus on areas where pores appear larger or where makeup tends to fade first. Primer fills in fine lines and texture, giving your foundation something to grip. This extra layer also helps control oil and keeps your base looking fresh for hours. Let the primer set for about sixty seconds before moving on. Learning how to apply il makiage concealer and foundation always works best when you build on a smooth, prepared foundation of skincare and primer.
Step 3: Shake And Dispense Your Foundation
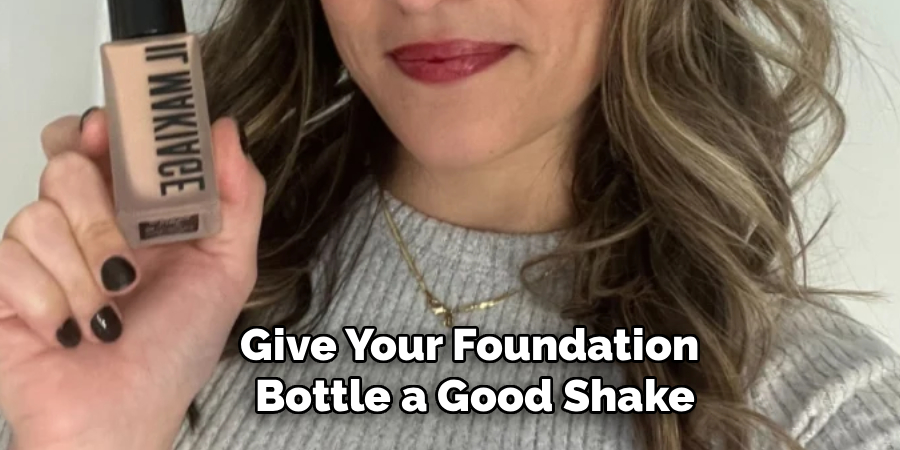
Give your foundation bottle a good shake to blend the formula evenly. Pump a small amount onto the back of your hand rather than directly onto your face, which gives you better control over how much you use. Start with one or two pumps, since you can always add more later. Using the back of your hand also warms the product slightly, helping it spread more easily. Remember that a little goes a long way with these buildable formulas. Dispensing the right amount prevents waste and stops your base from looking thick or heavy, keeping that natural, skin-like finish everyone loves.
Step 4: Blend The Foundation Outward
Now it is time to apply your foundation using a damp makeup sponge or a soft brush. Dot small amounts across your forehead, cheeks, nose, and chin, then blend outward using gentle bouncing or sweeping motions. Work from the center of your face toward the edges for the most natural coverage. Take your time and build slowly, adding thin layers only where you need extra coverage. A damp sponge gives a fresh, dewy look, while a brush offers fuller, more polished results. Blend down toward your neck to avoid harsh lines, ensuring your color matches seamlessly and looks completely natural in all lighting.
Step 5: Spot-Conceal Where Needed
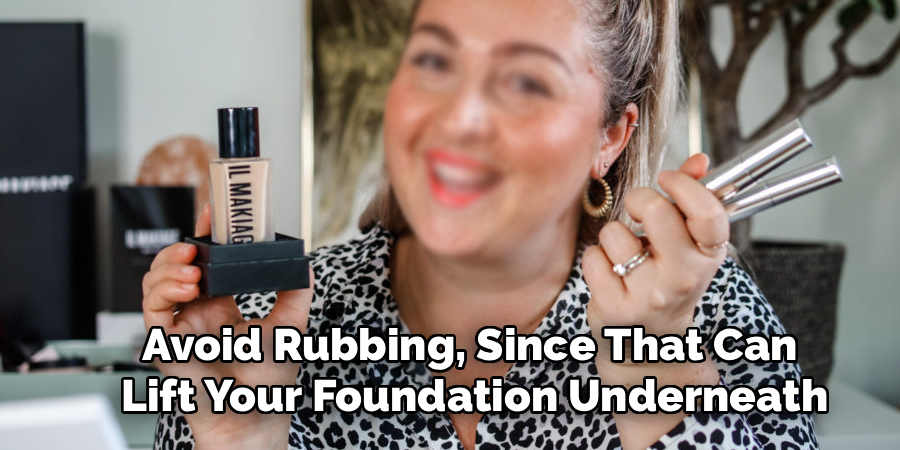
With your foundation in place, you can now target areas that need a little more help. Dab a small amount of concealer onto blemishes, redness, or dark circles under your eyes. For under-eye brightening, apply the product in a soft triangle shape pointing toward your cheek, which lifts and opens up your face. Use your ring finger or a small sponge to tap the concealer gently until it disappears into your skin. Avoid rubbing, since that can lift your foundation underneath. Building thin layers here prevents creasing and keeps everything looking smooth, natural, and beautifully blended across every part of your face.
Step 6: Blend And Correct
After placing your concealer, blend the edges carefully so nothing looks patchy or obvious. Use a clean, damp sponge to press and roll over the concealed areas, softening any harsh lines. Focus on melting the product into your foundation for a seamless finish. If you notice any spots that need more coverage, add a tiny bit more and blend again. Knowing how to apply il makiage concealer and foundation with patience truly pays off here, because gentle layering creates that flawless, airbrushed effect. Take a moment to check your work in natural light, adjusting anything that looks uneven before you move on to setting.
Step 7: Set Everything In Place
Lock in your hard work with a setting product for long-lasting wear. Choose a light dusting of translucent powder or a setting spray, depending on your skin type and desired finish. For oily skin, powder helps control shine, especially across the T-zone. For dry or normal skin, a hydrating setting spray keeps everything looking fresh and dewy. Apply powder with a fluffy brush, focusing only on areas prone to shine, or mist setting spray evenly across your whole face. This final step prevents creasing and fading, helping your beautiful base stay put through long days and busy evenings without needing constant touch-ups.

Frequently Asked Questions
How Do I Choose The Right Foundation Shade?
Picking the correct shade starts with knowing your undertone, which can be warm, cool, or neutral. Test a few shades along your jawline in natural daylight, and choose the one that disappears into your skin. Many brands offer online shade-matching quizzes that ask about your skin tone and preferences. These tools give a great starting point, and expert support is often available if you feel unsure or need extra guidance.
Should I Apply Concealer Before Or After Foundation?
In most cases, foundation goes on first, then concealer for targeted coverage. This order means you use less concealer overall, since your foundation already evens out much of your skin. Applying concealer afterward lets you spot-treat blemishes and dark circles precisely without disturbing your base. That said, some people prefer under-eye concealer first for brightening. Feel free to experiment and find the sequence that gives you the finish you love most.
How Can I Stop My Makeup From Creasing?
Creasing usually happens when too much product builds up in one spot. To prevent this, apply thin layers and blend thoroughly between each one. Setting your under-eye area with a light dusting of powder helps lock everything in place. Hydrated, well-primed skin also reduces creasing, since dry patches grab onto product. Take your time layering slowly, and you will notice a smoother, longer-lasting finish that stays fresh throughout your entire day.
What Tools Work Best For Application?
A damp makeup sponge and a soft brush are both excellent choices, and each gives a slightly different result. A sponge creates a natural, dewy finish and blends product beautifully into the skin. A brush offers fuller, more polished coverage and works quickly. Using clean fingertips can also help warm and press product into place. Experiment with different tools to discover which one feels most comfortable and delivers your favorite look.
How Do I Make My Base Last All Day?
Long-lasting wear starts with proper prep and ends with good setting. Cleanse, moisturize, and prime your skin before applying anything, then build thin, even layers. Finish with translucent powder or a setting spray to lock everything down. Blotting papers help control midday shine without adding more product. With these simple habits, your base can stay fresh and flawless from morning until night, giving you confidence wherever your day takes you.
Conclusion
Creating a smooth, natural base is a skill anyone can master with the right steps and a little practice. We covered everything from prepping and priming your skin to blending, concealing, and setting for long-lasting wear. The key is to work slowly, build thin layers, and blend well at every stage. Each step builds on the last, giving you coverage that looks effortless and stays put through busy days and special nights.
Now that you understand how to apply il makiage concealer and foundation, you have the tools to create a flawless look with confidence. Take your time experimenting with different techniques and tools until you find what feels right for you. Your perfect base is well within reach, so grab your products, follow these friendly steps, and enjoy the fresh, polished finish you deserve. Go ahead and give your new routine a try today.

About the Author
Jane Hubbard is a passionate beauty expert with a wealth of experience in makeup, hair, and overall beauty techniques. After years of working as a hairdresser specialist, she followed her entrepreneurial spirit and started her own consultancy business.
Jane has always been driven by her desire to help others feel confident in their own skin, and she does this by sharing her knowledge, experiences, and practical beauty tips. Through her consultancy, she empowers individuals to embrace their unique beauty, offering tailored guidance that boosts both self-esteem and personal style.
Professional Focus
Specializes in makeup, hairstyling, and beauty consulting.
Provides personalized beauty advice, tips, and techniques to help individuals feel confident in their appearance.
Dedicated to staying up-to-date with the latest industry trends and developments.
Passionate about creating a comfortable and empowering experience for every client.
Education History
University of Craft and Design – Bachelor of Fine Arts (BFA) in Woodworking and Furniture Design
Woodworking Apprenticeships – Extensive hands-on training with skilled craftsmen to refine carpentry and furniture making techniques
Online Courses & Masterclasses – Continued education in advanced woodworking techniques, design principles, and specialized tools
Expertise:
Makeup artistry, hairstyling, and beauty consulting.
Personalized beauty techniques to enhance confidence and self-expression.
Educating clients on how to maintain their beauty routines at home.