

Transforming your ears into pointed, otherworldly elf ears is one of the most fun parts of any cosplay or costume look, and you don’t always need fancy prosthetics to pull it off. If you already own a good foundation, you’re halfway there. Learning how to paint elf ears with foundation lets you blend your prosthetic tips seamlessly into your natural skin, so the finished effect looks believable rather than obviously fake.
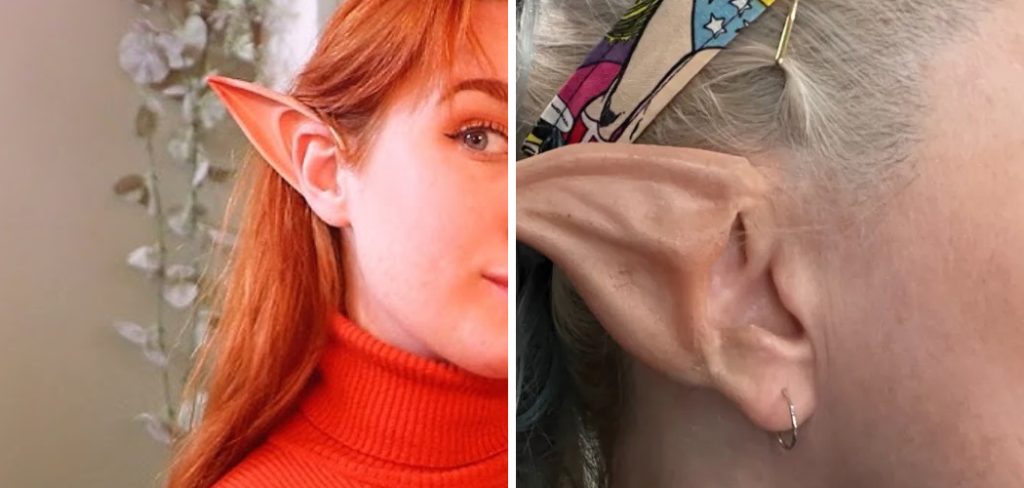
This technique matters because the ears are often the first thing people notice on a fantasy character. A sloppy edge or a mismatched color can break the illusion instantly, while smooth, well-matched ears sell the whole look. The good news is that this skill sits comfortably within reach for beginners.
In this friendly, expert-backed guide, we’ll walk you through exactly what you need, why the method works, and each step in plain language. By the end, you’ll feel confident enough to grab your makeup, prep your ears, and create a magical result that holds up in photos and in person.
Why Painting Elf Ears With Foundation Matters
Foundation acts like a bridge between your prosthetic ear tips and your real skin, hiding the seam where the two meet. Without it, that edge stands out and gives the whole costume away. Matching your foundation to your natural skin tone means the pointed shape reads as part of you, not a piece glued on top.
Beyond blending, foundation adds durability and a consistent finish across the entire ear. It smooths texture, evens out color differences, and gives powder, shadow, and highlight something to grip. This makes your detailing last longer through a busy convention day or a long photo shoot. Mastering this approach also saves money, since a single foundation bottle can replace pricey specialty products while still delivering a polished, professional result you can adapt to almost any fantasy character.
Step-by-Step Guide To How To Paint Elf Ears With Foundation
Step 1: Gather Your Tools
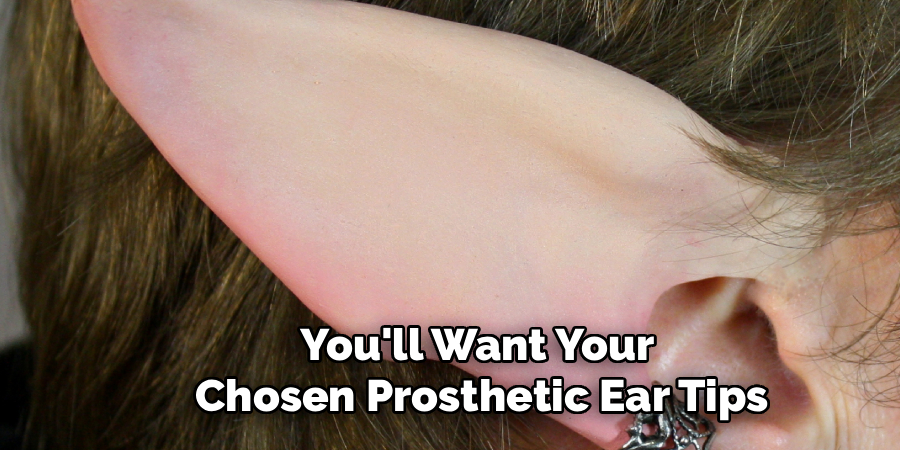
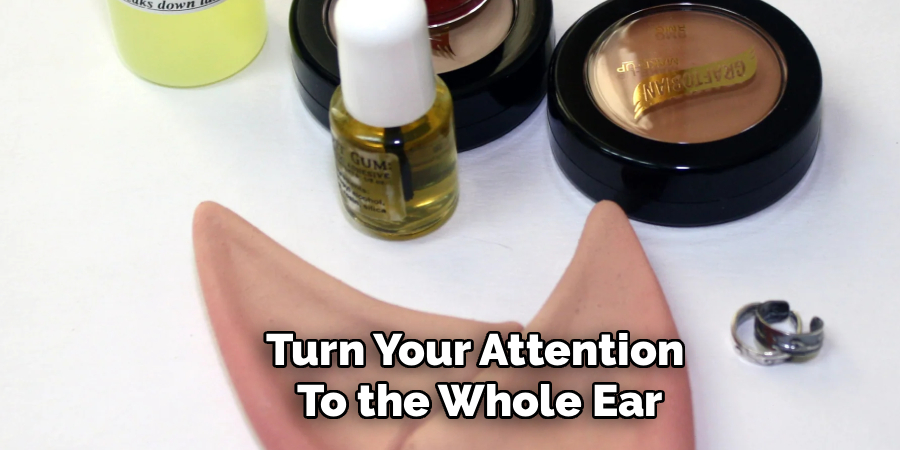
Before you touch any makeup, set out everything you need so you’re not scrambling mid-application. You’ll want your chosen prosthetic ear tips, a skin-safe adhesive, a liquid or cream foundation that matches your skin, a small makeup sponge, a soft brush, setting powder, and a few cotton swabs. Keep a mirror at a comfortable angle and good lighting nearby. Having your kit organized in one spot keeps the process calm and lets you focus on blending rather than searching. This small bit of prep work makes a surprisingly big difference in how smooth and stress-free the whole application feels.
Step 2: Clean And Prep The Skin
Start with a clean canvas, because oils and dirt stop both adhesive and makeup from sticking properly. Gently wash your ears and the surrounding skin, then dry them fully with a soft towel. If your skin runs oily, sweep a little primer or a light dusting of powder across the area to help everything grip. Avoid heavy moisturizers right before you begin, since slick surfaces cause products to slide and separate. Taking a moment here to prep the skin gives your prosthetic a strong foundation to bond to, and it helps your later makeup layers stay put for hours.
Step 3: Attach The Prosthetic Tips
Position each prosthetic tip against the top of your natural ear and check the placement in the mirror before committing. Once you’re happy, apply a thin, even layer of skin-safe adhesive along the edge that meets your skin. Press the tip gently into place and hold it for the time listed on your adhesive instructions. Work slowly and match both sides so they sit at the same angle. A well-placed tip is the heart of learning how to paint elf ears with foundation, because a solid, secure base gives your blending work a smooth, seamless edge to build on.

Step 4: Blend The Seam
Now comes the magic moment where the prosthetic starts to disappear into your skin. Dab a small amount of foundation directly over the seam using your sponge, pressing rather than wiping so you don’t lift the edge. Build the coverage gradually in thin layers, feathering the product outward onto both the prosthetic and your natural ear. Keep checking in the mirror to catch any harsh lines. Patience really pays off here, so take your time and add product little by little. When the seam blurs and vanishes, you know your blending is working exactly as it should.
Step 5: Even Out The Color
With the seam hidden, turn your attention to the whole ear so the prosthetic and your skin share one consistent tone. Apply foundation across the entire prosthetic surface, matching it to the color on the rest of your ear and neck. This full-coverage pass is a key part of how to paint elf ears with foundation, since prosthetic material often reads slightly lighter or pinker than real skin. Blend the edges into your hairline and jaw so nothing looks abruptly different. Step back, view the ear from several angles, and touch up any spots that catch the light unevenly.
Step 6: Set Everything With Powder
Foundation alone can stay tacky and smudge with movement, so locking it down with powder is essential. Lightly load a soft brush with translucent setting powder, tap off the excess, and sweep it gently across the entire ear. This step mattifies the surface, reduces shine, and helps your work survive heat, sweat, and long hours in costume. Avoid pressing too hard, since a heavy hand can disturb the foundation underneath. A light, even dusting is all you need. Once set, the ear feels dry to the touch and gives you a stable base for adding realistic detail.
Step 7: Add Shading And Detail
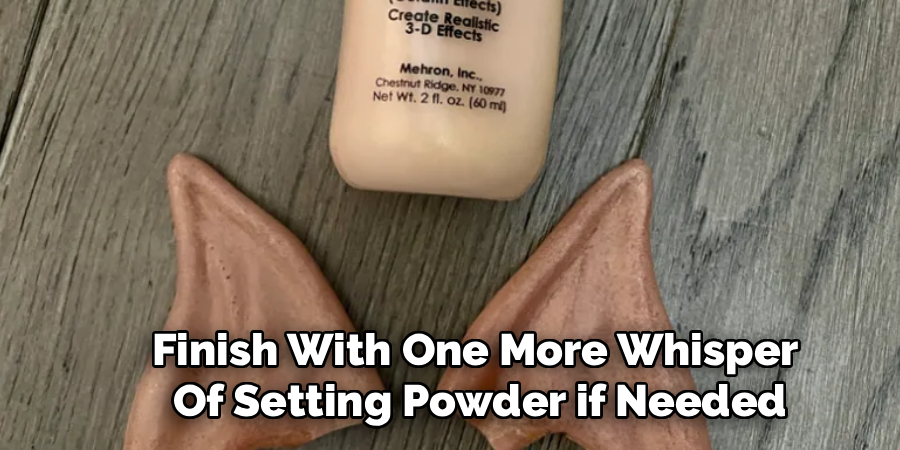
Bring your elf ears to life with subtle shadow and highlight that mimic natural depth. Use a slightly darker shade in the inner curves and creases to create realistic dimension, then add a touch of highlight along the outer ridges and the pointed tip. Blend these tones softly so they melt into the base rather than sitting as obvious blocks of color. A hint of pink or peach near the tips can suggest lifelike warmth. Finish with one more whisper of setting powder if needed. This detailing transforms a flat, painted shape into ears that look genuinely part of your character.
Frequently Asked Questions
Can I Use Any Foundation For This Look?
Most liquid or cream foundations work well, as long as the shade closely matches your natural skin tone. Full-coverage formulas tend to hide seams better than sheer ones. Avoid very shimmery or heavily luminous foundations, since they can highlight the prosthetic edge instead of concealing it. A flexible, buildable product gives you the most control and helps everything blend smoothly for a natural, believable result.
How Do I Keep The Ears From Smudging?
Setting powder is your best friend for smudge-free ears. After your foundation and detailing are complete, dust a translucent powder lightly over the entire surface to lock everything in place. For extra staying power, a light mist of setting spray helps too. Try to avoid touching your ears throughout the day, and carry a little powder for quick touch-ups if you notice any shine or movement.
Do I Need Special Adhesive For The Prosthetic Tips?
Yes, always use a skin-safe adhesive designed for prosthetics or costume makeup rather than craft glue. Common options include spirit gum and medical-grade adhesives, both of which hold securely while remaining gentle on skin. Follow the product instructions closely, and do a small patch test beforehand if you have sensitive skin. The right adhesive keeps your tips firmly in place so your blending stays flawless all day.
How Do I Remove Everything Safely Afterward?
Never rip the prosthetics off, as this can irritate your skin. Instead, use the remover recommended for your specific adhesive, applying it gently around the edges until the tips loosen. Once removed, wash your ears with a mild cleanser to lift any leftover product and residue. Finish with a soothing moisturizer to rehydrate the skin. Taking this gentle approach keeps your ears comfortable and ready for your next costume adventure.
What If My Skin Tone Doesn’t Match The Prosthetic?
Mismatched color is common, and foundation solves it beautifully. Simply apply your matching foundation over the entire prosthetic, not just the seam, so the whole tip shares your skin tone. If the prosthetic is much lighter, build coverage in thin layers until the colors align. You can also mix two shades to get a perfect match. Blending onto surrounding skin ties everything together for a seamless finish.
Conclusion
Creating convincing elf ears at home is far more achievable than it first appears, and the secret lies in patient, thoughtful blending. The key takeaways are simple. Start with a clean, well-prepped base, secure your prosthetic tips carefully, and then use thin, buildable layers of foundation to erase the seam and unify the color. Setting powder locks your work in place, while gentle shading and highlight add the lifelike depth that makes your character believable.
Now that you understand how to paint elf ears with foundation, you have everything you need to bring your fantasy look to life with confidence. Don’t be afraid to practice before your big event, since a quick trial run helps you perfect your technique and timing. Gather your tools, trust the process, and enjoy the transformation. Your magical, photo-ready elf ears are just a few careful steps away, so go ahead and give this rewarding technique a try.

About the Author
Jane Hubbard is a passionate beauty expert with a wealth of experience in makeup, hair, and overall beauty techniques. After years of working as a hairdresser specialist, she followed her entrepreneurial spirit and started her own consultancy business.
Jane has always been driven by her desire to help others feel confident in their own skin, and she does this by sharing her knowledge, experiences, and practical beauty tips. Through her consultancy, she empowers individuals to embrace their unique beauty, offering tailored guidance that boosts both self-esteem and personal style.
Professional Focus
Specializes in makeup, hairstyling, and beauty consulting.
Provides personalized beauty advice, tips, and techniques to help individuals feel confident in their appearance.
Dedicated to staying up-to-date with the latest industry trends and developments.
Passionate about creating a comfortable and empowering experience for every client.
Education History
University of Craft and Design – Bachelor of Fine Arts (BFA) in Woodworking and Furniture Design
Woodworking Apprenticeships – Extensive hands-on training with skilled craftsmen to refine carpentry and furniture making techniques
Online Courses & Masterclasses – Continued education in advanced woodworking techniques, design principles, and specialized tools
Expertise:
Makeup artistry, hairstyling, and beauty consulting.
Personalized beauty techniques to enhance confidence and self-expression.
Educating clients on how to maintain their beauty routines at home.