

Nail art can feel like magic, and few things prove that better than a bottle of polish that shifts and swirls right before your eyes. If you have ever spotted those glittery, wave-like designs on someone’s nails and wondered how they got there, you are in the right place. So how does magnetic nail polish work, and why is everyone so curious about it? The short answer involves tiny metallic particles and a small magnet, but there is a bit more to the story.
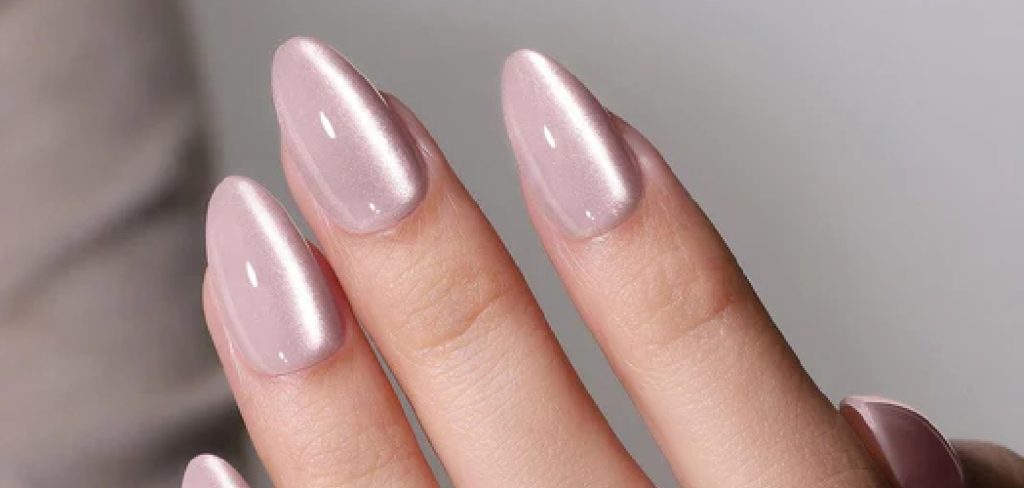
This polish creates shimmering patterns without any brushes, stencils, or steady-handed skill. That makes it a favorite for beginners and busy people who still want salon-worthy results at home. In this guide, we will break down the science in plain language, walk you through each step, and answer the questions most people ask. By the end, you will feel confident enough to try it yourself and impress everyone around you.
Why Magnetic Nail Polish Is Worth Trying
This polish gives you eye-catching, three-dimensional designs in seconds, which is hard to beat. You do not need any special training or expensive tools, just the bottle and its built-in magnet. That means fewer mistakes and less frustration, even if your painting skills are shaky.
It also saves time. A full manicure with detailed nail art can take an hour or more, but magnetic effects appear almost instantly. The designs look custom and unique, since the pattern shifts depending on how you hold the magnet. Best of all, the results feel premium without the salon price tag. For anyone who loves creative, low-effort beauty, this polish delivers real value and plenty of fun along the way.
Step-by-Step Guide to How Does Magnetic Nail Polish Work
Step 1: Understand the Metallic Particles
The secret starts inside the bottle. This polish contains tiny iron-based particles mixed into the liquid color. When you shake the bottle and brush it on, these particles float evenly across your nail. On their own, they simply add a subtle shimmer, much like a standard metallic shade.
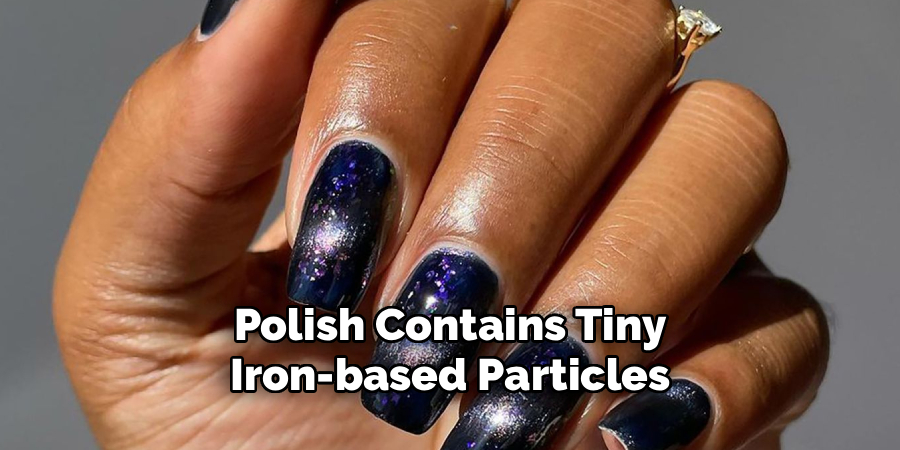
The magic only appears when a magnet enters the picture. Until then, the particles sit flat and still. Think of them as tiny compass needles waiting for direction. Once you understand this hidden ingredient, the rest of the process makes far more sense and feels much less mysterious than it first appears.
Step 2: Prep Your Nails Properly
Good results begin with clean, dry nails. Remove any old polish and gently push back your cuticles for a tidy surface. Buff the nail lightly so the polish grips well, then wipe away any dust or oil with a bit of remover. This step matters because a smooth base helps the color and pattern set evenly.
Skipping prep often leads to chipping or uneven coverage, which can hide the effect you want. Take your time here. A little care upfront saves you from redoing the whole thing later, and it gives your final look a cleaner, longer-lasting finish.
Step 3: Apply a Base Coat
Before the color goes on, brush a thin layer of clear base coat across each nail. This protects your natural nail from staining and gives the polish something to hold onto. Let it dry fully, since a tacky base can smear the layers above it.
A base coat also improves durability, helping your design last several days instead of hours. Keep the layer light and even. Thick coats take longer to dry and can bubble, which ruins the smooth surface you need. Once this coat feels dry to a gentle touch, you are ready for the fun part.
Step 4: Paint the Magnetic Color
Now brush on the magnetic color while it is still wet, working one nail at a time. This timing is key to understanding how does magnetic nail polish work, because the effect only forms before the polish dries. Apply a generous but even coat so the metallic particles can move freely when the magnet arrives.

Do not paint all your nails at once. If the color dries too soon, the particles lock in place and the pattern will not appear. Focus on a single nail, keep the coat smooth, and move quickly to the next step while the surface remains soft and workable.
Step 5: Hold the Magnet Above the Nail
Here is where the real transformation happens. Most bottles come with a small magnet built into the cap. Hold that magnet close to your wet nail, usually about half a centimeter away, without touching the polish. Keep it steady for five to ten seconds.
The magnet pulls the iron particles into a pattern, creating lines, waves, or a cat-eye shimmer. This is the heart of how does magnetic nail polish work, since the invisible magnetic field arranges the metallic flecks into stunning shapes. Experiment with angles to see different effects. Tilting the magnet sideways or diagonally gives you fresh designs every single time.
Step 6: Repeat for Each Nail
Since the effect only works on wet polish, you must treat each nail on its own. Paint one, hold the magnet, then move to the next. This rhythm feels slow at first, but you will speed up quickly once you find your groove.
Try to keep the magnet at the same distance and angle for a matching look across all ten nails. If you want variety, feel free to change the pattern from finger to finger. There are no strict rules here. The goal is a result you love, so let yourself play and enjoy the process without any pressure.
Step 7: Seal With a Top Coat
Once every nail shows its pattern and the color has dried, lock it in with a clear top coat. This final layer adds shine, smooths the surface, and shields your design from scratches and daily wear. Apply it gently so you do not disturb the shimmer underneath.
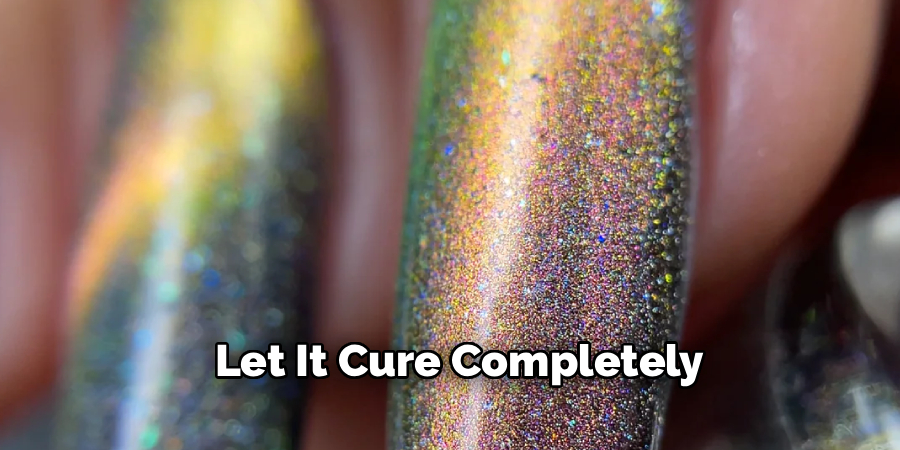
A quality top coat can stretch your manicure to a week or more. Let it cure completely before you touch anything, since smudging at this stage undoes all your effort. When it dries, you will have glossy, magnetic nails that catch the light beautifully and turn plenty of heads.
Frequently Asked Questions
Does Magnetic Polish Damage Your Natural Nails?
No, this polish is no harsher than regular nail lacquer when used correctly. The iron particles stay suspended in the formula and never touch your nail bed directly. Using a base coat adds extra protection and prevents staining. Just remove it gently with standard polish remover, and your natural nails will stay healthy and strong between manicures.
Can I Use Any Magnet With This Polish?
You can, though the magnet included with your polish is designed for the best results. Stronger magnets from craft stores may also work and can create bolder patterns. The key is holding the magnet close without touching the wet surface. Weak magnets might produce faint designs, so experiment carefully to find what gives you the effect you enjoy most.
Why Isn’t My Pattern Showing Up?
The most common reason is dry polish. The particles only shift while the coat is still wet, so timing matters a great deal. Make sure you paint one nail at a time and hold the magnet immediately. A too-thin coat can also weaken the effect, so apply enough color for the particles to move and form clear lines.
How Long Does the Effect Last?
With proper prep and a good top coat, your magnetic manicure can last five to seven days. Durability depends on your daily activities, such as typing, cleaning, or washing dishes often. Reapplying a thin top coat every couple of days helps extend the shine and keeps chips away. Gentle care goes a long way toward preserving that gorgeous, shifting pattern.
Is Magnetic Polish Beginner-Friendly?
Absolutely, it ranks among the easiest nail art options out there. You do not need brushes, stencils, or steady hands to create detailed designs. The magnet does the difficult work for you in just seconds. Beginners often achieve impressive results on their very first try, which makes this polish a confidence booster and a great starting point for anyone new to at-home manicures.

Conclusion
Now that you know how does magnetic nail polish work, that shimmering, wave-like effect no longer feels like a mystery. The whole process comes down to tiny iron particles that respond to a small magnet, arranging themselves into stunning patterns while your polish is still wet. With clean prep, a base coat, quick painting, and a steady magnet, you can create salon-worthy nails in minutes.
The best part is how forgiving and fun this method really is. You do not need advanced skills or costly tools, just a little patience and a willingness to experiment. So grab a bottle, follow the seven steps above, and treat yourself to a manicure that sparkles with movement. Once you see the results, you will want to try every color and pattern you can find. Go ahead and give it a try today.

About the Author
Jane Hubbard is a passionate beauty expert with a wealth of experience in makeup, hair, and overall beauty techniques. After years of working as a hairdresser specialist, she followed her entrepreneurial spirit and started her own consultancy business.
Jane has always been driven by her desire to help others feel confident in their own skin, and she does this by sharing her knowledge, experiences, and practical beauty tips. Through her consultancy, she empowers individuals to embrace their unique beauty, offering tailored guidance that boosts both self-esteem and personal style.
Professional Focus
Specializes in makeup, hairstyling, and beauty consulting.
Provides personalized beauty advice, tips, and techniques to help individuals feel confident in their appearance.
Dedicated to staying up-to-date with the latest industry trends and developments.
Passionate about creating a comfortable and empowering experience for every client.
Education History
University of Craft and Design – Bachelor of Fine Arts (BFA) in Woodworking and Furniture Design
Woodworking Apprenticeships – Extensive hands-on training with skilled craftsmen to refine carpentry and furniture making techniques
Online Courses & Masterclasses – Continued education in advanced woodworking techniques, design principles, and specialized tools
Expertise:
Makeup artistry, hairstyling, and beauty consulting.
Personalized beauty techniques to enhance confidence and self-expression.
Educating clients on how to maintain their beauty routines at home.