

Dry, cracked cuticles have a way of ruining an otherwise perfect manicure, and drugstore treatments can get expensive fast. The better news is that you can whip up a nourishing blend right at your kitchen counter using ingredients you may already own. Learning how to make homemade cuticle oil puts you in full control of what touches your skin, letting you skip mystery additives and fragrances that irritate sensitive hands.
This guide walks you through the whole process in clear, beginner-friendly steps, so you never feel lost or overwhelmed. You will discover which oils work best, how to combine them safely, and how to store your creation for lasting freshness. Whether you paint your nails weekly or simply want healthier hands, a good cuticle oil softens skin, strengthens nails, and gives your fingertips a polished, cared-for look. By the end, you will have a custom blend that fits your needs and budget, plus the confidence to tweak it whenever you like.
Why Making Your Own Cuticle Oil Matters
Making your own blend is about more than saving money, though the savings are real. Store-bought products often contain synthetic fragrances, fillers, or preservatives that dry out delicate skin over time. When you mix your own, you choose every drop, which means fewer irritants and more genuine nourishment.
Homemade blends also let you customize scent, texture, and benefits to match your skin. Prefer a light oil that absorbs quickly? Choose one. Want a calming lavender aroma before bed? Add it. Regular use hydrates cuticles, prevents painful hangnails, and supports stronger nail growth. You also reduce waste by reusing small bottles and buying ingredients in bulk. It is an easy, empowering habit that delivers salon-quality results with total transparency about what you are putting on your body.
Step-by-Step Guide to How To Make Homemade Cuticle Oil
Follow these seven steps in order for the smoothest results. Each one builds on the last, so take your time and enjoy the process. Feel free to test small batches first until you find a blend you truly love.
Step 1: Gather Your Ingredients and Tools
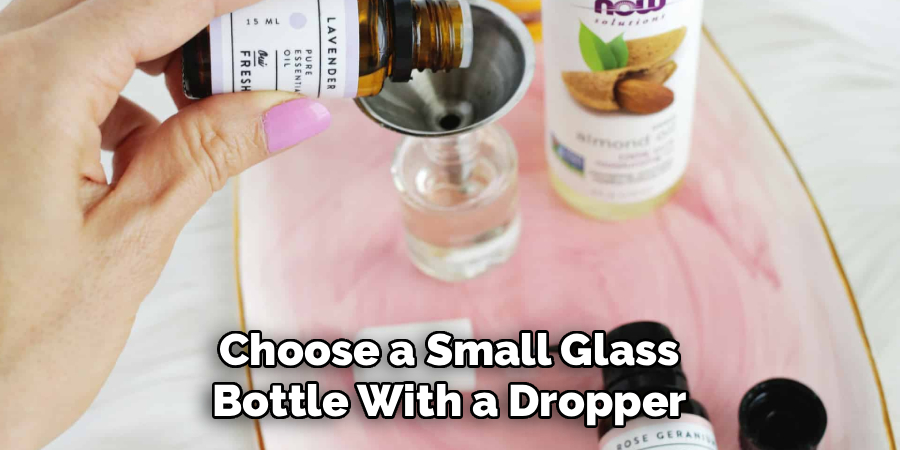
Before you mix anything, set up your workspace so everything sits within easy reach. You will need a carrier oil such as jojoba, sweet almond, or grapeseed, plus an optional essential oil for scent and extra benefits. Grab a small dropper bottle, a funnel, and a clean spoon for stirring.
Cleanliness matters more than you might think here. Wash your hands and wipe down every tool with rubbing alcohol to prevent bacteria from spoiling your blend. Choose a small glass bottle with a dropper or brush tip, since glass protects oils from breaking down. Having everything prepped ahead makes the rest of the process feel effortless and genuinely fun.
Step 2: Choose the Right Carrier Oil
Your carrier oil forms the base of the blend, so pick one that suits your skin. Jojoba oil closely mimics the skin’s natural sebum, which makes it absorb quickly without feeling greasy. Sweet almond oil is rich and nourishing, while grapeseed oil feels light and works well for oily skin types.
If you have sensitive skin, test a drop on your inner wrist first and wait a few hours for any reaction. You can also blend two carriers together for a texture you prefer. This is the heart of learning how to make homemade cuticle oil, because the right base determines how the finished product feels, absorbs, and cares for your nails over time.
Step 3: Add Nourishing Essential Oils
Essential oils bring both fragrance and skin-loving properties, but a little goes a long way. Lavender soothes and calms, tea tree fights bacteria, and lemon brightens dull nails. Vitamin E oil is another favorite, since it acts as a natural antioxidant and helps extend your blend’s shelf life.
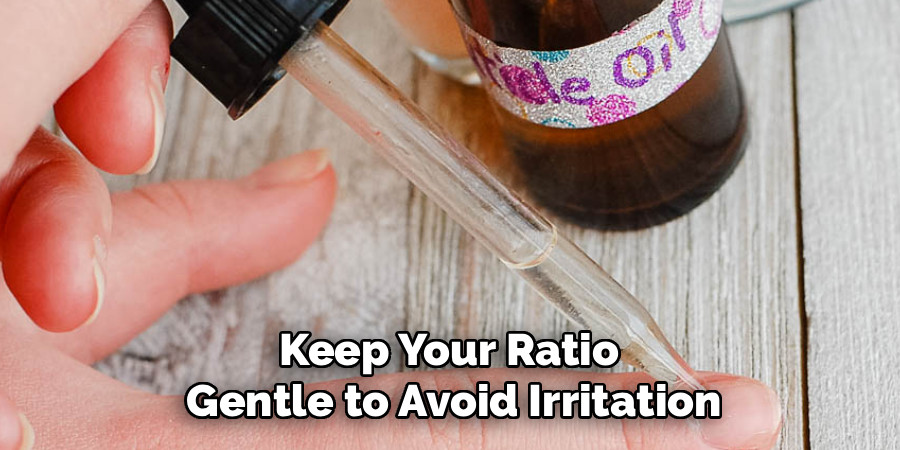
Keep your ratio gentle to avoid irritation, using only a few drops of essential oil per tablespoon of carrier. Strong concentrations can sting or dry out the very skin you want to protect. If you are pregnant or have a known allergy, check with a professional before adding certain oils. Start light, since you can always add more once you know how your skin responds.
Step 4: Measure Your Ratios Carefully
Precise measuring keeps your blend safe, effective, and easy to repeat. A reliable starting point is two tablespoons of carrier oil paired with five to eight drops of essential oil total. This ratio gives you noticeable benefits without overwhelming your skin or the scent.
Write your recipe down as you go, so you can recreate your favorite version later or adjust it with confidence. If your first batch feels too strong, simply dilute it with more carrier oil. Getting comfortable with ratios is a key part of how to make homemade cuticle oil that actually works, because balance is what turns a random mix into a treatment you will reach for every single day.
Step 5: Blend and Combine Everything
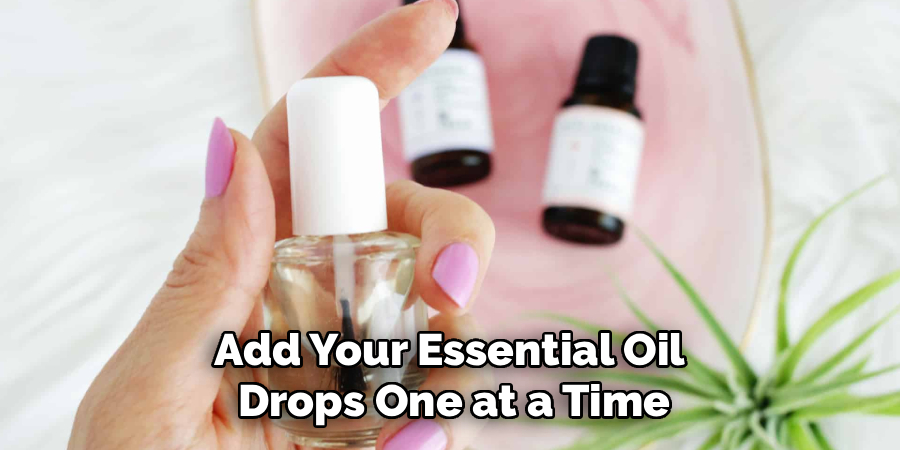
Now for the satisfying part where it all comes together. Place your funnel into the dropper bottle and slowly pour in your measured carrier oil. Add your essential oil drops one at a time, counting carefully so you stay within your chosen ratio.
Cap the bottle tightly and roll it gently between your palms for about thirty seconds. Rolling mixes the oils evenly without creating bubbles the way vigorous shaking can. Hold it up to the light to check that everything looks smooth and fully combined. If you added vitamin E, make sure it disperses rather than sinking to the bottom. Once blended, give it a quick sniff to confirm the scent feels pleasant and balanced.
Step 6: Store Your Oil Properly
Proper storage protects all your hard work and keeps the blend fresh for months. Keep your bottle in a cool, dark spot away from direct sunlight, since heat and light break oils down and shorten their lifespan. A bathroom drawer or bedside cabinet works perfectly.
Label your bottle with the ingredients and the date you made it, so you always know what is inside and how old it is. Most homemade blends last around three to six months, though vitamin E can stretch that a little longer. If the oil ever smells rancid or looks cloudy, toss it and mix a fresh batch. Clean storage habits mean every application stays safe and effective.
Step 7: Apply and Enjoy the Results
Application is where you finally see and feel your effort pay off. Place a single drop onto each cuticle, then gently massage it in using small circular motions with your fingertip. This boosts circulation and helps the oil sink deep into the skin and nail bed.
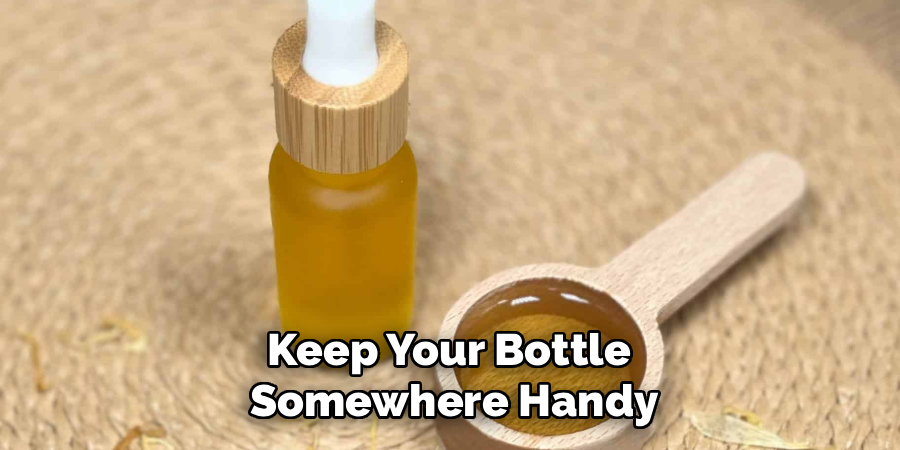
For the best results, apply your oil at night so it can work while you sleep. Daily use keeps cuticles soft, reduces hangnails, and supports healthier growth over the coming weeks. Be patient, since visible improvement usually appears within two to three weeks of consistent care. Keep your bottle somewhere handy, and soon this quick, soothing ritual will become a habit you genuinely look forward to.
Frequently Asked Questions
What Is the Best Carrier Oil for Cuticles?
Jojoba oil is widely considered the top choice because it closely resembles the skin’s natural oils, so it absorbs quickly without a greasy residue. Sweet almond and grapeseed oils are excellent alternatives too. The best option ultimately depends on your skin type and personal preference, so feel free to experiment with small batches until you find your perfect match.
How Often Should I Apply Cuticle Oil?
For most people, applying once daily delivers noticeable results, though twice a day helps if your cuticles are very dry or damaged. Nighttime application works especially well, since the oil absorbs undisturbed while you sleep. Consistency matters far more than quantity, so a small, regular amount beats occasional heavy use for long-term nail and skin health.
Can I Use Essential Oils on Sensitive Skin?
Yes, but caution is key. Always dilute essential oils properly in a carrier oil and never apply them undiluted. Do a patch test on your inner wrist first and wait several hours for any reaction. If you have allergies, are pregnant, or have a skin condition, check with a healthcare professional before adding specific oils to your blend.
How Long Does Homemade Cuticle Oil Last?
Most blends stay fresh for three to six months when stored in a cool, dark place inside a sealed glass bottle. Adding vitamin E oil can extend that lifespan a bit thanks to its antioxidant properties. Always label your bottle with the date, and discard the oil if it develops a rancid smell or a cloudy appearance.
Do I Really Need Vitamin E Oil?
Vitamin E is optional but highly recommended. It acts as a natural antioxidant that nourishes skin and helps slow down how quickly your oils go rancid, effectively extending shelf life. If you skip it, your blend will still work beautifully, just plan to use it a little sooner. A few drops per batch is all you need for the benefit.
Conclusion
Caring for your cuticles no longer requires pricey products or mystery ingredients. Once you understand how to make homemade cuticle oil, you gain a simple, affordable ritual that softens skin, strengthens nails, and gives your hands a polished, healthy glow. The process comes down to a few clear steps, choosing a good carrier oil, adding gentle essential oils, measuring carefully, blending smoothly, storing well, and applying with consistency.
The real magic is the freedom to customize everything to your own skin and scent preferences. Start with a small batch, jot down your recipe, and tweak it until it feels just right. Give your blend a few weeks of daily use, and you will likely notice softer cuticles and fewer hangnails. So gather your ingredients, set aside ten minutes, and treat your hands to something you made yourself. Your nails will thank you.

About the Author
Jane Hubbard is a passionate beauty expert with a wealth of experience in makeup, hair, and overall beauty techniques. After years of working as a hairdresser specialist, she followed her entrepreneurial spirit and started her own consultancy business.
Jane has always been driven by her desire to help others feel confident in their own skin, and she does this by sharing her knowledge, experiences, and practical beauty tips. Through her consultancy, she empowers individuals to embrace their unique beauty, offering tailored guidance that boosts both self-esteem and personal style.
Professional Focus
Specializes in makeup, hairstyling, and beauty consulting.
Provides personalized beauty advice, tips, and techniques to help individuals feel confident in their appearance.
Dedicated to staying up-to-date with the latest industry trends and developments.
Passionate about creating a comfortable and empowering experience for every client.
Education History
University of Craft and Design – Bachelor of Fine Arts (BFA) in Woodworking and Furniture Design
Woodworking Apprenticeships – Extensive hands-on training with skilled craftsmen to refine carpentry and furniture making techniques
Online Courses & Masterclasses – Continued education in advanced woodworking techniques, design principles, and specialized tools
Expertise:
Makeup artistry, hairstyling, and beauty consulting.
Personalized beauty techniques to enhance confidence and self-expression.
Educating clients on how to maintain their beauty routines at home.