

Reaching for your favorite eyeliner pot only to find a cracked, crumbly mess is one of makeup’s most annoying surprises. That smooth, inky formula you rely on for sharp wings and defined lash lines can dry out faster than you expect, especially if the lid was left ajar or the pot has been sitting in a warm bathroom for months. The good news is that a dried pot rarely means a wasted product. Learning how to fix dried out gel eyeliner is a quick, budget-friendly skill that can bring your liner back to life in minutes.
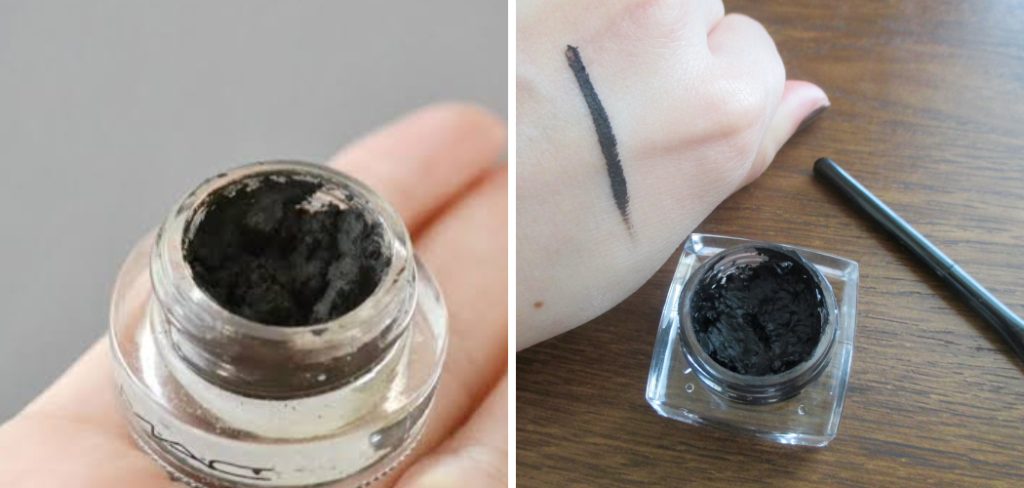
Gel eyeliner dries out because its base ingredients slowly lose moisture as they meet air and heat. Once that happens, the pigment stiffens and pulls away from your brush. This guide walks you through a simple, beginner-friendly rescue process using items you almost certainly already own. By the end, you will feel confident reviving a stiff pot, avoiding waste, and keeping your liner smooth and creamy for as long as possible.
Why Fixing Dried Out Gel Eyeliner Matters
Salvaging a dried pot saves you real money, and understanding why makes the effort feel worthwhile. Quality gel liners are not cheap, so reviving one instead of tossing it protects your wallet and cuts down on waste. A restored formula also glides on more evenly, giving you cleaner lines and a more polished finish than fighting with a flaky, patchy product.
There is a practical bonus too. Knowing how to revive your liner means you never get caught short before an event, a meeting, or a night out. Instead of scrambling for a replacement, you fix what you have in a couple of minutes. This small skill empowers you to get the most from every product, reduces frustration, and keeps your makeup routine smooth, reliable, and stress-free.
Step-by-Step Guide to How to Fix Dried Out Gel Eyeliner
Follow these seven steps in order for the smoothest results. Work slowly, add liquid sparingly, and test the texture often so you never overdo it and thin the formula too much.
Step 1: Check How Dry the Formula Really Is
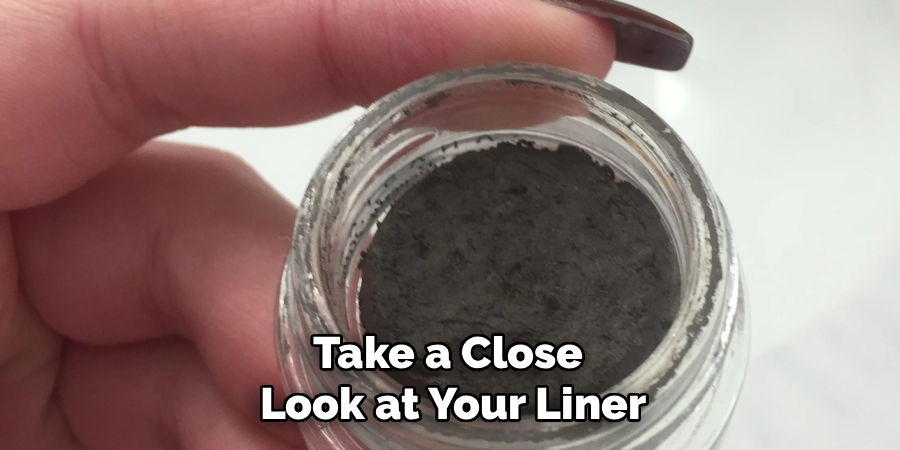
Before adding anything, take a close look at your liner to understand what you are working with. Gently press a clean brush into the pot and note how it responds. If the surface is slightly stiff but still picks up color, you have a mild case that needs only a light touch. If it is cracked, crumbly, or completely hard, it will need a bit more attention. Knowing the severity helps you choose the right amount of liquid later, since a mildly firm pot needs far less than a fully hardened one. This quick check prevents you from over-treating and ruining an easy fix.
Step 2: Clean Your Tools and Workspace
Preparation matters more than people expect, especially around your eyes. Start with a clean brush, a fresh cotton swab, and a tidy surface so you avoid introducing bacteria into the pot. Wash your hands thoroughly, and wipe the rim and lid of the container to remove any dried flakes that could crumble back into the formula. Since eyeliner sits so close to a sensitive area, hygiene here protects your eye health as much as your product. A clean setup also makes the whole process feel calmer and more controlled, which helps when you are adding liquid drop by drop in the steps that follow.
Step 3: Add a Few Drops of Reviving Liquid
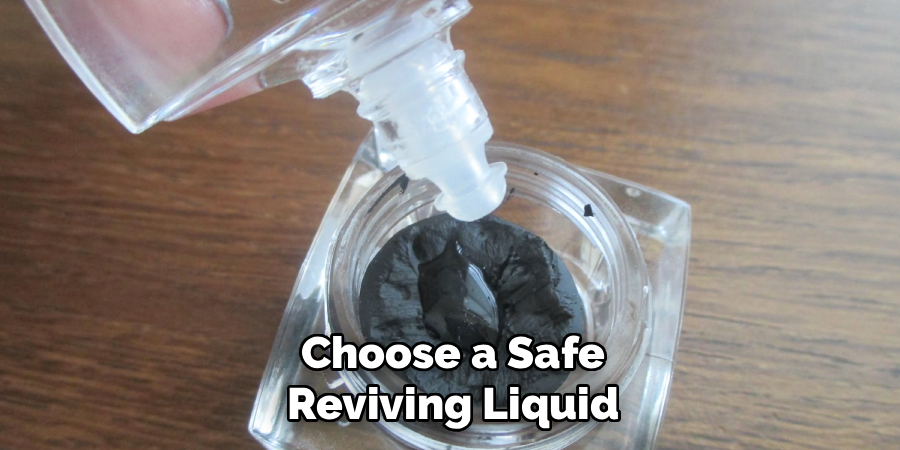
Here is where learning how to fix dried out gel eyeliner really comes together, and the golden rule is to go slow. Choose a safe reviving liquid such as a saline solution made for contact lenses, a drop of eye-safe makeup setting spray, or a specialized makeup reviver. Add just one or two drops directly onto the surface of the dried gel. Resist the urge to pour, because too much liquid at once will leave you with a runny, unusable mess. Let the drops sit for a few seconds so they can begin softening the top layer before you start mixing anything together.
Step 4: Mix Gently and Evenly
Now comes the blending, and patience is your best friend. Using the end of a clean brush or a toothpick, stir the liquid into the gel with slow, circular motions. Work from the center outward so the moisture distributes evenly throughout the pot rather than pooling in one spot. Keep mixing for thirty seconds to a minute, breaking up any stubborn clumps as you go. The texture should gradually shift from stiff and crumbly toward smooth and creamy. If parts still feel dry, do not rush to add more liquid yet. Give the formula time to absorb what you have already worked in before deciding your next move.
Step 5: Test the Consistency
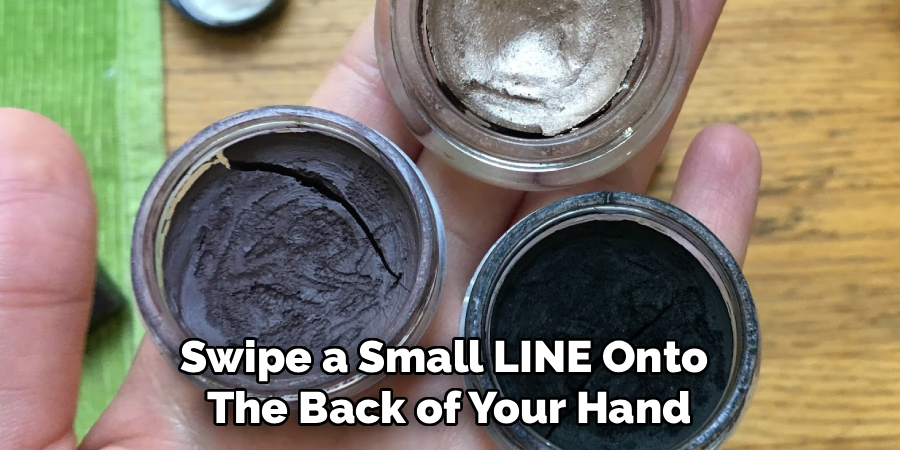
Once the formula looks blended, it is time to see how it performs. Load a clean brush and swipe a small line onto the back of your hand. A properly revived liner should glide on smoothly, deposit rich color, and hold its shape without dragging or skipping. If the line looks patchy or the product still feels tight, your pot may need another drop of liquid. If it appears too wet or slides around, simply let it rest uncovered for a few minutes so the excess moisture evaporates. Testing on your hand rather than your eye keeps things safe while you fine-tune the balance.
Step 6: Adjust and Repeat if Needed
Getting the perfect texture sometimes takes a little back and forth, and that is completely normal. If your test line showed the formula is still too dry, repeat the process by adding a single drop of liquid, then mixing and testing again. This is exactly why knowing how to fix dried out gel eyeliner comes down to small, careful adjustments rather than one big fix. Always err on the side of too little liquid, since you can add more but cannot easily remove it. Work in these tiny increments until the liner feels creamy and applies effortlessly, and try not to lose patience if it takes two or three rounds.
Step 7: Store It Properly to Prevent Future Drying
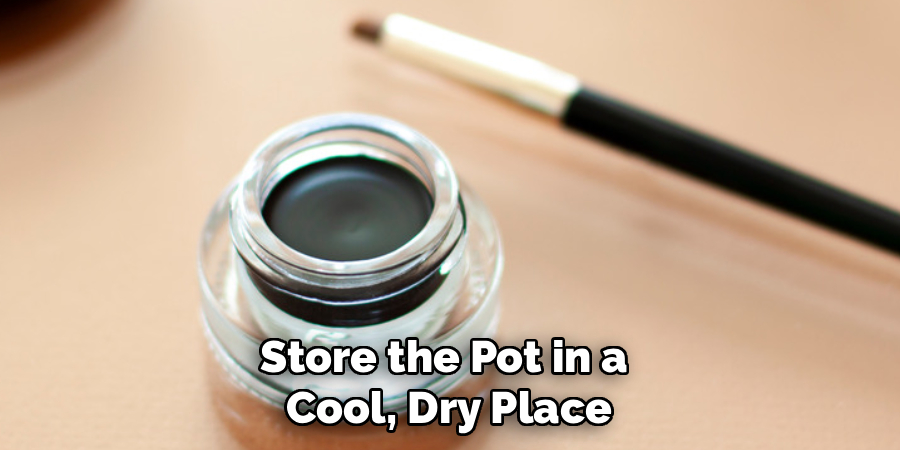
Your final step protects all the effort you just put in. Once the liner is smooth again, press the lid on firmly to create a tight seal that keeps air out. Store the pot in a cool, dry place away from direct sunlight and steamy bathroom heat, both of which speed up drying. Keeping the container upright and closed between uses makes a noticeable difference in how long the formula stays fresh. A little care here means you may not need to revive it again for a long time. Good storage habits are the simplest way to extend the life of every liner you own.
Frequently Asked Questions
What Liquid Is Safe to Use on Eyeliner?
Stick to eye-safe options to protect your delicate eye area. Saline solution made for contact lenses is a popular, gentle choice, and a drop of eye-safe setting spray works well too. Some brands sell dedicated makeup reviver drops designed for exactly this purpose. Avoid water, oils, or random household liquids, since they can harbor bacteria or break down the formula and irritate your eyes.
How Often Can I Revive the Same Pot?
You can usually revive a pot a few times before the quality begins to fade. Each time you add liquid, you slightly change the original formula, so repeated fixes may eventually affect how long the liner lasts on your skin. As a general rule, if the product starts to smell odd, changes color, or irritates your eyes, it is time to replace it rather than reviving it again.
Why Did My Gel Eyeliner Dry Out So Fast?
Air exposure is the biggest culprit, so a loose or missing lid speeds things up dramatically. Heat and humidity play a role too, which is why bathroom storage often shortens a liner’s life. Leaving the pot open while you apply your makeup also lets moisture escape bit by bit. Sealing it tightly and storing it somewhere cool are the easiest ways to slow drying and keep your formula usable longer.
Can I Prevent Drying Without Adding Liquid?
Yes, prevention is far easier than repair. Always close the lid firmly right after each use, and avoid leaving the pot open on your counter while you finish other steps. Keep it away from windows, radiators, and steamy showers, since heat pulls moisture out quickly. Storing your liner in a cool drawer or makeup bag helps enormously and can keep the formula creamy for many months without any intervention.
Is Revived Eyeliner Still Safe for My Eyes?
Revived liner is generally safe as long as you use clean tools, an eye-safe liquid, and good hygiene throughout. Problems arise mainly from bacteria, so never use spit or dirty brushes to soften a pot. Pay attention to how your eyes feel after application. If you notice redness, stinging, or unusual irritation, stop using the product immediately and replace it to keep your eyes healthy and comfortable.
Conclusion
A stiff, cracked eyeliner pot might look like a lost cause, but as you can see, it is one of the easiest beauty problems to solve. The secret is simple. Check the dryness, clean your tools, add liquid one drop at a time, mix gently, test, adjust, and store the pot properly afterward. Knowing how to fix dried out gel eyeliner gives you a reliable routine that saves money, reduces waste, and keeps your favorite liner performing like new.
So the next time your pot feels hard and flaky, take a breath and trust the process. Work through each step slowly, add moisture in tiny amounts, and always keep hygiene front of mind. With a little patience and these expert-backed tips, you can rescue your liner in minutes and enjoy smooth, effortless application again. Go ahead and give it a try, your makeup bag will thank you.

About the Author
Jane Hubbard is a passionate beauty expert with a wealth of experience in makeup, hair, and overall beauty techniques. After years of working as a hairdresser specialist, she followed her entrepreneurial spirit and started her own consultancy business.
Jane has always been driven by her desire to help others feel confident in their own skin, and she does this by sharing her knowledge, experiences, and practical beauty tips. Through her consultancy, she empowers individuals to embrace their unique beauty, offering tailored guidance that boosts both self-esteem and personal style.
Professional Focus
Specializes in makeup, hairstyling, and beauty consulting.
Provides personalized beauty advice, tips, and techniques to help individuals feel confident in their appearance.
Dedicated to staying up-to-date with the latest industry trends and developments.
Passionate about creating a comfortable and empowering experience for every client.
Education History
University of Craft and Design – Bachelor of Fine Arts (BFA) in Woodworking and Furniture Design
Woodworking Apprenticeships – Extensive hands-on training with skilled craftsmen to refine carpentry and furniture making techniques
Online Courses & Masterclasses – Continued education in advanced woodworking techniques, design principles, and specialized tools
Expertise:
Makeup artistry, hairstyling, and beauty consulting.
Personalized beauty techniques to enhance confidence and self-expression.
Educating clients on how to maintain their beauty routines at home.