

It’s Halloween night, and you’re standing at the mirror with a perfectly ordinary face. In an hour, you want people to flinch a little when they look at you.
Learning how to make scars with makeup opens up more than one spooky night, too. Costumes, stage roles, film projects, cosplay-all of it draws on the same handful of skills. And those skills carry over into everyday makeup in ways you might not expect.
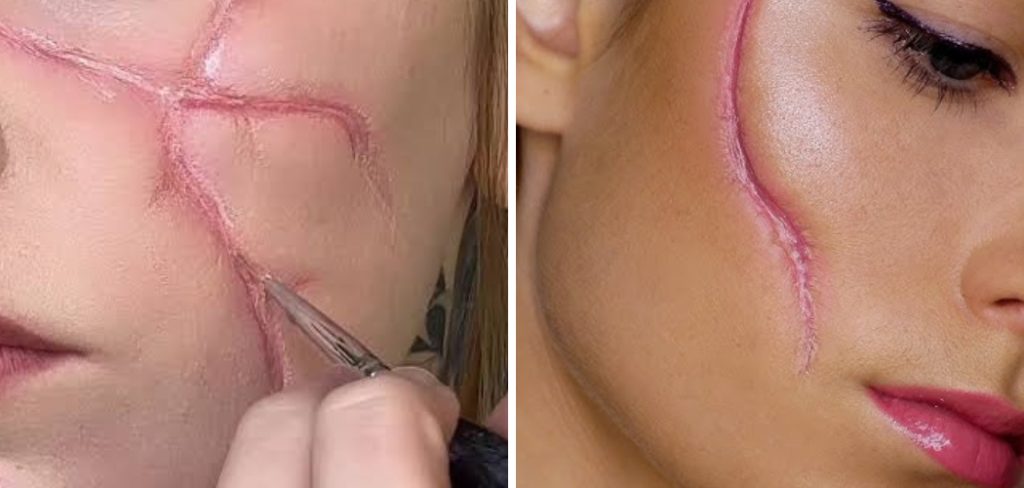
That’s the fun of special effects makeup. A blank cheek becomes a gash, a smooth forearm turns into an old burn, and suddenly a plain costume tells a whole story.
Here’s the thing most people don’t realize. Creating a convincing scar is far easier than it looks, even if you’ve never touched theatrical makeup before.
This guide walks through the supplies, the technique, and the small missteps that give a fake scar away. A little practice, and you’ll be building believable wounds with a confidence that surprises you.
Why Learning to Create Scars Is a Fun, Useful Skill
It’s easy to write this off as a one-night party trick. It’s genuinely more than that, though.
The technique tends to pay you back long after the costume comes off.
Perfect for Halloween and Costumes
A well-made scar can rescue a lazy costume. Throw on old clothes, smear some dirt, add a raw-looking gash across the brow, and you’ve got a whole character for almost no money.
Store-bought scar stickers rarely convince anyone up close. A scar you built yourself, with real texture and shading, reads far more believable. That difference is often what earns the gasp you were after.
Great for Theater, Film, and Cosplay
Special effects makeup brings stage and screen characters to life in ways costumes alone can’t. A single wound can suggest an entire backstory the script never spells out.
Cosplayers lean on these skills constantly. Recreating a battle-worn hero or a horror villain means getting the injuries right, and the same latex-and-shading approach applies whether you’re on a stage or at a convention.
A Creative Way to Build Makeup Skills
There’s a quieter benefit worth mentioning. Practicing scars sharpens your blending, your sense of color, and your eye for texture.
Those are the exact skills that make everyday makeup look better. Learn to shade a fake bruise convincingly, and contouring a cheekbone suddenly feels like second nature.
Understanding Different Types of Scars
Before you reach for any product, it helps to know what kind of scar you’re actually making. Each look calls for a slightly different approach.
A fresh wound and a decades-old scar could not be more different in tone or texture, so match your method to your goal.
Fresh Cuts and Wounds
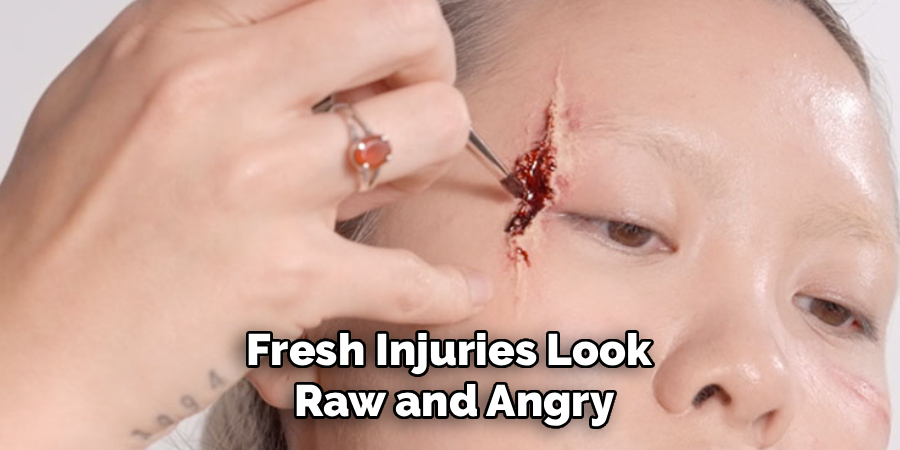
Fresh injuries look raw and angry. They rely on bright reds, deep shadows in the center, and a wet, glossy finish that suggests the wound just happened.
The gloss is what sells it. A matte fresh cut reads as fake almost immediately, so you’ll want fake blood or a clear gel to keep things looking slick and painful.
Old and Healed Scars
Healed scars are a subtler challenge. They tend to sit raised or slightly sunken, with faded pink, purple, or silvery tones rather than bold color.
Here the focus shifts toward texture over drama. You’re mimicking skin that repaired itself imperfectly, so restraint usually beats intensity.
Burns and Deep Gashes
Burns and deep gashes are where you go big. They need layered texture, bold shading, and darker centers to suggest real depth.
Blistered, uneven edges make burns believable. A gash, meanwhile, wants a dark, shadowed valley down the middle that looks like it goes somewhere unpleasant.
Gathering Your Special Effects Supplies
You don’t need a professional kit to start. Most beginners can build a convincing scar with surprisingly little.
That said, a few pro tools open up more realistic results once you’re ready for them.
Basic Beginner-Friendly Products
The starter lineup is refreshingly affordable. Liquid latex, a basic eyeshadow palette, and red and purple cream colors will carry you through most fresh and healed scars.
Liquid latex is the real workhorse here. It creates raised, wrinkled texture on the skin and costs very little, which makes it a forgiving place to begin experimenting.
Pro Tools for Extra Realism
When you want to push things further, a few additions help. Scar wax shapes deeper gashes and open wounds, spirit gum holds pieces in place, and fake blood adds that final gory touch.
None of these are strictly necessary at first. But if you catch the special effects bug, they’re what take your work toward something that could pass on camera.
Skin Prep and Safety Basics
A quick word on safety, because it matters more than it might seem. Patch test any latex on your inner arm first, since latex allergies are real and worth ruling out.
Start with clean, oil-free skin so everything grips properly. And keep a proper remover on hand from the beginning, so taking the look off later stays comfortable rather than painful.
How to Make Scars with Makeup: The Primary Step-by-Step Guide
This is the part that matters most, so take it slowly your first time. Every scar after this one gets faster and more instinctive. None of it is as fiddly as it sounds, promise.
Step 1: Prep and Clean the Skin
Start with a clean, dry, oil-free area so your products actually stick. Any lotion, sweat, or residue can cause latex and wax to lift at the edges.
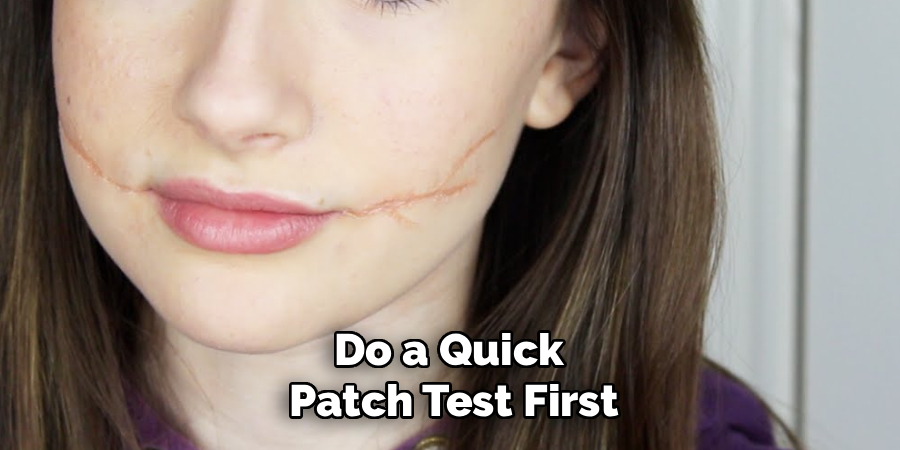
Do a quick patch test first if you haven’t used latex before, ideally a day ahead. Then pick a spot that suits your character, whether that’s a cheek, a forearm, or a line running across the brow.
Step 2: Build the Base with Latex or Scar Wax
Apply a thin layer of liquid latex or a small amount of scar wax over your chosen spot. Latex works beautifully for raised, wrinkled scars, while wax shapes deeper gashes and open wounds.
Build it up gradually and let each latex layer dry before adding the next. Then blend the edges into the surrounding skin so no hard border gives the illusion away, because those visible seams are the first thing people notice.
Step 3: Sculpt the Texture and Shape
Now shape the scar using a spatula, a toothpick, or the back of a brush. Dragging a line through soft wax creates a gash, while pinching dried latex forms the puckered look of healed skin.
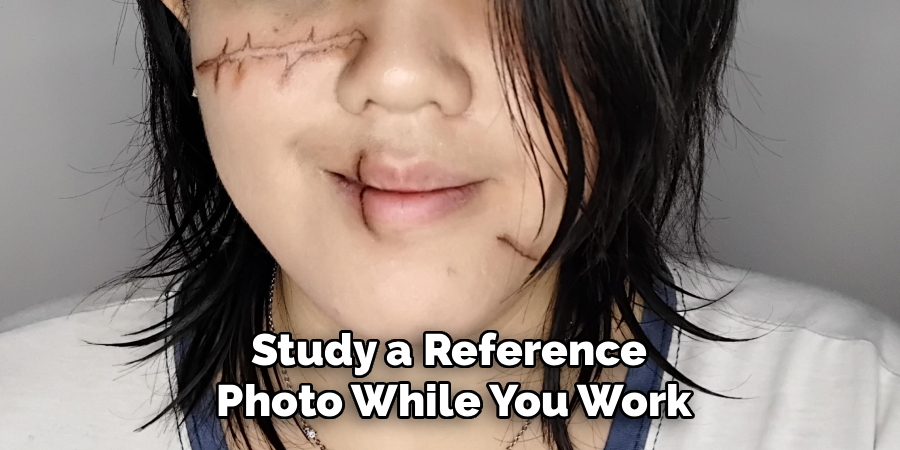
Study a reference photo while you work. Real scars are rarely neat, so uneven, slightly asymmetrical edges actually read as more believable than a clean, symmetrical shape ever could.
Step 4: Add Depth with Color and Shading
Color is where a flat shape starts to look like a wound. Layer deep reds and browns inside the scar to suggest depth, then add purples and blues around the edges to mimic bruising.
Use a light, buildable hand with a small brush or your fingertip, blending outward so the color fades naturally into the skin. A single flat shade tends to look painted on, whereas several layered tones may pass for the real thing.
Step 5: Highlight and Create Dimension
Here’s a small move with an outsized effect. A touch of pale highlight along the raised edges catches the light and makes the scar pop off the skin.
Meanwhile, a darker shadow pressed into the center pushes it deeper. That interplay of light and dark is what transforms a two-dimensional drawing into something that genuinely looks three-dimensional.
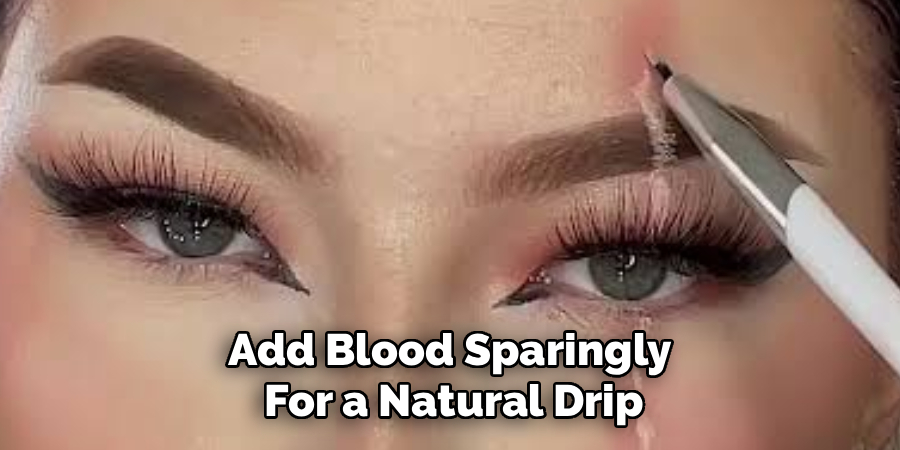
Step 6: Seal and Finish with Blood or Gloss
Finally, lock everything in place. A light dusting of setting powder mattifies a healed scar nicely, while a dab of fake blood and a bit of clear gloss give fresh wounds that wet, gory shine.
Add blood sparingly for a natural drip rather than a flood. Then step back under good lighting for a last check, and adjust anything that reads a little too clean before you show off your creepy creation.
Pro Techniques for Extra Realism
Once the basics feel comfortable, a few refinements separate a decent scar from one that makes people do a double take. None of these are complicated.
They mostly come down to observation and patience.
Layering for Believable Depth
Real wounds are never a single flat tone or a tidy shape. Stacking thin layers of color and texture is what creates convincing dimension.
So resist the urge to finish in one pass. Building slowly, tone over tone, mimics the messy, layered way skin actually damages and heals.
Using Reference Photos
This might be the single most useful habit you can adopt. Studying real scar and wound images guides your color placement and shape far better than guessing does.
It also keeps your work from drifting into cartoon territory. A quick image search before you start could be the difference between believable and obviously fake.
Matching Skin Tone and Lighting
Blend the edges into your natural skin tone so the scar looks like it belongs on your body. A wound floating on top of your skin, disconnected from it, breaks the illusion instantly.
Test the finished look under different lights, too. What convinces under warm bathroom bulbs may look flat outdoors, so a quick check in a few settings helps it hold up anywhere.
Common Mistakes to Avoid
Early attempts are all part of learning this, so don’t be discouraged if your first scar looks a little goofy. Knowing the usual pitfalls just helps you skip past them faster.
Most trace back to one of these three habits.
Skipping the Skin Prep or Patch Test
Oily skin causes latex and wax to slide right off, which ruins the effect before you’ve begun. A few minutes of prep prevents that entirely.
The patch test matters even more. Skipping it risks an allergic reaction you really don’t want to discover mid-party, so it’s worth the small effort every time.
Using Too Little Color Variation
A single flat red is the giveaway that screams “costume.” Real wounds carry a whole range of tones, from deep centers to bruised edges.
Layering multiple colors adds the depth that makes a scar look genuinely painful. It feels like overkill while you’re doing it, but the finished result justifies the extra minute.
Forgetting to Blend the Edges
Visible latex or wax borders break the illusion faster than almost anything else. That hard little ridge where the product meets skin is a dead giveaway.
Feathering those edges into the surrounding skin is essential, not optional. It’s the difference between a wound that looks attached to you and one that looks stuck on.
Removing Your Scar Makeup Safely
The night ends, and now you have to get all this off. Gentle removal matters as much as careful application, honestly, since your skin will thank you for it.
Rushing this part is where people end up with irritation.
Loosening Latex and Wax Gently
Peel latex slowly, starting from the edges and working inward. Yanking it off in one go can tug uncomfortably at the skin and take fine hairs with it.
For wax, lift it away gently with a spatula or a fingernail. Slow and patient beats fast and rough here, every time.
Using the Right Remover
Stubborn product often needs a little help. Spirit gum remover dissolves adhesive cleanly, while a gentle oil-based cleanser handles most latex and color residue.
Work the remover in slowly rather than scrubbing. Let it do the loosening, and the rest tends to wipe away without much effort.
Soothing the Skin Afterward
Once everything’s off, give your skin a moment of care. A mild cleanser followed by a light moisturizer calms things down nicely.
This step feels optional, but it’s worth honoring. Skin that wore latex or wax for hours appreciates a little kindness afterward.
Conclusion
Learning how to make scars with makeup turns out to be less about getting it perfect and more about experimenting, playing, and enjoying the process. Your first attempt might look silly, and that’s completely fine.
There’s a real thrill in stepping back from the mirror to see a gruesome, camera-ready wound you built with your own hands. It’s oddly satisfying, in a slightly ghoulish way.
The method stays the same each time. Prep the skin, build texture with latex or wax, sculpt the shape, layer color and shadow, add highlight, then seal it all with a touch of blood or gloss.
So gather a few supplies and try your first creation today. Treat each scar as practice, because every one teaches you something new about color, texture, and light. Before long, you’ll be spooking everyone you meet without breaking a sweat.

About the Author
Jane Hubbard is a passionate beauty expert with a wealth of experience in makeup, hair, and overall beauty techniques. After years of working as a hairdresser specialist, she followed her entrepreneurial spirit and started her own consultancy business.
Jane has always been driven by her desire to help others feel confident in their own skin, and she does this by sharing her knowledge, experiences, and practical beauty tips. Through her consultancy, she empowers individuals to embrace their unique beauty, offering tailored guidance that boosts both self-esteem and personal style.
Professional Focus
Specializes in makeup, hairstyling, and beauty consulting.
Provides personalized beauty advice, tips, and techniques to help individuals feel confident in their appearance.
Dedicated to staying up-to-date with the latest industry trends and developments.
Passionate about creating a comfortable and empowering experience for every client.
Education History
University of Craft and Design – Bachelor of Fine Arts (BFA) in Woodworking and Furniture Design
Woodworking Apprenticeships – Extensive hands-on training with skilled craftsmen to refine carpentry and furniture making techniques
Online Courses & Masterclasses – Continued education in advanced woodworking techniques, design principles, and specialized tools
Expertise:
Makeup artistry, hairstyling, and beauty consulting.
Personalized beauty techniques to enhance confidence and self-expression.
Educating clients on how to maintain their beauty routines at home.