

Long, fluttery lashes can transform your whole look, and few products deliver that drama quite like Maybelline’s cult-favorite formula. If your lashes have been falling flat or clumping together, you’re not alone, and the fix is simpler than you might think. Learning how to apply sky high mascara the right way is the difference between short, spidery lashes and full, sky-reaching volume that lasts all day.
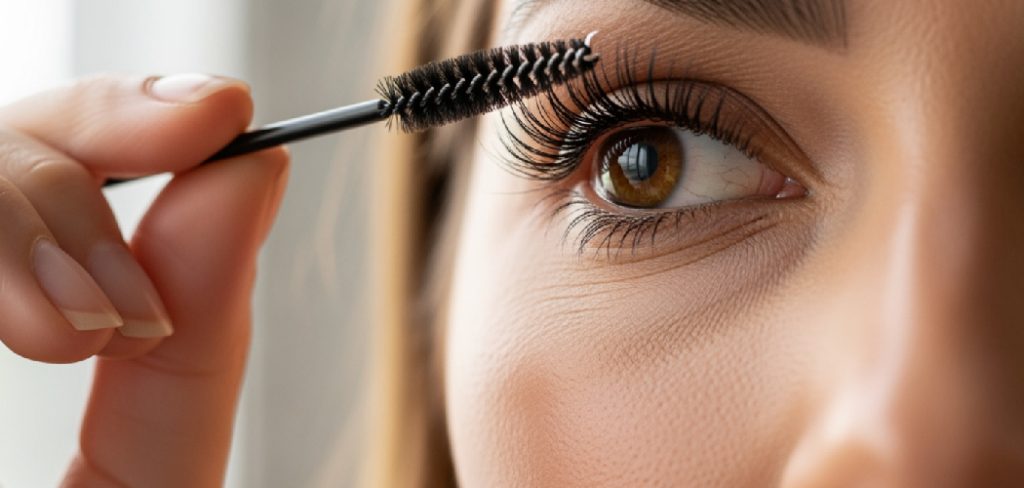
This mascara has earned its viral fame thanks to its flexible brush and buildable formula, but the magic really comes down to technique. A great product only works as well as the hand behind the wand, so a few small tweaks can take your results from good to jaw-dropping.
In this friendly, beginner-friendly guide, we’ll walk you through everything from prepping your lashes to locking in that lifted finish. You’ll get seven clear steps, answers to common questions, and expert-backed tips anyone can follow. Whether you’re a total newbie or a seasoned makeup lover, you’ll finish reading ready to reach new heights with every swipe.
Why Applying Sky High Mascara Makes a Difference
Great mascara application changes how your entire face reads. When your lashes are lifted and separated, your eyes look bigger, brighter, and more awake, even on tired mornings. The right method also makes your effort last, so you avoid the smudging, flaking, and clumping that ruin an otherwise perfect look.
Beyond looks, mastering your technique saves you both time and money. You’ll use less product, reach fuller results in fewer coats, and skip the frustration of starting over. A confident, practiced hand means you spend less time in front of the mirror and more time enjoying your day. Best of all, these skills carry over to every mascara you own, turning a simple daily step into a reliable beauty win you can count on again and again.
Step-by-Step Guide To How To Apply Sky High Mascara
Step 1: Start With Clean, Dry Lashes
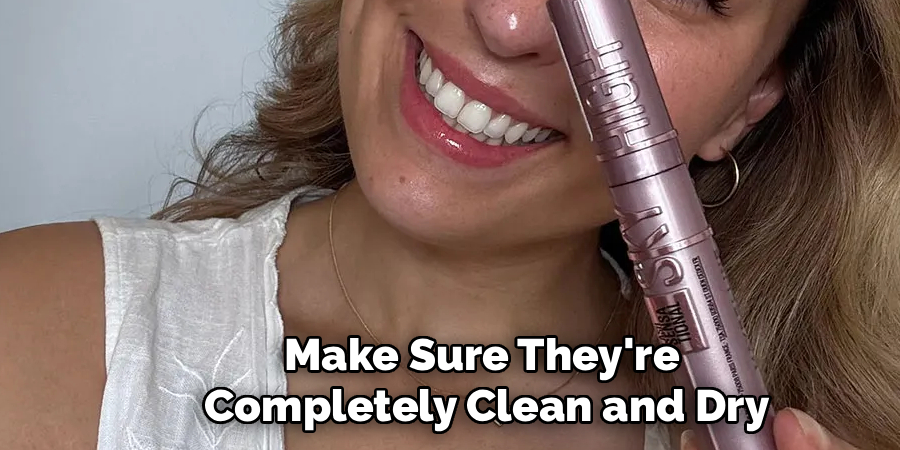
Before anything touches your lashes, make sure they’re completely clean and dry. Any leftover oil, cream, or old mascara can stop the formula from gripping properly, which leads to smudging and flaking later on. Gently wash your face, pat the eye area dry, and give your lashes a moment to settle. If you wear moisturizer or eye cream, let it fully absorb first so your lashes aren’t slick. Starting with a fresh base is the single most overlooked step, yet it sets the foundation for everything that follows and helps your finished look stay put for hours.
Step 2: Curl Your Lashes First
An eyelash curler is your secret weapon for extra lift. Position the curler at the base of your upper lashes, close it gently, and hold for about ten seconds before releasing. For even more curve, clamp once at the base, then again toward the middle. Always curl before any product goes on, since curling over wet mascara can tug at your lashes and cause breakage. This quick step opens up your eyes and creates the perfect canvas. When you learn how to apply sky high mascara, pairing it with a good curl is what unlocks that dramatic, wide-awake effect everyone loves.
Step 3: Wipe Off Excess Product
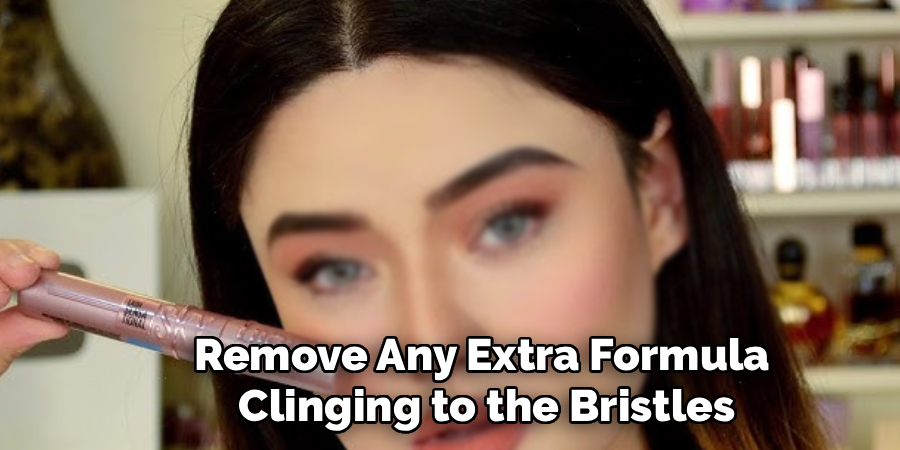
Here’s a step most beginners skip, and it makes a huge difference. When you pull the wand from the tube, wipe it gently against the rim to remove any extra formula clinging to the bristles. Too much product on the brush is the number one cause of clumps and heavy, spidery lashes. You want a smooth, even coating on the wand, not a thick glob. This tiny habit keeps your application clean and controlled, giving you precise results every time. Think of it as setting yourself up for success before the brush ever meets your lashes.
Step 4: Apply From Root To Tip
Now for the main event. Place the brush at the very base of your upper lashes and wiggle it slightly side to side. This wiggle deposits color right where lashes look thickest and most defined. Then, sweep the wand upward and outward toward the tips in one smooth motion. Working from root to tip coats every lash evenly and encourages that fanned-out, lifted shape. Take your time and let the flexible brush do the work. This is the core of how to apply sky high mascara well, so move slowly and stay steady for the cleanest, fullest result.
Step 5: Build Coats While Wet
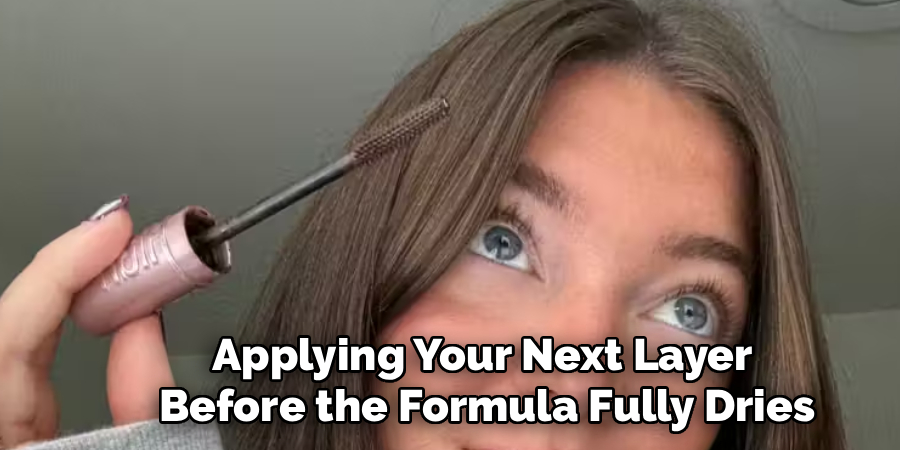
For more drama, add a second coat while the first is still slightly wet. Applying your next layer before the formula fully dries helps it blend smoothly instead of clumping or flaking. Repeat the same root-to-tip motion, focusing on any sparse spots. Two thin coats always look better than one heavy one, so resist the urge to overload. If you crave extra volume, a third light layer works too, but stop before your lashes feel stiff or crunchy. Building gradually gives you full control, letting you dial the intensity up or down to match your mood and the occasion.
Step 6: Coat Your Lower Lashes
Don’t forget the bottom row. Lower lashes add balance and make your eyes look fuller and more defined. Hold the wand vertically and use just the tip to gently touch each lash, sweeping downward with a light hand. Because these lashes are shorter and more delicate, a little product goes a long way, so use only what remains on the brush. If you find smudging tricky, place a folded tissue under your eye to catch any stray marks. This small finishing touch pulls your whole look together and keeps the top and bottom in perfect harmony.
Step 7: Separate And Set
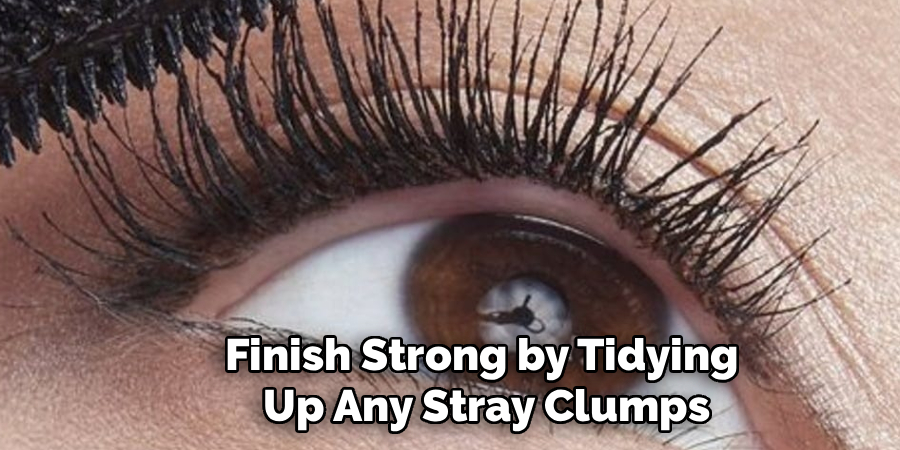
Finish strong by tidying up any stray clumps. Use a clean spoolie or lash comb to gently brush through your lashes, separating them for a crisp, defined finish. Do this while the formula is still slightly damp for the smoothest results. If you spot a smudge, wait until it dries completely, then flake it away with a cotton swab rather than smearing it. For extra staying power, let everything set for a minute before opening your eyes wide. This final step ensures your lashes look polished, fluttery, and ready to face whatever the day brings.
Frequently Asked Questions
How Many Coats Should I Use?
Most people get the best results with two thin coats, which deliver full volume without clumps. Apply the first layer from root to tip, then add the second while the first is still slightly wet so they blend seamlessly. If you want extra drama for a night out, a third light coat works, but stop before your lashes feel stiff or heavy. Building gradually always beats piling on one thick, messy layer.
Why Do My Lashes Still Clump?
Clumping usually comes from too much product on the brush. Always wipe the wand against the tube’s rim before applying to remove excess formula. Clumps can also form when you apply too many coats or wait too long between them. To fix existing clumps, brush through your lashes with a clean spoolie while the mascara is still damp. A gentle, patient touch keeps everything smooth and separated.
Should I Curl Before Or After?
Always curl your lashes before applying any mascara, never after. Curling over wet or dry product can stick your lashes to the curler, causing them to bend awkwardly or break off. Curling first on clean, bare lashes gives you a lifted base that holds beautifully once the formula sets. Hold the curler at the root for about ten seconds, and consider a second clamp mid-lash for an even more dramatic, wide-eyed curve.
How Do I Remove It At Night?
This tubing-style formula is designed to slide off easily with warm water and gentle pressure. Soak a cotton pad or cloth in warm water, press it against your closed eyes for a few seconds, then gently wipe downward. The little tubes around each lash simply slip away without harsh rubbing. If any stubborn bits remain, repeat the warm compress rather than scrubbing, which protects your delicate lashes and the sensitive skin around your eyes.
Can Beginners Get Good Results?
Absolutely, and that’s part of why this formula is so beloved. The flexible, slim brush makes it easy to reach every lash, even the tiny corner ones, so you don’t need pro-level skills. Just take your time, wipe off excess product, and build your coats slowly. Keep a spoolie and a few cotton swabs nearby for quick cleanup. With a little practice, you’ll nail the technique in no time and feel confident every single morning.
Conclusion
Beautiful, sky-reaching lashes come down to a handful of simple habits done consistently. Start with clean, dry lashes, curl them for lift, and always wipe excess product off the wand before you begin. From there, work root to tip, build your coats while the formula is still wet, treat your lower lashes with a light hand, and finish by separating everything with a clean spoolie. Each step builds on the last to give you full, fluttery volume that lasts.
Now that you know how to apply sky high mascara like a pro, it’s time to put these steps into action. Grab your tube, set aside a few extra minutes tomorrow morning, and try the technique for yourself. Practice makes it feel effortless, and before long you’ll be reaching new lash heights every day. Your most striking eyes are just a few confident swipes away, so go ahead and give it a try.

About the Author
Jane Hubbard is a passionate beauty expert with a wealth of experience in makeup, hair, and overall beauty techniques. After years of working as a hairdresser specialist, she followed her entrepreneurial spirit and started her own consultancy business.
Jane has always been driven by her desire to help others feel confident in their own skin, and she does this by sharing her knowledge, experiences, and practical beauty tips. Through her consultancy, she empowers individuals to embrace their unique beauty, offering tailored guidance that boosts both self-esteem and personal style.
Professional Focus
Specializes in makeup, hairstyling, and beauty consulting.
Provides personalized beauty advice, tips, and techniques to help individuals feel confident in their appearance.
Dedicated to staying up-to-date with the latest industry trends and developments.
Passionate about creating a comfortable and empowering experience for every client.
Education History
University of Craft and Design – Bachelor of Fine Arts (BFA) in Woodworking and Furniture Design
Woodworking Apprenticeships – Extensive hands-on training with skilled craftsmen to refine carpentry and furniture making techniques
Online Courses & Masterclasses – Continued education in advanced woodworking techniques, design principles, and specialized tools
Expertise:
Makeup artistry, hairstyling, and beauty consulting.
Personalized beauty techniques to enhance confidence and self-expression.
Educating clients on how to maintain their beauty routines at home.