
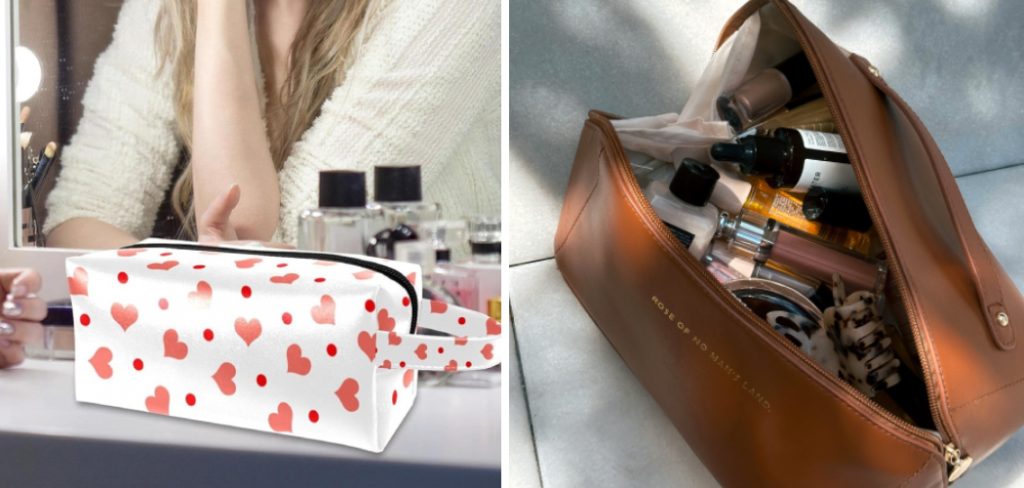
Welcome to our ultimate guide on how to clean a makeup bag! Whether you’re a makeup enthusiast or just someone who appreciates a well-organized collection, you know the struggle of keeping your beloved makeup bag in pristine condition. Over time, our trusty beauty companions can become a breeding ground for bacteria, makeup residue, and even potential allergens. But fear not, as we’re about to take you on a journey to revive and rejuvenate your makeup bag like never before.
From practical tips and expert tricks to must-have cleaning products, this blog post will equip you with all the knowledge you need to ensure your makeup bag remains hygienic and becomes a symbol of order and beauty in itself. So buckle up, grab your favorite makeup remover, and embark on this transformative quest to clean and conquer!
Necessary Items
Before we dive into the cleaning process, it’s essential to ensure you have all the necessary items. You don’t want to be halfway through and realize you’re missing a crucial tool or product. Here are some of the must-haves for cleaning your makeup bag:
- Mild soap or detergent
- Soft-bristled brush (e.g., a clean toothbrush)
- Makeup remover wipes or cleansing oil
- Disinfectant spray or wipes
- Microfiber cloth
- Q-tips
- Water
10 Steps on How to Clean a Makeup Bag
Step 1: Empty and Sort Your Bag
The first step to cleaning your makeup bag is to empty it. This allows you to see what needs to be cleaned and gives you a clean slate for organizing. As you empty your bag, sort through the items and separate them into categories such as lip products, eye products, face products, tools, etc.
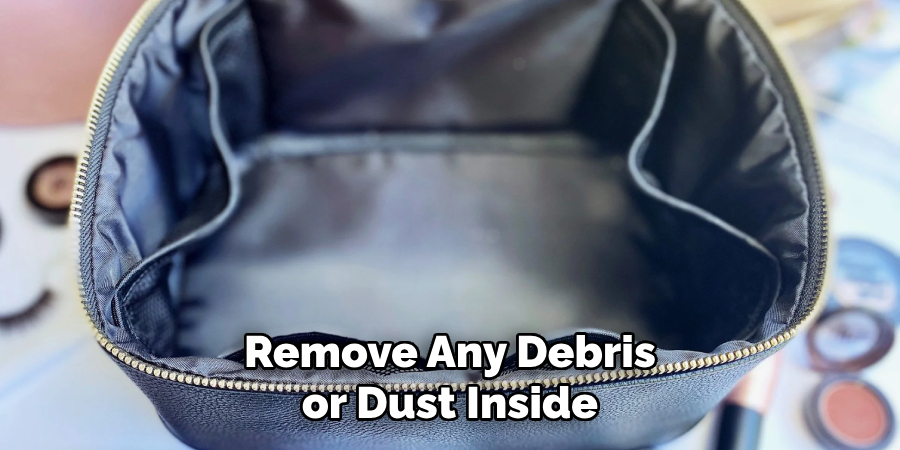
Step 2: Remove any Debris
Next, use a soft-bristled brush to remove any debris or dust inside your makeup bag gently. You can also use a lint roller for this step.
Step 3: Wash Your Bag
If your makeup bag is machine-washable, toss it in the washing machine with a mild detergent on a gentle cycle. If not, you can hand wash it using mild soap and warm water. Use a microfiber cloth to clean the inside and outside of the bag gently.
Step 4: Spot Clean Stains
For any stubborn stains, use a small amount of dish soap and warm water to spot-clean the affected areas. Let it sit briefly before gently scrubbing it with a soft-bristled brush. Rinse with water and let dry completely.
Step 5: Disinfect Your Bag
To ensure your makeup bag is free from bacteria and germs, use a disinfectant spray or wipes to clean the inside and outside of the pack. Make sure to let it air dry before proceeding to the next step.
Step 6: Clean Your Makeup Brushes
While your bag is drying, take this time also to clean your makeup brushes. Use a gentle shampoo or brush cleaner and warm water to clean the bristles thoroughly. Rinse and reshape the brushes before laying them flat to dry.
Step 7: Wipe Down Your Products
While your bag and brushes are drying, use makeup remover wipes or cleansing oil to wipe down all your products. This will remove any excess product residue and help maintain the cleanliness of your makeup bag in the long run.
Step 8: Organize Your Bag
Once everything is dry, it’s time to organize your makeup bag. Use dividers or pouches to separate different categories of products and keep things neat.
Step 9: Clean the Exterior
Remember the outside of your makeup bag! Use a gentle disinfectant wipe or spray to clean the bag’s exterior and give it a fresh look.
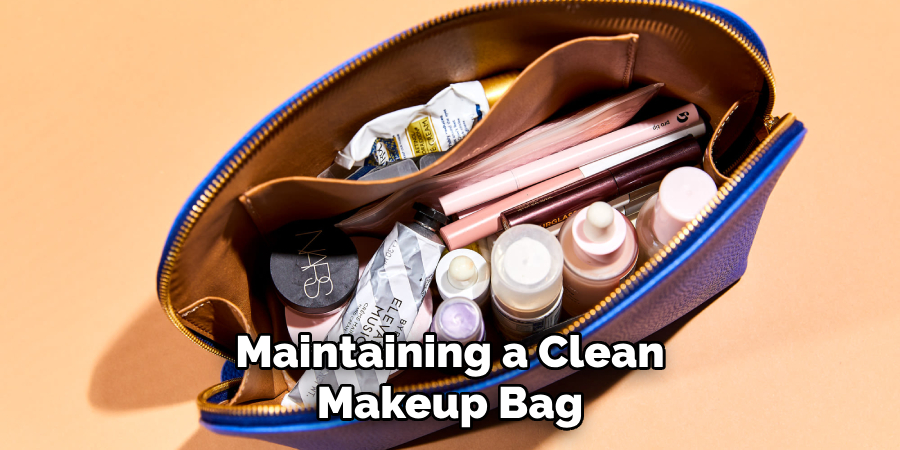
Step 10: Repeat Regularly
Maintaining a clean makeup bag is essential to make cleaning a regular habit. Aim to do a deep clean at least once every few months and spot clean in between as needed. This will keep your makeup bag looking its best and help keep your products hygienic and last longer.
Congratulations, you have successfully cleaned your makeup bag and given it a new lease on life! By following these ten simple steps on how to clean a makeup bag and making cleaning a regular practice, your makeup bag will be clean, organized, and ready for all your beauty needs. Remember to check and replace expired products regularly to avoid skin irritations.
8 Tips for a Sparkling Clean Makeup Bag
1. Use Q-tips Dipped in Rubbing Alcohol to Clean Small Areas
For hard-to-reach areas or spots with stubborn stains, dip a Q-tip in rubbing alcohol and gently scrub the area. This will help disinfect and remove any buildup.
2. Use a Masking Tape to Remove Lint
If your makeup bag is made of fabric, use masking tape to gently dab and remove any lint or debris from the surface. This is a quick and easy way to keep your makeup bag looking brand new.
3. Store Your Makeup Bag in a Dry Place
Store your makeup bag in a dry place to prevent mold or mildew from growing. Avoid leaving it in the bathroom where there may be excess moisture.
4. Use Ziploc Bags for Traveling
To avoid spills or messes while traveling, use small ziploc bags to store your products in your makeup bag. This will also make it easier to find and access specific items.
5. Don’t Overload Your Bag
Try to stay within your makeup bag, as this can cause damage to the bag and make it harder to find what you need. Keep it organized, and only bring essentials when traveling.
6. Clean Your Makeup Bag After Being Sick
To prevent any potential germs from lingering in your makeup bag, be sure to give it a thorough cleaning after being sick. This will help minimize the risk of spreading any illness through your makeup.
7. Keep a Backup Bag
If you’re someone who carries a lot of products or travels often, consider keeping a backup makeup bag. This way, you can alternate between the two and give each bag a break for cleaning and organizing.
8. Use Clear Pouches to Separate Products
To make it easier to find specific products, use clear pouches to separate different categories of items within your makeup bag. This will also make it easier to spot any spills or leaks and contain the mess in one area.
Consider these tips for a sparkling clean makeup bag at all times. With regular maintenance and cleaning, your makeup bag will look brand new and help keep your products hygienic and ready for use at any time.
6 Things to Avoid
1. Leaving Liquid Products Open or Uncapped
Always tightly close and secure any liquid products before placing them in your makeup bag. This will prevent spills and leaks, which can be challenging to clean.
2. Using Dirty Brushes
Dirty brushes not only affect your makeup application but can also transfer bacteria onto your products and into your makeup bag. Make sure to clean your brushes regularly and store them separately from your products.
3. Storing Products in Extreme Temperatures
Avoid leaving your makeup bag in direct sunlight or extreme temperatures, as this can cause damage to the bag and affect the quality of your products.
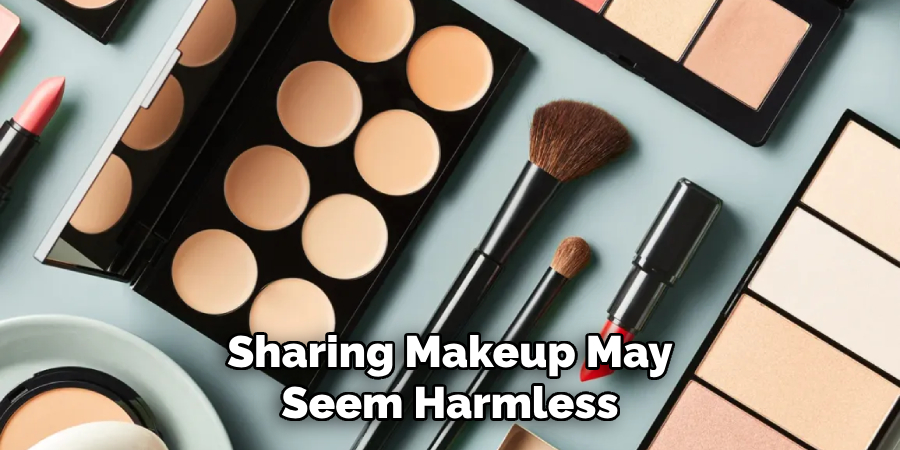
4. Sharing Products with Others
Sharing makeup may seem harmless, but it can transfer bacteria and germs from one person to another. Be mindful of this when using or borrowing products from others.
5. Forgetting to Check Expiration Dates
To avoid potential skin irritations, regularly check your products’ expiration dates and replace them accordingly.
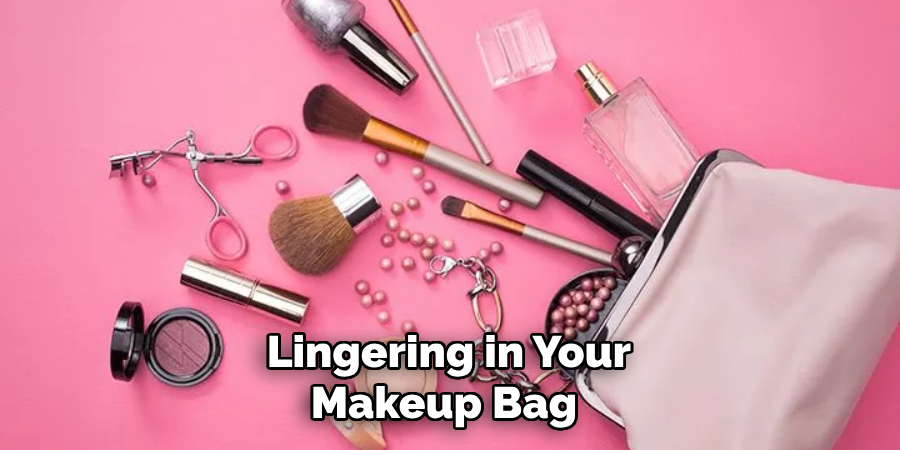
6. Not Cleaning Your Makeup Bag Regularly
As mentioned before, regular cleaning is vital to maintaining a clean and hygienic makeup bag. This task is necessary to avoid a messy load and potentially harmful bacteria and germs lurking in your products.
By following these tips and avoiding these common mistakes, you can ensure that your makeup bag stays clean, organized, and safe for all your beauty needs.
Frequently Asked Questions About Cleaning Your Makeup Bag
How Often Should I Clean My Makeup Bag?
Doing a deep cleaning of your makeup bag every few months and spot cleaning in between as needed is recommended. However, it depends on your usage and how often you travel with your makeup bag.
Can I Put My Makeup Bag in the Washing Machine?
If your makeup bag is machine-washable, you can put it in the washing machine with a mild detergent on a gentle cycle. However, if not specified by the manufacturer, it’s best to wash it by hand to avoid potential damage.
How Do I Keep My Makeup Bag Organized?
Using dividers or pouches within your makeup bag can help keep things organized. Consider using a separate bag for specific products, such as one for lipsticks and another for powders, to make finding items even easier.
What Should I Do if My Makeup Bag Gets Wet?
If your makeup bag gets wet, let it air dry completely before storing any products inside. This will prevent mold or mildew from growing and ruining your makeup. Additionally, you can use a blow dryer on a low heat setting to speed up the drying process.

Is It Necessary to Clean My Makeup Bag if I Don’t Wear Makeup Often?
Even if you don’t wear makeup often, cleaning your makeup bag is essential. This will help prevent any bacteria or germs from accumulating and potentially causing harm to your skin. So be sure to give your makeup bag a deep clean every few months, regardless of how frequently you use it.
Conclusion
Now that you know how to clean a makeup bag in 10 easy steps and have some extra tips for maintaining a clean and organized bag, you can keep your makeup routine hygienic and efficient. In conclusion, cleaning your makeup bag is an essential task that should be noticed. Not only does it help to keep your products in good condition and prevent any skin irritations, but it also allows you to have a clutter-free and organized beauty routine.
From emptying the bag and thoroughly washing it with soap and water to disinfecting and drying it properly, we have covered all the necessary steps for a successful cleaning session. Remember to prioritize your brush cleansing routine and regularly go through your makeup collection to dispose of expired or unused products. Also, get creative with storage solutions to keep your makeup bag tidy and easy to use daily.
About the Author
Jane Hubbard is a passionate beauty expert with a wealth of experience in makeup, hair, and overall beauty techniques. After years of working as a hairdresser specialist, she followed her entrepreneurial spirit and started her own consultancy business.
Jane has always been driven by her desire to help others feel confident in their own skin, and she does this by sharing her knowledge, experiences, and practical beauty tips. Through her consultancy, she empowers individuals to embrace their unique beauty, offering tailored guidance that boosts both self-esteem and personal style.
Professional Focus
Specializes in makeup, hairstyling, and beauty consulting.
Provides personalized beauty advice, tips, and techniques to help individuals feel confident in their appearance.
Dedicated to staying up-to-date with the latest industry trends and developments.
Passionate about creating a comfortable and empowering experience for every client.
Education History
University of Craft and Design – Bachelor of Fine Arts (BFA) in Woodworking and Furniture Design
Woodworking Apprenticeships – Extensive hands-on training with skilled craftsmen to refine carpentry and furniture making techniques
Online Courses & Masterclasses – Continued education in advanced woodworking techniques, design principles, and specialized tools
Expertise:
Makeup artistry, hairstyling, and beauty consulting.
Personalized beauty techniques to enhance confidence and self-expression.
Educating clients on how to maintain their beauty routines at home.