

Dark eyelids can make you look tired even when you feel completely rested, and they can throw off an otherwise flawless eye look. Whether the discoloration comes from genetics, thin skin, veins showing through, or years of sun exposure, that shadowy tint across your lids is incredibly common. The great news is that you do not need expensive treatments to fix it. Learning how to cover dark eyelids with makeup is a skill anyone can master, and it uses products you likely already own or can grab affordably.
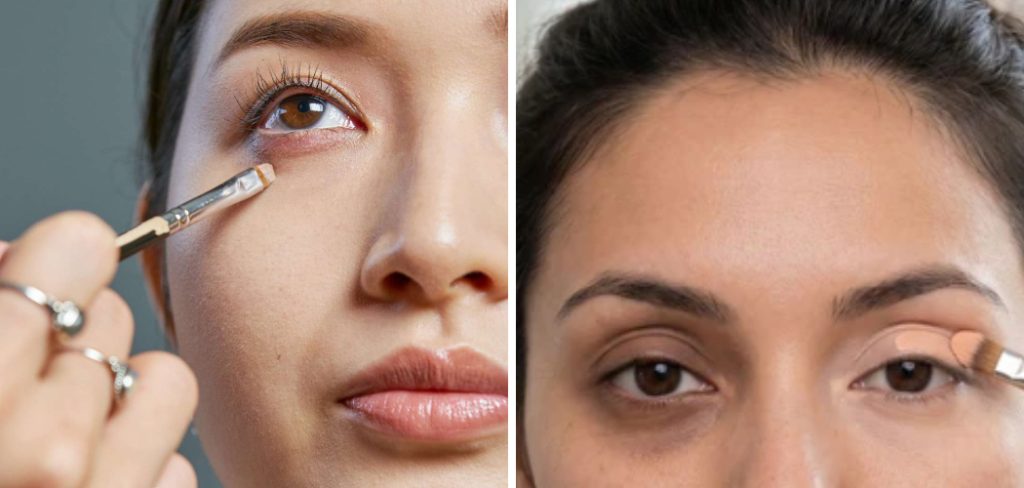
The trick is understanding that a single swipe of concealer rarely does the job. Dark eyelids have a cool, often purple or brown undertone that needs to be neutralized first, then smoothed, brightened, and locked in place. This guide walks you through that exact process step by step, using clear language for every skill level. By the end, you will feel confident creating a bright, even base that makes your eyeshadow pop and your whole face look refreshed and awake.
Why Covering Dark Eyelids With Makeup Matters
Evening out your lids does more than hide discoloration, and understanding the payoff helps you approach the process with purpose. Dark eyelids create a shadow that can make eyeshadow look muddy, dull, or patchy no matter how pricey the palette. When you start with a clean, neutralized canvas, colors appear true to their real shade and stay vibrant for hours. You also get a brighter, more open-eyed appearance that instantly reads as well-rested.
There is a confidence boost too. A smooth lid base gives your makeup staying power, cutting down on creasing and fading throughout the day. That means fewer touch-ups, less frustration, and a look that holds from morning meetings to evening plans. A little know-how here empowers you to control how fresh and polished you appear.
Step-by-Step Guide to How to Cover Dark Eyelids With Makeup
Follow these seven steps in order for the smoothest, longest-lasting result. Work with light layers, blend gently, and give each product a moment to settle before moving to the next stage. This is exactly how to cover dark eyelids with makeup in a way that looks natural rather than heavy or cakey.
Step 1: Start With a Clean, Moisturized Base
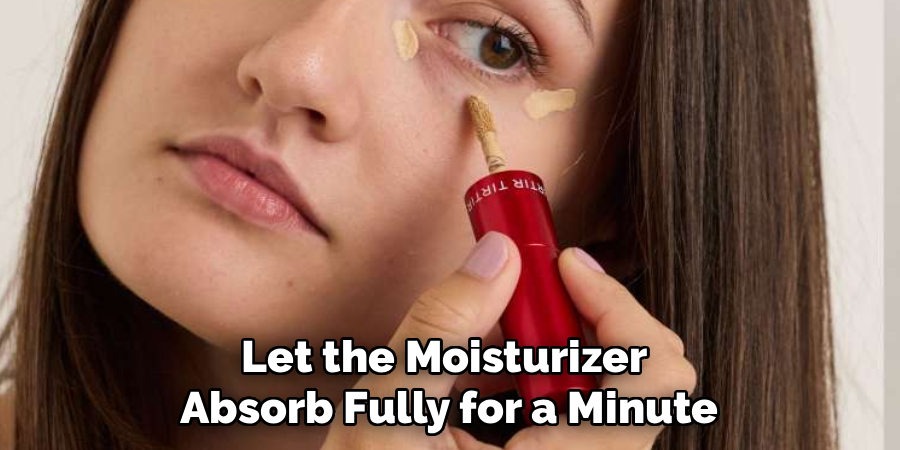
Begin by cleansing your eyelids and patting on a lightweight eye cream or moisturizer. Dry, flaky skin grabs product unevenly and makes any discoloration look worse, so hydration matters more than people expect. Let the moisturizer absorb fully for a minute or two before you touch anything else. If your lids tend to get oily, keep the layer thin so your makeup has something smooth to grip. This simple prep step creates a soft, even surface that helps every following product blend beautifully and stay put throughout your day.
Step 2: Apply a Gripping Eye Primer
Once your skin feels hydrated but not slippery, sweep on a thin layer of eye primer across the entire lid. Primer does two important jobs here. It gives your concealer and shadow something to cling to, and it helps stop the natural oils in your lids from breaking down your makeup. Pat it on gently with a fingertip rather than rubbing, then let it set for around thirty seconds. A good primer noticeably reduces creasing and extends wear, which is essential when you are working over a shadowed, uneven area that tends to show flaws.
Step 3: Neutralize the Darkness With Color Correction
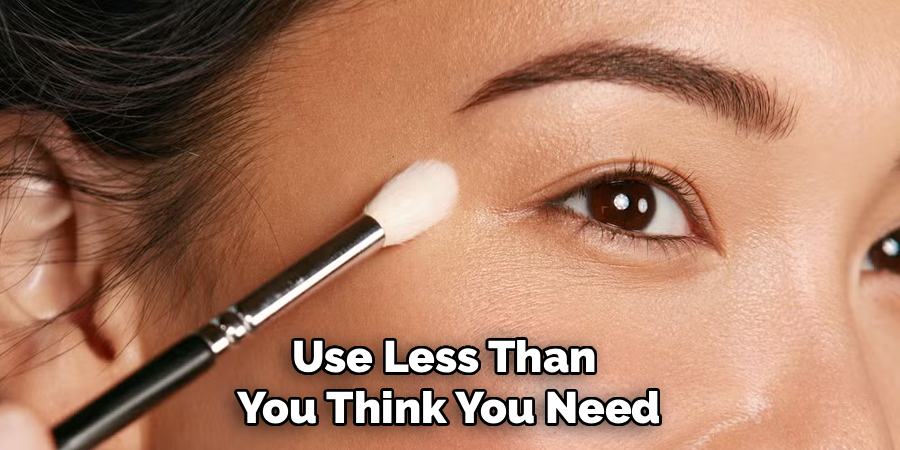
This is the step that makes the biggest difference when covering dark eyelids with makeup, so take your time. Look at your lid color and choose a corrector that cancels it. Purple or blue tones need a peach or salmon corrector, while brown discoloration responds well to a warm orange shade. Dab a tiny amount onto the darkest area and blend the edges softly with a small brush or your finger. Use less than you think you need, because too much corrector can look ashy. The goal is simply to knock out the dark tint, not to fully cover it yet.
Step 4: Layer a Thin Coat of Concealer
With the darkness neutralized, apply a concealer that matches your skin tone directly over the corrected area. Use a small, flat brush or a damp makeup sponge to press it into place rather than dragging it across your lid. Pressing keeps the coverage even and prevents disturbing the corrector underneath. Build the color in two thin layers instead of one thick swipe, since heavy application is what leads to creasing and a cakey finish. Blend the edges outward so the concealer melts seamlessly into the surrounding skin without any visible lines or patches.
Step 5: Set Everything With a Light Powder
Setting is the secret to makeup that lasts, and skipping it is the most common mistake beginners make. Take a fluffy brush and pick up a small amount of translucent or skin-tone setting powder. Tap off the excess, then gently press the powder over your lid to lock the concealer in place. Avoid sweeping motions, which can move the product you just applied. This thin veil of powder absorbs oil, prevents creasing, and gives your eyeshadow a matte grip to hold onto. A light hand keeps the finish natural instead of dry or heavy looking.
Step 6: Add Eyeshadow to Brighten and Define
Now for the fun part, where your smooth base finally pays off. Start with a light, neutral shade across the whole lid to add brightness and unify the color. A soft champagne, beige, or pale pink instantly lifts the eye area and helps hide any lingering shadow. Build depth in the crease with a slightly deeper tone if you like, blending in small circles for a seamless gradient. Because you neutralized and set the lid first, these colors will appear vivid and true rather than dull. Take your time blending, since patience is what creates that polished, professional finish.
Step 7: Finish With Liner, Mascara, and a Final Check
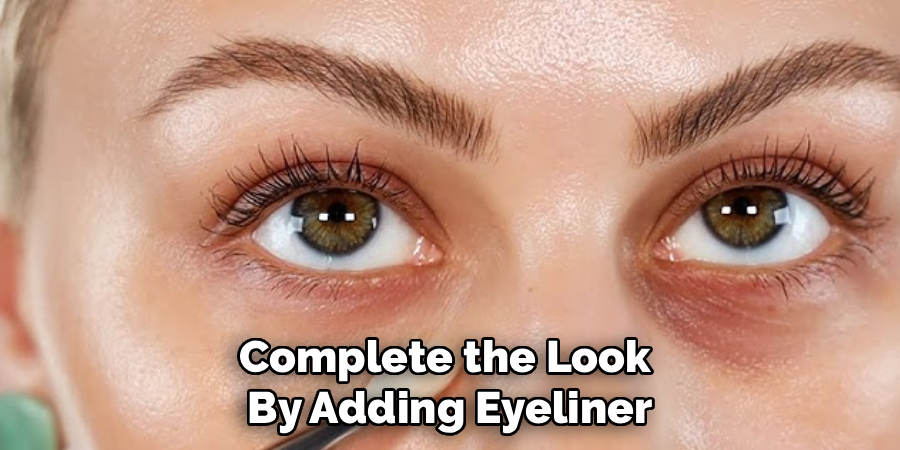
Complete the look by adding eyeliner and mascara to frame and open your eyes. A thin line along the upper lash line makes lashes look fuller and draws attention upward, away from any remaining darkness. Curl your lashes and apply mascara to brighten the whole eye instantly. Once you are done, step back and check your work in natural light, since indoor lighting can hide small flaws. If you spot any creasing or patchiness, gently press a little more powder over the area rather than adding more concealer, which keeps everything looking fresh.
Frequently Asked Questions
What Color Corrector Works Best for Dark Eyelids?
The right corrector depends on your undertone. Purple or blue-toned lids need a peach or salmon corrector to cancel the coolness, while brownish discoloration responds better to a warm orange shade. Fair skin usually suits lighter peach, and deeper skin tones need richer orange or red-orange. Always apply a tiny amount first, since a little goes a long way and too much can leave an ashy cast.
How Do I Stop My Eyeshadow From Creasing?
Creasing usually comes from too much product or skipping key steps. Always use a gripping eye primer, apply thin layers of concealer instead of one heavy coat, and set everything with a light dusting of powder before adding shadow. Oily lids benefit most from a strong primer and a matte setting powder. These small habits keep your makeup smooth and prevent it from sliding into fine lines throughout the day.
Can I Skip Concealer and Just Use Eyeshadow?
You can, but you will get far better results with a corrected, concealed base. Eyeshadow alone sits on top of the discoloration, so dark lids can dull the color and make it look muddy. A thin layer of corrector and concealer neutralizes the shadow first, letting your shadow appear brighter and more true to its real shade. Think of the base as the canvas that makes everything else look its best.
Will This Routine Work on Oily Eyelids?
Absolutely, though oily lids need a few extra precautions. Focus on a lightweight moisturizer so you do not add excess oil, then use a strong gripping primer and a mattifying setting powder. Apply concealer in thin layers and always set it well before adding shadow. Carrying a small powder for touch-ups helps if you tend to get shiny by midday. With these adjustments, your makeup stays put far longer.
How Long Does This Makeup Last?
With proper prep, most people enjoy six to eight hours of wear before needing a touch-up. Longevity depends on your skin type, the products you use, and how well you set each layer. Oily lids may fade a little faster, while a solid primer and setting powder extend the wear considerably. If you notice slight fading, a gentle press of powder refreshes the look without any messy reapplication.
Conclusion
Dark eyelids might feel like a stubborn problem, but as you can see, they are surprisingly easy to manage once you follow the right order. The secret lies in preparation and patience. Hydrate the lid, prime it, neutralize the darkness with a color corrector, then conceal, set, and build your eyeshadow on top of that smooth, even canvas. Each step builds on the last, and together they create a bright, awake look that lasts all day. Knowing how to cover dark eyelids with makeup gives you a reliable routine that works for every skill level and every occasion.
So the next time your lids look shadowy or tired, take a breath and trust the process. Work through each step gently, use light layers, and check your results in natural light. With a little practice and these expert-backed techniques, you will neutralize discoloration like a pro and enjoy makeup that stays fresh from morning to night. Go ahead and give it a try, your eyes will thank you.

About the Author
Jane Hubbard is a passionate beauty expert with a wealth of experience in makeup, hair, and overall beauty techniques. After years of working as a hairdresser specialist, she followed her entrepreneurial spirit and started her own consultancy business.
Jane has always been driven by her desire to help others feel confident in their own skin, and she does this by sharing her knowledge, experiences, and practical beauty tips. Through her consultancy, she empowers individuals to embrace their unique beauty, offering tailored guidance that boosts both self-esteem and personal style.
Professional Focus
Specializes in makeup, hairstyling, and beauty consulting.
Provides personalized beauty advice, tips, and techniques to help individuals feel confident in their appearance.
Dedicated to staying up-to-date with the latest industry trends and developments.
Passionate about creating a comfortable and empowering experience for every client.
Education History
University of Craft and Design – Bachelor of Fine Arts (BFA) in Woodworking and Furniture Design
Woodworking Apprenticeships – Extensive hands-on training with skilled craftsmen to refine carpentry and furniture making techniques
Online Courses & Masterclasses – Continued education in advanced woodworking techniques, design principles, and specialized tools
Expertise:
Makeup artistry, hairstyling, and beauty consulting.
Personalized beauty techniques to enhance confidence and self-expression.
Educating clients on how to maintain their beauty routines at home.