
Are you tired of spending countless hours trying to apply false lashes, only to end up with a mess? Fear not, because we have the perfect guide for you.
Applying false lashes can instantly elevate your makeup look, adding drama and enhancing the appearance of your eyes. While it may seem intimidating at first, mastering this skill is easier than you think with a bit of practice and the proper techniques. Whether you’re preparing for a special occasion or simply experimenting with a new style, learning to apply false lashes can be a game-changer for your beauty routine.
This guide on how to apply false lashes will walk you through the steps to ensure a flawless and natural-looking application every time. Let’s get started!
What Are the Benefits of False Lashes?
Before we dive into the application process, let’s first discuss the benefits of false lashes.
- Fuller and Longer Lashes: False lashes instantly add length and volume to your natural lashes, giving you a dramatic and glamorous look.
- Customizable: With so many styles, lengths, and materials to choose from, false lashes allow you to customize your look according to your preferences and the occasion.
- Saves Time: Applying mascara can be a tedious task, but with false lashes, you can skip this step altogether.
- Long-lasting: Unlike mascara, which needs to be reapplied throughout the day, false lashes stay put until you decide to remove them.
- Easy Removal: Removing false lashes is quick and easy without causing any damage or discomfort to your natural lashes.
Now that we’ve covered the benefits of false lashes, let’s dive into how to apply and maintain them properly.
What Will You Need?
To apply false lashes, you will need:
- False lash strips or individual lashes
- Lash adhesive
- Tweezers
- Scissors (optional)
Once you have gathered all your supplies, you are ready to begin the application process.
10 Easy Steps on How to Apply False Lashes
Step 1. Prepare Your Natural Lashes
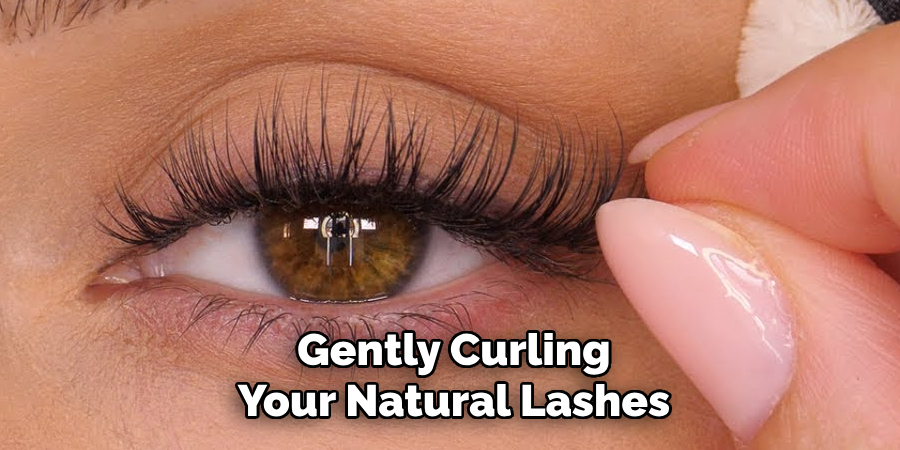
Start by gently curling your natural lashes with an eyelash curler to create a seamless base for the false lashes to blend into. If desired, you can apply a coat of mascara to your natural lashes. This step not only provides extra definition but also helps the false lashes adhere better and appear more natural. Be sure to avoid heavy clumping with the mascara, as this can make the application process more difficult. Taking the time to prepare your natural lashes ensures a polished and professional-looking application.
Step 2. Choose the Right Lash Style
Choosing the right lash style is a critical step to achieving the desired look. False lashes come in a variety of lengths, volumes, and shapes, each suited for specific occasions or personal preferences. For a natural, everyday look, opt for lashes with a wispy texture and shorter length that subtly enhance your eyes without appearing overly dramatic.
On the other hand, if you’re preparing for a special event or want to make a bold statement, opt for lashes that’re fuller, longer, or feature a flare at the outer corners for a striking, glamorous effect. Consider the shape of your eyes as well when selecting a style—round eyes often look great with cat-eye lashes, while almond-shaped eyes pair beautifully with evenly distributed lash styles.
Step 3. Measure and Trim the Lashes
Before applying the lashes, you must ensure they are the correct length to fit your eyes comfortably. Hold the strip lash up to your eyelid, aligning it with your natural lash line. If the strip extends beyond the outer corner of your eye, use a small pair of scissors to trim the excess from the outer edge. Trimming ensures the lashes look natural and prevents uncomfortable lifting at the ends. Remember to cut a little at a time to avoid over-trimming and ruining the lash strip.
Step 4. Apply the Adhesive
Using a high-quality lash adhesive is essential for ensuring your false lashes stay securely in place. Start by squeezing a small amount of lash glue onto the back of your hand or a clean surface.
Take the lash strip and gently apply a thin, even layer of adhesive along the band using a small applicator or the tip of the adhesive tube. Pay extra attention to the corners, as these areas are prone to lifting. Allow the glue to dry for about 20-30 seconds, or until it becomes tacky. This step ensures a stronger hold and makes application easier. Avoid applying too much adhesive, as this can cause a mess and make the lashes more challenging to work with.
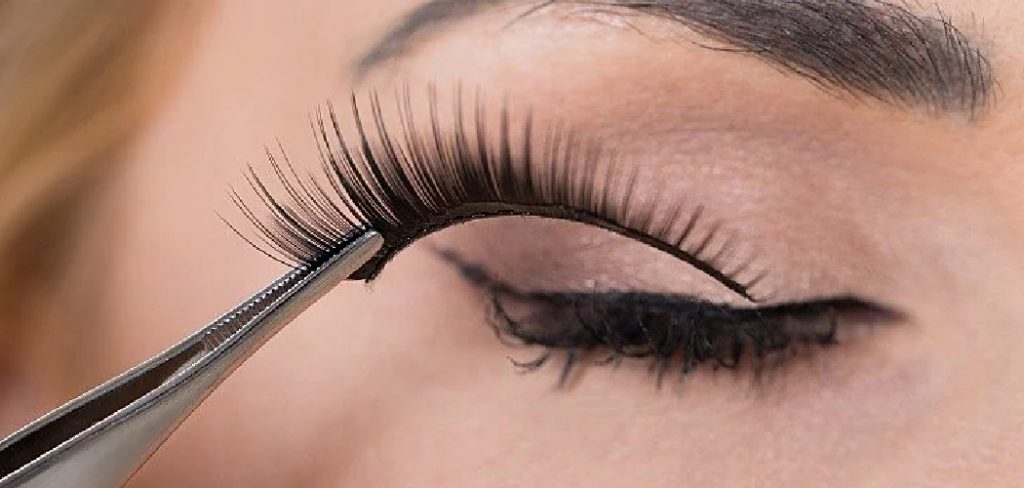
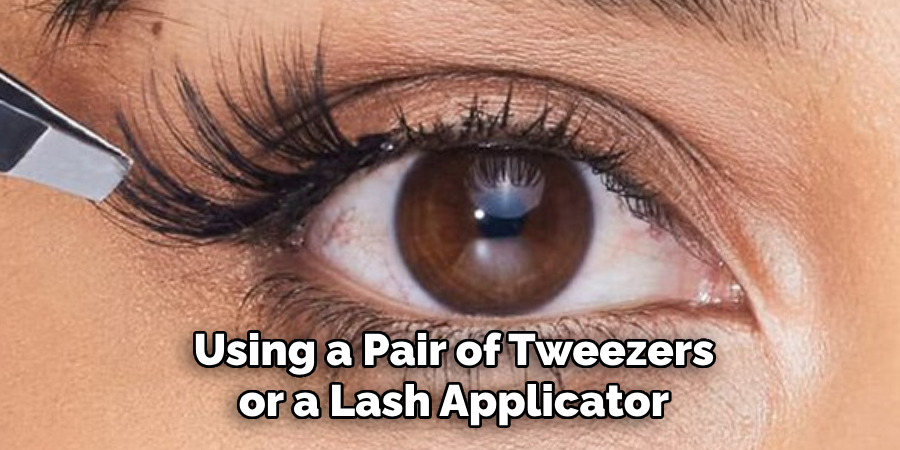
Step 5. Place the Lashes on Your Lash Line
Using a pair of tweezers or a lash applicator, carefully pick up the false lashes by the band. Look down into a mirror to get a clear view of your natural lash line. Starting from the center of your lash line, gently press the false lashes onto your skin as close to your natural lashes as possible. Once the center is secure, press down the outer and inner corners to ensure the entire strip adheres evenly. Adjust the placement quickly if needed before the adhesive fully sets. Take your time with this step to achieve a natural and seamless look.
Step 6. Secure the Lashes
After positioning the false lashes, use a pair of tweezers or your fingers to gently press along the lash band to ensure it is securely in place. Pay special attention to the corners, as these areas are more prone to lifting. If necessary, apply a small amount of additional lash adhesive to the edges using a precision applicator or a toothpick, and press them down firmly until the glue dries. Finally, blend your natural lashes with the false lashes using an eyelash curler or a coat of mascara to achieve a seamless, unified appearance.
Step 7. Blend with Eyeliner
To complete the look, use a liquid or gel eyeliner to carefully trace along the lash line, covering any visible glue and concealing the lash band. This step helps create a natural transition between your false lashes and your natural lashes. Opt for a black or dark brown eyeliner, depending on your desired look, to ensure a sleek and polished finish. Take your time and work in small, gentle strokes to maintain precision.
Step 8. Touch Up with Mascara
To flawlessly blend your natural lashes with the false ones, apply a light coat of mascara. This step ensures a seamless, unified appearance, eliminating any visible distinction between the two. Use a clean mascara wand and gently comb through both your natural and false lashes, focusing on the base to add volume without clumping. Be careful to avoid applying too much mascara to the tips of your false lashes, as this could make them appear heavy or unnatural.
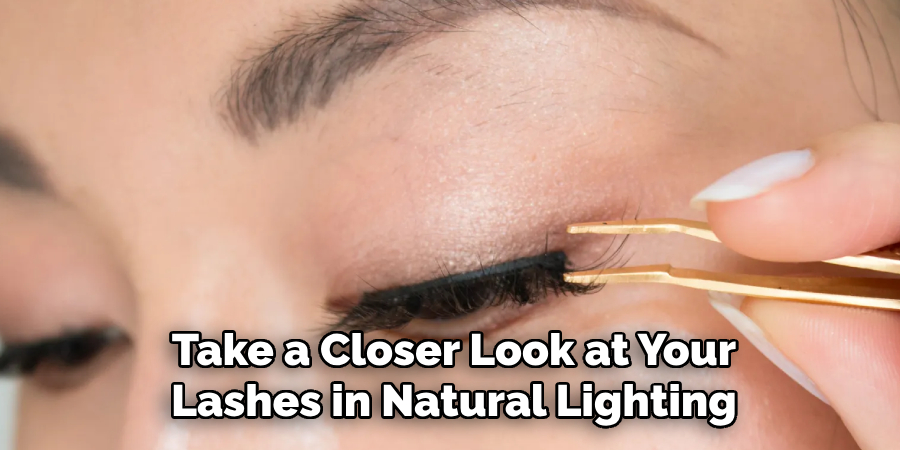
Step 9. Adjust and Finalize the Look
Once the mascara has dried, take a closer look at your lashes in natural lighting or under a well-lit mirror. If necessary, use a pair of tweezers or your fingertips to gently adjust the false lashes for proper alignment and a comfortable fit. Check for any spots where the lash band may be lifting, and apply a small amount of lash adhesive if needed.
Finally, use an eyeliner to carefully line the lash line, blending it with your natural lashes and concealing any visible bands for a flawless finish. Your lashes should now look effortlessly voluminous and perfectly styled!
Step 10. Removing False Lashes
Removing false lashes is a simple process that ensures both the preservation of your natural lashes and the longevity of your false ones. Start by soaking a cotton pad with a gentle, oil-based makeup remover or micellar water.
Close your eyes and hold the cotton pad against your lash line for 20-30 seconds to loosen the adhesive. Once the glue has softened, gently lift the false lashes starting from the outer corner and peel them off slowly toward the inner corner. Avoid pulling or tugging to prevent damage to your natural lashes.
After removal, clean any adhesive residue from the false lashes with a pair of tweezers and store them in their original packaging for future use. Finally, cleanse your eyelids to remove any remaining makeup or adhesive, leaving your skin clean and refreshed.
With these steps, applying false lashes becomes a quick and effortless process, enhancing your look with ease.
5 Things You Should Avoid
- Skipping the Lash Fit Test
Never skip measuring the false lashes against your natural lash line. Applying lashes without trimming them to fit can lead to discomfort and an unnatural look.
- Using Excessive Adhesive
Avoid applying too much lash glue, as it can create a mess and make application difficult. A thin, even layer is enough to secure the lashes correctly.
- Applying Lashes Before the Glue Becomes Tacky
Do not rush the process by applying the lashes immediately after adding glue. Allow the adhesive to dry for a few seconds until it becomes tacky, providing a better grip and placement.
- Pulling Lashes Off Aggressively
Never remove false lashes by tugging or pulling them without proper care. This can damage not only the lashes but also your natural lash line.
- Reusing Lashes Without Cleaning Them
Avoid reusing false lashes without cleaning off old adhesive or residue. Dirty lashes can harbor bacteria and irritate your eyes upon reapplication.
Conclusion
Mastering the art of applying false lashes takes a bit of practice, but the results are well worth it.
By following these steps carefully, you can achieve a flawless, natural, and eye-catching lash look that elevates your makeup routine. Remember to use high-quality tools and products, take your time during the application process, and always care for your lashes to extend their lifespan.
Hopefully, this guide on how to apply false lashes has helped you understand the process of applying false lashes and given you some tips and tricks to make it easier. Happy lashing!
About the Author
Jane Hubbard is a passionate beauty expert with a wealth of experience in makeup, hair, and overall beauty techniques. After years of working as a hairdresser specialist, she followed her entrepreneurial spirit and started her own consultancy business.
Jane has always been driven by her desire to help others feel confident in their own skin, and she does this by sharing her knowledge, experiences, and practical beauty tips. Through her consultancy, she empowers individuals to embrace their unique beauty, offering tailored guidance that boosts both self-esteem and personal style.
Professional Focus
Specializes in makeup, hairstyling, and beauty consulting.
Provides personalized beauty advice, tips, and techniques to help individuals feel confident in their appearance.
Dedicated to staying up-to-date with the latest industry trends and developments.
Passionate about creating a comfortable and empowering experience for every client.
Education History
University of Craft and Design – Bachelor of Fine Arts (BFA) in Woodworking and Furniture Design
Woodworking Apprenticeships – Extensive hands-on training with skilled craftsmen to refine carpentry and furniture making techniques
Online Courses & Masterclasses – Continued education in advanced woodworking techniques, design principles, and specialized tools
Expertise:
Makeup artistry, hairstyling, and beauty consulting.
Personalized beauty techniques to enhance confidence and self-expression.
Educating clients on how to maintain their beauty routines at home.