
Are you tired of your makeup not looking as smooth and long-lasting as you want it to? Applying a powder on top of your foundation can make all the difference. Not only does it help set your makeup, but it also helps absorb excess oil and provides additional coverage.
Applying makeup powder aesthetic is an essential step in achieving a smooth, flawless complexion. Whether you’re looking to set your foundation, reduce shine, or achieve a natural-looking finish, makeup powder plays a crucial role in enhancing your overall appearance. By understanding the right techniques and selecting the appropriate type of powder for your skin type, you can ensure a polished appearance that lasts throughout the day.
This guide on how to apply makeup powder will walk you through the basics of applying makeup powder effectively and achieving professional results.
What Are the Benefits of Makeup Powder?
Makeup powder offers a range of benefits, making it a crucial step in any makeup routine. Some of the key benefits include:
- Setting Foundation: Applying powder over foundation helps to set it in place and prevent it from creasing or sliding off throughout the day.
- Reducing Shine: For individuals with oily skin, makeup powder can help absorb excess oil and control shine, resulting in a more matte finish.
- Blurring Imperfections: By setting your foundation and reducing shine, powder can also help minimize the appearance of pores and fine lines, giving you a smoother complexion.
- Increasing Longevity: Using powder over your makeup can extend its wear time, keeping your look fresh for longer.
What Will You Need?
To use powder as part of your makeup routine, you will need:
- A fluffy powder brush
- Your favorite loose or pressed powder
- Optional: a setting spray for added longevity and a more natural finish.
Once you have these items, you can start incorporating powder into your makeup routine.
10 Easy Steps on How to Apply Makeup Powder
Step 1. Prep Your Skin
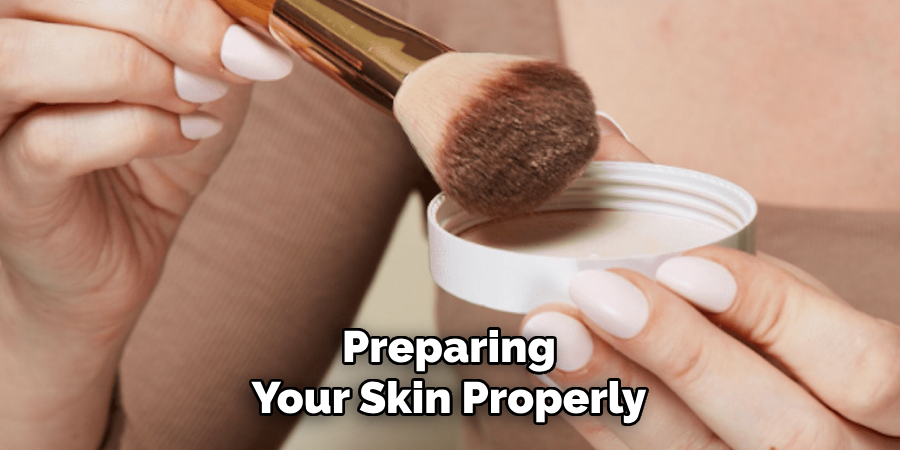
Preparing your skin is a critical first step in achieving a flawless makeup look that lasts all day. Begin by thoroughly cleansing your face to remove dirt, oil, and any residual makeup. Follow this with a good-quality moisturizer tailored to your skin type, as hydration ensures that your makeup applies evenly and doesn’t settle into dry patches. Next, use a primer to create a smooth base for your foundation, which helps your makeup adhere better.
If you have specific concerns, such as redness, uneven skin tone, or enlarged pores, opt for a color-correcting primer or one that specifically addresses your needs. Allow the primer to set for a few minutes before proceeding to the next step to maximize its effectiveness. Preparing your skin properly sets the stage for seamless application of makeup powder later in your routine.
Step 2. Apply Foundation and Concealer
After your primer has set, it’s time to apply your foundation and concealer to create an even and flawless base. Start by selecting a foundation formula that suits your skin type—matte or oil-free for oily skin, hydrating or dewy for dry skin, and a lightweight or medium-coverage option for normal or combination skin. Use a foundation brush, makeup sponge, or your fingertips to apply the product gently, starting from the center of your face and blending outward to ensure seamless coverage. Take care to blend along your jawline, hairline, and ears for a natural finish.
Step 3. Choose the Right Powder
Selecting the correct powder is essential in setting your foundation and achieving a polished look. Powders come in various forms, such as loose, pressed, translucent, or tinted, and each serves a specific purpose depending on your desired outcome. For oily skin, opting for a mattifying powder can help control shine throughout the day. Those with dry skin may prefer a lightweight, hydrating formula to avoid a cakey or flaky appearance.
If you’re seeking extra coverage, a tinted or pressed powder can work well, whereas a translucent powder provides a sheer, natural finish. To apply, use a fluffy powder brush or a powder puff, lightly sweeping or patting the product onto areas prone to oiliness, such as the T-zone, or across your entire face for long-lasting wear. Ensure that you don’t overload the powder, as a light dusting is typically sufficient to lock in your makeup and keep your look fresh.
Step 4. Load Your Brush
To load your brush, gently swirl it into the powder, ensuring that the bristles pick up an even amount of product. Tap off any excess by lightly tapping the brush handle against the edge of the container or your wrist. This step helps to prevent applying too much powder at once, allowing for better control and a more natural finish. Remember, it’s always easier to build up coverage gradually than to remove excess product.
Step 5. Set Your Under-Eye Area
To set your under-eye area, use a small, soft brush or a makeup sponge specifically designed for precise application. Lightly press a small amount of setting powder into the skin under your eyes, focusing on areas prone to creasing. Avoid sweeping the powder back and forth, as this can disturb your concealer. Instead, gently press and roll the tool to lock the product in place. This technique not only prevents creasing but also ensures a smooth, long-lasting finish.
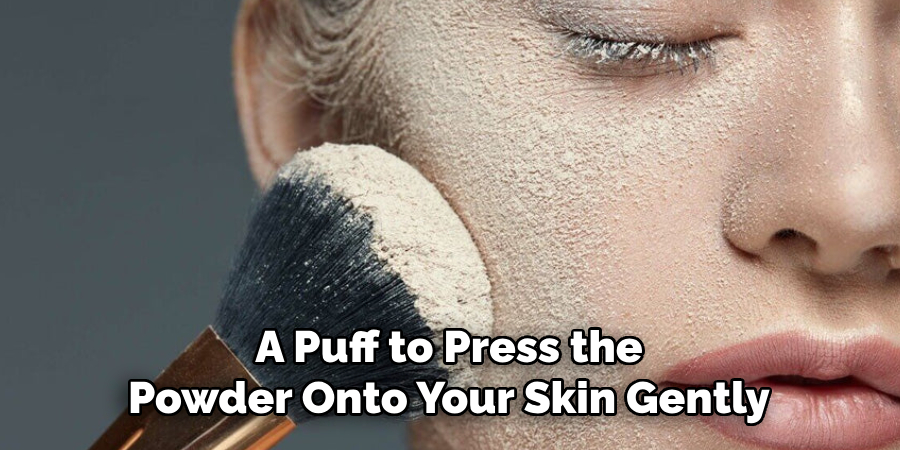
Step 6. Apply Powder to Your T-Zone
To keep your T-zone — which includes your forehead, nose, and chin — shine-free throughout the day, lightly apply setting powder to these areas. Use a fluffy powder brush or a puff to press the powder onto your skin gently. Focus on areas prone to excess oil production to ensure an even and natural finish. Be careful not to overapply, as this can lead to a cakey appearance. The goal is to mattify the skin while maintaining a smooth, flawless look.
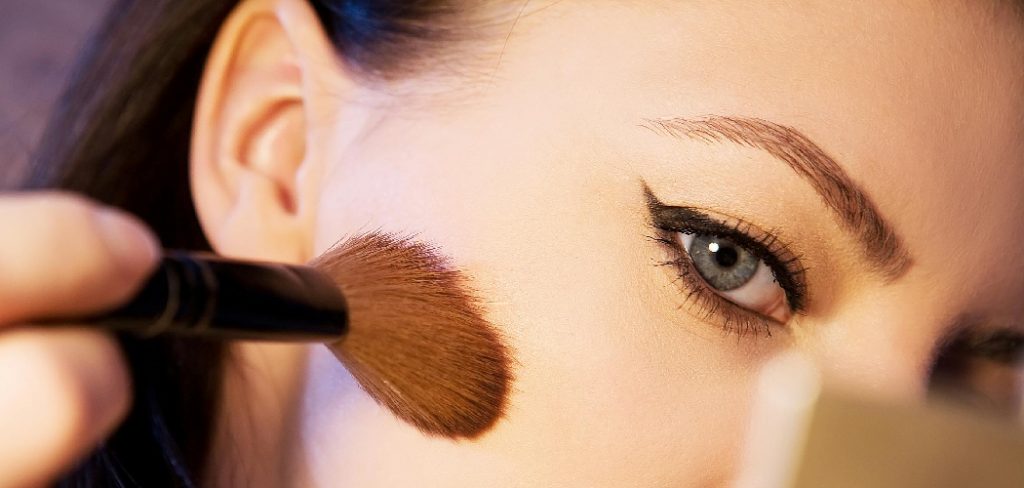
Step 7. Dust Powder over the Rest of Your Face
Using a large, fluffy powder brush, lightly dust setting powder over the rest of your face to lock in your makeup. Focus on areas that you haven’t already powdered, such as your cheeks and jawline, blending the product seamlessly with the rest of your skin. This step helps ensure your makeup stays in place throughout the day, creating a uniform, polished look. Make sure to use a light touch to avoid disrupting your foundation or concealer underneath. The aim is to set your makeup while keeping your skin looking natural and radiant.
Step 8. Build Up if Needed
If you feel that certain areas require additional coverage or a more defined look, go back and carefully build up your makeup. For example, you can add another layer of foundation to areas needing extra coverage or intensify your eyeshadow or blush for a bolder finish. Remember, the key is to build gradually—apply small amounts of product at a time and blend thoroughly to avoid a cakey appearance. This step ensures your makeup can be adjusted to your desired level without compromising the natural and seamless finish.
Step 9. Blend Well
Blending is one of the most crucial steps in achieving a polished and professional-looking makeup. Use a clean makeup sponge, brush, or your fingertips to blend all products seamlessly into your skin. Pay extra attention to areas where different products meet, such as the transition between your foundation and contour or eyeshadow shades. Circular motions and gentle dabbing will help avoid harsh lines, ensuring a smooth and natural finish. Proper blending not only enhances the cohesion of your makeup but also allows the products to sit nicely on your skin, giving a flawless final appearance.
Step 10. Finish with Setting Spray
The final step in your makeup routine is to lock everything in place with a setting spray. Hold the bottle about 8–10 inches away from your face and mist evenly across your skin. Focus on covering your entire face, aiming for a light, even layer. Setting spray helps reduce shine, keeps your makeup long-lasting, and provides a fresh finish. Allow the spray to dry naturally, avoiding contact with your face to ensure optimal results.

Following these steps will help you achieve a flawless powder application, resulting in makeup that looks polished and long-lasting.
5 Things You Should Avoid
- Skipping Skin Preparation
Failing to properly cleanse and moisturize your skin before applying powder can result in uneven application. Always start with a clean, hydrated face to prevent the powder from clinging to dry patches.
- Overloading the Brush or Sponge
Picking up too much powder at once can cause your makeup to look cakey or patchy. Instead, lightly tap off the excess before applying it to your face for a natural finish.
- Applying Powder to Wet Foundation
Applying powder directly onto wet or tacky foundation can create streaks and uneven patches. Ensure your foundation has set adequately before proceeding to the powder application.
- Ignoring Problem Areas
Avoid sweeping the powder indiscriminately across your face without focusing on areas that need attention. For instance, target oily zones, such as the T-zone, for better shine control, while using a lighter hand on other areas.
- Using the Wrong Shade
Using a powder that does not match your skin tone can make your makeup appear unnatural. Always choose a shade that complements your complexion for a seamless blend.

Conclusion
How to apply makeup powder effectively requires attention to technique, product choice, and application areas.
By avoiding common mistakes such as over-applying, ignoring key zones, or using an incorrect shade, you can achieve a natural and polished finish. Always use the right tools, like a fluffy brush or sponge, to ensure even distribution and blend seamlessly for a flawless look.
With the proper approach, makeup powder can enhance your overall appearance and help set your makeup for long-lasting wear.
About the Author
Jane Hubbard is a passionate beauty expert with a wealth of experience in makeup, hair, and overall beauty techniques. After years of working as a hairdresser specialist, she followed her entrepreneurial spirit and started her own consultancy business.
Jane has always been driven by her desire to help others feel confident in their own skin, and she does this by sharing her knowledge, experiences, and practical beauty tips. Through her consultancy, she empowers individuals to embrace their unique beauty, offering tailored guidance that boosts both self-esteem and personal style.
Professional Focus
- Specializes in makeup, hairstyling, and beauty consulting.
- Provides personalized beauty advice, tips, and techniques to help individuals feel confident in their appearance.
- Dedicated to staying up-to-date with the latest industry trends and developments.
- Passionate about creating a comfortable and empowering experience for every client.
Education History
- University of Craft and Design – Bachelor of Fine Arts (BFA) in Woodworking and Furniture Design
- Woodworking Apprenticeships – Extensive hands-on training with skilled craftsmen to refine carpentry and furniture making techniques
- Online Courses & Masterclasses – Continued education in advanced woodworking techniques, design principles, and specialized tools
Expertise:
- Makeup artistry, hairstyling, and beauty consulting.
- Personalized beauty techniques to enhance confidence and self-expression.
- Educating clients on how to maintain their beauty routines at home.