
Getting a salon-quality manicure usually involves making appointments, driving across town, and spending a significant amount of money every few weeks. However, the rise of at-home dip kits has completely changed the nail game for beauty enthusiasts everywhere. If you have been looking for a way to get durable, shiny, and professional-looking nails without leaving your house, learning how to apply nailboo dip powder is the perfect solution.
Dip powder manicures are famous for lasting up to six weeks without chipping, which is significantly longer than traditional polish. Nailboo has simplified this process into an easy-to-use system designed specifically for beginners. You do not need UV lights or complicated tools to get started. By following a few simple instructions, you can achieve a flawless finish that looks like you just stepped out of a high-end salon. This guide will walk you through the entire process, ensuring you have all the knowledge needed to create stunning manicures right at home.
8 Step-by-Step Guide: How To Apply Nailboo Dip Powder
Step 1: Prep Your Nails For Success
The secret to a long-lasting manicure always starts with proper preparation. Before you open any bottles, you need to ensure your natural nails are clean and ready for the product. Start by pushing back your cuticles gently using the cuticle pusher provided in your kit or a wooden stick. This is crucial because if the powder bonds to your skin instead of the nail plate, it will cause lifting and shorten the life of your manicure.
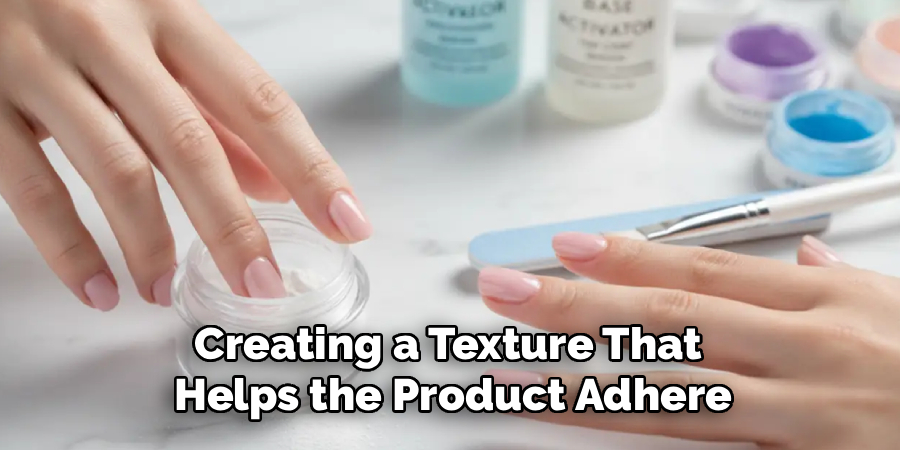
Next, use a nail file to shape your nails to your desired look, whether that is square, oval, or almond. Finally, lightly buff the surface of your nail bed to remove shine and oils, creating a texture that helps the product adhere better.
Step 2: Apply The Base Liquid
Once your nails are prepped and dust-free, it is time to start the application process. Take the Base liquid from your Nailboo kit and apply a thin, even layer to your first nail. You want to cover the entire nail surface but leave a tiny margin near the cuticle line to prevent flooding the skin.
It is important to work on one nail at a time during this phase to ensure the liquid stays wet for the dipping process. Applying the base too thickly can result in a lumpy finish, so try to keep your strokes light and precise. This liquid acts as the adhesive that will bond the colored powder to your nail, so consistent coverage is key for a smooth result.
Step 3: Dip Into The Build Powder
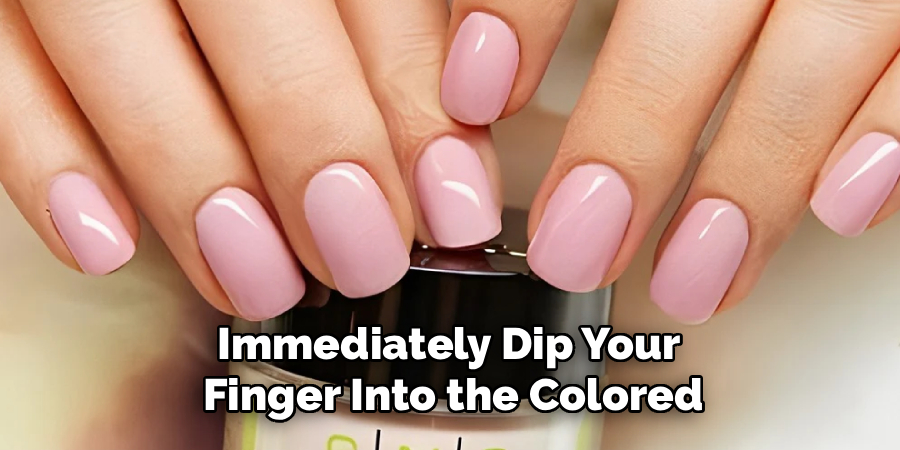
Before adding color, many experts recommend starting with a clear Build Powder to protect the natural nail and add strength. Immediately after applying the base liquid to your first nail, dip your finger into the Build Powder jar at a 45-degree angle. Push your finger in effectively but gently, then pull it out and tap off the excess powder.
This initial layer creates a smooth foundation and prevents highly pigmented colors from staining your natural nail plate. Repeat this process of applying the base liquid and dipping into the Build Powder for each nail on your hand. This extra step might seem minor, but it significantly improves the durability and structure of your final manicure.
Step 4: Apply Base And Dip Into Color
Now comes the exciting part where you add your chosen color. Working on one nail at a time again, apply another thin layer of the Base liquid over the entire nail. Immediately dip your finger into the colored powder jar at a 45-degree angle, just as you did with the build powder.
Gently tap your finger to remove loose powder before moving to the next nail. When you are learning how to apply nailboo dip powder, you will notice that the color intensity builds up with layers. Do not worry if the first coat looks slightly sheer or uneven; the second coat will provide the rich, opaque coverage you are looking for.
Step 5: Second Coat For Full Opacity
To achieve that vibrant, professional look, a second coat of color is essential. Repeat the previous step by applying a fresh layer of Base liquid to each nail and dipping it once more into the colored powder. Ensure you cover the entire nail surface, paying attention to the sides and the tip.
This second dip solidifies the color and adds necessary thickness to the nail, mimicking the strength of acrylics without the damage. After dipping all your nails a second time, let the powder set for a moment. If you notice any stray powder on your skin, now is the time to clean it up with a tool before the activator hardens everything in the next steps.
Step 6: Activate The Powder
The Activator liquid is the magic ingredient that cures the powder and hardens your manicure without the need for a UV or LED lamp. Apply a generous layer of Activator liquid to all your nails, ensuring you coat the entire surface and cap the free edge. You should let this dry for about two minutes.
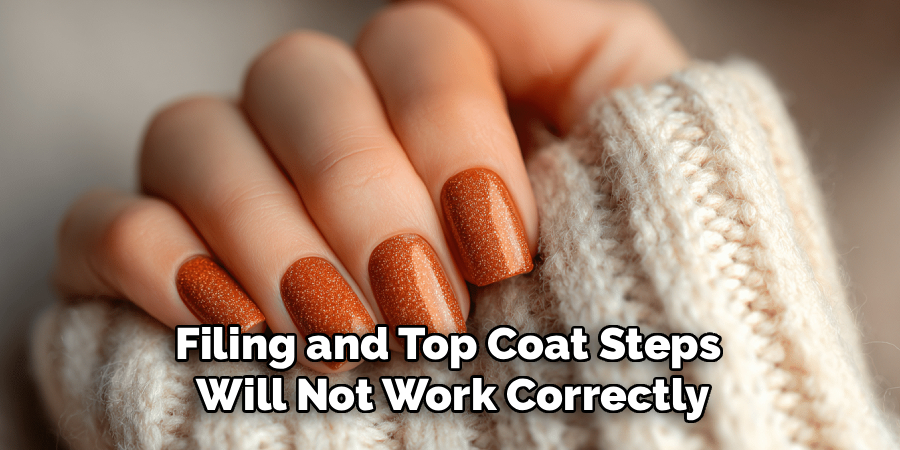
During this time, the chemical reaction is bonding all the layers together into a solid, durable shell. You will know it is ready when you tap your nail and hear a clicking sound. This step is vital because if the nails are not fully activated, the subsequent filing and top coat steps will not work correctly, potentially ruining your finish.
Step 7: File And Buff To Smooth
After the Activator has fully dried and hardened the nails, the surface might feel slightly rough or gritty. This is completely normal for dip powder. Take your nail file and buffing block to smooth out the surface and refine the shape. Focus on the cuticle area to ensure the product is flush with your nail for a natural growth-out look.
You want to eliminate any bumps or uneven spots created during the dipping process. Do not be afraid to file the surface firmly; the activated powder is strong. Once you are happy with the smoothness and shape, wash your hands or use a lint-free wipe to remove all dust.
Step 8: Final Activation And Top Coat
You are almost at the finish line. Apply a second layer of Activator liquid to all nails and let it dry for another two minutes. This ensures maximum hardness and prepares the surface for the shine layer. Finally, apply the Top Coat liquid. Use quick, thin strokes for the first layer and let it dry for a minute.
Then, apply a second layer of Top Coat, moving slightly slower to ensure a glossy, glass-like finish. This top layer seals everything in and gives your nails that brilliant shine associated with salon manicures. Allow your nails to dry completely for about five minutes before touching anything to avoid smudges or dents.
Popular Color Trends
When it comes to popular color trends for nails, fashion constantly evolves with the seasons and current styles. Neutral tones like soft pinks, creamy beiges, and classic whites remain timeless favorites for their versatility and elegance. On the bolder side, vibrant reds and deep burgundies make a statement and exude confidence, perfect for any occasion. For a modern touch, metallics such as gold, silver, and rose gold add a sleek, futuristic vibe.
Additionally, pastel shades like mint green, lavender, and baby blue are especially popular during spring, offering a fresh and cheerful look. Seasonal trends often inspire nail colors, such as shimmering icy blues and cool grays in winter or fiery oranges and corals in summer, reflecting the mood and energy of the time.
Frequently Asked Questions
How Long Does A Nailboo Manicure Last?
A properly applied Nailboo dip powder manicure typically lasts anywhere from three to six weeks. The longevity depends heavily on how well you prepped your natural nails and whether you capped the free edge. Unlike traditional nail polish, dip powder is resistant to chipping and peeling, making it highly durable.
Can I Use Nailboo On Short Nails?
Yes, you can absolutely use Nailboo on short, natural nails. The dip powder adds a layer of strength that protects your nails, allowing them to grow out without breaking. The application process is exactly the same for short nails, though you may need to dip at a shallower angle.
How Do I Remove The Dip Powder Safely?
To remove dip powder, file off the shiny top coat first. Then, soak cotton balls in 100% acetone, place them on your nails, and wrap them in foil. Let them soak for 15-20 minutes. The powder should gently slide off; never peel or pry it off to avoid damage.
Why Is My Top Coat Not Shiny?
A dull top coat usually happens if the Activator liquid was not fully dry before applying the Top Coat. Ensure you wait at least two minutes after applying Activator. Additionally, wiping the brush on a lint-free towel between strokes prevents cross-contamination, which can cloud the finish.
Is Dip Powder Bad For My Nails?
Dip powder itself is not inherently bad for nails, and many formulas contain vitamins to support nail health. Damage usually occurs from improper removal, such as peeling or scraping the product off. If you follow the correct removal process, your natural nails should remain healthy and strong underneath.
Conclusion
Mastering the art of the at-home manicure is empowering and fun. By following these steps, you can save time and money while keeping your nails looking fabulous year-round. The learning curve is short, and after just one or two applications, you will feel like a total pro. Remember that preparation is just as important as the application itself.
If you take your time to prep, dip, and activate correctly, your results will speak for themselves. Now that you know how to apply nailboo dip powder, you have the freedom to experiment with endless colors and styles from the comfort of your own home. Say goodbye to salon appointments and hello to beautiful, durable nails on your own terms.
About the Author
Jane Hubbard is a passionate beauty expert with a wealth of experience in makeup, hair, and overall beauty techniques. After years of working as a hairdresser specialist, she followed her entrepreneurial spirit and started her own consultancy business.
Jane has always been driven by her desire to help others feel confident in their own skin, and she does this by sharing her knowledge, experiences, and practical beauty tips. Through her consultancy, she empowers individuals to embrace their unique beauty, offering tailored guidance that boosts both self-esteem and personal style.
Professional Focus
- Specializes in makeup, hairstyling, and beauty consulting.
- Provides personalized beauty advice, tips, and techniques to help individuals feel confident in their appearance.
- Dedicated to staying up-to-date with the latest industry trends and developments.
- Passionate about creating a comfortable and empowering experience for every client.
Education History
- University of Craft and Design – Bachelor of Fine Arts (BFA) in Woodworking and Furniture Design
- Woodworking Apprenticeships – Extensive hands-on training with skilled craftsmen to refine carpentry and furniture making techniques
- Online Courses & Masterclasses – Continued education in advanced woodworking techniques, design principles, and specialized tools
Expertise:
- Makeup artistry, hairstyling, and beauty consulting.
- Personalized beauty techniques to enhance confidence and self-expression.
- Educating clients on how to maintain their beauty routines at home.