
Are you ready to get creative with your nails? Are you looking to create salon-quality nails at home? Dip powder can be a great way to keep your nails healthy and strong — plus, adding some sparkle with Peel Base is easy, too! Peel Base Dip Powder is an innovative way to create unique, beautiful nail designs. Not only does it provide a stunning look, but it also makes the process easy and mess-free!
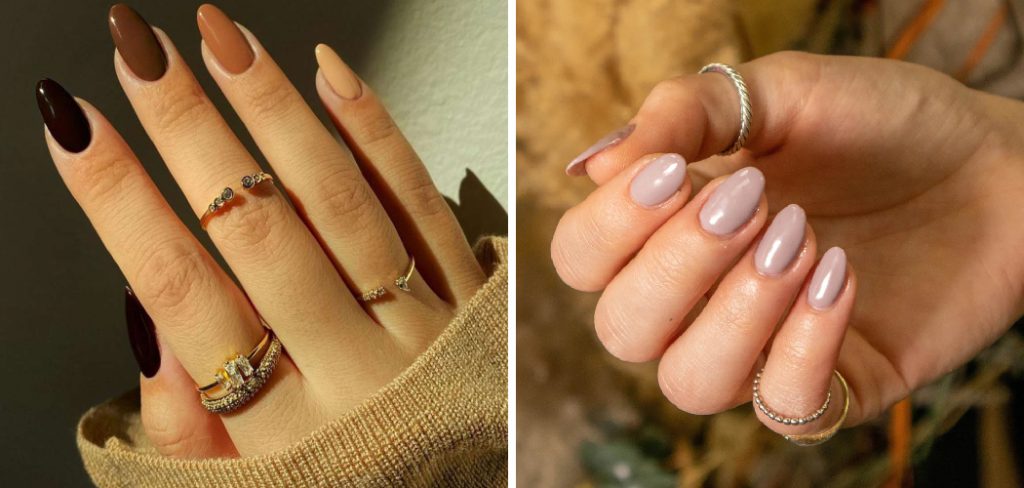
Using this product takes basic filing and applying powder knowledge, but no complicated tools or skills are required. Whether you’re a beginner wanting to upgrade your manis from press-on kits or a seasoned expert looking for creative inspiration, peel-base dip powder is the perfect solution! In this blog post, we’ll show you how to use these simple techniques together for a high-end look that will stay put. Read on for tips and tricks on how to use peel base with dip powder and about using the striking combination of peel base and dip powder so you can master the perfect at-home manicure.
Necessary Items
To create your desired look, you will need the following items:
- Peel Base
- Dip Powder of choice
- Activator
- Top Coat
- Nail file and buffer
10 Ways on How to Use Peel Base With Dip Powder
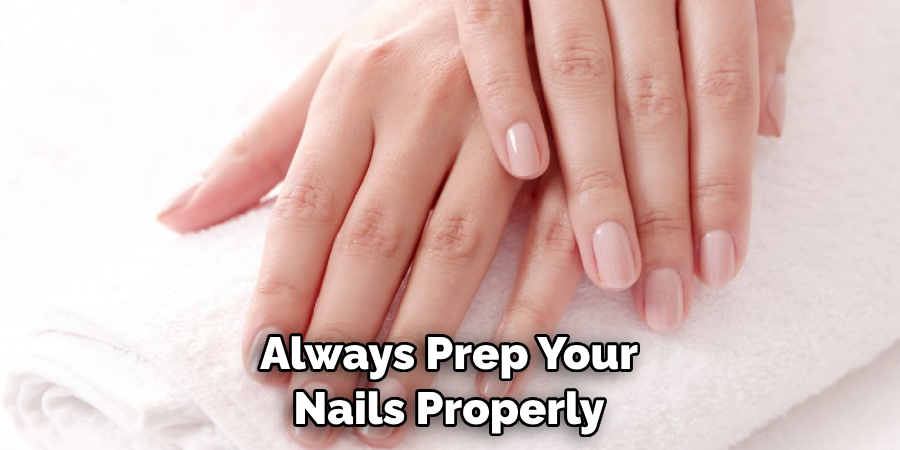
Step 1: Prepare Your Nails
Before starting, it’s important to prepare your nails properly for dip powder application. Start by removing any previous nail polish with acetone-based nail polish remover. Next, use a cuticle pusher to push back your cuticles gently. Then, shape your nails using a nail file and gently buff the surface of each nail with a buffer to remove any shine. This will help the dip powder adhere better.
Step 2: Apply Peel Base
Once your nails are prepped, it’s time to apply the peel base. The peel base acts as a protective layer for your nails and helps to make the dip powder removal process easy. Apply a thin layer of peel base on each nail, covering the entire surface.
Step 3: Dip into Powder.
Choose your desired dip powder color and pour it into a small bowl or tray. Dip one finger at a time into the powder, covering the entire nail. Tap off any excess powder and use a clean brush to remove any remaining powder around your nail.
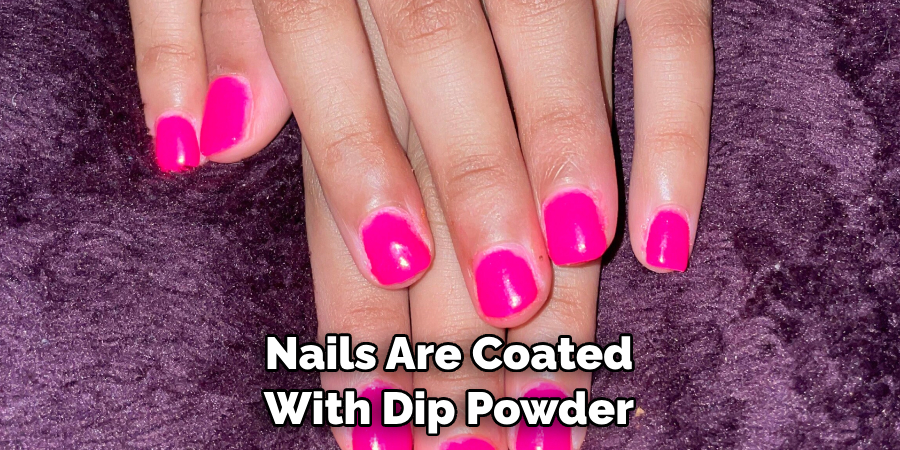
Step 4: Repeat
Repeat steps 2-3 for each finger until all nails are coated with dip powder. Make sure to apply the peel base before dipping each finger.
Step 5: Apply Activator
Once all your nails are dipped in powder, it’s time to apply the activator. This step helps to set the dip powder and make it more durable. Apply a generous amount of activator to each nail and let it dry for about 2 minutes.
Step 6: Shape and Smooth
After the activator has dried, use a nail file to shape your nails as desired. This is also a good time to smooth out any bumps or imperfections and create a clean edge.
Step 7: Apply the Activator Again.
Repeat step 5 by applying another layer of activator. This will help to seal the shape and smoothness of your nails.
Step 8: Apply Top Coat
The final step is to apply a top coat for extra shine and long-lasting wear. Make sure to cover the entire surface of each nail with a thin layer of top coat.
Step 9: Let Dry.
Allow your nails to dry completely for about 10 minutes before touching or doing any activities. This will ensure the top coat is completely set, and your nails are safe from smudging.
Step 10: Enjoy Your Beautiful Nails!
Congratulations, you’ve successfully mastered the technique of using peel base with dip powder! Now it’s time to show off your beautiful nails. Whether heading out for a night on the town or just wanting to feel extra glamorous at home, this combination is perfect for any occasion. Experiment with different colors and designs to create your unique look.
Using a peel base with dip powder is easy and mess-free to achieve stunning nails at home. With these simple steps, you can create a high-end look that will last for weeks. Always prep your nails properly and follow the steps for the best results. So go ahead and get creative with your nails using peel base and dip powder!
8 Tips and Tricks for Perfect Results
To help you achieve the best results with peel base and dip powder, here are some additional tips and tricks to keep in mind:
1. Prevent Clumping
To avoid clumping, make sure to tap off any excess powder before applying the activator. Clean your brush between each use to prevent clumping and ensure smooth application. Apply a thin layer of peel base to avoid any excess product build-up.
2. Use a Base Coat
If you have weak or brittle nails, consider using a base coat before applying the peel base. This will add an extra layer of protection and help to keep your nails strong.
3. Try Different Designs
Don’t be afraid to get creative with your dip powder designs! Experiment with different colors, patterns, and techniques to create unique, eye-catching looks.
4. Use a Brush for Clean Up
If you accidentally get dip powder on your skin, use a small brush dipped in acetone to clean it up before applying the activator.
5. Add Multiple Layers
For a more intense color or extra glitter, add multiple layers of dip powder. Just make sure to apply the activator between each layer and use a brush to remove any excess powder.
6. Protect Your Nails
To keep your nails healthy and strong, take breaks between dip powder applications. This will give your natural nails time to breathe and prevent any damage.
7. Remove Properly
When removing your dip powder, follow the proper steps to avoid damaging your nails. Use a file to gently remove the top layer of the dip powder before soaking your nails in acetone.
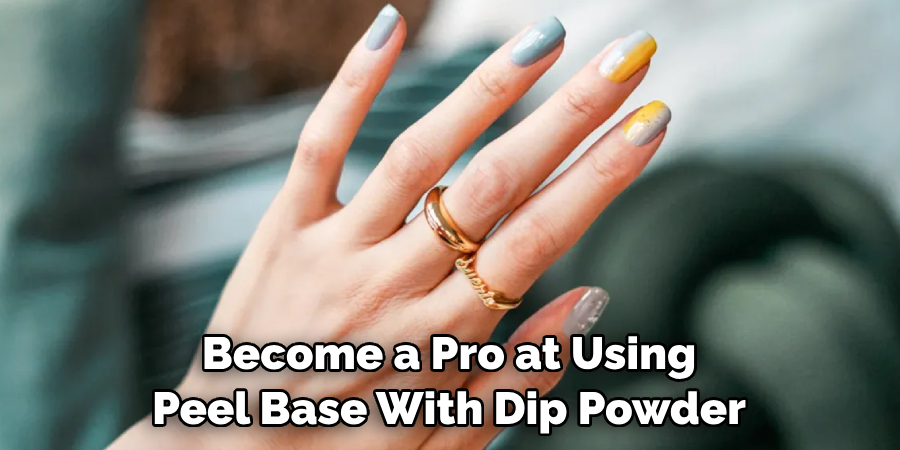
8. Have Fun!
Most importantly, have fun with this unique and easy way of achieving beautiful nails! Don’t be afraid to try new designs and colors and let your creativity shine. With practice, you’ll become a pro at using peel base with dip powder in no time. Enjoy your gorgeous manicure!
Overall, using a peeling base with dip powder is a simple and effective way to achieve beautiful and long-lasting nails at home. Whether you’re new to dip powder or a seasoned pro, these techniques will help you create stunning looks that impress you. So go ahead and give it a try, and enjoy your perfect at-home manicure!
Frequently Asked Questions
Is Peel Base Necessary When Using Dip Powder?
Yes, peel base helps to protect your natural nails and make the removal process easier. It also helps the dip powder adhere better and extend the wear time of your manicure.
Can I Apply a Peel Base on Acrylic or Gel Nails?
Yes, the peel base can be used as a protective layer on top of acrylic or gel nails before applying dip powder. Just make sure to properly prep and remove any previous products before starting.
How Long Will My Dip Powder Manicure Last?
Dip powder manicures can last 2-3 weeks when done properly. However, factors such as nail health and daily activities can affect the longevity of your manicure.
Is Dip Powder Safe To Use?
Dip powder is generally safe because it does not contain harmful chemicals like formaldehyde or toluene. However, it’s important to properly follow the instructions and precautions for each step to avoid any potential risks.
Can I Use Any Brand of Dip Powder with a Peel Base?
Using a peel base and dip powder from the same brand is recommended for best results. However, if you choose to mix brands, ensure they are compatible and follow their instructions carefully.
Conclusion
In conclusion, it is clear that using a peeling base with dip powder can be beneficial for those who seek to have beautiful and lasting manicures. The combination of the peel base and dip powder makes a durable finish and provides protection from everyday wear and tear. With the help of some simple steps and careful preparation, you will have no trouble creating stunning looks to show off every day. So why wait until you can just get started on your next manicure? Give yourself the glamorous look you deserve by following these instructions and exploring different ways of using this method.
A peel base with dip powder is a great alternative to traditional manicures, offering longer wear time and endless design possibilities. With the right tools and techniques on how to use peel base with dip powder, you can easily achieve salon-quality results from the comfort of your own home. So go ahead and give it a try, and enjoy beautiful nails that will last for weeks! Remember to have fun, be creative, and experiment with different colors and designs to make your manicure unique.
About the Author
Jane Hubbard is a passionate beauty expert with a wealth of experience in makeup, hair, and overall beauty techniques. After years of working as a hairdresser specialist, she followed her entrepreneurial spirit and started her own consultancy business.
Jane has always been driven by her desire to help others feel confident in their own skin, and she does this by sharing her knowledge, experiences, and practical beauty tips. Through her consultancy, she empowers individuals to embrace their unique beauty, offering tailored guidance that boosts both self-esteem and personal style.
Professional Focus
Specializes in makeup, hairstyling, and beauty consulting.
Provides personalized beauty advice, tips, and techniques to help individuals feel confident in their appearance.
Dedicated to staying up-to-date with the latest industry trends and developments.
Passionate about creating a comfortable and empowering experience for every client.
Education History
University of Craft and Design – Bachelor of Fine Arts (BFA) in Woodworking and Furniture Design
Woodworking Apprenticeships – Extensive hands-on training with skilled craftsmen to refine carpentry and furniture making techniques
Online Courses & Masterclasses – Continued education in advanced woodworking techniques, design principles, and specialized tools
Expertise:
Makeup artistry, hairstyling, and beauty consulting.
Personalized beauty techniques to enhance confidence and self-expression.
Educating clients on how to maintain their beauty routines at home.