

Hiding blemishes without makeup comes down to calming inflammation and softening redness through targeted skincare. Ice helps shrink swelling by constricting blood vessels. Hydrocolloid patches flatten and blur active spots. Green-tinted mineral sunscreens cancel out redness, and a gentle routine built around anti-inflammatory ingredients like niacinamide keeps everything looking calmer.
There’s a particular kind of dread that comes with spotting a fresh breakout in the bathroom mirror—usually right before something important. If you’d rather skip the heavy cosmetics, or you simply want to let your skin breathe for a while, there are ways to handle this that don’t involve burying the problem under concealer.
What follows is less about covering up and more about quieting things down. The visible part of a blemish—the redness, the swelling, the angry bump—responds surprisingly well to a few well-chosen techniques. Cooling the skin, neutralizing color, keeping the area protected. None of it requires a makeup bag.
The bonus, and it’s a real one, is that this approach tends to be kinder to your skin while a spot is actively inflamed. Piling foundation onto an open or irritated blemish can clog the pore further and slow healing. So you’re not just hiding the thing; you’re giving it room to settle. In this guide on how to hide blemishes without makeup, we’ll go over some alternative methods for concealing and treating blemishes.
Start With Clean, Calm Skin
Before you reach for any patch or serum, the skin underneath needs to be in decent shape. This is the part people tend to rush. Scrubbing hard or using a stripping cleanser feels productive, but it usually backfires—a roughed-up skin barrier loses more water and gets more irritated, which makes that one red spot look even angrier than it already is.
A gentle, pH-balanced cleanser does the job better. Look for hydrating ingredients like glycerin or ceramides, and wash with lukewarm water rather than hot. The goal is to lift away excess oil without shocking the skin into a defensive flush. There’s a practical reason for this beyond comfort: clean, intact skin actually lets your spot treatments and soothing serums sink in properly. When the surrounding skin looks smooth and even, an isolated breakout has far less to stand out against.
7 Steps on How to Hide Blemishes Without Makeup
Step 1: Ice the Spot to Bring Down Swelling
Ice is a vasoconstrictor, which is a long way of saying it tightens the blood vessels under your skin and pulls down swelling and redness fast. The moment you notice a sore, puffy blemish forming, wrap an ice cube in a soft cloth and hold it against the area. The cold numbs the spot, shrinks the bump, and takes the heat out of the skin around it—no concealer needed.
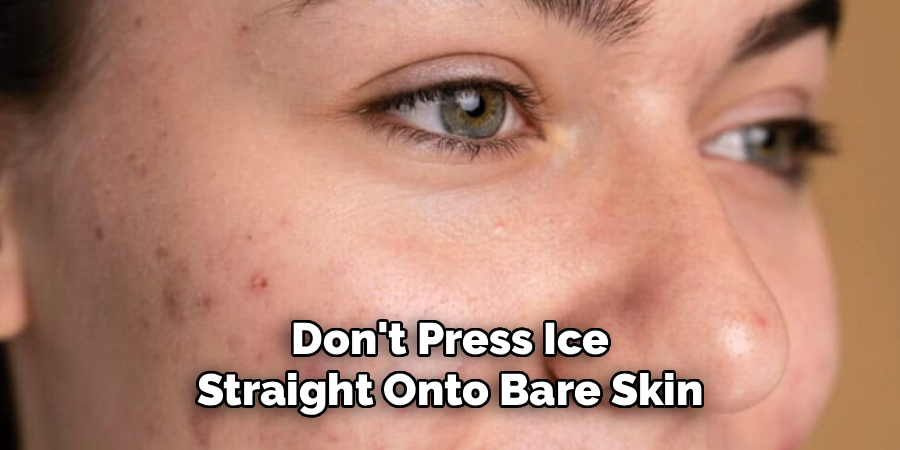
Keep each round short. Hold the wrapped ice on for one to two minutes, lift it off, let the skin recover, and repeat three or four times. Don’t press ice straight onto bare skin, since that kind of cold can cause damage. Done carefully over a few hours, icing can flatten even a cystic spot noticeably, taking it from something you’d want to hide to something you’d barely register.
Step 2: Flatten It With a Hydrocolloid Patch
Hydrocolloid patches started life as wound dressings, which tells you something about how well they handle gunk. Placed over a whitehead or an open spot, the patch creates a moist environment and quietly absorbs the fluid coming out of it. The matte ones do something clever too—they soften the edges of the blemish so it more or less melts into the skin around it.
There’s a second benefit that may matter even more. The patch acts as a physical barrier between your fingers and the spot. No touching, no picking, no introducing fresh bacteria, which means a lower chance of scarring or a dark mark hanging around afterward. Wear it through the day or overnight. When you peel it off, the blemish should look flatter and less red than it started.
Step 3: Try a Cooled Green Tea Compress
Green tea has a reputation for calming irritated skin, and a fair bit of that comes down to a compound called epigallocatechin gallate, or EGCG. The method is simple: steep a green tea bag, let it cool fully in the fridge, then press it onto the spot. The tannins act as a mild astringent, which may help shrink swelling and tighten the look of pores around the breakout.
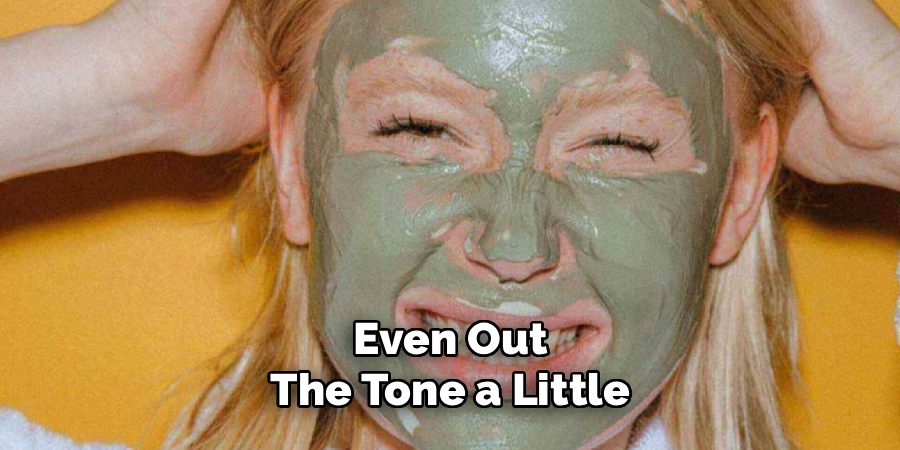
Leave it on for ten to fifteen minutes so the antioxidants have time to work into the upper layers of skin. It won’t perform miracles, but it does take the flush down and even out the tone a little. As a cheap, no-fuss way to settle an irritated complexion, it’s hard to argue with.
Step 4: Reach for a Tinted Mineral Sunscreen
This one technically lives in the skincare aisle, but it pulls double duty. Tinted mineral sunscreens built on zinc oxide or titanium dioxide soothe stressed skin while their faint green or yellow undertones cancel out the red of an active spot. That’s color theory at work—opposite shades on the wheel neutralize each other—but without the thick, masking feel of a real concealer.
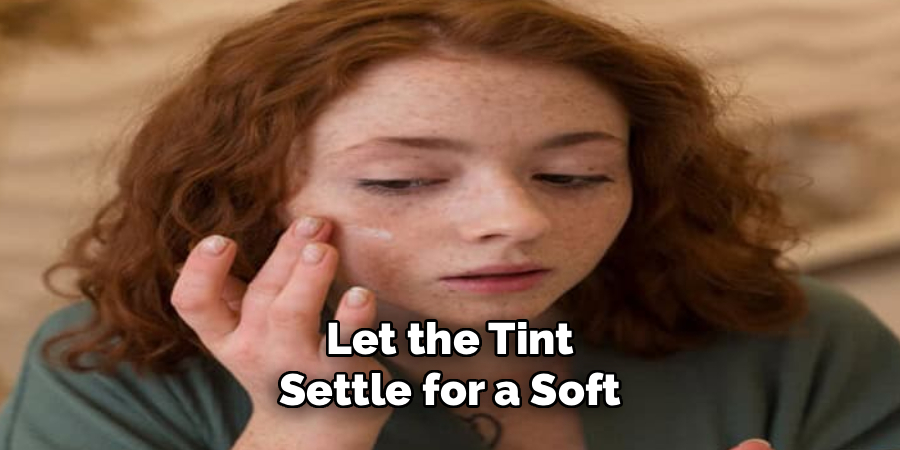
You also get sun protection, which matters more than people realize during a breakout. UV exposure deepens post-inflammatory marks, so shielding the spot now means less brown discoloration later. Pat the product on gently instead of rubbing it in, and let the tint settle for a soft, slightly blurred finish. The result reads as healthy skin rather than covered-up skin.
Step 5: Calm Redness With Niacinamide
Niacinamide—Vitamin B3—earns its spot here for one main reason: it dials down redness. A lightweight serum at two to five percent helps shore up the skin’s lipid barrier, so the skin holds up better against the things that irritate it. As the general flush of the surrounding area eases, the blemish stops shouting quite so loudly against the rest of your face.
Used regularly, niacinamide may also fade the dark spots and earlier breakouts left behind, which is a nice long game on top of the immediate calming effect. Press a few drops into clean, dry skin before you moisturize. It absorbs quickly, doesn’t leave a film, and finishes matte enough to keep things looking smooth.
Step 6: Don’t Skip the Moisturizer
People love to “dry out” a blemish, and it’s one of the more counterproductive habits going. Strip the skin of moisture and it just pumps out more oil to compensate. Worse, a dry, flaky spot catches the light and pulls the eye straight to it. Hydration does the opposite—plumping the healthy cells around the breakout so the whole area looks more even.
Go for a non-comedogenic, oil-free formula with hyaluronic acid or squalane. Massage it in gently and pay particular attention to the dry, crusty edges of the spot, since smoothing those out makes a real difference. Skin that’s properly hydrated reflects light evenly, and that soft glow does a lot to draw attention away from any single mark.
Step 7: Treat the Cause With Salicylic Acid
The first six steps manage how a spot looks. This one works on why it’s there. Salicylic acid is a beta-hydroxy acid, and because it’s oil-soluble, it can get down inside the pore and break up the plug of sebum and dead skin, causing the problem. A clear gel dabbed onto the spot treats it and gently exfoliates the surface at the same time. Since it goes on invisibly, you can wear it all day while it quietly shrinks the bump.
Less is more here. Use a cotton swab to place a small amount right on the center of the blemish, steering clear of the healthy skin nearby so you don’t irritate it. Over a few hours, the spot tends to deflate and sit flatter against your face—treated and hidden at once.
Following these steps on how to hide blemishes without makeup can greatly improve the appearance of your skin.
Common Mistakes That Make Blemishes More Obvious
A few habits do the exact opposite of what you’re after. Harsh, alcohol-heavy toners over-dry the skin and leave flaky patches that make a spot stand out more, not less. Squeezing or popping a pimple may feel satisfying for half a second, but it forces bacteria deeper and turns a small bump into a wound that’s far harder to ignore.
And skipping sunscreen lets UV light darken the spot, so you’re left with a brown or red mark long after the bump itself has gone.
When It’s Worth Seeing a Dermatologist?
Some breakouts are beyond the reach of anything you can buy over the counter. If your blemishes are deep, painful, and cystic, they likely won’t respond much to topical treatments, and a professional opinion is worth getting. The same goes if you’re seeing pitted scars, raised keloids, or hyperpigmentation that lingers for months—at that point, intervention may be needed to head off lasting damage.
A board-certified dermatologist has options you don’t: oral medication, prescription retinoids, or cortisone injections that can shrink a large cyst within about a day. And if your breakouts come on suddenly and severely, sometimes alongside other symptoms, a doctor can look into whether something hormonal or an allergy might be driving them.
Working With Your Skin, Not Against It
Hiding a breakout without makeup isn’t really about concealment—it’s about calming the skin down enough that there’s less to hide. Cool the inflammation, neutralize the redness, protect the area, and treat the underlying blockage, and the spot fades into the background on its own. If you only adopt two habits from this list, make them hydrocolloid patches and steady hydration; the payoff shows up fast.
And if breakouts keep returning no matter what you try, a certified dermatologist can build a plan that’s actually shaped around your skin rather than guesswork. Thanks for reading this guide on how to hide blemishes without makeup.

About the Author
Jane Hubbard is a passionate beauty expert with a wealth of experience in makeup, hair, and overall beauty techniques. After years of working as a hairdresser specialist, she followed her entrepreneurial spirit and started her own consultancy business.
Jane has always been driven by her desire to help others feel confident in their own skin, and she does this by sharing her knowledge, experiences, and practical beauty tips. Through her consultancy, she empowers individuals to embrace their unique beauty, offering tailored guidance that boosts both self-esteem and personal style.
Professional Focus
Specializes in makeup, hairstyling, and beauty consulting.
Provides personalized beauty advice, tips, and techniques to help individuals feel confident in their appearance.
Dedicated to staying up-to-date with the latest industry trends and developments.
Passionate about creating a comfortable and empowering experience for every client.
Education History
University of Craft and Design – Bachelor of Fine Arts (BFA) in Woodworking and Furniture Design
Woodworking Apprenticeships – Extensive hands-on training with skilled craftsmen to refine carpentry and furniture making techniques
Online Courses & Masterclasses – Continued education in advanced woodworking techniques, design principles, and specialized tools
Expertise:
Makeup artistry, hairstyling, and beauty consulting.
Personalized beauty techniques to enhance confidence and self-expression.
Educating clients on how to maintain their beauty routines at home.