

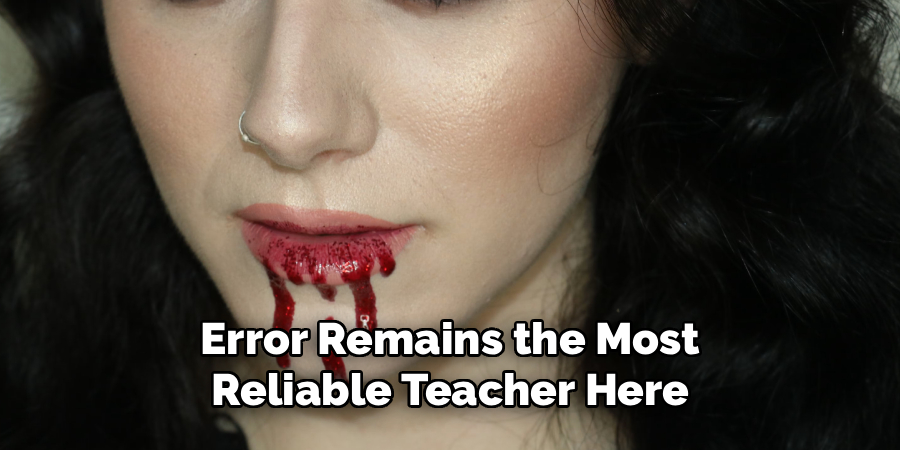
To create realistic fake blood using lipstick, melt a dark, blue-toned red lipstick and blend it with one tablespoon of corn syrup for a glossy texture. Adding a pinch of cocoa powder darkens the mixture, creating an authentic crimson hue. Test the consistency on your wrist before applying.
The uncanny valley of amateur makeup often stems from poorly executed fake blood. You might find yourself hours away from a film shoot or a costume party with no theatrical supplies in sight. Panic usually sets in. People tend to reach for ketchup or bright red food coloring, which invariably results in a sticky mess that looks more like a diner accident than a realistic wound.
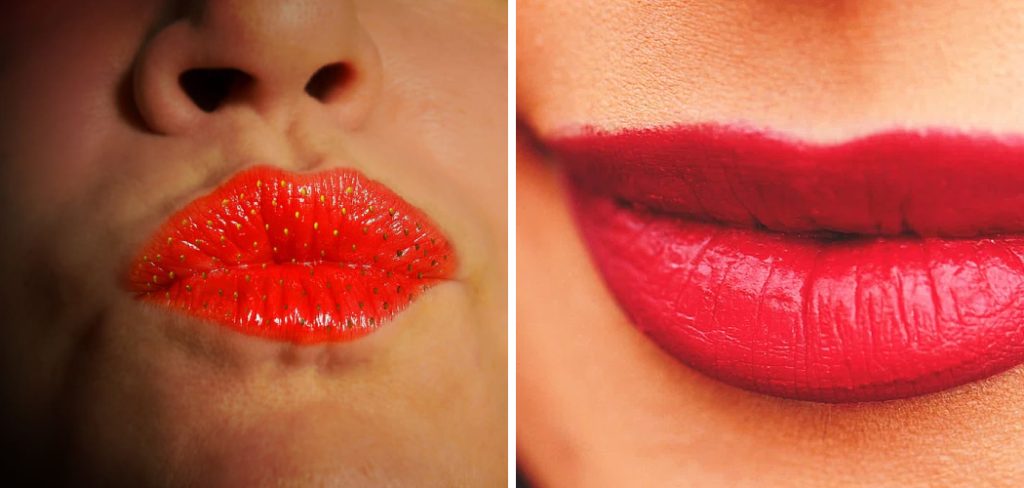
Your bathroom cabinet, however, may hold a surprisingly viable alternative. A standard tube of red lipstick can function as the base pigment for highly convincing special effects makeup. Makeup artists have relied on similar pantry-staple hacks for decades, largely because cosmetics are already formulated to sit safely on human skin.
This method requires a basic understanding of color theory and fluid dynamics. We will examine the chemistry of mixing lip pigments with kitchen ingredients like corn syrup and cocoa powder. This guide on how to make fake blood with lipstick breaks down the entire process, analyzing which lipstick shades yield the most authentic results and how to avoid the overly pink, synthetic looks that ruin most DIY effects.
What materials are needed to make lipstick fake blood?
Gathering your supplies beforehand limits the chaos inherent in mixing sticky liquids. Most of these components already exist in a standard kitchen or makeup kit.
- Dark red lipstick. A deep pigment with blue undertones tends to look the most natural.
- Corn syrup. This acts as the primary binding agent, providing a glossy, viscous texture.
- Water. You will use a few drops to adjust the liquid’s surface tension.
- Cocoa powder. This creates depth, breaking up the artificial brightness of the cosmetic red.
- A small mixing bowl.
- A spoon or spatula for mashing the pigment.
- Application tools. Cotton swabs or small paintbrushes work beautifully.
Preparation prevents frustration. Fake blood adheres stubbornly to porous surfaces. Laying down newspaper or old towels appears to be the most practical defense against permanent stains.
How do you choose the right lipstick shade for fake blood?
One might assume any red pigment suffices for theatrical blood. Human biology suggests otherwise. Real blood is rarely a bright cherry red once it hits the air. It leans heavily toward a dark crimson, carrying distinct brown undertones.
Choose a deep red lipstick with cool, blue-based tones if realism matters more than a glossy finish. Bright orange-reds reflect too much light. Pinks look distinctly like melted candy. If a bright red is your only available option, you can salvage it later by aggressively mixing in dark eyeshadow or extra cocoa powder.
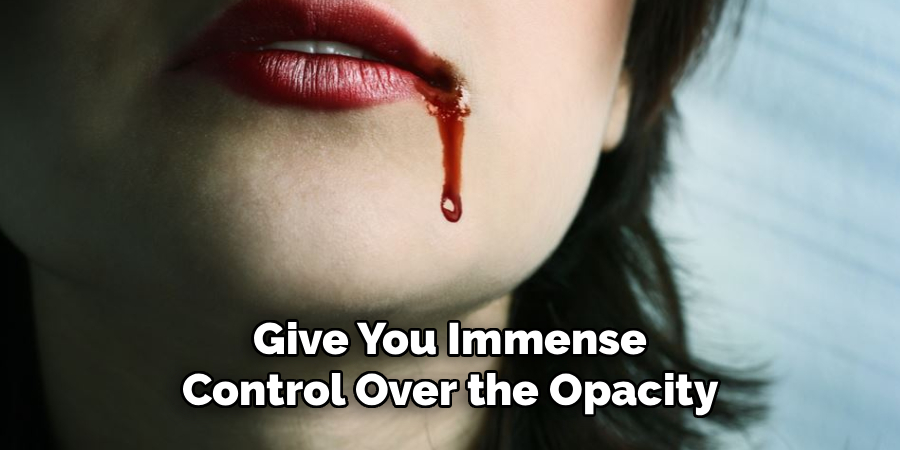
Formulation also plays a role in the final texture. Matte lipsticks offer intense pigment payoff and give you immense control over the opacity. Creamy formulas melt faster. Either variation works well enough in a pinch.
7 Simple Steps on How to Make Fake Blood With Lipstick
Executing this recipe requires patience. Rushing the emulsion process often yields a clumpy liquid that separates on the skin.
Step 1: Preparing the Workspace for Messy Special Effects
Begin by isolating a clean area. Protect your counter with layers of paper towels. Keep a damp cloth within arm’s reach. Wear an old shirt. Pigments mixed with sugar syrup will aggressively stain fabrics, and frantic cleanups usually just spread the pigment further. Ensure your mixing container is bone dry, as unexpected moisture can cause the lipstick base to seize.
Step 2: Softening Lipstick for Mixing
Scrape a substantial portion of the lipstick out of its tube using a butter knife. The volume of lipstick dictates the opacity of your final product.
Mashing cold wax is tedious. You should soften the pigment first. Placing your mixing bowl inside a larger dish of warm water gently elevates the temperature. This warming process helps the lipstick break down into a workable paste. Smooth pastes integrate seamlessly with liquid sugars.
Step 3: Effect of Corn Syrup on Fake Blood Texture
Corn syrup provides the structural foundation of your mixture. Add roughly one tablespoon to your softened lipstick. Stir the two components aggressively.
The syrup dictates the flow rate of the fake blood. A high ratio of syrup creates a slow, agonizingly realistic drip. Using less syrup results in a dense paste that mimics clotted wounds. You must adjust this ratio slowly. Minor volumetric changes drastically alter how the liquid moves.
Step 4: Adding Cocoa Powder to Fake Blood Mixture
Cosmetic reds maintain a synthetic vibrancy that betrays their origin. Cocoa powder introduces organic grit and darkness. Add a microscopic pinch to your bowl.
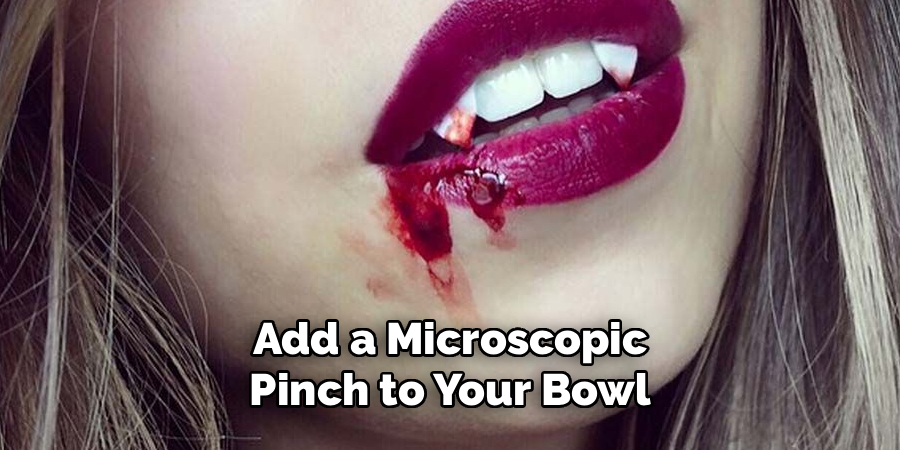
The cocoa powder subdues the red, introducing the oxidized brown tint characteristic of drying blood. It also lends a subtle matte quality to the fluid, catching the light differently from pure sugar syrup. Proceed cautiously here. Dumping in too much powder immediately transforms the liquid into a gritty, muddy sludge.
Step 5: Adjusting Fake Blood Consistency Using Water
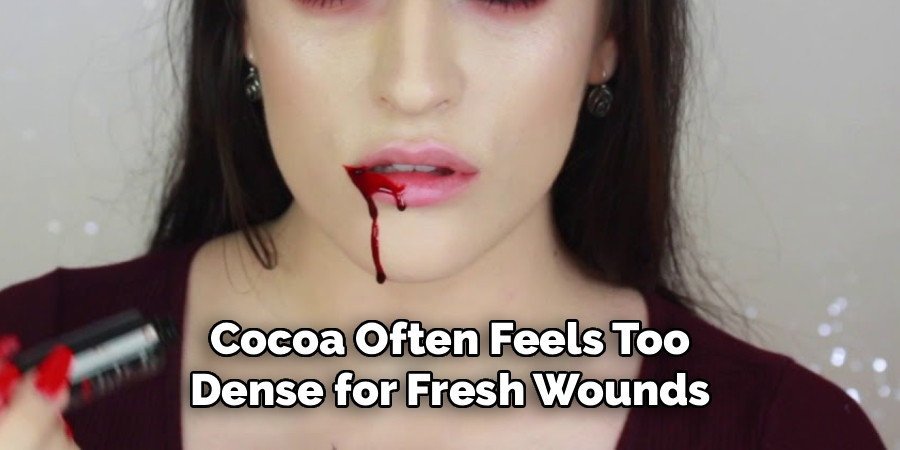
A mixture of wax, sugar, and cocoa often feels too dense for fresh wounds. Water thins the emulsion. Add it literally one drop at a time.
Hydration compromises the structural integrity of the syrup. Too much water shatters the illusion entirely, leaving you with pink, runny water that beads up unnaturally on the skin. You want a consistency resembling warm honey. It needs enough weight to cling to your face, but enough fluidity to succumb to gravity.
Step 6: Why a Skin Patch Test Is Necessary Before Applying Fake Blood
Testing is mandatory. Dab a tiny amount of your finished mixture onto your inner wrist.
This serves two distinct purposes. Visually, it reveals how the pigment interacts with your specific undertones. A shade that looks perfect in a ceramic bowl might look absurdly bright against pale or dark skin. Biologically, the test highlights any potential allergic reactions. You do not want to discover an allergy to a specific cosmetic dye after smearing it across your entire face.
Step 7: Best Application Techniques for Realistic Fake Blood
Application dictates the narrative of the wound. Use a coarse brush or a cotton swab to apply the mixture.
For a fresh injury, deposit a heavy bead of liquid at the highest point and let it trail downward naturally. Scratches require a dragging motion with a stiff brush. Layering the product creates depth. Taking a step back to evaluate the asymmetry of your work in a mirror often prevents an overworked, cartoonish appearance. Let the mixture sit undisturbed for several minutes to stabilize.
Following these steps on how to make fake blood with lipstick, you will have a realistic and convincing fake blood that is perfect for any Halloween costume or special effects makeup look.
What Common Mistakes Ruin Homemade Fake Blood?
Several traps exist for the novice special effects artist. Relying on an aggressively pink lipstick guarantees failure, as no amount of cocoa powder can fully mask a neon base. Over-hydrating the mixture remains the most frequent error. Runny liquids simply do not behave like human plasma.
Impatience also ruins batches. Rushing the cocoa powder integration results in weird, dry clumps floating in red syrup. Finally, placing this sticky mixture too close to the eyes or the tear ducts invites unnecessary physical discomfort.
Are There Safety Risks When Putting Homemade Fake Blood on Skin?
Cosmetic safety should dictate your material choices. Always utilize makeup-grade lipstick intended for topical application.
While the ingredients resemble a bizarre dessert, they are not formulated for ingestion. Keep the mixture out of your mouth and away from your nasal passages. The high sugar content of the corn syrup acts as a magnet for dirt and bacteria over time. You should remove the effect after a few hours using a dedicated oil-based cleanser or warm, soapy water. Sleeping in sugar syrup practically guarantees a severe breakout.
What Alternative Ingredients Make Fake Blood Look More Realistic?
Refining the basic recipe allows for specialized textures. A singular drop of blue food coloring pushes the lipstick base into a deep, venous tone.
If you require a heavily coagulated texture, stirring in half a teaspoon of cornstarch binds the liquids into a thick jelly. Instant coffee granules replicate the jagged, uneven texture of old scabs. Alternatively, a swipe of clear lip gloss applied over the dried blood restores a wet, fresh appearance to older effects. Trial and error remains the most reliable teacher here.
Frequently Asked Questions
Q1: Will Fake Blood Made From Lipstick Stain Clothes or Skin?
Yes. The intense pigments in dark lipstick, combined with cocoa powder, will temporarily stain lighter skin tones. It aggressively stains fabrics. You should wash your skin immediately with an oil-based makeup remover. Treat clothing stains with a heavy-duty spot cleaner before attempting to launder them.
Q2: How Long Does Homemade Lipstick Fake Blood Last in the Fridge?
This DIY fake blood lasts roughly three to four days when stored in an airtight container in the refrigerator. Because it lacks synthetic preservatives, the corn syrup eventually degrades. You must stir refrigerated batches thoroughly before attempting to use them again.
Q3: Can Any Brand of Red Lipstick Be Used for Fake Blood?
You can technically use any brand, but deeply pigmented, blue-toned red lipsticks yield the most realistic aesthetic. Cheap lipsticks actually work perfectly fine for this task. You should avoid sacrificing expensive, high-end cosmetics, as the recipe requires a significant volume of product to achieve proper opacity.
Elevating Your DIY Special Effects
Transforming a basic cosmetic into a convincing physical effect requires slightly more than just mixing liquids in a bowl. It demands an analytical eye for color and an understanding of how fluids behave on the human canvas. By controlling your variables—the depth of the lipstick, the viscosity of the syrup, and the grit of the cocoa—you eliminate the amateurish pitfalls of Halloween makeup.
Your bathroom cabinet holds immense potential. Start mixing, test your consistencies rigorously, and approach your special effects with a slightly more critical eye. Thanks for reading this guide on how to make fake blood with lipstick.

About the Author
Jane Hubbard is a passionate beauty expert with a wealth of experience in makeup, hair, and overall beauty techniques. After years of working as a hairdresser specialist, she followed her entrepreneurial spirit and started her own consultancy business.
Jane has always been driven by her desire to help others feel confident in their own skin, and she does this by sharing her knowledge, experiences, and practical beauty tips. Through her consultancy, she empowers individuals to embrace their unique beauty, offering tailored guidance that boosts both self-esteem and personal style.
Professional Focus
Specializes in makeup, hairstyling, and beauty consulting.
Provides personalized beauty advice, tips, and techniques to help individuals feel confident in their appearance.
Dedicated to staying up-to-date with the latest industry trends and developments.
Passionate about creating a comfortable and empowering experience for every client.
Education History
University of Craft and Design – Bachelor of Fine Arts (BFA) in Woodworking and Furniture Design
Woodworking Apprenticeships – Extensive hands-on training with skilled craftsmen to refine carpentry and furniture making techniques
Online Courses & Masterclasses – Continued education in advanced woodworking techniques, design principles, and specialized tools
Expertise:
Makeup artistry, hairstyling, and beauty consulting.
Personalized beauty techniques to enhance confidence and self-expression.
Educating clients on how to maintain their beauty routines at home.