
Are you looking for that perfect contour to define your features? Have you been searching for a way to highlight and enhance the structure of your face but need to know how to create that flawless look with makeup? Are you looking for the perfect way to define and highlight your facial features? Look no further; contour stick is here! Contouring can make a dramatic difference in the overall look of your face, so learning how to blend it correctly is key. Whether you’re experienced with makeup application or just getting started on this journey, mastering how to use contour sticks will give you an invaluable tool in achieving many desirable looks.
Featuring a contouring stick can be an easy and effective way to sculpt out those desired shapes–but it has to be blended correctly, or the result can be less than stellar. In this blog post, we will give you all of the tips and tricks on how to use a contouring stick properly to achieve your most natural yet articulate look. We will provide tips and tricks on how to blend contour sticks for a flawless finish that gives shadows and highlights exactly where they are needed most! Keep reading for helpful hints on creating sharp lines, building intensity, and setting everything up!
Necessary Items
Before we get started, you will need to have the following items ready:
- A contouring stick: This can come in various forms, such as a cream stick, powder stick, or liquid stick. Choose whichever formula works best for your skin type and desired look.
- A makeup brush or sponge: Some people prefer a dense brush, while others opt for a damp beauty blender. Experiment with both and see which one gives you the desired results.
- A setting powder: This is optional but can help keep your contour in place and prevent smudging throughout the day.
10 Steps on How to Blend Contour Stick
Step 1: Prep Your Face
Before applying any makeup, starting with a clean and moisturized face is important. Use a gentle cleanser and moisturizer suitable for your skin type. This will create a smooth base for your makeup to adhere to.
Step 2: Identify Your Contour Areas
The key to a successful contour is knowing which areas of the face to target. Common areas include the hollows of the cheeks, temples, jawline, and sides of the nose. Take a moment to examine your face and determine which areas you want to define.

Step 3: Choose the Right Shade
Selecting a contour stick one or two shades darker than your natural skin tone is important. This will create a subtle yet defined contrast without looking too harsh or unnatural.
Step 4: Apply the Contour Stick
Using light strokes, apply the contour stick to the identified areas. Start with a small amount and build up the intensity gradually.
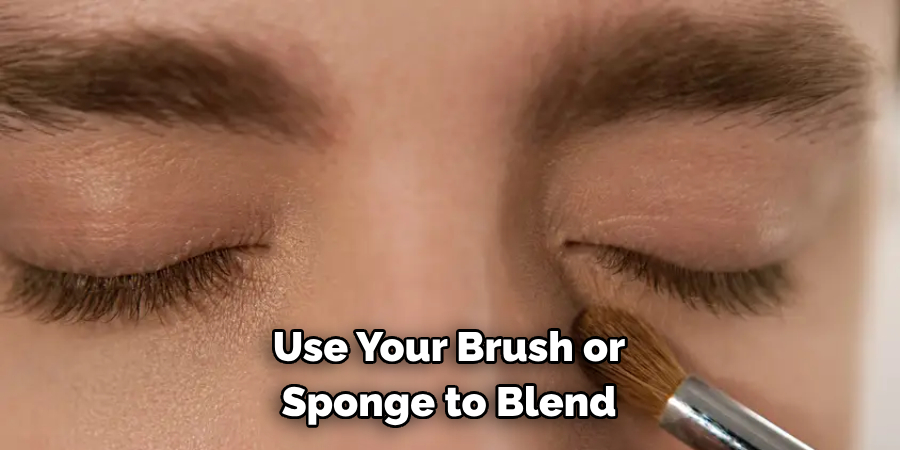
Step 5: Blend, Blend, Blend
This is where the magic happens! Use your brush or sponge to blend out the contour, ensuring no harsh lines. Be sure to blend in all directions for a seamless finish.
Step 6: Set with Powder
Set your contour with a bit of setting powder for a long-lasting result. This will also help to prevent any smudging or creasing throughout the day.
Step 7: Highlight
To make your contour pop, use a highlighting product on the high points of your face, such as the cheekbones, brow bone, and cupid’s bow.
Step 8: Blend the Highlight
Just like with the contour, use a brush or sponge to blend out the highlight for a natural and seamless look.
Step 9: Add Finishing Touches
You can add finishing touches like blush or bronzer to complete your makeup look. Just be sure to blend everything in well so it all looks cohesive.
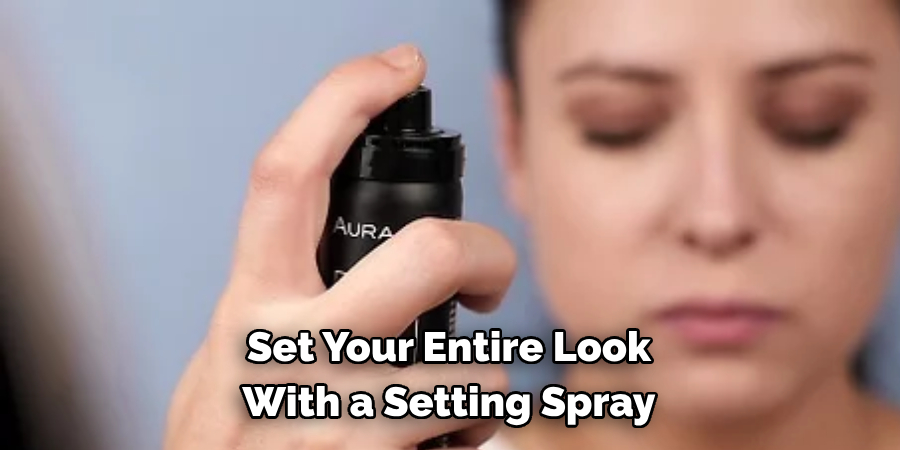
Step 10: Set with Setting Spray
Finally, set your entire look with a setting spray to ensure everything stays in place all day.
With these ten easy steps, you can achieve a flawless contour using a contour stick. Always blend well and choose the right shade for your skin tone. Practice makes perfect, so don’t be afraid to experiment and find what works best for you! Happy contouring!
8 Tips and Tricks for the Perfect Contour
1. Choosing a Contour Stick
When selecting a contour stick, choose one specifically designed for contouring, as it will have the right shade and formula for the job.
2. Start with Less Product
It’s always easier to build up intensity than tone down a product’s excessive application. Start with a small amount and add more as needed.
3. Use Natural Light
When applying your contour, use natural light to see how the product looks on your skin in different lighting situations.
4. Blend Outwards
Always blend your contour outwards and upwards to create a lifted effect. Blending downwards can make your face appear droopy.
5. Consider Your Face Shape
Different face shapes may require different contouring techniques. Research and experiment with what works best for your unique features.
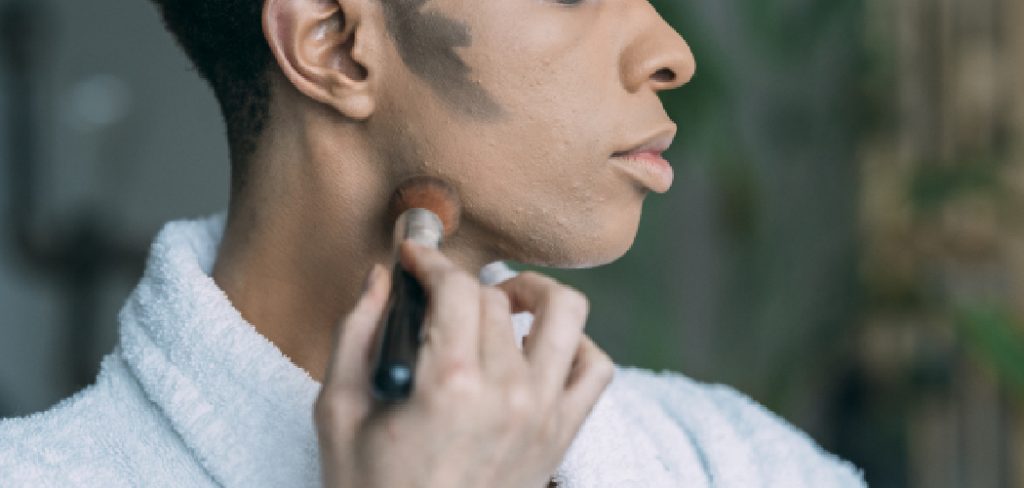
6. Don’t Forget the Neck
Blend your contour down onto your neck so there are no stark lines between your face and neck.
7. Use a Damp Beauty Blender
A damp beauty blender can help to blend out the contour seamlessly and give a natural skin-like finish.
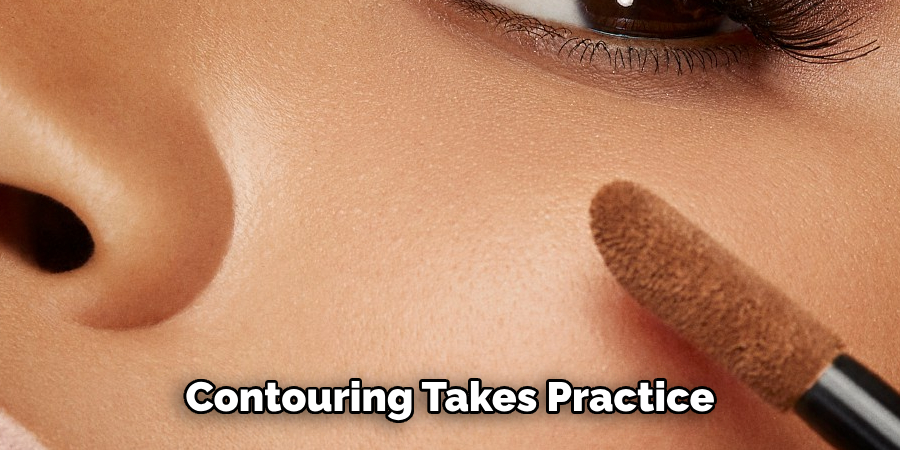
8. Practice Makes Perfect
Contouring takes practice, so keep going even if it doesn’t come out perfectly on your first try. Keep experimenting; eventually, you will find what works best for you!
Using a contour stick can be a game changer in your makeup routine, but it’s important to know how to blend it correctly for the most natural and flattering result. With these tips and tricks, you can effortlessly sculpt out those desired features. Remember, practice makes perfect, so feel free to experiment with different techniques and products until you find what works best for you.
Frequently Asked Questions
Can I Use a Contour Stick on Its Own Without Any Other Makeup?
Yes, you can use a contour stick for a more natural look. Just be sure to blend it out well and set it with powder for staying power.
How Do I Know Which Shade of Contour Stick to Choose?
Generally, choose a shade one or two shades darker than your natural skin tone. You can swatch the product on your jawline to see if it matches.
Can I Use a Contour Stick on Any Skin Tone?
Yes, contouring is suitable for all skin tones. Just be sure to choose shades that complement your natural skin tone for a more seamless and natural look. Remember to have fun with makeup, and don’t be afraid to try new techniques!
Can I Use Contouring Products daily?
Yes, contouring can be incorporated into your daily makeup routine. However, it’s important to remember to blend well and use a light hand to avoid looking too heavily contoured for an everyday look.
Can I Use Cream Products Over Powder Products?
Yes, you can layer cream products over powder products or vice versa. Just be sure to blend well in between layers for a seamless finish.
How Do I Choose the Right Contour Shade?
When choosing a contour shade, choose one slightly darker than your natural skin tone. Avoid shades that are too warm or orange, as they can look unnatural. It’s also helpful to swatch the shade on your skin or try it out before purchasing.
Overall contouring is a versatile makeup technique that can enhance your natural features and elevate your overall look. With the right tools and techniques, you’ll be able to achieve a flawless, contoured look every time. So go ahead and try out these tips and tricks for yourself!
Conclusion
In conclusion, contouring with a contour stick is a simple yet effective way to sculpt and define facial features. By following these steps and tips on how to blend contour stick, you’ll be able to create a flawless contoured look that enhances your natural beauty. Contouring is easy and can result in beautiful makeup looks when done properly. The most important part of contouring is choosing the right product for your skin type and complexion. Contour stick makeup products are incredibly versatile, from adding definition and structure to your face to a subtle glow.
With the help of our expert tips and tricks, you now know how to best use a contour stick on any skin type or tone. Now that you’ve read this article, it’s time to start contouring! Experiment with different techniques and color combinations to determine what works best. Buffing out edges, setting products, achieving a natural look, and creating contrast are all crucial components of an effective contour routine – try them out today! Don’t forget to have fun and experiment with different techniques to find what works best for you.
About the Author
Jane Hubbard is a passionate beauty expert with a wealth of experience in makeup, hair, and overall beauty techniques. After years of working as a hairdresser specialist, she followed her entrepreneurial spirit and started her own consultancy business.
Jane has always been driven by her desire to help others feel confident in their own skin, and she does this by sharing her knowledge, experiences, and practical beauty tips. Through her consultancy, she empowers individuals to embrace their unique beauty, offering tailored guidance that boosts both self-esteem and personal style.
Professional Focus
- Specializes in makeup, hairstyling, and beauty consulting.
- Provides personalized beauty advice, tips, and techniques to help individuals feel confident in their appearance.
- Dedicated to staying up-to-date with the latest industry trends and developments.
- Passionate about creating a comfortable and empowering experience for every client.
Education History
- University of Craft and Design – Bachelor of Fine Arts (BFA) in Woodworking and Furniture Design
- Woodworking Apprenticeships – Extensive hands-on training with skilled craftsmen to refine carpentry and furniture making techniques
- Online Courses & Masterclasses – Continued education in advanced woodworking techniques, design principles, and specialized tools
Expertise:
- Makeup artistry, hairstyling, and beauty consulting.
- Personalized beauty techniques to enhance confidence and self-expression.
- Educating clients on how to maintain their beauty routines at home.