
Are you looking for a way to braid your box braids without losing any of your hair’s edges? Here is a step-by-step guide on how to braid box braids with no edges. First, section off the front portion of your hair and clip it out of the way. Next, divide your box braids into three even sections and begin braiding them together.
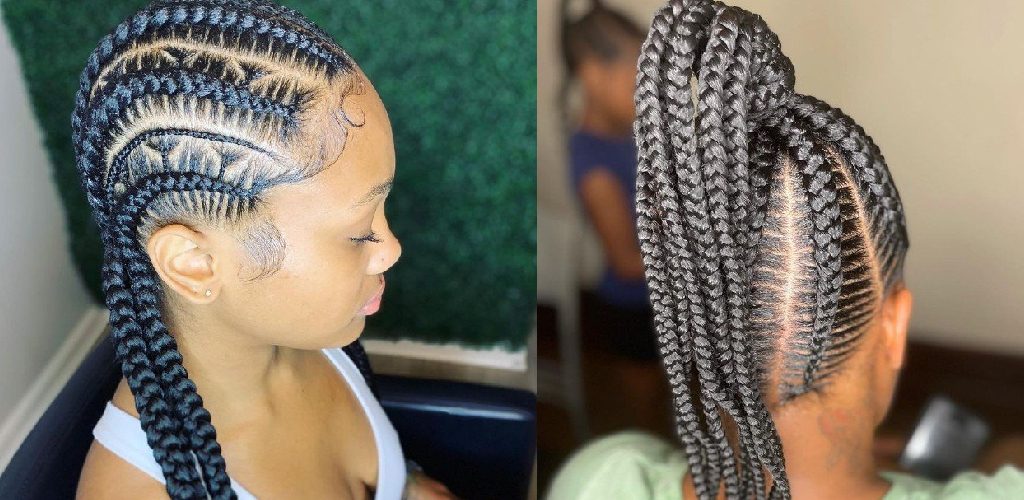
Make sure to keep the tension tight as you braid to prevent any loose hair from slipping out. Next, secure the braid with a rubber band and repeat on the other side when you reach the end. Finally, style the front section of your hair however you like. Read on for more information!
8 Effective Methods on How to Braid Box Braids With No Edges
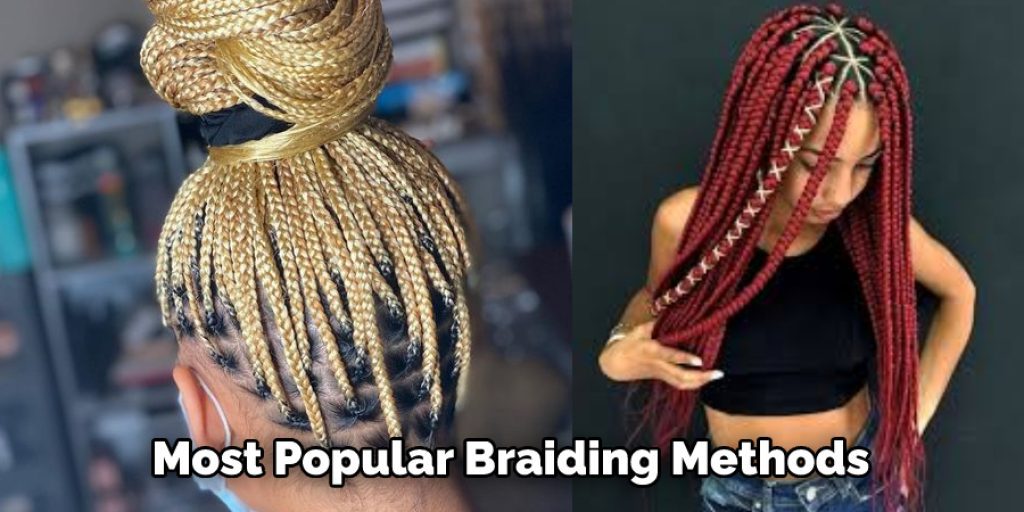
1. Cornrow Method:
This is one of the most popular braiding box braids without any edges. Start by parting your hair down the middle and dividing each side into three sections.
Next, braid each section like you would a normal cornrow. Make sure to keep the tension tight so that your braids are as smooth as possible. When you reach the end of each section, tuck in the hair and secure it with an elastic band.
2. Flat Twist Method:
Another great way to braid box braids without any edges is by using the flat twist method. Start by parting your hair down the middle and dividing each side into two sections.
Next, please take one of the sections and divide it into two smaller sections. Take the first small section and flat twist it towards the back of your head. Secure the twist with an elastic band. Repeat this process with the other small section.

3. Braid-Out Method:
This is a great method for those who want to achieve a more relaxed look. Start by parting your hair down the middle and dividing each side into three sections. Next, braid each section like you would a normal braid.
When you reach the end of each section, secure with an elastic band. Take a small section of hair from the front of your head and style it however you want. You can leave it loose or pin it back with a bobby pin.
4. Pin-Up Method:
This is a popular way to braid box braids without showing any of your hair on the edges. It’s very simple – all you need is some bobby pins! Part your hair down the middle, and then start braiding each side. Ensure that the braid is tight against your head and secure it with a bobby pin when you reach the end.
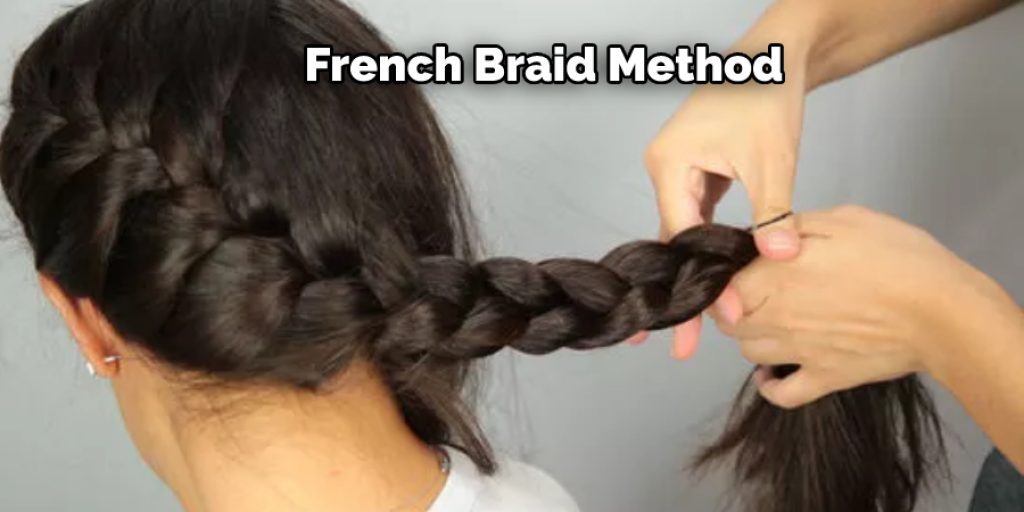
5. French Braid Method:
This is a great way to achieve a more elegant look. Start by parting your hair down the middle and dividing each side into three sections. Next, take the middle section and cross it over the other two sections.
Then, take the section from the other side and cross it over the middle section. Alternate between these two steps until you reach the end of your hair. Secure the braid with an elastic band.
6. Dutch Braid Method:
The Dutch braid method is very similar to the French braid method, but instead of braiding the hair over the top of the head, you braid the hair under the head. This method is best for those with longer hair because it will give you a more polished look. To do the Dutch braid method, divide your hair into three sections and braid each section in a Dutch braid. Then, secure the ends with a hair tie.
7. Fishtail Braid Method:
The fishtail braid is one of the most popular braiding methods because it is versatile. It can be done with any hair type, including synthetic, human, or even wig hair. The fishtail braid is also one of the easiest braids to do on yourself, so it’s a great choice if you’re new to box braiding. To start, comb your hair back and divide it into two sections.
Take a small section of hair from the outside of the left section and cross it over to the right. Then, take a small section of hair from the outside of the right section and cross it over to the left. Repeat this process, alternating between the left and right sections until you reach the end of your hair. Secure the braid with an elastic band.
8. Crown Braid Method:
This is a popular style for special occasions. It’s also a great way to keep your hair out of your face while braiding. To do the crown braid method, start by parting your hair down the middle and dividing each side into two sections.
Next, take the section on the left and cross it over the section on the right. Then, take the section on the right and cross it over the section on the left. Continue crossing the sections back and forth until you reach the back of your head. Once you reach the back, secure the braid with an elastic band.
Some Helpful Tips and Suggestions
- Make sure to start with clean, detangled hair. This will help to ensure that your braids will come out looking neat and tidy.
- Part your hair into however many sections you would like your braids to be. For example, for box braids, four sections usually work best.
- Take the first section of hair, and divide it into three smaller sections.
- Begin to braid the hair, keeping the braid tight and close to the scalp.
- As you braid, add more hair to each section so that the braid looks full and thick.
- Secure the end of the braid with a hair tie.
- Once all of your braids are finished, style them as desired. For example, you can wear them straight or braid them further for a more intricate look.
Conclusion
When it comes to protective styling, box braids are one of the most popular choices. With proper care, they’re easy to do and can last for weeks (or even months). However, many people have complaints about box braids because they often leave noticeable edges where the hair was braided together.
Whether you’re a pro at braiding or this is your first time trying, we hope you found these tips on how to braid box braids with no edges helpful. Now it’s time to put them into practice and slay those box braids! If you have any questions or want to share your tips, please comment below.