
Are you a fan of dip powder nails but tired of having the same color every month? If so, this blog post is for you! Whether you want to change your nail color or add some variety to your mani-pedis, learning how to change dip powder colors is easy. Dip powder nails are fast becoming one of the hottest beauty trends around and with good reason!
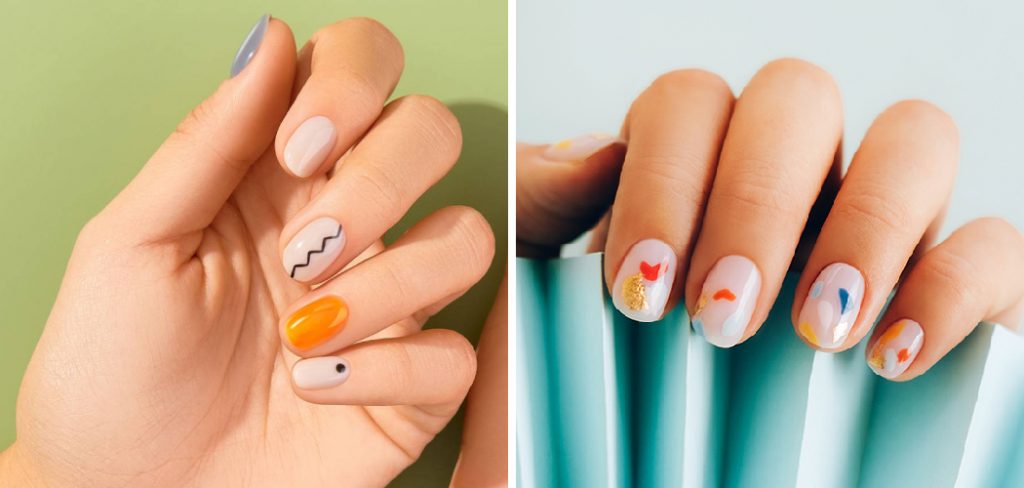
Not only do dip powder nails look gorgeous and last longer than regular nail polish, but they also come in an amazing variety of colors that will give you plenty of options when changing your color. We will show you useful tips and tricks on how you can switch out one shade for another without compromising the health and beauty of your nails. Soon enough, you’ll easily switch from reds and pinks to blues and purples! Keep reading if you’re ready to learn about changing your dip powder nail colors!
Necessary Items
You will need a few essential items to change your dip powder nail color. These include:
- Dip Powder Color Kit (containing activator, base coat, and top coat)
- Nail files and buffers
- Cotton balls or pads
- Rubbing alcohol
10 Steps on How to Change Dip Powder Color
Now that you have everything you need let’s start changing your dip powder nail color!
Step 1: Remove the Previous Color
First things first, you need to remove your current dip powder color. Begin by gently buffing the surface of your nails with a nail file or buffer. This will help break down the dip powder’s top layer and make it easier to remove.
Step 2: Soak Nails in Acetone
Next, fill a bowl with enough acetone to soak your nails. Dip each finger into the acetone for about 10-15 minutes. You can use cotton balls or pads soaked in acetone instead of a bowl.
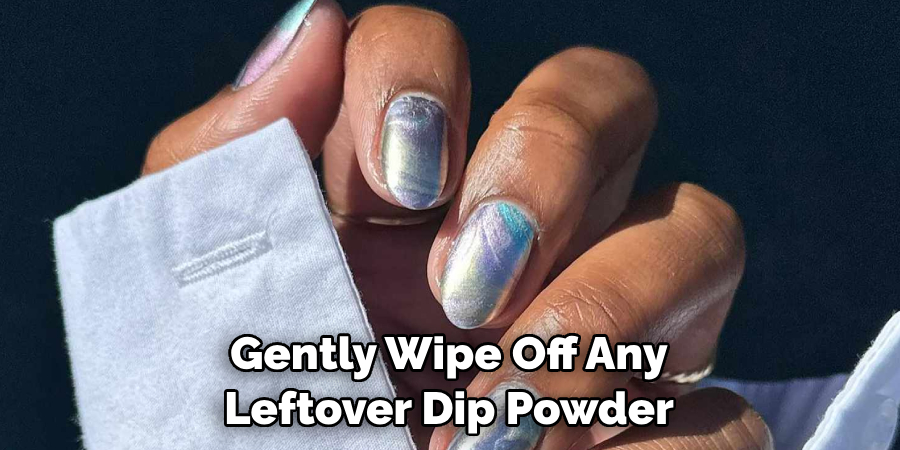
Step 3: Wipe Off Excess Powder
Using a cotton ball or pad, gently wipe off any leftover dip powder from your nails. Make sure to be gentle and avoid scraping or pulling at your nails.
Step 4: Prep Nails
Once you have removed the dip powder, use a nail file or buffer to smooth any rough edges and shape your nails. This will create a clean base for your new color.
Step 5: Cleanse Nails
Use rubbing alcohol and a cotton ball or pad to cleanse your nails and remove any oils or residue. This will help your new dip powder color to adhere better.
Step 6: Apply Base Coat
Now it’s time to apply the base coat from your dip powder color kit. Make sure to follow the instructions provided by the manufacturer for the best results.
Step 7: Dip Nails in a New Color
Choose your desired dip powder color and dip your finger into the jar. Cover the entire nail surface and tap off any excess powder.
Step 8: Apply Activator
Once all your nails are dipped in the new color, apply a coat of activator from your dip powder color kit. This will help to harden the dip powder and create a smooth, glossy surface.
Step 9: Buff and Shape Nails
After the activator has dried, use a nail file or buffer to shape your nails and create a smooth finish. You can also buff off any excess powder that may have stuck to your skin.
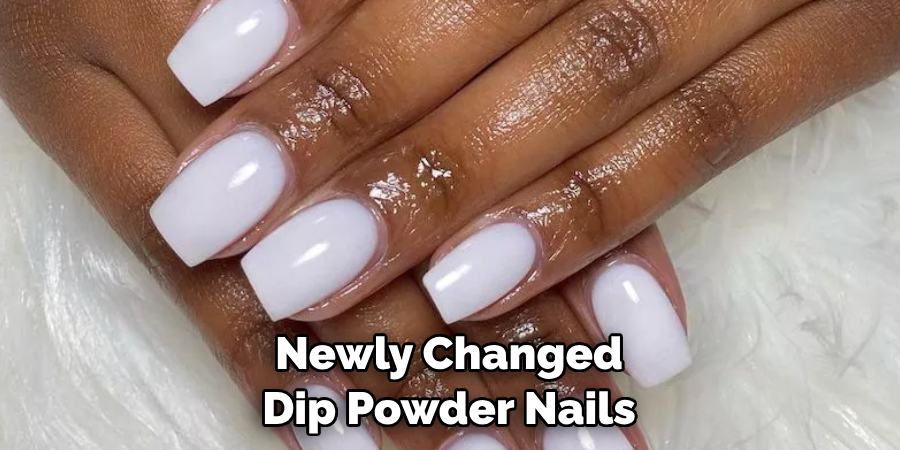
Step 10: Apply Top Coat
Last, apply a top coat from your dip powder color kit to seal in the color and add shine to your nails. Let it dry completely before touching or using your hands.
Changing up the color of your dip powder nails is a fun and easy way to spice up your manicure game. With the right tools and techniques, you can switch out colors as often as you’d like without causing damage to your natural nails. So go ahead and try out that bold new shade you’ve been eyeing – the possibilities are endless!

8 Additional Tips and Tricks
1. Use a Base Coat
Using a base coat before applying your dip powder color can help protect your nails and prevent them from becoming stained.
2. Don’t Dip Too Deep
When dipping your nails into the powder, make sure not to go too deep. This can cause clumps of powder to form on your nail, resulting in an uneven application.
3. Be Gentle
Avoid using force when removing the dip powder from your nails. This can damage your natural nails and even cause them to lift.
4. Use Multiple Colors
Get creative and mix different dip powder colors for a unique look! You can also use stencils or tape to create fun designs.
5. Seal Your Jars
To prevent your dip powder from drying out, seal the jars after each use tightly.
6. Use a Brush for Cleaning
If any excess powder gets on your skin, use a small brush dipped in rubbing alcohol to clean it off without ruining your manicure.
7. Moisturize Your Cuticles
After removing your old color and applying the new one, moisturize your cuticles with oil or lotion. This will help keep them healthy and nourished.
8. Avoid Hot Water
Avoid exposing your newly changed dip powder nails to hot water for the first 24 hours, as it can weaken the color and cause it to chip.
Frequently Asked Questions
Can I Reuse the Excess Dip Powder?
Yes, you can save excess powder for future use if it has not been in contact with your nails. Simply scoop out the desired amount and put it back into the jar with a clean utensil.
How Often Should I Change My Dip Powder Color?
Changing your dip powder color every 2-3 weeks is recommended to maintain healthy nail growth. However, if you notice any signs of damage or lifting, remove the color immediately and give your nails a break before applying a new color.
Will Changing Dip Powder Colors Damage My Natural Nails?
When done correctly, changing dip powder colors should not damage your natural nails. However, it is important to be gentle and remove the previous color properly to avoid causing any harm.
Can I Use Regular Nail Polish on Top of Dip Powder?
You can use regular nail polish on top of dip powder, but it is not recommended. The chemicals in regular nail polish can break down the dip powder and cause it to chip or lift. Use a top coat from your dip powder color kit for best results.
Can I Use Regular Nail Polish on Top of Dip Powder Nails?
You can use regular nail polish on top of dip powder nails. Just apply a layer of base coat before the nail polish for better adhesion.
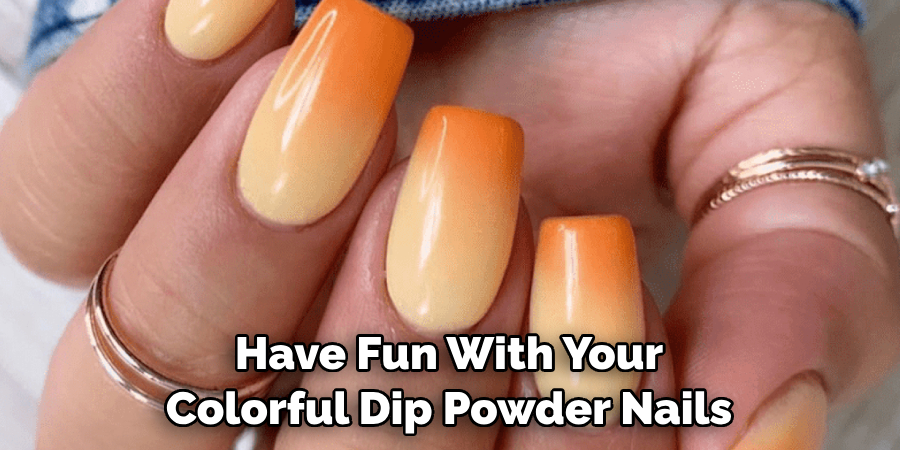
How Often Should I Change My Dip Powder Color?
Changing your dip powder color every 2-3 weeks is recommended to prevent any damage to your natural nails. However, you can change it more frequently if desired. So go ahead and have fun with your colorful dip powder nails!
So why change your dip powder color today and add some excitement to your manicure game. And remember to share your beautiful nail creations with us on social media. We can’t wait to see what you come up with! If you’re looking for a long-lasting and vibrant manicure option, try dip powder nails – you won’t be disappointed.
Conclusion
In conclusion, dip powder nails are a popular and easy way to achieve a long-lasting and colorful manicure. With the right tools and techniques on how to change dip powder color, you can easily change up your dip powder color without causing damage to your natural nails. To effectively and easily change the dip powder color on your nails, it is essential to understand the necessary steps and techniques. Utilize a different base color for a more vibrant hue, use pigments and glitter to customize the look, and clean up excess product around each nail. If you are ready for a radical new look, it is possible to layer two contrasting colors together.
Finally, to ensure your dip powder color lasts and looks its best, use a top coat of clear polish for added shine and protection. With this information, you will surely find the perfect dip powder color that works best for you! So what are you waiting for? Get creative with your nails today and show off all those gorgeous new hues! Remember always to follow the instructions provided by the manufacturer for the best results, and have fun experimenting with different colors, designs, and tips!
About the Author
Jane Hubbard is a passionate beauty expert with a wealth of experience in makeup, hair, and overall beauty techniques. After years of working as a hairdresser specialist, she followed her entrepreneurial spirit and started her own consultancy business.
Jane has always been driven by her desire to help others feel confident in their own skin, and she does this by sharing her knowledge, experiences, and practical beauty tips. Through her consultancy, she empowers individuals to embrace their unique beauty, offering tailored guidance that boosts both self-esteem and personal style.
Professional Focus
Specializes in makeup, hairstyling, and beauty consulting.
Provides personalized beauty advice, tips, and techniques to help individuals feel confident in their appearance.
Dedicated to staying up-to-date with the latest industry trends and developments.
Passionate about creating a comfortable and empowering experience for every client.
Education History
University of Craft and Design – Bachelor of Fine Arts (BFA) in Woodworking and Furniture Design
Woodworking Apprenticeships – Extensive hands-on training with skilled craftsmen to refine carpentry and furniture making techniques
Online Courses & Masterclasses – Continued education in advanced woodworking techniques, design principles, and specialized tools
Expertise:
Makeup artistry, hairstyling, and beauty consulting.
Personalized beauty techniques to enhance confidence and self-expression.
Educating clients on how to maintain their beauty routines at home.