
Are you tired of using a dirty wooden comb? Cleaning your wooden comb is essential to maintain its longevity and keep it free from bacteria and oils. In this guide, we will go through an easy step-by-step process on how to clean a wooden comb effectively.
Maintaining a wooden comb is essential for longevity and effective grooming performance. Unlike plastic combs, wooden combs require special care to prevent damage and preserve natural beauty. Regular cleaning helps remove the build-up of oils, hair products, and dirt, ensuring the comb remains hygienic and gentle on your hair and scalp.

In this guide, we’ll walk you through the simple steps to properly clean your wooden comb, using methods that protect its natural wood finish.
What are the Benefits of Cleaning a Wooden Comb?
Cleaning a wooden comb has numerous benefits, including:
- Removing Dirt and Bacteria: Like any other personal grooming tool, wooden combs can accumulate dirt and bacteria over time. Regular cleaning helps to remove this build-up, keeping your comb hygienic.
- Maintaining Healthy Hair: A clean comb ensures you don’t return dirt and oils onto your hair while grooming. This prevents clogging of hair follicles, which can lead to scalp issues like dandruff or irritation.
- Preserving the Natural Wood Finish: Wooden combs have a beautiful natural wood finish that harsh chemicals and improper cleaning methods can damage. By regularly cleaning your wooden comb, you can maintain its aesthetic appeal and durability.
- Preventing Hair Breakage: A dirty comb can cause hair breakage due to tugging and pulling on tangled hair. Regularly cleaning your wooden comb helps to remove any debris that could cause friction and damage to your hair.
These are just a few benefits of cleaning a wooden comb. Now, let’s explore the step-by-step process for cleaning your wooden comb.
What Will You Need?
To clean your wooden comb, you will need the following materials:
- A small bowl or container
- Warm water
- Mild shampoo or dish soap
- Soft-bristled brush (toothbrush or paintbrush)
- Clean towel or cloth
Once you have gathered all the necessary materials, let’s dive into the cleaning process.
10 Easy Steps on How to Clean a Wooden Comb
Step 1: Remove Any Hair or Debris
Before you start washing your wooden comb, removing any hair or debris caught between the teeth is important. You can use your fingers or a toothpick to dislodge and pull out the hair gently. Take your time to ensure all visible hair and debris are thoroughly removed, as this will make the washing process more effective. For finer dust particles, gently tap the comb against a hard surface, allowing the particles to fall out. This initial step is crucial for achieving a clean and residue-free comb.
Step 2: Prepare the Cleaning Solution
Fill a small bowl or container with warm water, ensuring the water is not too hot. Add a few drops of mild shampoo or dish soap to the water. Stir the solution gently to create suds. The mild shampoo or dish soap will help break down oils and dirt without being too harsh on the wooden material.
Step 3: Soak the Comb
Submerge the wooden comb in the cleaning solution for 5-10 minutes. This soaking process helps loosen any remaining dirt and oils trapped between the teeth of the comb. Make sure only the teeth of the comb are submerged, as you want to avoid soaking the wooden body excessively, which could lead to water damage over time.
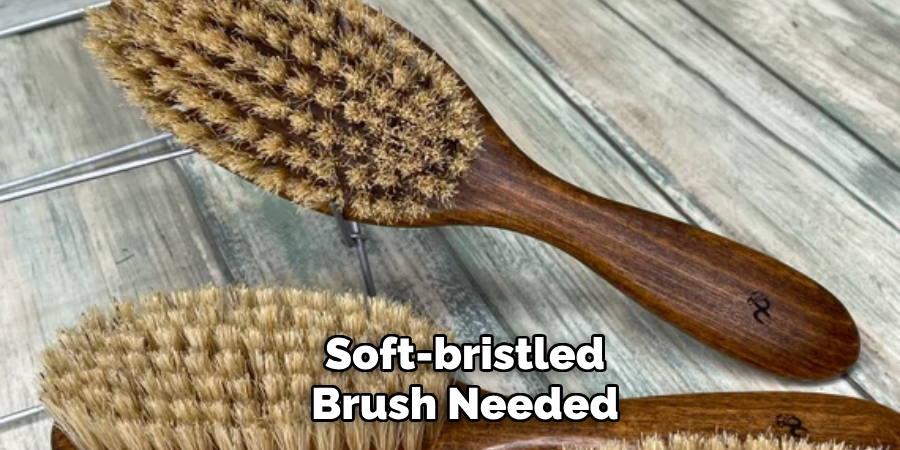
Step 4: Scrub Gently with a Soft-Bristled Brush
After soaking the comb, take a soft-bristled brush, such as an unused or small paintbrush. Gently scrub the teeth of the comb, ensuring you reach all the crevices where dirt and oils may have accumulated. Use gentle, circular motions to lift and remove any remaining residue. Pay close attention to the base of the teeth, as this area can often harbor the most build-up. Avoid using harsh scrubbing motions, as this could damage the wood. If you encounter stubborn residue, dip the brush into the soapy solution and continue scrubbing until the comb is thoroughly cleaned.
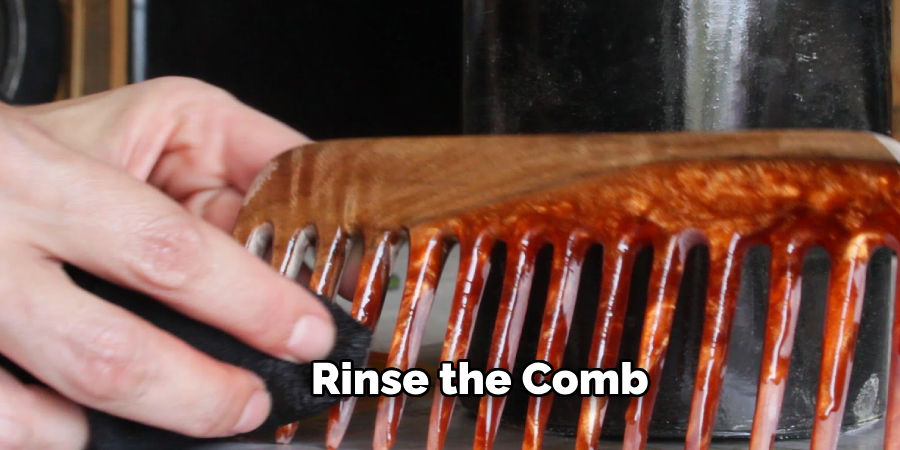
Step 5: Rinse the Comb
Once you’re satisfied with the cleanliness of your comb, it’s time to rinse off the soapy solution. Hold the comb under a gentle stream of warm running water. Make sure to rinse all the teeth and any areas where soap might have accumulated. It’s essential to thoroughly rinse the comb to ensure no soap residue remains, as any leftover soap can cause the wood to become sticky or dry out over time.
Step 6: Pat Dry with a Clean Towel
After rinsing, use a clean, soft towel or cloth to pat the comb dry gently. Carefully blot the comb’s teeth and body, absorbing as much water as possible. Avoid vigorous rubbing, as this could cause damage to the wood. If water has gathered in any crevices, use the towel to reach those areas and ensure they are dehydrated.
Step 7: Let the Comb Air Dry
Place the comb on a dry towel or cloth in a well-ventilated area to air dry completely. Position the comb to lay flat, with the teeth spaced apart to allow for proper air circulation. It is important not to rush this process. Do not use a hair dryer or place the comb in direct sunlight as these can cause the wood to warp or crack. Allow sufficient time for the comb to dry naturally.
Step 8: Apply Oil
To maintain the wood’s natural luster and add a layer of protection, you may apply a light coat of natural oil such as jojoba oil, coconut oil, or olive oil. Using a soft cloth or your fingers, apply a small amount of oil and gently rub it into the wood. This step helps to condition the wood and keep it from drying out. Be sure to wipe off any excess oil to prevent the comb from becoming sticky.
Step 9: Buff the Comb
After applying the oil, use a clean, dry cloth to buff the comb. Buffing helps to even out the oil application and gives the comb a polished finish. Rub the fabric over all comb surfaces gently and circularly, ensuring a smooth and even coating. This will enhance the wood’s natural shine and keep your comb beautifully maintained.
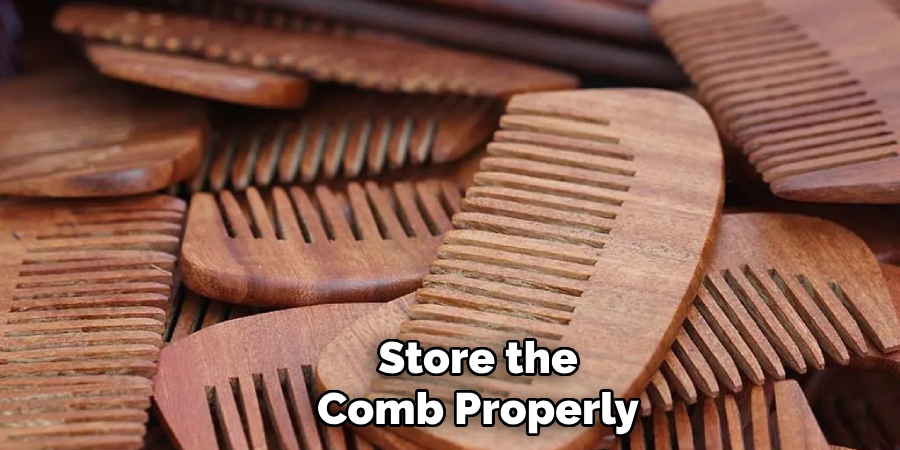
Step 10: Store the Comb Properly
Finally, store your clean, well-maintained wooden comb in a dry place away from direct sunlight and moisture. Consider placing it in a cloth pouch or a designated drawer to protect it from dust and environmental factors affecting its longevity. Proper storage ensures that your wooden comb remains in excellent condition and is ready for use whenever needed.
By following these steps, you can keep your wooden comb clean, hygienic, and in top condition, ensuring it provides effective and gentle grooming for many years to come.
5 Additional Tips and Tricks
- Use a Toothbrush for Detailed Cleaning: After soaking your wooden comb in mild, soapy water, use an old toothbrush to clean between the teeth of the comb. This helps remove any residual dirt or grime that might be clinging on.
- Avoid Prolonged Soaking: While it’s important to soak the comb for cleaning, avoid leaving it in water for an extended period. Excessive moisture can cause the wood to warp or crack.
- Dry Thoroughly with a Cloth: Immediately after cleaning, dry the wooden comb with a soft cloth. Ensure you remove all moisture to prevent any damage. Allow it to air-dry completely before using it again.
- Store in a Dry Place: Always keep your wooden comb in a dry area, away from any moisture. Storing it in a bathroom might expose it to humidity, which can affect its durability over time.
- Check for Any Cracks or Splinters: Regularly inspect your wooden comb for any cracks or splinters. If you notice any, it’s best to replace the comb to avoid any potential harm to your hair or scalp.
Cleaning a wooden comb may seem like a simple task, but proper care can significantly extend its lifespan.
5 Things You Should Avoid
- Using Harsh Chemicals: Avoid using strong cleaning agents or harsh chemicals as they can damage the wood’s finish and weaken its structure. Stick to mild soaps and natural cleaning solutions.
- Submerging in Water for Long Periods: Never submerge your wooden comb in water for an extended time. Prolonged exposure to water can cause the wood to swell, warp, or even crack.
- Using High Heat to Dry: Drying your wooden comb with a hair dryer or placing it near a heating source can lead to cracks or warping. Always air-dry it naturally, ensuring it’s kept in a well-ventilated area.
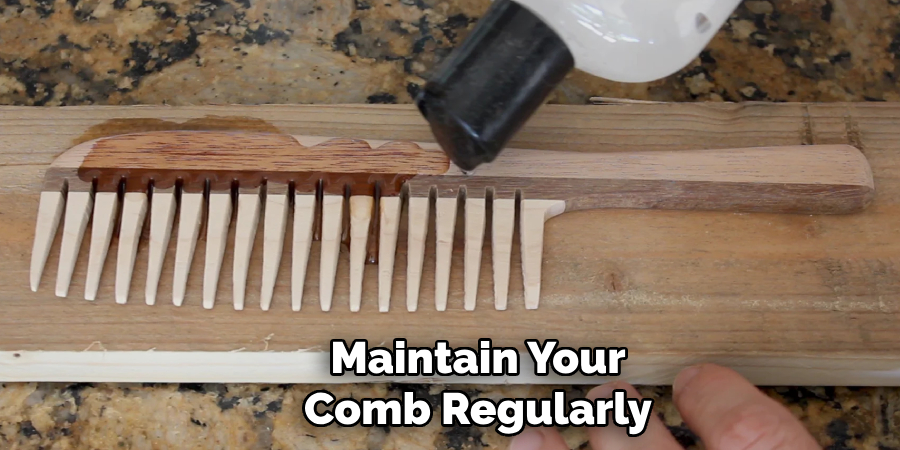
- Neglecting Regular Maintenance: Even the best-kept wooden combs can accumulate oils and dirt over time. Failing to clean and maintain your comb regularly can shorten its lifespan and effectiveness.
- Forcing Through Tangles: Avoid using your wooden comb to detangle severe knots or tangles abruptly. This can stress the wood and cause it to break. Use a detangler spray or a wide-tooth comb for tough knots before using your wooden comb.
By avoiding these things, you can ensure your wooden comb stays in top condition for a long time. Remember to clean and care for it regularly, and your hair will thank you for it!
Conclusion
How to clean a wooden comb involves more than just occasional cleaning; it requires regular maintenance and mindful storage.
By following the tips and avoiding common pitfalls, you can ensure your wooden comb remains reliable for your hair care routine. Using gentle cleaning methods and avoiding prolonged exposure to moisture and heat will preserve the comb’s integrity and longevity. Regular inspections for any damages and mindful handling during detangling will further extend its lifespan.
Investing time in caring for your wooden comb keeps it in great shape and enhances the overall health of your hair.
You can also check it out to Know When Babyliss Pro is Fully Charged
About the Author
Jane Hubbard is a passionate beauty expert with a wealth of experience in makeup, hair, and overall beauty techniques. After years of working as a hairdresser specialist, she followed her entrepreneurial spirit and started her own consultancy business.
Jane has always been driven by her desire to help others feel confident in their own skin, and she does this by sharing her knowledge, experiences, and practical beauty tips. Through her consultancy, she empowers individuals to embrace their unique beauty, offering tailored guidance that boosts both self-esteem and personal style.
Professional Focus
Specializes in makeup, hairstyling, and beauty consulting.
Provides personalized beauty advice, tips, and techniques to help individuals feel confident in their appearance.
Dedicated to staying up-to-date with the latest industry trends and developments.
Passionate about creating a comfortable and empowering experience for every client.
Education History
University of Craft and Design – Bachelor of Fine Arts (BFA) in Woodworking and Furniture Design
Woodworking Apprenticeships – Extensive hands-on training with skilled craftsmen to refine carpentry and furniture making techniques
Online Courses & Masterclasses – Continued education in advanced woodworking techniques, design principles, and specialized tools
Expertise:
Makeup artistry, hairstyling, and beauty consulting.
Personalized beauty techniques to enhance confidence and self-expression.
Educating clients on how to maintain their beauty routines at home.