
Do you ever need help knowing which contour techniques to use and where? Contouring can be tricky, especially when deciding the most flattering look for your face shape. Everyone is unique in their beauty—and there are methods of contouring that will help play up particular features of each individual’s face. Whether you have an oval, square, or round-shaped face, we’ve compiled some tips on how YOU can find the most complimentary way to contour your cheekbones and jawline!
Contouring can transform your makeup look and add dimension to your face. It is all about creating shadows and highlights to sculpt and enhance certain features of your face. In order to achieve the best results, it’s important to understand how to contour based on face shape.
What Will You Need?
Before we dive into the specific techniques, here are some essential supplies you’ll need to get started with contouring:
- A contour palette or powder: This should be slightly darker than your natural skin tone.
- A highlighting product: This can be a cream or powder highlighter that is a shade or two lighter than your natural skin tone.
- A fluffy brush: This will help blend the contour and highlight products seamlessly.
- A small angled brush: This will allow you to apply the contour product in specific areas precisely.
Once you have these basic supplies, it’s time to determine your face shape and learn the best contour techniques!
10 Easy Steps on How to Contour Based on Face Shape
Step 1: Determine Your Face Shape
The first step is to figure out your face shape. Stand before a mirror and use a washable marker or lipstick to outline your reflection’s face shape onto the mirror. Then, take a step back and compare it to these common face shapes:
- Oval: This shape has balanced proportions and gently curved jawlines.
- Square: This shape has a strong, defined jawline and forehead with equal width.
- Round: This shape has soft features with a rounded chin and full cheeks.
Step 2: Prep Your Skin
Before applying any makeup, make sure your skin is clean and moisturized. Contouring will look most natural on smooth and hydrated skin. If you have oily skin, use a mattifying primer to help keep the contour product in place.

Step 3: Apply Foundation
Start your contouring routine with a clean canvas. Apply your favorite foundation that matches your skin tone all over your face. This will help create a smooth and even skin tone, covering any blemishes or discoloration and providing a seamless base for your contouring. Make sure to blend well to avoid any harsh lines or patches. You can use a foundation brush, a beauty sponge, or your fingers to blend the foundation into your skin, starting from the center of your face and blending outwards. This step is crucial as the right foundation application can make your contouring look natural and flawless. Remember to blend some foundation onto your neck to ensure a seamless transition.
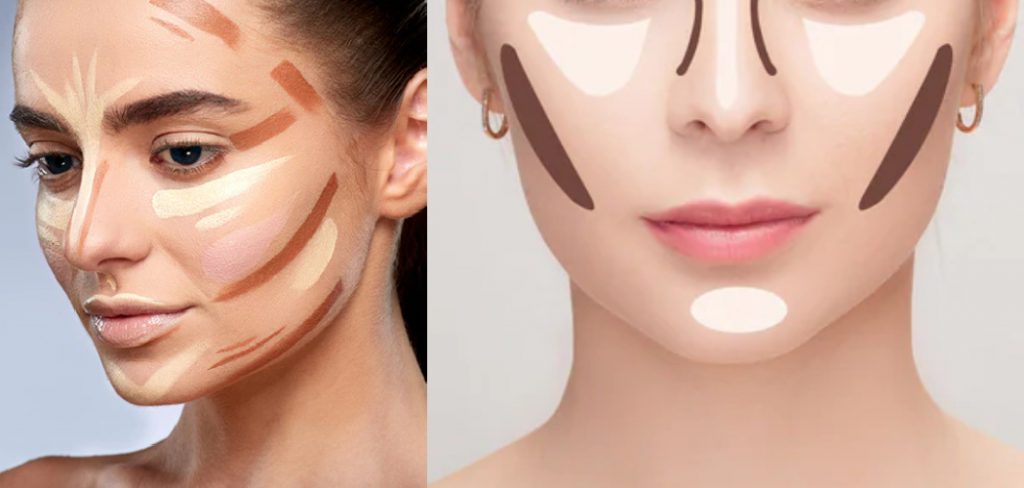
Step 4: Apply Contour Product
Now it’s time to contour. Using your small angled brush, apply your contour product to areas of your face that you want to appear smaller or more defined. For most people, these areas include the sides of the nose, the hollows of the cheeks, the jawline, and the hairline. However, the specific areas to contour can vary based on your face shape:
- Oval: Contour the sides of your forehead and below your cheekbones to add a little depth.
- Square: Soften the edges by contouring the corners of your forehead and jawline.
- Round: Contour along the sides of your face and below your cheekbones to create an illusion of a more defined face structure.
Remember to blend well to prevent any harsh lines. Remember that less is more when it comes to contouring. You can always add more product, but it’s much harder to remove it once it’s been applied.
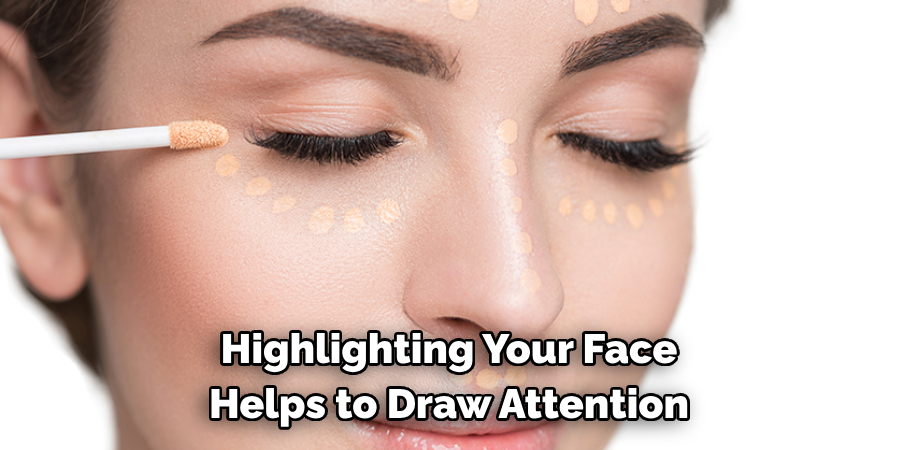
Step 5: Apply Highlighter
Highlighting your face helps to draw attention to and accentuate the higher points of your face. Using your fluffy brush, apply your highlighter to the areas of your face that naturally catch the light. These typically include the bridge of your nose, your cheekbones, the inner corners of your eyes, your brow bone, and the center of your forehead. Just like with contouring, the specific areas to highlight can vary based on your face shape:
- Oval: Highlight the center of your forehead and chin to balance your face.
- Square: Apply highlighter to the center of your forehead and chin to elongate the face and soften sharp features.
- Round: Highlighting the middle of your forehead and chin can help to elongate your face and make it look less round.
Remember to blend your highlighter well with your contour for a natural, seamless look. By highlighting and contouring based on your face shape, you can achieve a makeup look that is both flattering and personalized to you.
Step 6: Blend, Blend, Blend!
The key to achieving a natural-looking contour is in the blending. Use your fluffy brush to blend both your contour and highlighter until the lines where they meet become seamless. Blend your contour upwards and your highlighter downwards until they meet in the middle. Always remember contouring aims to create a subtle shadow and highlight effect, not harsh lines. With practice, you can create a contoured look that enhances your natural face shape and features while still looking like you!
Step 7: Set Your Makeup
To ensure your contour and highlight stay in place all day, set them with a light dusting of translucent powder. This will also help to prevent any shine or oiliness throughout the day. Be careful not to use too much powder, making your contour look muddy and unnatural.
Step 8: Add a Pop of Color
Contouring and highlighting can sometimes make the face appear flat or one-dimensional. To add dimension to your face, apply a light dusting of blush onto the apples of your cheeks. This will bring color and life back into your face, making your contour and highlight look more natural.
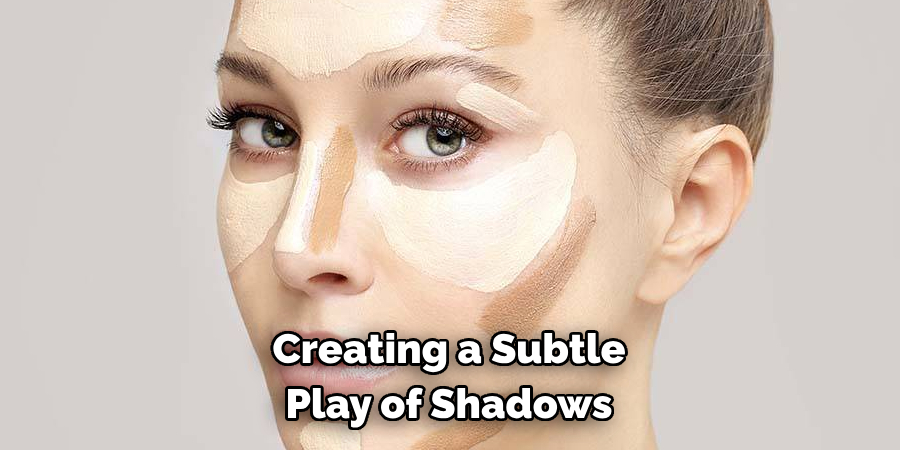
Step 9: Master the Art of Blending
Contouring is all about creating a subtle play of shadows and light on your face. To do this, you must have mastered the art of blending. Practice makes perfect when it comes to blending, so don’t be afraid to experiment with different brushes, products, and techniques to find what works best for you. Remember that less is more; always blend well to achieve a natural-looking contour.
Step 10: Experiment and Have Fun!
The best part about makeup is that it’s meant to be fun and creative. Be bold and play around with different contouring techniques and products until you find the best for your face shape and features. Always start with a light hand and build up the product gradually, blending as you go. With practice and experimentation, you’ll be contouring like a pro in no time!
By following these steps and considering your face shape, you can easily learn how to contour like a pro. So, try this makeup technique that has become a staple in many beauty routines.
5 Things You Should Avoid
- Over-Contouring: While applying many products for a more dramatic look can be tempting, remember that contouring should enhance your natural features, not overpower them. Overdoing it can lead to an unnatural, harsh look. Stick to light, subtle strokes and build up gradually if needed.
- Ignoring Your Skin Undertone: Your skin undertone plays a crucial role in choosing the correct shade for contouring. A shade that doesn’t match your undertone can create an unflattering contrast. Determine whether your undertone is warm, cool, or neutral, and choose your contour color accordingly.
- Using the Wrong Tools: The wrong tools can result in streaky application or difficulty blending. While using a large, fluffy brush can be tempting, a smaller, angled brush will give you more control over your contour application.
- Not Blending Enough: Failing to blend properly can leave noticeable lines and patches, creating an unnatural look. Spend ample time blending your makeup to ensure a seamless transition between your contour, highlight, and foundation.
- Ignoring Your Natural Bone Structure: Your face shape and bone structure should guide your contouring. If you disregard them and follow a one-size-fits-all contouring guide, the result may not be flattering. Always contour in a way that enhances your unique features and face shape.

Conclusion
Having the right information and the proper tools can help make contouring easier and more enjoyable. Now that you know how to contour based on face shape, you can confidently express your unique beauty by taking advantage of this simple trick! Try it out today and see how you look and feel.
Don’t forget to have fun with it, even if it takes some practice! This article should’ve given you the knowledge and resources to become an expert contour artist for yourself. No need to rely on outside help – take things into your own hands and be proud of the artistry that you create!
With the right angle, shade, and technique, you can highlight all of your top features to perfection, so go ahead and experiment with different shadows until you find the best ones for you. Best of luck!
About the Author
Jane Hubbard is a passionate beauty expert with a wealth of experience in makeup, hair, and overall beauty techniques. After years of working as a hairdresser specialist, she followed her entrepreneurial spirit and started her own consultancy business.
Jane has always been driven by her desire to help others feel confident in their own skin, and she does this by sharing her knowledge, experiences, and practical beauty tips. Through her consultancy, she empowers individuals to embrace their unique beauty, offering tailored guidance that boosts both self-esteem and personal style.
Professional Focus
Specializes in makeup, hairstyling, and beauty consulting.
Provides personalized beauty advice, tips, and techniques to help individuals feel confident in their appearance.
Dedicated to staying up-to-date with the latest industry trends and developments.
Passionate about creating a comfortable and empowering experience for every client.
Education History
University of Craft and Design – Bachelor of Fine Arts (BFA) in Woodworking and Furniture Design
Woodworking Apprenticeships – Extensive hands-on training with skilled craftsmen to refine carpentry and furniture making techniques
Online Courses & Masterclasses – Continued education in advanced woodworking techniques, design principles, and specialized tools
Expertise:
Makeup artistry, hairstyling, and beauty consulting.
Personalized beauty techniques to enhance confidence and self-expression.
Educating clients on how to maintain their beauty routines at home.