
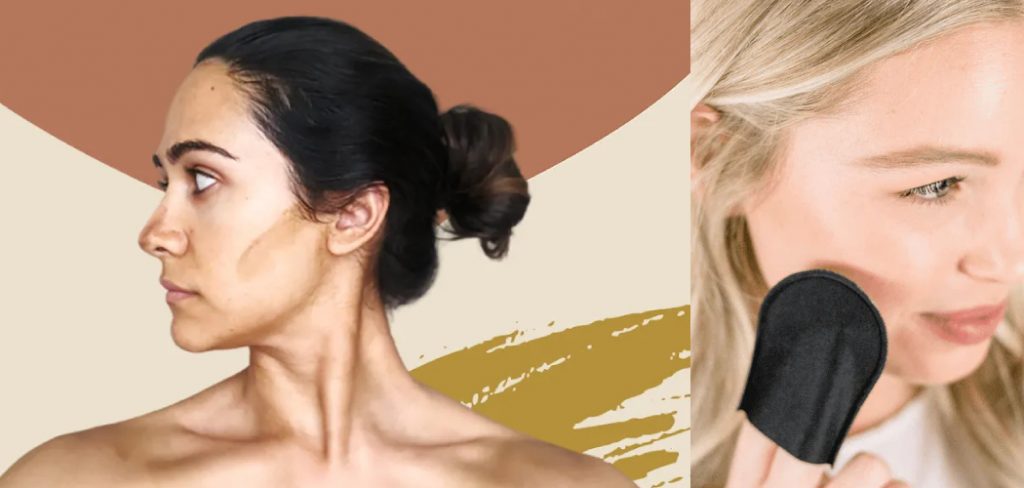
Are you looking to get a sun-kissed look without the time and effort of soaking up the rays outdoors? Then, contouring with self-tanner is your solution! Achieve that golden glow in no time from the comfort of your home. Not only will it save you some serious hours in the sun, but with a few easy steps, you can create beautiful, natural-looking highlights and shadows around your face — giving you all the benefits of an amazing vacation tan without leaving town.
Contouring with self tanner is a great alternative to traditional contouring with makeup, as it lasts several days and gives a more natural appearance.
In this guide, we’ll walk through exactly how to contour with self tanner — so get ready to look like a bronzed goddess in just a few simple steps!
What Will You Need?
To get started, you’ll need a few key items:
- A self tanner of your choice
- A makeup brush or blending sponge
- Moisturizer or barrier cream (optional)
Once you have these, you’re ready to begin!
10 Easy Steps on How to Contour With Self Tanner
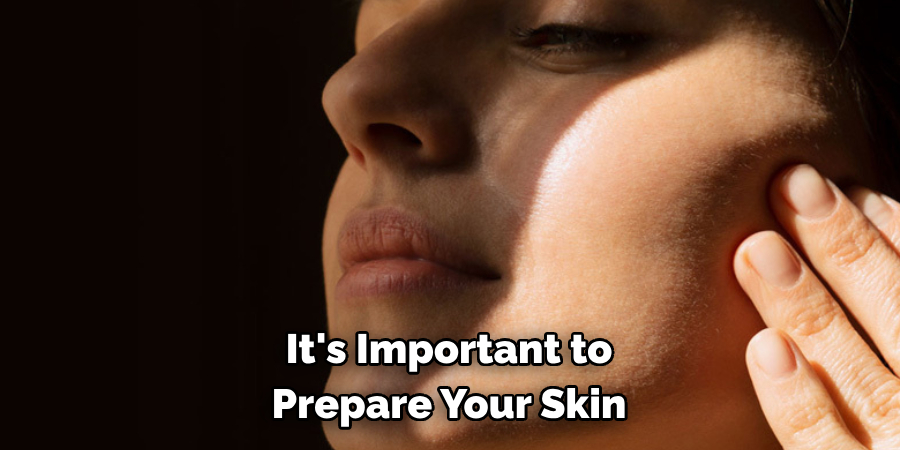
Step 1: Prep Your Skin
Before applying self tanner, it’s important to prepare your skin. This will ensure an even application and help prevent streaks or patches. Start by exfoliating the skin in the areas where you plan on contouring. This will remove dead skin cells and create a smooth base for the self tanner to adhere to.
Step 2: Moisturize or Use a Barrier Cream
If you have dry skin, it’s recommended to apply a light layer of moisturizer before applying self-tanner. This will prevent the self tanner from clinging onto any dry patches and creating an uneven finish. If you have oily skin, you can use a barrier cream to create a barrier between your skin and the self tanner, preventing it from being absorbed too quickly.
Step 3: Choose Your Self Tanner
There are many different self tanners available on the market, so choose one that best suits your needs and preferences. You can opt for a gradual self tanner or a more intense formula, depending on how deep of a contour you want to achieve. If you’re new to contouring with self tanner, it’s recommended to start with a gradual formula and build up to a deeper tone.
Step 4: Begin Application
Using your makeup brush or blending sponge, apply the self tanner to the areas where you want to create shadows or definition. This can include under the cheekbones, along the jawline, and around the temples. Remember, less is more; you can always build up to your desired contour level.
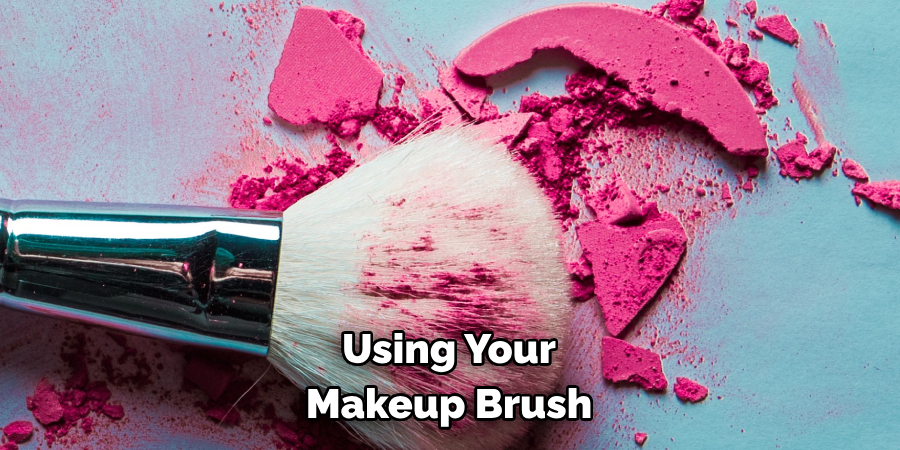
Step 5: Blend, Blend, Blend!
After applying the self tanner, it’s crucial to blend it out to avoid any harsh lines or patches. Use your blending sponge or brush to gently spread the tanner, specifically focusing on the edges of the applied areas. The goal is to create a natural shadow effect that blends well, ensuring no apparent lines for a seamless transition.
Step 6: Let It Develop
After you’ve finished applying and blending the self tanner, it’s time to let it develop. The length of time you’ll need to wait will depend on the specific brand and formula of your self tanner. Typically, the self tanner takes a few hours to develop and darken fully. Ensure not to wash your face or sweat excessively during this period to avoid interfering with the tanning process.
Step 7: Assess and Adjust
After allowing the self tanner to fully develop, assess your contour. If you desire a deeper contour, feel free to reapply the tanner to the necessary areas and let it develop again. Remember, it’s easier to gradually add more depth than to lighten an overly dark contour. Be patient and adjust as needed for your ideal sun-kissed look.
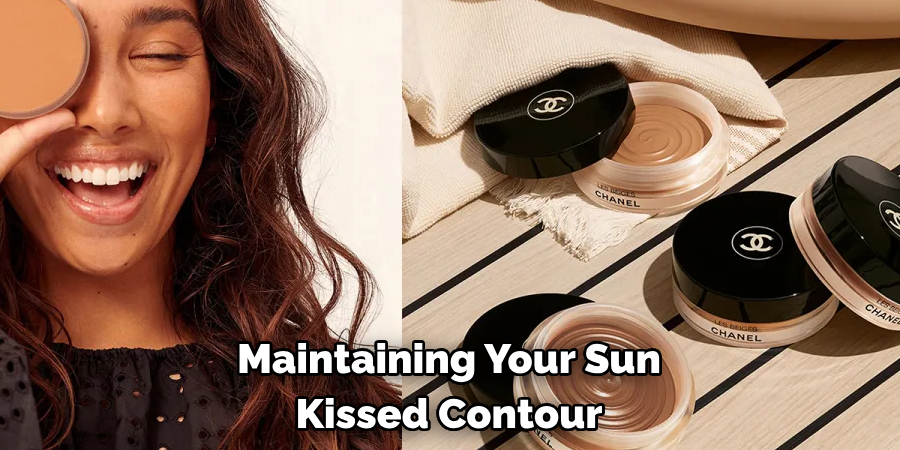
Step 8: Maintain Your Contour
Maintaining your sun-kissed contour is crucial for a lasting look. To do this, hydrate your skin every day to keep the tan looking fresh and avoid flaking. Also, avoid using exfoliating products on the contoured areas, as they can fade the tan faster. You can reapply the self tanner every few days or as needed to maintain your desired contour and glow.
Step 9: Remove or Correct Mistakes
If you’ve made a mistake or if your contour is too heavy, don’t worry. You can lighten the self-tan by applying an oil-based product or a special tan remover. Leave it on the skin for at least 10 minutes, then gently exfoliate the area. Remember that it might take a couple of attempts to obliterate the self-tanner.
Step 10: Flaunt Your New Look
Now that you’ve contoured your face with self tanner and achieved a natural, sun-kissed look, it’s time to flaunt it! Remember, practice makes perfect. The more you contour with self tanner, the better you’ll get at creating a flawless, natural-looking glow. Enjoy your radiant, contoured look that will surely turn heads!
Following these easy steps, you can learn how to contour with self tanner like a pro. With a little practice and patience, you’ll be able to achieve a beautiful, natural-looking contour that lasts for days.
5 Additional Tips and Tricks
- Choose the Right Tanner: Find a self-tanner that suits your skin tone. The right product will give you a natural-looking contour without making your skin look orange or overly dark.
- Cleanse and Exfoliate: Before applying self-tanner, cleanse and exfoliate your skin. This will help create a smooth base for the tanner to adhere to, resulting in an even application.
- Use a Tanning Mitt: Instead of using your hands, use a tanning mitt to apply the self-tanner. This will prevent your palms from getting stained and ensure a more even product distribution.
- Strategic Application: Apply the self-tanner in contours where the sun naturally hits your face – the top of your forehead, cheekbones, and jawline. Using a makeup brush can help blend the product evenly.
- Wait and Wash: Wait for the self-tanner to dry completely before touching your skin or putting on clothes. After it has dried, wash your hands thoroughly to avoid stained palms.
With these tips, you can easily achieve a contoured look using self-tanner. Experiment with different shades and techniques to find the best for your skin tone and face shape.
5 Things You Should Avoid
- Avoid Skipping Patch Test: Always perform a patch test before applying a new self-tanner to your entire face to ensure you don’t have an allergic reaction.
- Don’t Rush the Process: Avoid rushing the process. Self-tanning is a slow and careful process that requires patience. Rushing can result in streaks or uneven color.
- Avoid Application: Too much self-tanner can lead to an unnatural, orange appearance. Apply the product sparingly and gradually build the color up if required.
- Avoid Neglecting Aftercare: Aftercare is crucial for the longevity of your tan. Moisturize regularly and avoid exfoliating your skin too soon after application.
- Remember to Wear Sunscreen: Self-tanners do not offer sun protection. Always apply sunscreen with at least SPF 30 to protect your skin from harmful UV rays.
Avoiding these common mistakes will help you achieve a natural, flawless tan. Remember that practice makes perfect when it comes to self-tanning. You’ll get the hang of it in no time!
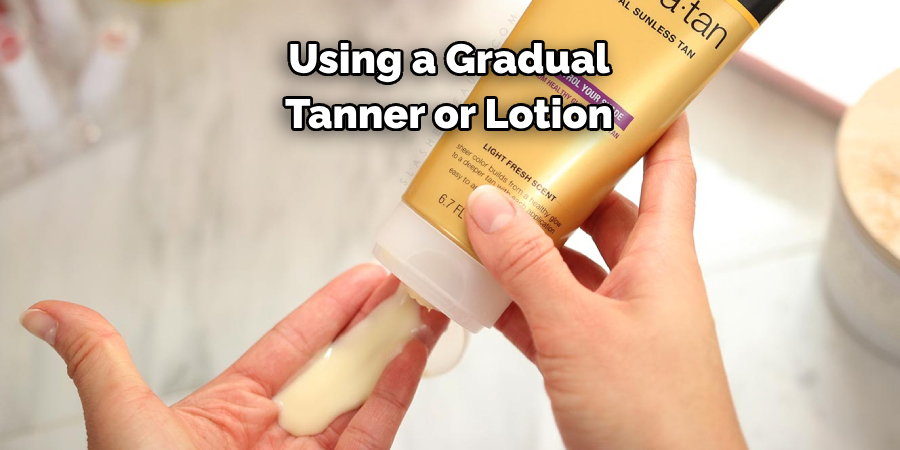
Do You Put Self-Tanner on Wet or Dry Skin?
One common question regarding self-tanning is whether to apply the product on wet or dry skin. The answer depends on the type of self-tanner you are using.
If you are using a gradual tanner or lotion, applying it on dry skin is recommended. This allows for better absorption and ensures an even application. Applying these products on wet skin can dilute the color and make it less effective.
On the other hand, if you are using a spray or mousse self-tanner, it is best to apply it on wet skin. This helps distribute the product more evenly and prevents streaks. The water also acts as a barrier between your skin and the tanner, creating a more natural-looking result.
In conclusion, the key to achieving a flawless tan with a self-tanner is to prepare your skin properly, use the right products and techniques, and avoid common mistakes. With practice and patience, you’ll achieve a beautiful, contoured look without exposing your skin to harmful UV rays.
Conclusion
After you have finished your self tan contour, you will likely feel more confident with your new actress-like glow. Your face will stand out with the added sun kissed color anywhere you go, and all eyes will be on you!
Now that you know how to contour with self tanner, it’s time to get creative and practice perfecting your look in front of the mirror. Don’t forget to apply SPF protection afterward to prevent burning and keep your skin looking glorious! Dare yourself to draw outside the lines and create a unique new version of yourself daily.
So don’t forget: Be confident, have fun, but most importantly, show off your style with an amazing contour by applying self tanner like a pro!
About the Author
Jane Hubbard is a passionate beauty expert with a wealth of experience in makeup, hair, and overall beauty techniques. After years of working as a hairdresser specialist, she followed her entrepreneurial spirit and started her own consultancy business.
Jane has always been driven by her desire to help others feel confident in their own skin, and she does this by sharing her knowledge, experiences, and practical beauty tips. Through her consultancy, she empowers individuals to embrace their unique beauty, offering tailored guidance that boosts both self-esteem and personal style.
Professional Focus
Specializes in makeup, hairstyling, and beauty consulting.
Provides personalized beauty advice, tips, and techniques to help individuals feel confident in their appearance.
Dedicated to staying up-to-date with the latest industry trends and developments.
Passionate about creating a comfortable and empowering experience for every client.
Education History
University of Craft and Design – Bachelor of Fine Arts (BFA) in Woodworking and Furniture Design
Woodworking Apprenticeships – Extensive hands-on training with skilled craftsmen to refine carpentry and furniture making techniques
Online Courses & Masterclasses – Continued education in advanced woodworking techniques, design principles, and specialized tools
Expertise:
Makeup artistry, hairstyling, and beauty consulting.
Personalized beauty techniques to enhance confidence and self-expression.
Educating clients on how to maintain their beauty routines at home.