
Are you tired of frying your hair with heat-styling tools? Do you want a more natural and healthier way to add curls to your hair? Look no further because curling extensions without heat is the way to go.
How to curl extensions without heat is an excellent way to achieve beautiful, voluminous curls while avoiding damage. Heat tools, such as curling irons and wands, can weaken the hair shaft, leading to split ends and breakage, especially in more delicate or chemically treated extensions. Fortunately, various effective methods exist to curl your extensions without subjecting them to intense heat. These techniques are safer and allow for long-lasting curls that maintain their shape.
In this guide, we’ll explore several gentle and efficient ways to curl your extensions using simple tools and everyday household items.
What Will You Need?
Before we dive into the methods, let’s go over what you’ll need to curl extensions without heat effectively. Depending on which technique you choose, here are some possible tools that may come in handy:
- Hair clips or bobby pins
- Wide-tooth comb
- Curling rods or flexi rods
- A satin scarf or silk cap
- Mousse or styling cream
Once you have gathered all the necessary tools, it’s time to get started on achieving those beautiful curls without heat!
10 Easy Steps on How to Curl Extensions Without Heat
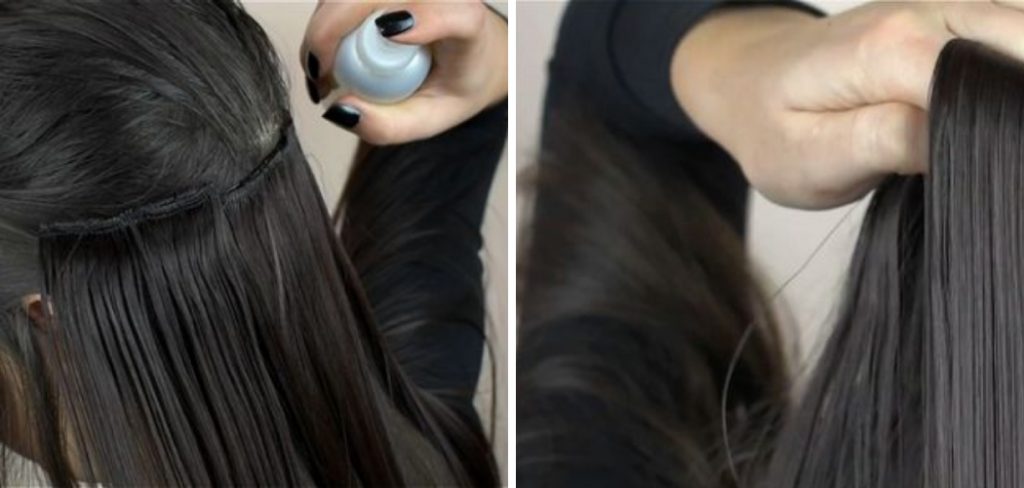
Step 1. Prepare Your Extensions:
Start by ensuring your extensions are clean and dry. If they are dirty or have residues from previous styling products, gently wash them with a sulfate-free shampoo and conditioner. Pat them dry with a microfiber towel and allow them to air dry thoroughly to prevent any frizziness.
Next, thoroughly detangle your extensions using a wide-tooth comb. Begin from the tips and work your way up to the roots to minimize breakage. If you encounter any stubborn knots, be patient and detangle them softly to avoid damage.
Once your extensions are clean and tang-free, apply a lightweight mousse or styling cream evenly throughout the hair. This will help to hold the curls better and add extra volume to your extensions. Make sure not to overapply the product, as too much can weigh down the hair and lead to an oily finish.
Step 2. Select Your Curling Method:
Choose a curling method that best suits your desired curl type and the tools you have available. Here are a few popular options:
- Curling Rods or Flexi Rods: Ideal for well-defined, springy curls.
- Braiding: Perfect for creating natural-looking waves.
- Twist-Out: Great for achieving voluminous, textured curls.
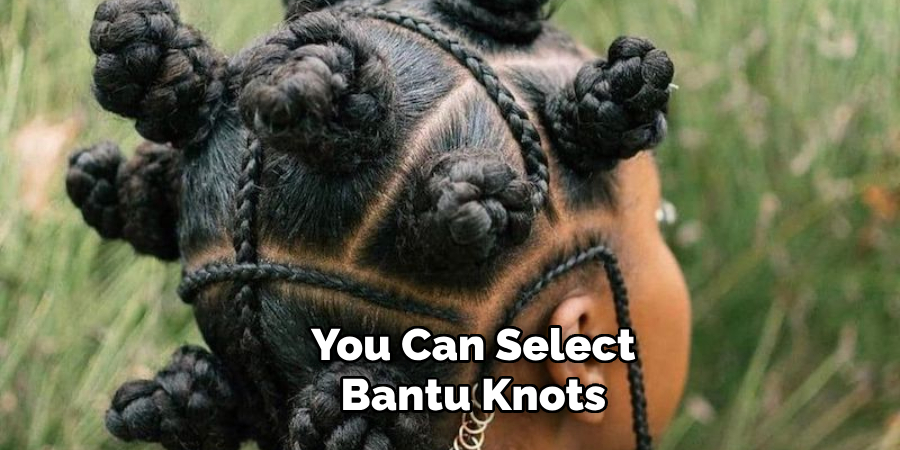
- Bantu Knots: Provides tight, spiral curls with lots of volume.
Step 3. Section Your Extensions:
Divide your extensions into manageable sections using hair clips or bobby pins. Smaller sections will result in tighter curls, while larger sections will create looser waves. Ensure you work methodically, starting from the bottom layers and moving upward.
Step 4. Apply the Curling Technique:
Depending on your chosen method, apply the curling technique to each section of hair:
- For Curling Rods or Flexi Rods, wrap each section of hair around the rods, twisting the hair as you go to create a spiral effect. Secure the rods in place.
- For Braiding, divide each section into three parts and braid them tightly. Secure the ends with small hair elastics.
- For a Twist-Out, split each section into two parts, twist them around each other, and secure the ends.
- For Bantu Knots, twist a small section of hair tightly. Wrap the twisted hair around itself to form a knot, securing the ends in place.
Step 5. Allow the Hair to Set:
Patience is key when curling extensions without heat. Give the hair enough time to set and the curls to form properly. Ideally, you should let your extensions set for at least 6-8 hours or overnight for best results. This can be especially convenient if you curl your extensions in the evening and let them set while you sleep. If you’re in a hurry, a minimum of 4 hours could suffice, but the curls may not last as long or be as well-defined.
To protect your extensions while they set, wrap a satin scarf or cover them with a silk cap. This not only keeps them in place but also prevents frizz and maintains the smoothness of the hair. The smooth texture of satin or silk is less likely to cause friction and breakage compared to cotton.
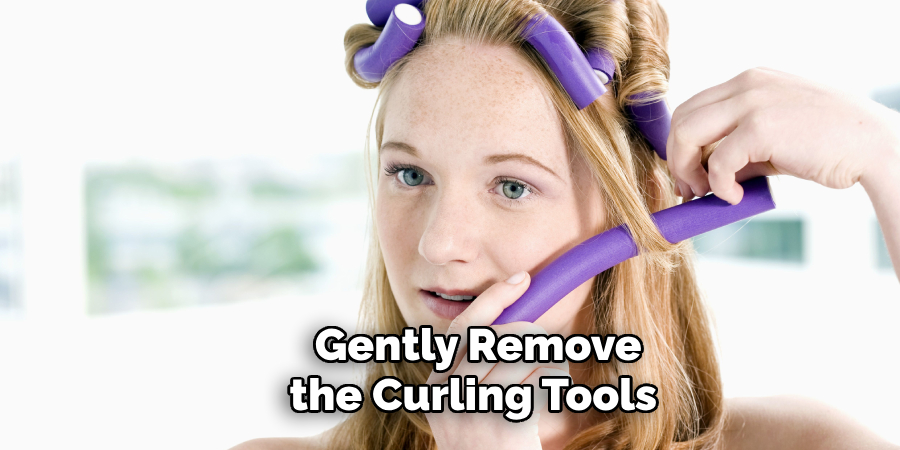
Step 6. Remove the Curling Tools:
Once the hair has had enough time to set, gently remove the curling tools. Start with the bottom sections and work your way up. Carefully unwind or uncoil the hair to avoid disturbing the curls. If you use curling or flexi rods, unroll the hair slowly to maintain the spiral shape. For braids or twist-outs, gently unbraid or untwist each section. For Bantu knots, carefully unravel each knot.
Step 7. Separate and Fluff the Curls:
After removing the curling tools, use your fingers to separate and fluff the curls. This adds volume and gives a more natural look. Avoid using a brush or fine-tooth comb, as this can cause frizz and break apart the curls. If the curls are too tight for your liking, gently pull them apart to loosen them up. Separate them less for more defined curls. Separate each curl into smaller sections for a more voluminous look.
Step 8. Apply a Finishing Product:
To ensure your curls stay in place throughout the day, apply a lightweight finishing product such as hairspray or a curl-defining cream. Be careful not to overdo it, as too much product can make the hair feel stiff or sticky. Lightly mist the curls with hairspray or gently scrunch in a curl-defining cream. This will help hold the shape of the curls and add shine without weighing down the hair.
Step 9. Style as Desired:
Once your curls are set and secured, style your extensions as desired. You can leave them down for a flowing, natural look, or pin up certain sections for a more sophisticated style. The versatility of curls allows you to experiment with different hairstyles, whether it’s a playful ponytail, an elegant updo, or a half-up, half-down look. Adjust your style to suit your occasion or mood.
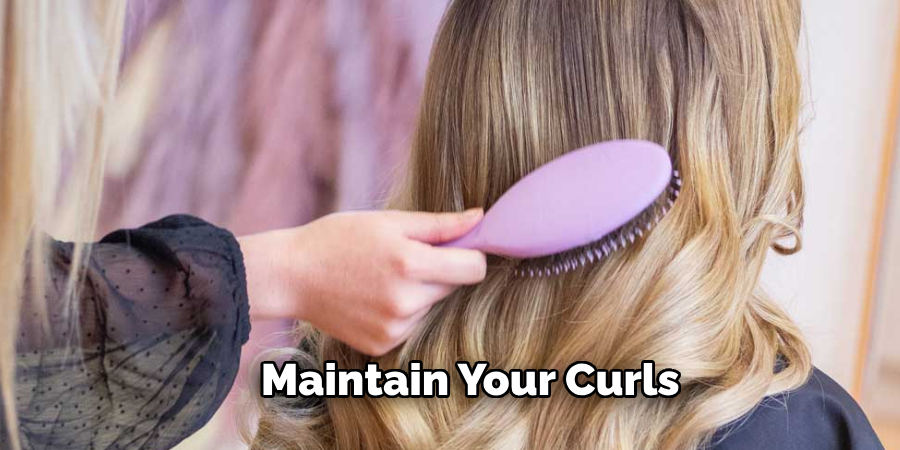
Step 10. Maintain Your Curls:
To maintain your curls and keep them looking fresh, avoid touching them excessively throughout the day, as this can cause frizz and loosen the curls. If needed, reapply a light mist of hairspray to keep them in shape. At night, protect your curls by wrapping them in a satin scarf or using a silk pillowcase to prevent friction and preserve the curl pattern.
By following these steps, you can achieve gorgeous, heat-free curls on your extensions that not only look stunning but also preserve the health and integrity of the hair. Enjoy your beautiful, bouncy curls without the damage of heat styling!
5 Additional Tips and Tricks
- Braid Method: Before bed, divide your extensions into several sections and braid each section tightly. In the morning, unravel the braids to reveal natural waves and curls.
- Flexi Rods: Flexi rods are an excellent tool for creating curls without heat. Separate your hair into small sections, wrap each section around a flexi rod, and secure it. Leave the rods in for a few hours or overnight for best results.
- Twist and Pin: Pin small sections of your extensions into mini buns. After a few hours or overnight, release the buns for beautiful, heat-free curls.
- Foam Rollers: Use foam rollers to curl your extensions. Roll small sections of your hair around the foam rollers and leave them in for several hours. The soft material ensures a comfortable sleep while your curls are set.
- Sock Curls: Roll sections of your extensions around long socks, tying the ends to keep them in place. This method is ideal for achieving voluminous curls and can be comfortably worn overnight.
5 Things You Should Avoid
- Tight Braids and Twists: While braiding and twisting your extensions are effective methods for creating curls, avoid making them too tight as this can cause unnecessary tension and may lead to hair breakage or scalp discomfort.
- Overnight Wet Setting: Setting your curls while your extensions are soaking wet and leaving them overnight can cause them to remain damp for too long, potentially leading to mildew or mold growth within the hair fibers.
- Using Heavy Products: Applying heavy or greasy products to your extensions before curling can weigh them down and make it harder for the curls to hold their shape. Opt for lightweight styling products instead.
- Excessive Manipulation: Constantly handling and rearranging your extensions while trying to style them can cause tangling, frizz, and potential breakage. Be gentle and patient, allowing the curls to set without interference.
- Ignoring Detangling: Skipping the step of detangling your extensions before attempting to curl them can lead to knots and uneven curls. Ensure your extensions are thoroughly detangled and smooth before starting any curling method.
Conclusion
How to curl extensions without heat is not only a safer alternative but also helps in maintaining the longevity and quality of your hair.
By utilizing braiding, flexi rods, twist-and-pin, foam rollers, and sock curls, you can achieve beautiful, natural-looking curls without heat damage. Remember to avoid tight styles, overnight wet settings, heavy products, excessive manipulation, and ignoring detangling to ensure the health and integrity of your extensions.
With these techniques and precautions, you can enjoy a variety of curly styles while keeping your extensions healthy and vibrant.
You can also check it out to Know When Babyliss Pro is Fully Charged
About the Author
Jane Hubbard is a passionate beauty expert with a wealth of experience in makeup, hair, and overall beauty techniques. After years of working as a hairdresser specialist, she followed her entrepreneurial spirit and started her own consultancy business.
Jane has always been driven by her desire to help others feel confident in their own skin, and she does this by sharing her knowledge, experiences, and practical beauty tips. Through her consultancy, she empowers individuals to embrace their unique beauty, offering tailored guidance that boosts both self-esteem and personal style.
Professional Focus
Specializes in makeup, hairstyling, and beauty consulting.
Provides personalized beauty advice, tips, and techniques to help individuals feel confident in their appearance.
Dedicated to staying up-to-date with the latest industry trends and developments.
Passionate about creating a comfortable and empowering experience for every client.
Education History
University of Craft and Design – Bachelor of Fine Arts (BFA) in Woodworking and Furniture Design
Woodworking Apprenticeships – Extensive hands-on training with skilled craftsmen to refine carpentry and furniture making techniques
Online Courses & Masterclasses – Continued education in advanced woodworking techniques, design principles, and specialized tools
Expertise:
Makeup artistry, hairstyling, and beauty consulting.
Personalized beauty techniques to enhance confidence and self-expression.
Educating clients on how to maintain their beauty routines at home.