
Creating a perfect winged eyeliner is one of the most popular makeup looks, and it can really put the finishing touches on any look. When it comes to crafting your makeup look, there is nothing easier than following the bat-wing eyeliner trend. The signature cat eye stroke can be a tricky one to master, but with the help of some simple tips and techniques, you can quickly get the look down pat.
Whether you’re looking to use this classic technique as part of your everyday beauty routine or dressing up for an especially sultry evening out, mastering the art of bat-wing eyeliner will have you confidently striding along with the style that oozes glamour and sophistication. With this guide on how to do a bat wing eyeliner as your trusty sidekick, you’ll be able to master the bat wing technique with ease – so get ready to strut your stuff and rock out with those wings!
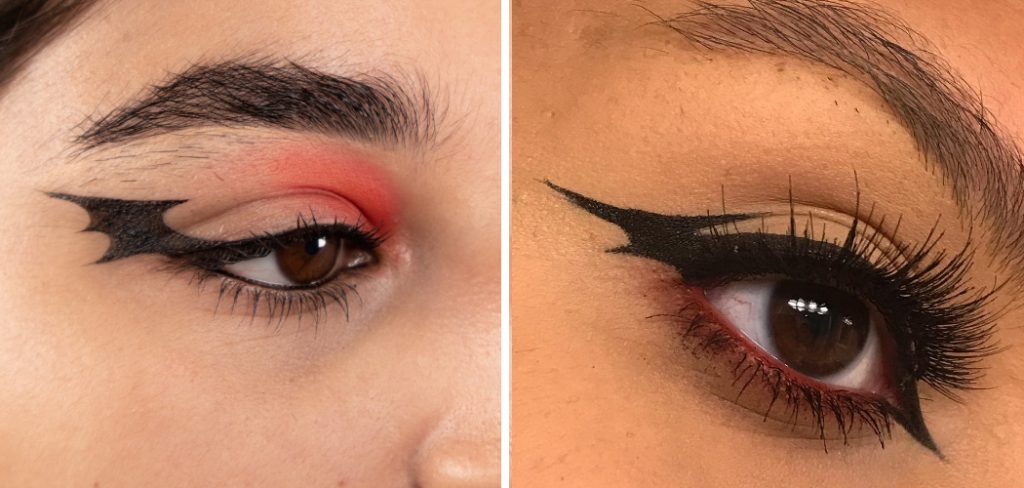
What is Bat Wing Eyeliner?
Batwing eyeliner is a makeup technique that combines traditional cat-eye liner with an extended, flared wing. This look gives your eyes a bolder definition and adds a dramatic effect to any classic eye makeup look. It’s also very similar to the popular ‘gothic’ style of eyeliner, which extends further down onto the lower lash line.
Things to Remember While Doing Bat Wing Eyeliner
The key to perfecting any winged eyeliner look has the right tools and techniques. Here are some tips on how to do a bat wing eyeliner that you should keep in mind when doing a bat wing eyeliner:
1. Eye Shape
To make the most of your bat wing eyeliner, it’s important to keep your eye shape in mind. Depending on how wide-set or close-set your eyes are, you may need to adjust the angle of your wings accordingly.
2. Gel Liner
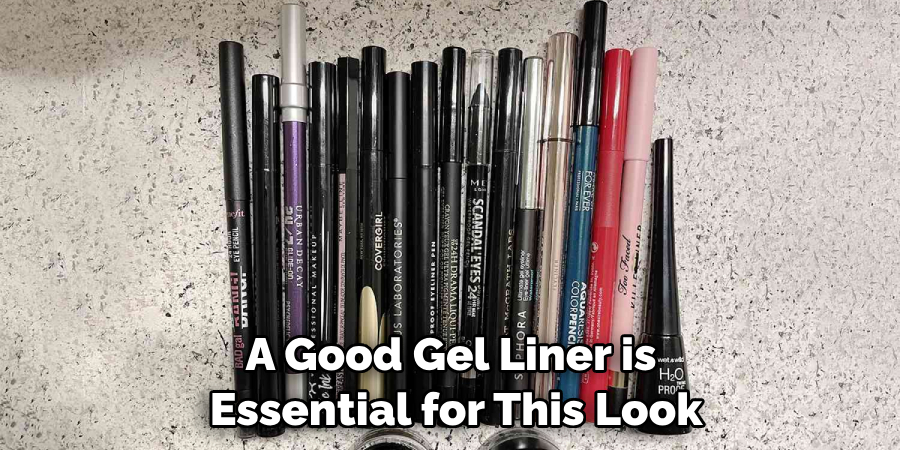
A good gel liner is essential for this look. It should have a creamy consistency so that it glides easily on your skin and doesn’t smudge or budge. Liner pens with thin and fine-tipped brushes are also great for precise application.
3. Angle
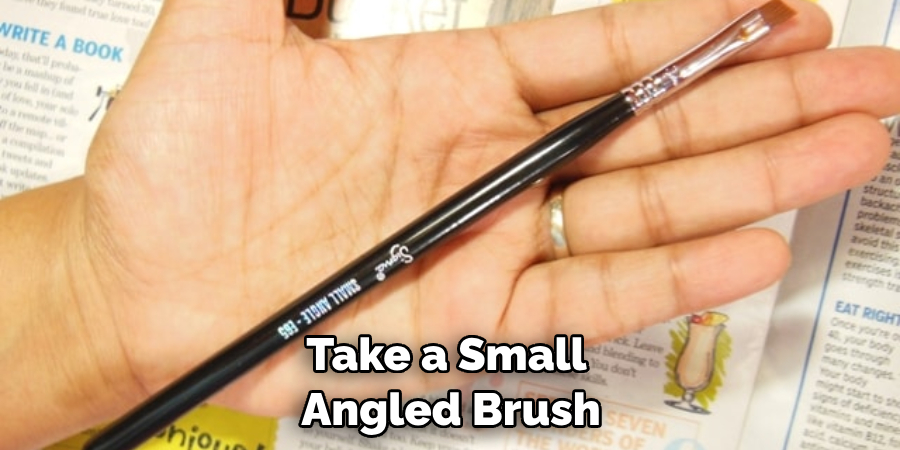
The angle at which you apply your liner is important – it should be slightly angled up towards the end of your brows so that you get the perfect wing. Angeled brushes are great for this look, as they help you create an even line with the correct thickness and angle.
Keeping this in mind, here is a step-by-step guide on how to do the perfect bat wing eyeliner.
Required Items
- Eyeshadow primer or concealer
- Gel eyeliner in black
- Angled brush
- Mascara
10 Ways How to Do a Bat Wing Eyeliner
1. Prepare Your Eyes
Start by prepping your eyes with a good eye primer or concealer to create an even base for your liner. Use a small brush to blend the concealer into your crease and onto the lower lash line. Also, make sure to curl your lashes if you’re going to apply mascara later on.
2. Start With the Inner Corner of Your Eyes
Using an angled brush and gel liner, start by making a thin line at the inner corner of your eyes and extend it outwards in an upward direction towards the outer corner of your eyelashes.
3. Connect the Inner and Outer Corners
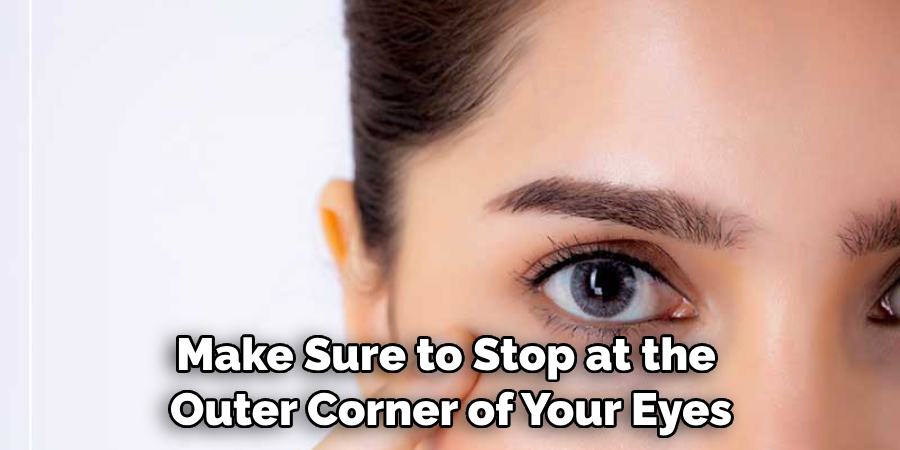
Now, connect the two points by making a curved diagonal line towards your brows. Make sure to stop at the outer corner of your eyes for a more subtle look or extend it further outwards for a sharper edge.
4. Create the Wings
For this step, start by making a small wing at the outer corner of your eyes. Gently pull the skin at the corner to create a straight line and use the angled brush to draw an upward curve attaching this line to the curved diagonal you just drew.
5. Fill in the Outer Corner
Next, fill in the outer corner with your gel liner, extending it outwards in an upward direction and slightly blending the line with the wing. Filling it in will give your liner a thick and bold look.
6. Blend the Liner
Using a smudging tool, gently blend the edges of your liner to soften the look and make sure there are no harsh lines. This is especially important if you’re going for a more subtle bat-wing eyeliner look.
7. Smooth Out the Line with a Q-Tip
To make sure your liner is perfect, take a Q-tip and dampen it with some makeup remover. Gently press this on any areas that need smoothing out or blending. Q-Tips are great for fixing any mistakes and making sure your liner is perfect.
8. Create the Lower Lash Line
Using a thin brush, draw a line along your lower lash line starting from the inner corner of your eye and extending it outwards in an upward direction. Make sure to create the same wing shape as you did on the upper lash line for a cohesive look.
9. Add Mascara
To finish off your look, add some mascara to your top and bottom lashes. This will open up your eyes and make any mistakes less noticeable. Mascara can also help to make your eyeliner look even more dramatic.
10. Voila!
There you have it! With these 10 simple steps, you now know how to do a perfect bat wing eyeliner. This look is great for any occasion and will definitely turn heads wherever you go. Good luck, and don’t be afraid to experiment with different shapes and sizes.
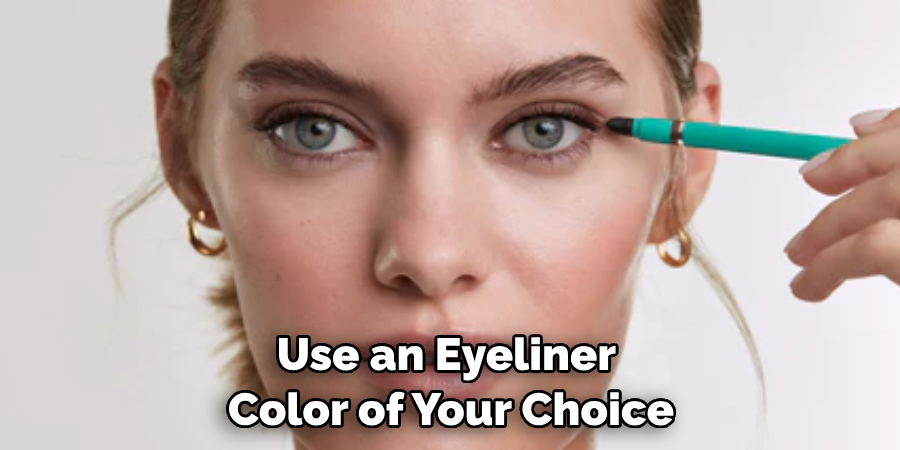
Now that you know the basics of how to do a bat wing eyeliner, why not take it up a notch by adding some color? Colored eyeliner is a great way to add a pop of color to any look and can help you stand out from the crowd. All you need to do is repeat all of the above steps but use an eyeliner color of your choice instead of a black one. Have fun, and don’t be afraid to try new looks!
8 Common Mistakes to Avoid
When it comes to achieving the perfect bat wing eyeliner look, there are a few common mistakes that you should avoid.
1. Not starting from the inner corner is a common mistake. When you start your liner on the outer edge, it can be harder to get a symmetrical and even wing. Also, be sure not to forget the inner corner, as this will give more definition and make your eyes look larger.
2. Drawing the wing too long or too short is another error that can ruin an otherwise perfect cat-eye. The width of the wing should match the length of your upper lash line. Wings that are too short look unbalanced, and wings that are too long can spread your eye shape in an unflattering way.
3. Not lining the entire lash line is a problem since it gives you a half-finished look. Make sure to start at the inner corner of your eye and line all the way out to the winged tip. Making sure that your line is even and there are no gaps will make your eyes look bigger and more dramatic.
4. Over-smudging your liner can also lead to a messy, imperfect wing. You want to be sure that you keep the lines clean and sharp–this helps define the shape of your eye and makes it easier to draw an even wing.
5. Applying too much liner is a classic mistake that can make your eyes look heavy and overdone. You only need enough to create the perfect winged shape any more than that can be overkill. Applying too much liner will also make it difficult to get a crisp, sharp line.
6. Not blending the liner is a mistake that can ruin your winged look. After you apply your eyeliner, take an eyeshadow brush and lightly smudge the line to create a soft, blended effect. This will help to create a more natural, defined look and make your eyes pop.
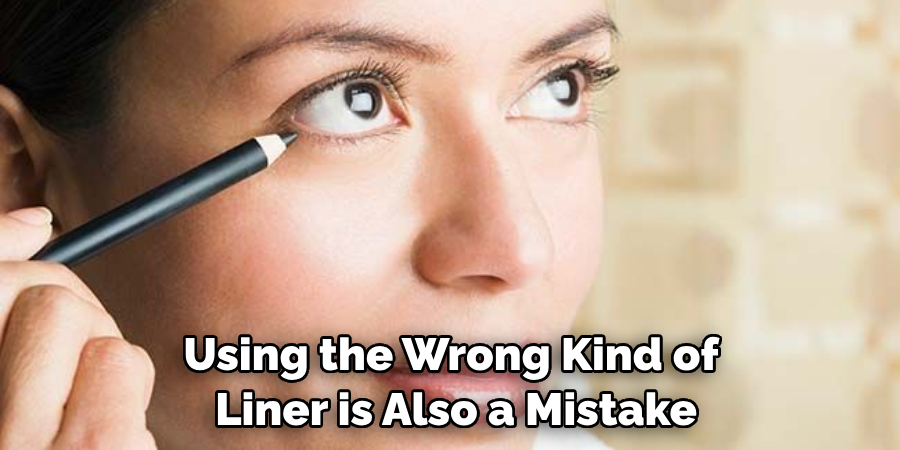
7. Using the wrong kind of liner is also a mistake to avoid. Liquid eyeliner tends to give you more control and precision when it comes to creating the perfect winged look, but if you’re not comfortable with liquid liner, then try using a pencil or gel liner instead.
8. Not using enough products is the last mistake to avoid. Make sure that you use enough liner so that your line will be visible and strong but not too much that it looks heavy or overdone. It’s also important to give yourself time to practice and get comfortable with drawing the perfect winged eyeliner look before attempting it for a night out.
By keeping these common mistakes in mind, you’ll be sure to create the perfect bat-wing eyeliner look every time. With a little bit of practice and patience, you’ll have your perfect winged liner look down in no time!
7 Additional Tips to Master Bat Wing Eyeliner
1. Practice Often
As with any makeup skill, practice makes perfect. Start by working on your technique with smaller strokes and gradually build up the wings as you get more comfortable doing them. Practicing on a daily basis will help you to perfect your technique and master the art of bat-wing eyeliner.
2. Start With an Eyeliner Pencil
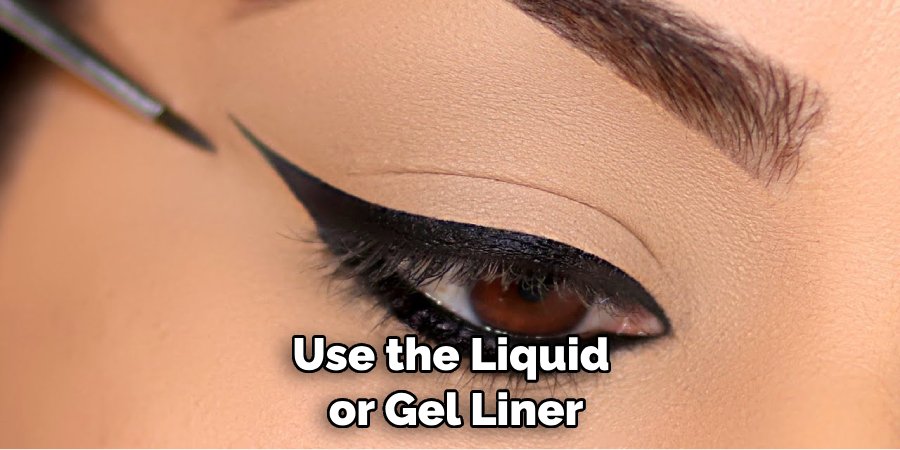
Before attempting the look with liquid or gel liner, use an eyeliner pencil to map out your shape and get an idea of it before picking up the liquid liner. This way, you won’t be as intimidated when it comes time to use the liquid or gel liner.
3. Use an Eyeliner Brush
In order to get a precise wing, use an eyeliner brush with small angled bristles that will help you to draw on the desired shape. This will also help ensure that your wings are even on both eyes. Eyeliner brushes are available at most beauty supply stores.
4. Steady Your Hand
In order to ensure that your wings are even and symmetrical, it is important to keep your hand steady when applying the liner. To do this, you can use your other hand as a brace against your cheek or forehead while drawing on the wings with the other one.
5. Keep the Thickness Consistent
When drawing on your wings, make sure to keep the thickness of the liner consistent throughout. This will help create a smooth and balanced look that is symmetrical in both eyes. Otherwise, the wings will look uneven and won’t be as aesthetically pleasing.
6. Dab Concealer at the Ends
In order to avoid any smudging or running off the liner, dab a bit of concealer on the ends of your wings. This will help set them in place and prevent any mistakes that might occur from them smudging or running.
7. Go Over the Line
If you’ve made any mistakes while drawing on your wings, don’t worry! Just take a small angled brush and lightly go over the lines in order to clean them up and create a more precise shape. This will also help fill in any gaps that may have been created during the application process.
By following these tips on how to do a bat wing eyeliner, you will be well on your way to mastering the art of bat-wing eyeliner. With some practice and patience, you’ll be able to achieve a look that is both dramatic and precise. So go ahead, give it a try! You won’t regret it.
Conclusion
In summary, crafting a bat-wing eyeliner look is surprisingly simple and requires minimal tools. Starting with the brush of your choice, dip it into an eyeliner color that is pigmented enough to make the wing really stand out. Place the brush lined up with your bottom lash line and extend outward carefully, creating a flat line that follows the natural curve of your eye. Angle the brush towards the outer corner and then extend it upward.
Finish off the look by adding some mascara, then admire your work! Now that you know how to do a bat wing eyeliner to create a desirable look, why not try shopping for makeup accessories or perfecting your cat eye technique? It’s time to get creative and experiment with different looks while also having fun! Plus, mastering this skill makes for a great craft item to show off to your friends and family.
About the Author
Jane Hubbard is a passionate beauty expert with a wealth of experience in makeup, hair, and overall beauty techniques. After years of working as a hairdresser specialist, she followed her entrepreneurial spirit and started her own consultancy business.
Jane has always been driven by her desire to help others feel confident in their own skin, and she does this by sharing her knowledge, experiences, and practical beauty tips. Through her consultancy, she empowers individuals to embrace their unique beauty, offering tailored guidance that boosts both self-esteem and personal style.
Professional Focus
Specializes in makeup, hairstyling, and beauty consulting.
Provides personalized beauty advice, tips, and techniques to help individuals feel confident in their appearance.
Dedicated to staying up-to-date with the latest industry trends and developments.
Passionate about creating a comfortable and empowering experience for every client.
Education History
University of Craft and Design – Bachelor of Fine Arts (BFA) in Woodworking and Furniture Design
Woodworking Apprenticeships – Extensive hands-on training with skilled craftsmen to refine carpentry and furniture making techniques
Online Courses & Masterclasses – Continued education in advanced woodworking techniques, design principles, and specialized tools
Expertise:
Makeup artistry, hairstyling, and beauty consulting.
Personalized beauty techniques to enhance confidence and self-expression.
Educating clients on how to maintain their beauty routines at home.