
Are you someone who loves to put on makeup? Do you often struggle with how to do your brows? Well, we have got you covered!
Achieving perfectly shaped and defined brows can enhance your overall look and frame your face beautifully. Brow makeup is an essential part of many beauty routines, allowing you to fill in sparse areas, refine the shape, and create a polished appearance. Whether you prefer a natural look or a bold, dramatic style, learning the basics of brow makeup can help you achieve the perfect brows for any occasion.
This guide on how to do brow makeup will walk you through the essential steps and tips to master the art of brow makeup with confidence. Let’s get started with the basics of brow makeup!
What Are the Benefits of Brow Makeup?
There are numerous benefits to incorporating brow makeup tutorial into your beauty routine. Not only can it enhance the overall look of your face, but it can also help to frame and define your features. Some other benefits include:
- Filling in sparse areas for a fuller and more defined brow shape
- Creating symmetry and balance between both brows
- Adding depth and dimension to the face
- Emphasizing the eyes for a more polished appearance
- Enhancing the overall look of your makeup by framing the face
With these benefits in mind, let’s dive into the steps for achieving perfect brows with makeup.
What Will You Need?
To achieve perfect brows with makeup, you will need a few essential tools and products. These include:
- Brow pencil or pomade
- Angled brow brush
- Spoolie brush
- Concealer or highlighter
- Setting gel or clear mascara
Once you have these items on hand, you’re ready to start creating perfect brows.
9 Easy Steps on How to Do Brow Makeup
Step 1: Prep Your Brows
Before jumping into filling in your brows, it’s important to prep them properly. Start by brushing your eyebrows upwards with a spoolie brush to see their natural shape. Then, trim any long hairs that may be sticking out of place using small scissors. This will help create a clean and defined look before adding product.
Step 2: Determine Your Brow Shape
To achieve the best results, it’s crucial to identify the brow shape that complements your face. Start by analyzing the natural structure of your eyebrows and the contours of your face. Use a brow pencil or the handle of a makeup brush as a guide to mark three key points on each brow: the start, the arch, and the tail.
- Start: Align the pencil vertically with the side of your nose and the inner corner of your eye. The point where the pencil meets your brow is where your eyebrow should begin. Mark this spot lightly with your pencil.
- Arch: To locate your arch, angle the pencil from the tip of your nose, passing through the center of your pupil. The spot where it reaches your brow is where your natural arch should peak.
- Tail: Lastly, angle the pencil from the side of your nose to the outer corner of your eye. The point where it meets your brow is where the tail should end.
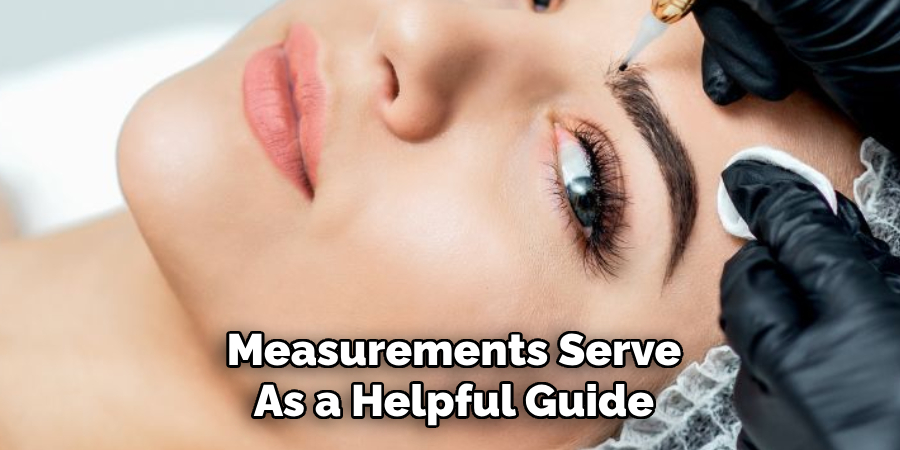
These measurements serve as a helpful guide, but remember—the goal is to work with your natural brow structure rather than force your eyebrows into an unnatural shape. This step helps create balance and symmetry, ensuring your brows enhance your facial features perfectly.
Step 3: Shaping Your Brows
Once you’ve mapped out the key points of your brow, start, arch, and tail—it’s time to shape them. Carefully tweeze any stray hairs that fall outside the natural outline you’ve created. It’s essential to work slowly and check your progress frequently to avoid over-tweezing.
Use a spoolie brush to comb your eyebrows upward and trim any excessively long hairs with small, precise scissors. Shaping should enhance your natural brow structure, so aim to clean up the edges without drastically altering the overall thickness or shape. Remember, symmetry and a natural look are key to well-groomed brows.
Step 4: Soothe and Protect Your Skin
After shaping your eyebrows, it’s essential to care for the skin around them. Use a gentle, alcohol-free toner or a soothing gel, such as aloe vera, to calm any redness or irritation caused by tweezing. This step helps to minimize discomfort and promote skin recovery.
Follow up by applying a lightweight moisturizer to keep the area hydrated. If you’re going outdoors, don’t forget to use sunscreen around your brows to protect the freshly groomed skin from UV exposure. Taking these steps ensures your skin stays healthy and your brows look their best.
Step 5: Maintain Your Brows Between Tweezing Sessions
To keep your brows looking neat and well-groomed, it’s crucial to maintain them between tweezing sessions. Use a spoolie brush to comb your brows daily and trim any unruly hairs with a small, sharp pair of scissors. Avoid overplucking to preserve the natural shape of your brows.
Consider using a brow gel or serum to encourage healthy hair growth and keep your brows in place. Staying consistent with maintenance will ensure your brows remain polished and enhance your overall appearance.
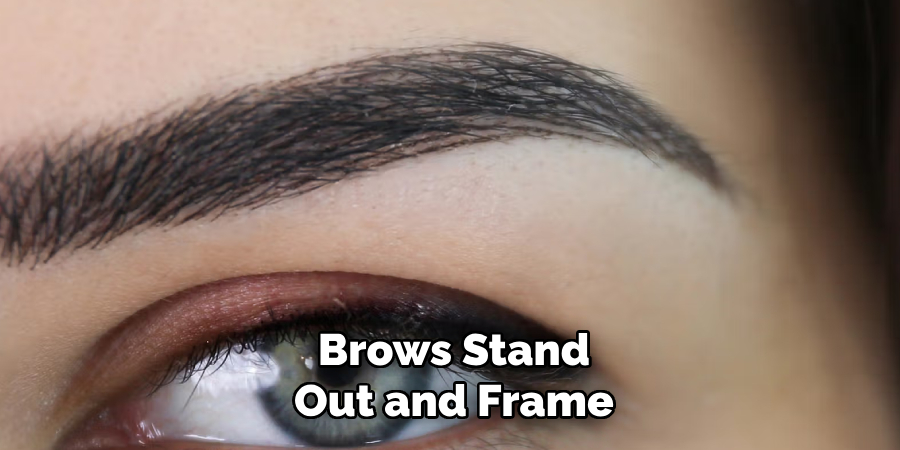
Step 6: Highlight Your Brows
To make your brows stand out and frame your face beautifully, consider using a highlighter or concealer just beneath the arch of your eyebrows. This technique helps define the shape and adds a subtle lift to your eye area. Choose a shade that complements your skin tone and blend it carefully for a natural finish. This final step adds a polished touch to your look and ensures your brows are the perfect feature to enhance your overall makeup.
Step 7: Set Your Brows
Once you’ve filled in and shaped your brows to your liking, it’s crucial to set them in place to ensure they maintain their look throughout the day. Use a clear or tinted brow gel to lock the hairs and the products you’ve applied in place.
A tinted gel can also add a bit of extra volume and color while holding the shape. Gently brush the gel through your brows, following their natural direction for a clean, polished finish. For a fuller effect, you can brush the hairs slightly upward, giving your brows a more lifted appearance. Setting your brows is the final step to ensuring your efforts last and your brows remain flawless, even in humid or active conditions.
Step 8: Adjust As Needed
Remember, your eyebrows are sisters, not twins. They don’t have to be identical, but they should look balanced and complement each other. If you notice any unevenness or gaps in your brows, use a brow pencil or powder one shade lighter than your natural hair color to fill them in gently. Be careful not to overfill or create harsh lines; instead, use light strokes and blend for a more natural finish.
Step 9: Touch Up Throughout The Day
Eyebrows can sometimes lose their shape or fade during the day due to sweat, oils, or environmental factors. To keep them looking polished, carry a small spoolie brush or a compact eyebrow kit with you for quick touch-ups. If your brows tend to smudge easily, consider using a clear eyebrow gel or a long-lasting brow pomade to help set them in place before heading out.
Gently reapply product as needed, making sure to blend seamlessly for a refreshed yet natural look. By maintaining your brows throughout the day, you ensure they continue to frame your face beautifully, no matter the occasion.
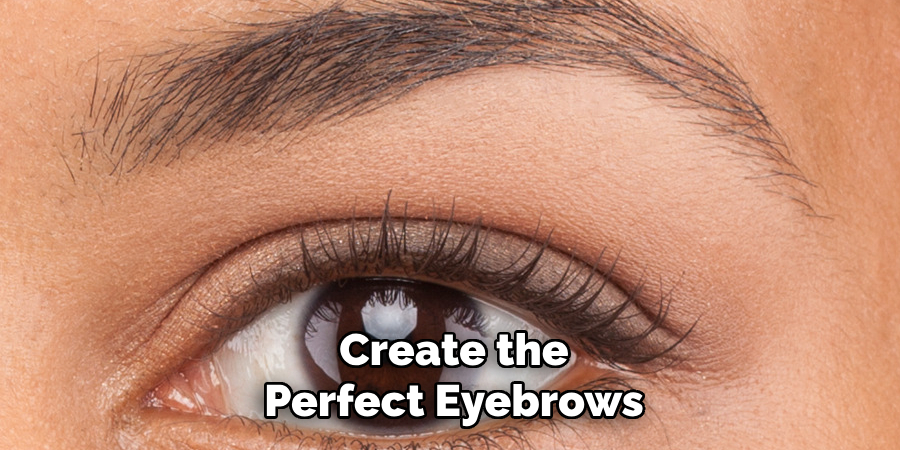
By following these tips, you can create the perfect eyebrows that will enhance your natural beauty and complete any makeup look.
5 Things You Should Avoid
- Over-Plucking Your Brows
Avoid over-plucking as it can lead to uneven shapes and sparse areas. Over time, it can damage the hair follicles, making it difficult for your brows to grow back naturally.
- Using the Wrong Shade
Selecting a brow color that is too dark or too light can make your brows look unnatural. Always choose a shade that complements your natural brow color or is just one shade lighter for a soft, balanced look.
- Applying Too Much Product
Using an excessive amount of product can make your brows look heavy and unnatural. Instead, build up the product gradually, focusing on creating soft, feathery strokes that mimic natural hair.
- Ignoring Your Brow Shape
Not following your natural brow shape can result in a look that doesn’t complement your facial features. Work with your natural arch to enhance your brows rather than completely reshaping them.
- Skipping Blending
Harsh lines and unblended products can create a stark, artificial appearance. Always take time to blend the product thoroughly for a polished and natural finish.
By avoiding these common mistakes, you can achieve perfectly groomed and natural-looking brows.
Conclusion
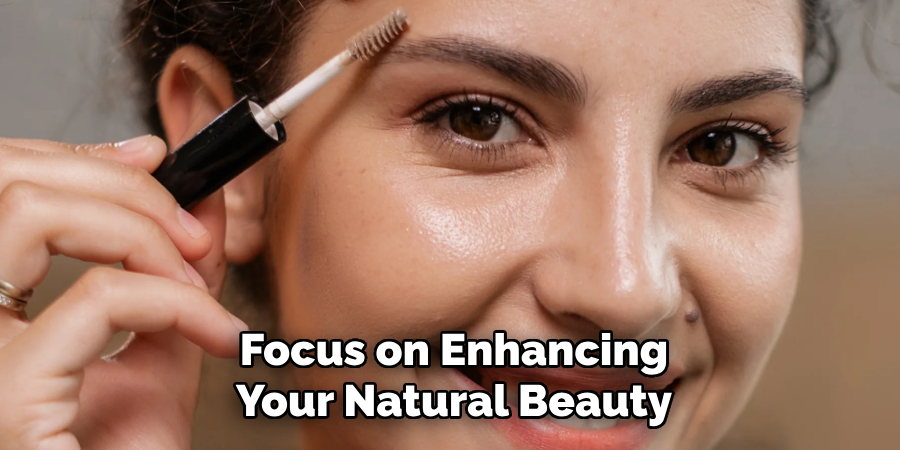
How to do brow makeup takes practice and attention to detail, but the results are well worth the effort.
Focus on enhancing your natural beauty rather than drastically altering your brow shape. Start with high-quality tools and products, follow your natural arch, and ensure proper blending to achieve a flawless and polished look. Remember, less is often more when it comes to creating soft, natural brows.
By applying these techniques and avoiding common pitfalls, you can elevate your brow game and frame your face beautifully.
About the Author
Jane Hubbard is a passionate beauty expert with a wealth of experience in makeup, hair, and overall beauty techniques. After years of working as a hairdresser specialist, she followed her entrepreneurial spirit and started her own consultancy business.
Jane has always been driven by her desire to help others feel confident in their own skin, and she does this by sharing her knowledge, experiences, and practical beauty tips. Through her consultancy, she empowers individuals to embrace their unique beauty, offering tailored guidance that boosts both self-esteem and personal style.
Professional Focus
Specializes in makeup, hairstyling, and beauty consulting.
Provides personalized beauty advice, tips, and techniques to help individuals feel confident in their appearance.
Dedicated to staying up-to-date with the latest industry trends and developments.
Passionate about creating a comfortable and empowering experience for every client.
Education History
University of Craft and Design – Bachelor of Fine Arts (BFA) in Woodworking and Furniture Design
Woodworking Apprenticeships – Extensive hands-on training with skilled craftsmen to refine carpentry and furniture making techniques
Online Courses & Masterclasses – Continued education in advanced woodworking techniques, design principles, and specialized tools
Expertise:
Makeup artistry, hairstyling, and beauty consulting.
Personalized beauty techniques to enhance confidence and self-expression.
Educating clients on how to maintain their beauty routines at home.