

Welcome to your complete manual for mastering the art of eye makeup.
Whether you are stepping into the world of cosmetics for the first time or looking to refine your blending skills, learning how to enhance your eyes can completely transform your look. Eye makeup allows you to express your creativity, highlight your natural beauty, and add a polished touch to any outfit.
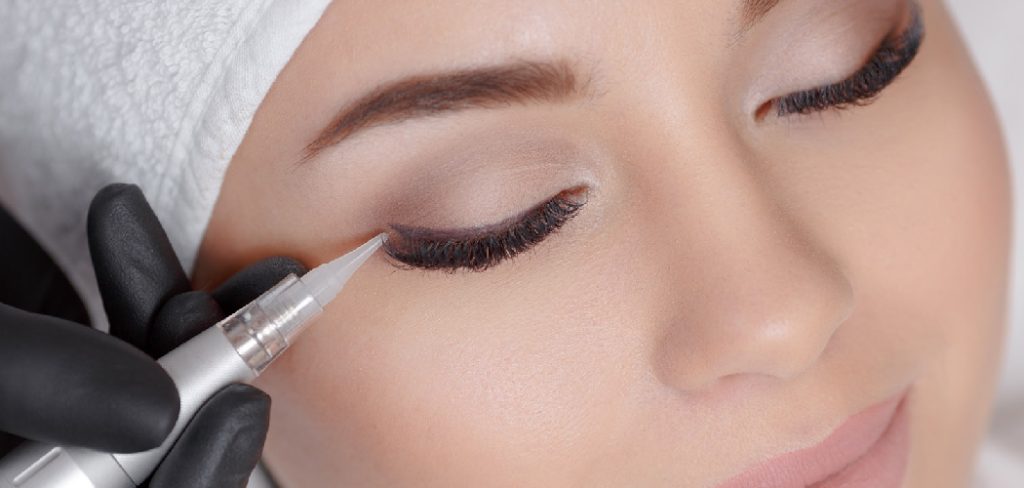
This guide on how to do eye makeup will walk you through everything you need to know, from gathering the right tools to executing a flawless look step by step.
Benefits of Perfect Eye Makeup
Taking the time to perfect your eye makeup offers several wonderful benefits. First, it instantly boosts your confidence by drawing attention to one of your most expressive features. Proper techniques can make your eyes look larger, brighter, and more awake, which is especially helpful on tired mornings. Additionally, eye makeup allows for endless versatility. You can switch from a subtle, professional daytime look to a dramatic, smoky evening style with just a few strokes of a brush. Mastering these skills gives you the power to customize your appearance for any occasion.
What Will You Need?
Before we dive into the application process, it is important to gather the right tools and products. Having high-quality basics will make the process much smoother. Here is your essential toolkit:
- Eye Primer or Concealer: Creates a smooth canvas and helps colors last.
- Eyeshadow Palette: A mix of light, medium, and dark shades (matte and shimmer).
- Makeup Brushes: A flat shader brush, a fluffy blending brush, and a small smudge brush.
- Eyeliner: Pencil, gel, or liquid, depending on your comfort level.
- Eyelash Curler: Essential for lifting the lashes.
- Mascara: To lengthen, volumize, and darken your lashes.
- Cotton Swabs and Makeup Remover: For easy cleanups.
10 Easy Steps on How to Do Eye Makeup
Step 1: Prep Your Eyelids
The foundation of any great eye makeup look is a properly prepped eyelid. Your eyelids naturally produce oils throughout the day, which can cause eyeshadow to crease, fade, or slide around. Start by applying a small amount of eyeshadow primer directly onto your lids, blending it out from your lash line up to your brow bone using your ring finger. If you do not have a dedicated primer, a lightweight concealer works perfectly. Set this base with a light dusting of translucent powder or a cream-colored eyeshadow. This creates a smooth, even, and slightly tacky canvas that helps the colorful pigments grip onto your skin, ensuring your hard work lasts all day long without melting away.

Step 2: Apply a Base Color
Once your lids are prepped, it is time to lay down your transition or base color. Choose a neutral matte eyeshadow that is close to your natural skin tone or slightly warmer. Using a fluffy eyeshadow brush, sweep this color all over your eyelid, focusing primarily on the area just above your crease. Use gentle windshield wiper motions to diffuse the color seamlessly. This base shade acts as a soft transition between your bare skin and the darker colors you will apply later. It prevents harsh lines and makes the entire blending process significantly easier, giving your finished look a soft, professional, and cohesive gradient effect.
Step 3: Define Your Crease
To give your eyes beautiful dimension and depth, you need to define the crease. Select a shade that is a few shades darker than your base color. Take a tapered blending brush, tap off any excess powder, and place the brush directly into the natural fold of your eye. Keep your eye slightly open while you do this to ensure you place the color exactly where it needs to go. Sweep the brush back and forth in a concentrated arc. If you have hooded eyes, apply this darker shade slightly above your actual crease so it remains visible when your eyes are completely open. Build the color up slowly rather than applying too much at once.
Step 4: Pack Color on the Lid
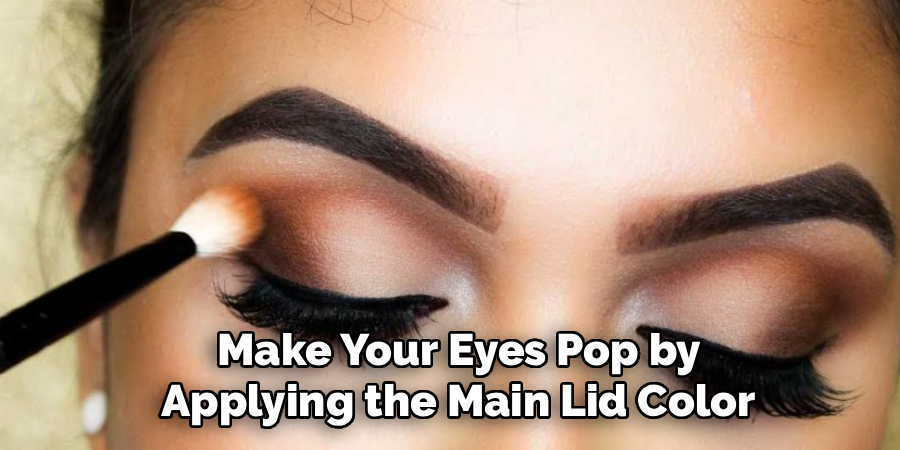
Now it is time to make your eyes pop by applying the main lid color. This is where you can have fun with shimmers, metallics, or bold matte shades. Grab a flat shader brush and gently press or pat the eyeshadow directly onto the center of your mobile eyelid. Patting the shadow instead of sweeping it prevents the color from dusting away and ensures maximum color payoff and opacity. For an even more intense metallic effect, you can lightly dampen your brush with water or setting spray before dipping it into the eyeshadow. Keep this color contained to the eyelid itself, stopping just below the darker crease shade you applied in the previous step.
Step 5: Blend the Edges
Blending is the most critical secret to achieving a professional makeup look. You want your eyeshadow shades to melt into one another seamlessly, with no visible stopping or starting points. Take a clean, fluffy blending brush and gently run it over the borders where your lid color meets your crease color. Use light, circular motions and apply very little pressure—let the bristles do the work. If you accidentally blend away too much of the crease color, simply add a tiny bit more and blend again. Take your time with this step; patience here is the difference between a messy application and a gorgeous, soft-focus masterpiece.
Step 6: Highlight the Inner Corner and Brow Bone
Adding a strategic highlight brings light back to the face and makes your eyes look wide awake and refreshed. Choose a light, shimmering shade like a pale gold, champagne, or pearly white. Using a small detail brush or your pinky finger, pop a tiny amount of this shimmer directly onto the inner tear duct area of your eye. Next, take that same shimmering shade and sweep a very light amount just underneath the arch of your eyebrow. This technique visually lifts the brow and creates a beautiful contrast against the darker, matte shadows in your crease, adding a sparkling finishing touch to the eyeshadow portion.
Step 7: Apply Eyeliner
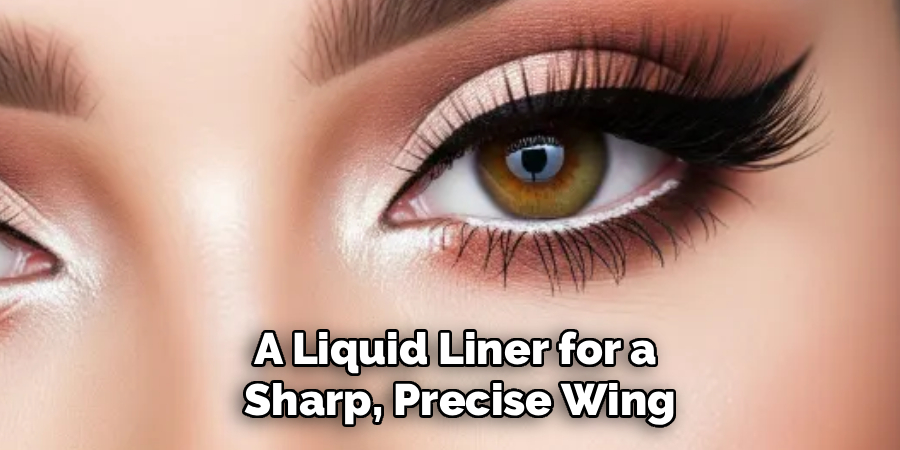
Eyeliner frames the eyes and makes your lash line appear significantly thicker. Depending on the look you want, you can use a soft pencil for a smudged look, or a liquid liner for a sharp, precise wing. Start by looking slightly down into a mirror. Rest your elbow on a table for stability. Draw short, connecting dashes along your upper lash line, staying as close to the roots of your lashes as possible. Once the dashes are mapped out, connect them with a smooth line. If you make a mistake, do not panic. Wait for it to dry, and clean up the edge with a cotton swab lightly dipped in makeup remover.
Step 8: Define the Lower Lash Line
To balance the heavy makeup on your upper lid, you should bring a little bit of color down to your lower lash line. Take a small smudge brush or a pencil brush and dip it into the medium crease color you used earlier. Gently sweep this along the lower lashes, stopping about two-thirds of the way in to keep the eye looking open. For a more dramatic evening look, you can tightline the lower waterline with a dark waterproof pencil. However, if you have smaller eyes, using a nude or white eyeliner in the lower waterline will create an optical illusion of larger, brighter eyes.
Step 9: Curl Your Eyelashes
Never underestimate the power of an eyelash curler. Curling your lashes opens up the eye completely and prepares them for mascara. Look straight ahead, open the curler, and gently place your upper lashes between the clamps. Wiggle the curler close to the base of your lashes, ensuring you do not pinch your skin. Squeeze gently but firmly and hold for about five to ten seconds. For a more dramatic, natural-looking curl, release the curler slightly, move it to the middle of your lashes, and give it another gentle squeeze. This creates a sweeping curve rather than a harsh, unnatural crimp.
Step 10: Apply Mascara
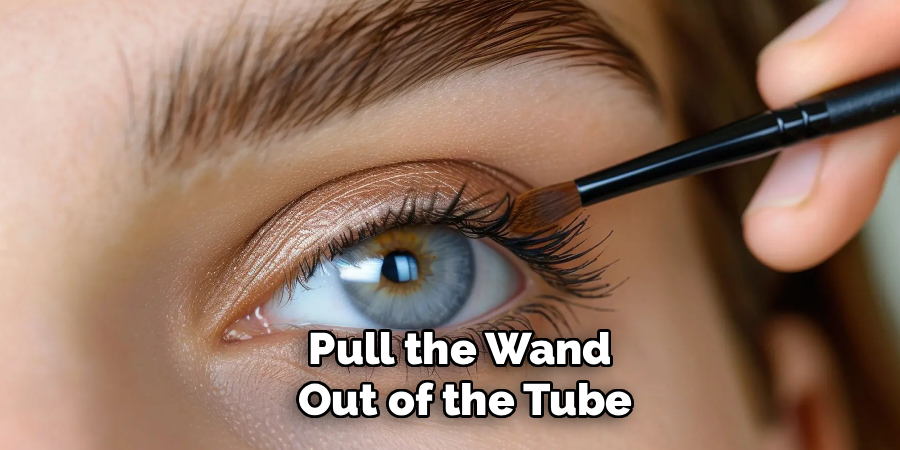
The final step to complete your eye makeup is a generous coat of mascara. Pull the wand out of the tube, wiping any excess product off on the rim to prevent clumps. Place the wand at the very base of your upper lashes and wiggle it back and forth as you pull it up through the tips. This wiggling motion ensures every single lash is coated and separates them beautifully. Apply one or two coats to the upper lashes, and use the very tip of the wand to lightly coat the bottom lashes. If you spot any clumps, comb through them with a clean spoolie brush before the mascara dries.
5 Things You Should Avoid
- Skipping Primer: Without primer, your natural oils will break down the eyeshadow, causing it to crease and fade within a few hours.
- Using Dirty Brushes: Dirty brushes harbor bacteria and mix old pigments, making your fresh application look muddy and unblended.
- Applying Harsh, Unblended Lines: Avoid stopping your eyeshadow abruptly; always use a clean brush to diffuse the edges for a natural gradient.
- Pumping Your Mascara Wand: Pumping forces air into the tube, which dries out the formula quickly and leads to flaky, clumpy mascara.
- Ignoring Your Eye Shape: Avoid following generic tutorials blindly; adapt techniques to suit your specific eye shape, whether hooded, almond, or round.
Conclusion
Mastering eye makeup is an ongoing journey of practice, patience, and creativity.
By understanding the essential tools, prepping your eyelids properly, and following these 10 easy steps, you can create a flawless look that highlights your natural features. Remember to take your time with blending, avoid common application mistakes, and do not be afraid to experiment with new colors.
With this guide on how to do eye makeup by your side, you are well-equipped to tackle any eye makeup style with confidence. Keep practicing, have fun, and enjoy your beautiful results!

About the Author
Jane Hubbard is a passionate beauty expert with a wealth of experience in makeup, hair, and overall beauty techniques. After years of working as a hairdresser specialist, she followed her entrepreneurial spirit and started her own consultancy business.
Jane has always been driven by her desire to help others feel confident in their own skin, and she does this by sharing her knowledge, experiences, and practical beauty tips. Through her consultancy, she empowers individuals to embrace their unique beauty, offering tailored guidance that boosts both self-esteem and personal style.
Professional Focus
Specializes in makeup, hairstyling, and beauty consulting.
Provides personalized beauty advice, tips, and techniques to help individuals feel confident in their appearance.
Dedicated to staying up-to-date with the latest industry trends and developments.
Passionate about creating a comfortable and empowering experience for every client.
Education History
University of Craft and Design – Bachelor of Fine Arts (BFA) in Woodworking and Furniture Design
Woodworking Apprenticeships – Extensive hands-on training with skilled craftsmen to refine carpentry and furniture making techniques
Online Courses & Masterclasses – Continued education in advanced woodworking techniques, design principles, and specialized tools
Expertise:
Makeup artistry, hairstyling, and beauty consulting.
Personalized beauty techniques to enhance confidence and self-expression.
Educating clients on how to maintain their beauty routines at home.