
Are you ready to take your eyebrow game up a notch? Make your eyebrows the envy of all your friends and create the perfect arch with this easy-to-follow step-by-step guide to mastering how to do eyebrows over 60.
Eyebrows over is a popular technique that involves filling in sparse areas and creating a fuller, more defined brow shape. This method can help to create the illusion of thicker eyebrows or change the overall shape of your brows to better suit your face. With this guide, you’ll be able to achieve beautiful, perfectly groomed eyebrows in no time.
No more wonky brows, no more mistakes – whether you’re an old hand or new at shaping eyebrows, this blog post will show you what it takes to get those brows looking fabulous! Get ready for thicker, fuller brows that require minimal effort.
What Will You Need?
Before we get started, let’s gather all the necessary tools to create stunning eyebrows over:
- Eyebrow pencil or powder (choose a shade that matches your natural hair color)
- Spoolie brush
- Angled brow brush
- Eyebrow gel or wax (optional)
- Concealer (one shade lighter than your skin tone)
- Tweezers (if necessary)
- Magnifying mirror (optional)
Now that you have all the tools, let’s dive into the steps to do eyebrows over.
8 Easy Steps on How to Do Eyebrows Over 60
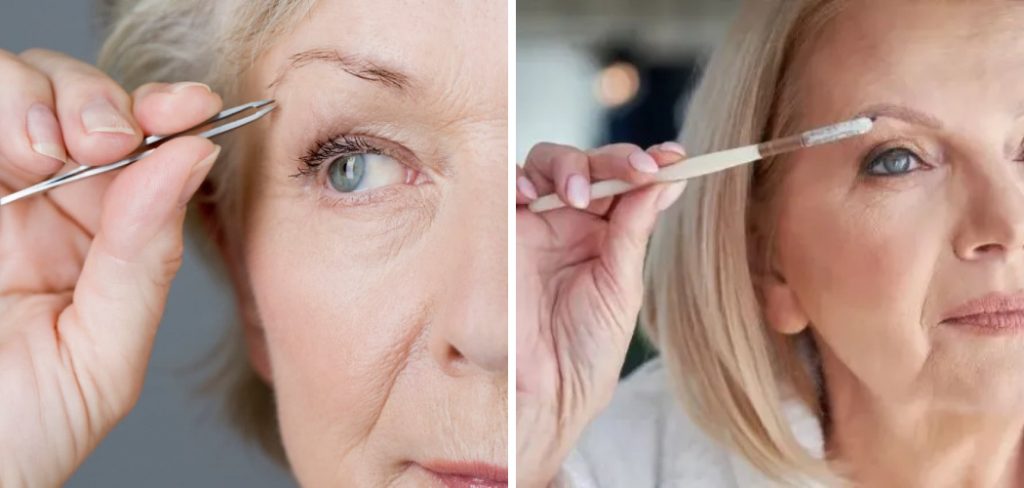
Step 1: Groom Your Brows
Start your eyebrow makeover by grooming your brows. Use the spoolie brush to comb your eyebrow hairs upwards to reveal their natural shape. This will help you see the areas that need filling in. If you find long, unruly hairs, trim them carefully with small scissors. However, be careful not to over-trim, as it can lead to thinning eyebrows. If necessary, use the tweezers to pluck any stray hairs outside your main brow line. Remember to pluck in the direction of hair growth to avoid irritation. A magnifying mirror can be beneficial for this step.

Step 2: Outline Your Brows
Using your eyebrow pencil, lightly sketch the outline of your desired brow shape. Start at the front of your brow and follow your natural brow line. The outline should extend to the tail end of your brow. This step is crucial as it will be a guideline for filling in your brows. Remember, your brows are sisters, not twins, so they don’t have to look alike. However, they should be as symmetrical as possible.
Step 3: Fill in the Sparse Areas
Now, it’s time to fill in those sparse areas. Using your eyebrow pencil or powder and your angled brow brush, start filling in your brows slowly, using light, short strokes to mimic the appearance of natural hairs. Start from the middle of your brow and work outwards to the tail. This will give your brows a natural gradient look – lighter at the front and darker towards the tail. Remember, less is more when filling in your brows, so apply the product sparingly and build it up as needed. Avoid drawing harsh lines, as it can make your brows look unnatural. Once you’re done filling in, use the spoolie brush to blend the product for a smoother, more natural finish.
Step 4: Define with Concealer
After you’ve filled in your brows, it’s time to define them. Take your concealer and a thin, flat brush. Apply a small amount of concealer under and above your eyebrow, following the shape you’ve created. This will help clean up mistakes, highlight your arch, and make your eyebrows pop. Blend the concealer well into your skin to avoid any harsh lines. This step also helps to give a sharp and well-defined edge to your brows, enhancing the overall shape and appearance. Remember to use a concealer shade one or two shades lighter than your skin tone for the best results.
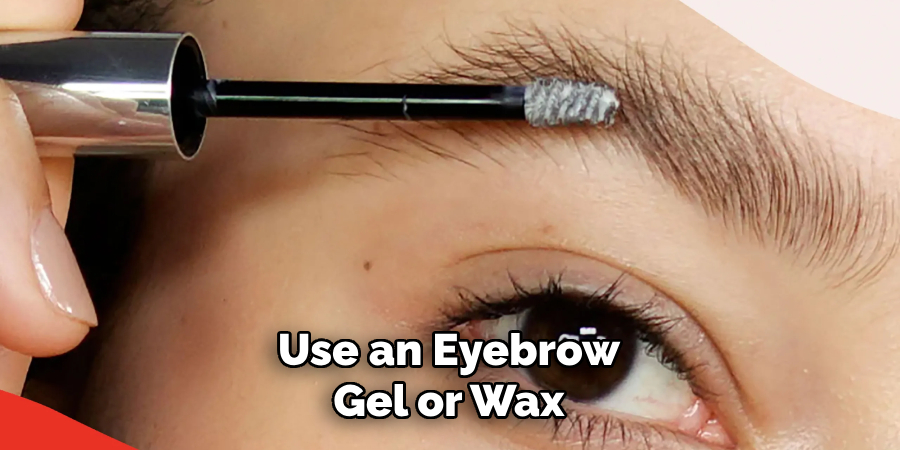
Step 5: Set Your Brows
Now that your brows are filled and defined, it’s time to set them in place. For this, you can use an eyebrow gel or wax. Gently sweep the product over your brows using the provided brush. Make sure to follow the direction of your hair growth. Setting your brows with a gel or wax will ensure they stay in place throughout the day, maintaining that sharp, defined look. If you want to add more color or depth, feel free to go in with your eyebrow pencil or powder again, but remember, moderation is key! Once you’re satisfied with your brows, give them one final brush to blend everything seamlessly. And there you have it, perfectly done eyebrows over!
Step 6: Review and Adjust
Take a step back and look at your brows in the mirror. Are they symmetrical? Do they suit your face shape? If you’re not entirely happy with your results, don’t worry! It’s easy to make adjustments. You can add more eyebrow pencils or powder if you want to darken or thicken your brows or use more concealer to define the shape further. If your brows are too dark, simply brush through them with your spoolie to remove some product. The key is to take your time and make small changes until you’re satisfied with the look.
Step 7: Maintain Your Brows
Maintaining the shape and thickness of your eyebrows is crucial in ensuring that your “eyebrows over” look lasts. Regularly use tweezers to pluck out stray hairs that fall outside the desired shape of your eyebrows. Be careful not to overpluck and to keep your brows looking natural. Remember, the goal is to maintain the look, not drastically alter it. Additionally, consider using a nourishing eyebrow serum or castor oil to boost the growth of your eyebrows and keep them healthy. When it comes to eyebrow care, consistency is critical, so develop a regular maintenance routine to keep your eyebrows looking fabulous.
Step 8: Regular Touch-ups
Over time, your “eyebrows over” look will naturally fade as your eyebrows grow and shed. To maintain the desired look, regular touch-ups are necessary. Revisit Steps 1 to 7 every two to three weeks or as needed, depending on the speed of your eyebrow growth. Embracing this touch-up routine will keep your eyebrows looking well-groomed and striking at all times. Remember, patience and consistency are crucial to perfecting and maintaining your brow look.
Following these steps, you can quickly learn to do eyebrows over and achieve a stunning, well-groomed look that will elevate your overall appearance. Remember to have fun and experiment with different shapes and styles until you find the perfect one.
5 Additional Tips and Tricks

- Don’t Over Pluck: It’s easy to get carried away while shaping your eyebrows. Remember, less is more. You can always remove more hairs, but growing them back takes time.
- Use Quality Tools: A good pair of tweezers and a spoolie brush are essential tools for creating a polished, natural brow look. Also, investing in a good brow pencil or powder that matches your hair color helps define your eyebrows.
- Know Your Natural Eyebrow Shape: Everyone’s eyebrows are unique. Work with your natural shape instead of against it. Your brows should complement your facial features, not distract from them.
- Maintain Regularly: Don’t wait until your brows are out of control to do a touch-up. Regular maintenance helps them stay in the desired shape and makes the process easier.
- Consider Professional Help: If you need clarification on doing eyebrows over, it may be worth consulting with a professional. They can give you a proper shape that you can easily maintain at home.
With these additional tips and tricks, you can achieve perfectly shaped and groomed eyebrows that enhance your overall look.
5 Things You Should Avoid
- Avoid Overfilling: When filling in your brows, avoid creating a harsh, drawn-on appearance. You aim to mimic the natural hair, so opt for light, feathery strokes.
- Don’t Neglect the Brow Bone: Leaving the brow bone without any highlighter can make your brows look less defined. A bit of light, shimmering highlighter under the arch can give the illusion of a higher arch and more open eyes.
- Avoid Using the Wrong Color: Using a brow product that is too dark or too light can look unnatural. If you’re unsure, it’s safest to opt for a color that matches your hair roots.
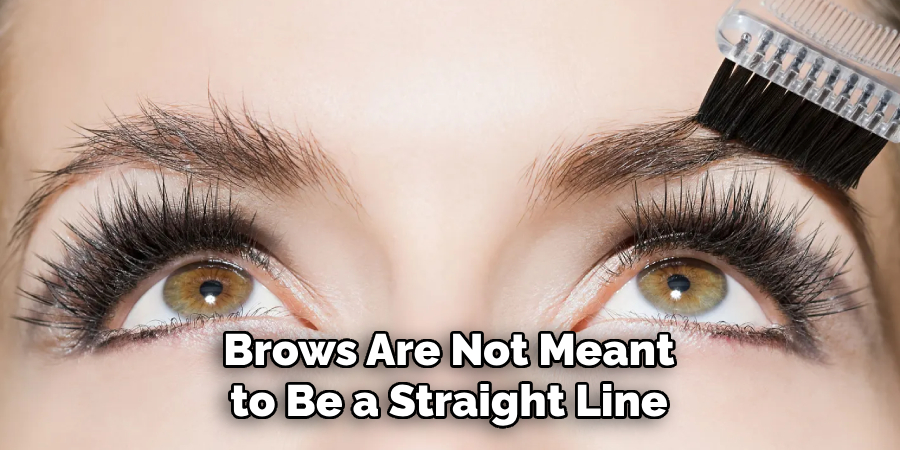
- Avoid a Straight Line: Brows are not meant to be a straight line. There should be a slight arch at the outer 2/3 portion of the brow. This arch is what gives the face a lifted effect.
- Don’t Ignore Brow Gel: Brow gel is crucial to keep your brow hairs in place throughout the day. It gives a more polished look and stops the brow color from fading.
Avoiding these common mistakes will help you maintain natural and well-groomed eyebrows.
What are the Disadvantages of Overdoing Eyebrows?
Overdoing your eyebrows can cause several issues, including:
- Damage to Hair Follicles: Over-plucking or waxing can damage the hair follicles, leading to thinning or even permanent hair loss.
- Unnatural Appearance: Too much product or shaping can create a strange and harsh look.
- Complex Maintenance: Overly done brows require more upkeep, which can be time-consuming and costly.
- Skin Irritation: Rough tweezing or harsh chemicals used in waxing can cause skin irritation, redness, and even inflammation.
To avoid these disadvantages, remember to stay within your natural brow shape and limit the amount of product used. Less is often more when it comes to eyebrows.
Conclusion
Finally, with all of these steps in place, you’ll be well on your way to perfecting the art of doing eyebrows over. Whether you’re looking for a more natural look or an arch that stands out from afar, you’ll be able to find a method that works best for you.
Always use quality products, be careful and patient when plucking or waxing, take your time when filling in brows, and always keep those tweezers handy! With consistent practice and dedication to your appearance, you will discover the beauty that lies in mastering “eyebrows over.”
Hopefully, the article on how to do eyebrows over 60 has helped you learn some new tips and tricks to elevate your brow game. Remember, embrace your natural brows and work with them instead of against them. Happy grooming!
About the Author
Jane Hubbard is a passionate beauty expert with a wealth of experience in makeup, hair, and overall beauty techniques. After years of working as a hairdresser specialist, she followed her entrepreneurial spirit and started her own consultancy business.
Jane has always been driven by her desire to help others feel confident in their own skin, and she does this by sharing her knowledge, experiences, and practical beauty tips. Through her consultancy, she empowers individuals to embrace their unique beauty, offering tailored guidance that boosts both self-esteem and personal style.
Professional Focus
- Specializes in makeup, hairstyling, and beauty consulting.
- Provides personalized beauty advice, tips, and techniques to help individuals feel confident in their appearance.
- Dedicated to staying up-to-date with the latest industry trends and developments.
- Passionate about creating a comfortable and empowering experience for every client.
Education History
- University of Craft and Design – Bachelor of Fine Arts (BFA) in Woodworking and Furniture Design
- Woodworking Apprenticeships – Extensive hands-on training with skilled craftsmen to refine carpentry and furniture making techniques
- Online Courses & Masterclasses – Continued education in advanced woodworking techniques, design principles, and specialized tools
Expertise:
- Makeup artistry, hairstyling, and beauty consulting.
- Personalized beauty techniques to enhance confidence and self-expression.
- Educating clients on how to maintain their beauty routines at home.