
Are you tired of buying expensive makeup products and still not getting that perfect look? Look no further, as this guide will help you achieve the perfect makeup in no time.
Applying a deer makeup aesthetic can be a fun and creative way to enhance your natural beauty and express your personal style. Whether you’re getting ready for a special occasion or just want a polished everyday look, achieving a beautiful makeup look is all about balancing techniques, colors, and products that suit your features. With the right tools and a little practice, anyone can create a stunning makeup look that highlights their best features and boosts their confidence.
This guide on how to do makeup pretty will walk you through essential tips and tricks to help you master the art of doing makeup pretty.
What Are the Benefits of Doing Makeup Pretty?
There are several benefits to mastering the art of doing makeup pretty. Some of these include:
- Boosting Confidence: When you feel good about how you look, your confidence naturally increases. By learning how to do makeup pretty, you’ll be able to enhance your natural beauty and feel more confident in any setting.
- Expressing Creativity: Makeup is an art form, and learning to do it well enables self-expression and creativity. You can experiment with different colors, textures, and techniques to create unique looks that reflect your style.
- Enhancing Features: With the proper application techniques and products, makeup can be used to enhance your best features and downplay any areas you’re not as confident in. For example, contouring and highlighting can help define your cheekbones or reshape your nose.
- Self-care: Applying makeup can be a form of self-care and a relaxing activity. Taking the time to focus on yourself and your appearance can have a positive impact on your mental well-being.
What Will You Need?
To get started with makeup application, you will need a few basic tools and products. These may include:
- Foundation: This is the base of your makeup look, helping to even out skin tone and cover any imperfections.
- Concealer: Used to cover up dark circles, blemishes, and other areas that need extra coverage.
- Powder: Helps set foundation and control shine throughout the day.
- Blush/Bronzer: Adds color to your cheeks for a natural flush or sun-kissed glow.
- Eyeshadow Palette: A selection of eyeshadows in different shades to create various eye looks.
- Mascara: Enhances the look of your eyelashes, making them appear longer and fuller.
- Eyeliner: Used to define and shape the eyes, it can be applied in various styles, such as winged or tight-lined.
- Brow Products: Helps fill in sparse areas and shape eyebrows.
- Lipstick/Lip gloss: Adds color and shine to the lips, completing the makeup look.
10 Easy Steps on How to Do Makeup Pretty
Step 1: Apply a Moisturizer
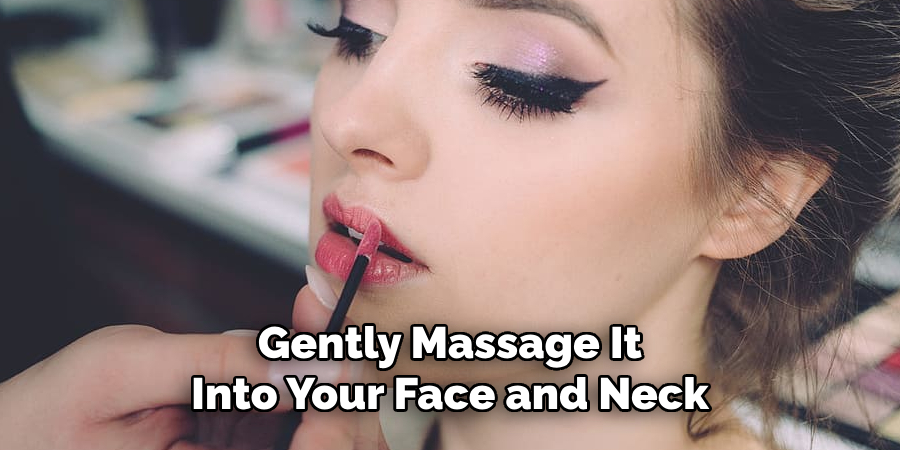
Before applying makeup, it’s essential to hydrate and prep your skin with a moisturizer. This step creates a smooth, supple base, helping your makeup apply evenly. Choose a moisturizer tailored to your skin type—whether oily, dry, combination, or sensitive—and gently massage it into your face and neck. Allow it to sink in before moving to the next step, ensuring your skin feels refreshed and balanced.
Step 2: Apply Primer
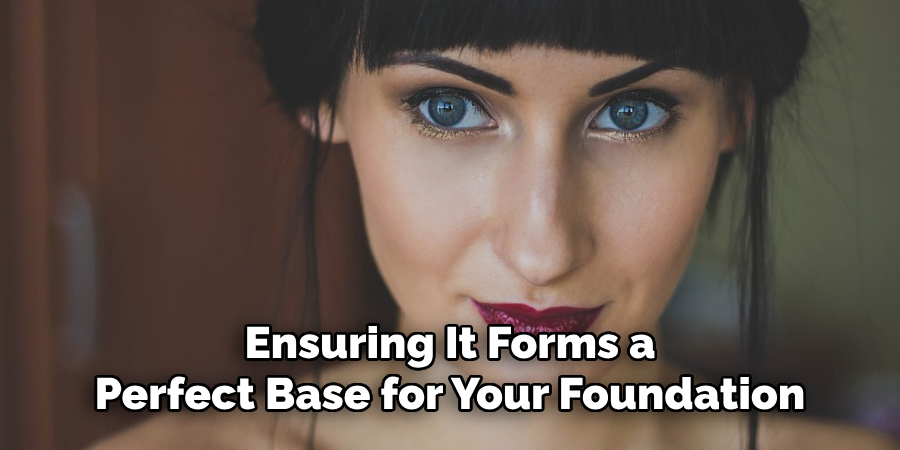
Primer is a crucial step in creating a long-lasting and flawless makeup base. It helps to smooth out your skin’s texture, minimize the appearance of pores and fine lines, and ensure your foundation stays in place throughout the day. Select a primer that suits your skin type and concerns—for example, a mattifying primer for oily skin or a hydrating primer for dry skin.
Using clean fingers or a makeup brush, apply a small amount of primer evenly across your face, focusing on areas where your makeup tends to wear off quickly, such as the T-zone. Allow the primer to set for a minute or two before proceeding to the next step, ensuring it forms a perfect base for your foundation.
Step 3: Even Out Your Skin Tone
To even out your skin tone, start by selecting a foundation that matches your skin’s undertone and complexion. Test the shade on your jawline or wrist to ensure a seamless blend. For an even application, use a makeup sponge, foundation brush, or clean fingers, depending on your preference.
Begin at the center of your face, where discoloration or redness often occurs, and blend outward toward the hairline and jaw. Use a dabbing motion to build coverage gradually, focusing on areas needing extra attention, such as blemishes or uneven texture. If you prefer lighter coverage, opt for a tinted moisturizer or BB cream for a more natural look.
Step 4: Conceal Imperfections
Concealer is a powerful tool for targeting specific areas of concern, such as dark circles, blemishes, or redness. Choose a concealer shade that is one to two shades lighter than your skin tone for brightening under the eyes, and one that matches your skin tone for covering blemishes or imperfections. Using a small, precise brush or the wand applicator, apply the product sparingly to problem areas. For under-eye circles, use a triangular application technique for a lifting effect.
Tap gently with your ring finger or a damp makeup sponge to blend the concealer seamlessly into your foundation, avoiding harsh lines. Set your concealer with a light dusting of translucent powder to ensure it stays in place throughout the day.
Step 5: Set with Powder
To lock your makeup in place and reduce shine, setting your face with powder is an essential step. Using a fluffy brush, gently tap a translucent or pressed powder onto your skin, focusing on areas more prone to oiliness, such as the T-zone. For a longer-lasting, matte finish, use a powder puff to gently press the product into your foundation and concealer. Avoid overloading on powder to maintain a natural look and prevent the makeup from appearing cakey. This step ensures a polished finish and keeps your makeup looking fresh throughout the day.
Step 6: Define Your Brows
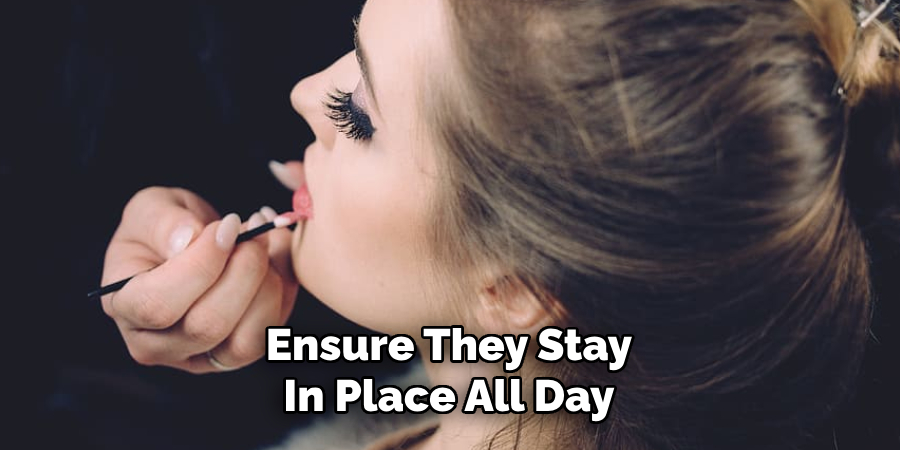
Well-groomed brows can frame your face and elevate your overall makeup look. Start by brushing your eyebrows upward using a spoolie to reveal their natural shape. Next, use a brow pencil, pomade, or powder to fill in any sparse areas, creating soft, hair-like strokes that mimic the look of natural brow hairs. Focus on defining the arch and tail while keeping the inner brow lighter for a more natural appearance. Once you’re satisfied with the shape, set your brows in place with a clear or tinted brow gel to ensure they stay in place all day.
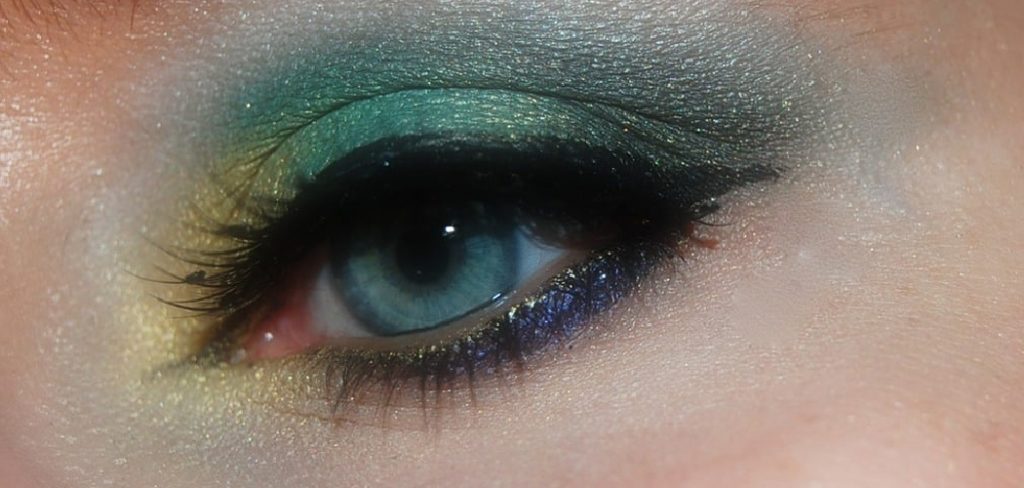
Step 7: Add Eyeshadow
Begin by applying an eyeshadow primer to your lids to ensure the color stays vibrant and lasts throughout the day. Choose a neutral base color and sweep it across your entire eyelid to create a seamless canvas. Next, select a slightly darker shade for the crease of your eyelid to add depth, blending it carefully to avoid harsh lines. For a more dramatic look, apply a shimmer or metallic shade to the center of your lid or the inner corners of your eyes to make them pop. Finish by blending all the edges for a smooth, polished finish.
Step 8: Apply Eyeliner and Mascara
Begin by carefully applying eyeliner along your upper lash line to define your eyes. For a more dramatic effect, you can extend the line slightly beyond the outer corners to create a winged look. If you prefer a softer appearance, gently smudge the liner for a smoky effect. Next, curl your lashes with an eyelash curler to open up your eyes before applying mascara.
Hold the curler at the base of your lashes for a few seconds, then move it slightly upward for a natural curl. To finish, apply one or two coats of mascara to your upper and lower lashes, wiggling the wand from the roots to the tips to ensure even coverage and avoid clumping.
Step 9: Color Your Cheeks
Adding a touch of color to your cheeks can instantly brighten your complexion and create a healthy, radiant look. Choose a blush shade that complements your skin tone – soft pinks and peaches work well for fair to medium skin, while deeper berry or coral tones suit darker complexions. Use a fluffy blush brush to pick up a small amount of product, tapping off any excess.
Apply the blush to the apples of your cheeks, blending it upwards towards your temples in circular motions for a natural, lifted effect. Start with a light application and build up the intensity gradually to avoid over-applying. For a more sculpted look, you can lightly blend your blush with your bronzer or contour for seamless integration.
Step 10: Finish with the Lips
Complete your look by focusing on your lips. Start by prepping them with a lip balm to ensure they are hydrated and smooth. Next, use a lip liner to define the shape of your lips and prevent any feathering. Choose a lipstick or lip gloss shade that complements your overall makeup look—anything from bold reds to soft pinks can work, depending on the vibe you’re going for. Apply the product evenly, starting at the center of your lips and working outward. For added dimension, you can dab a touch of highlighter or gloss at the center of your bottom lip. Blot gently with a tissue for a polished finish, and you’re ready to shine!
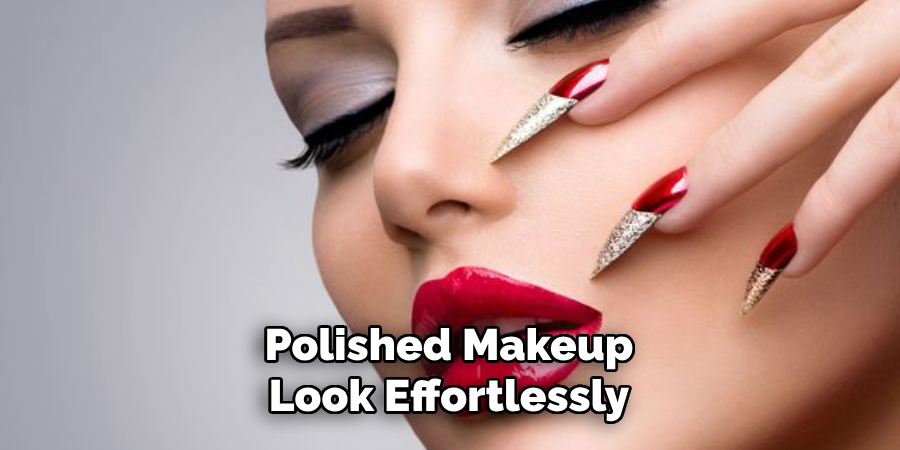
By following these steps, you can achieve a beautiful and polished makeup look effortlessly!
Conclusion
How to do makeup pretty is all about enhancing your natural beauty while expressing your personal style.
By focusing on a well-prepared base, selecting products that complement your features, and applying them with care and precision, you can achieve a flawless appearance. Remember, practice makes perfect, so don’t be afraid to experiment and have fun with colors and techniques to discover what works best for you.
Confidence is the key to truly making your makeup shine!
About the Author
Jane Hubbard is a passionate beauty expert with a wealth of experience in makeup, hair, and overall beauty techniques. After years of working as a hairdresser specialist, she followed her entrepreneurial spirit and started her own consultancy business.
Jane has always been driven by her desire to help others feel confident in their own skin, and she does this by sharing her knowledge, experiences, and practical beauty tips. Through her consultancy, she empowers individuals to embrace their unique beauty, offering tailored guidance that boosts both self-esteem and personal style.
Professional Focus
Specializes in makeup, hairstyling, and beauty consulting.
Provides personalized beauty advice, tips, and techniques to help individuals feel confident in their appearance.
Dedicated to staying up-to-date with the latest industry trends and developments.
Passionate about creating a comfortable and empowering experience for every client.
Education History
University of Craft and Design – Bachelor of Fine Arts (BFA) in Woodworking and Furniture Design
Woodworking Apprenticeships – Extensive hands-on training with skilled craftsmen to refine carpentry and furniture making techniques
Online Courses & Masterclasses – Continued education in advanced woodworking techniques, design principles, and specialized tools
Expertise:
Makeup artistry, hairstyling, and beauty consulting.
Personalized beauty techniques to enhance confidence and self-expression.
Educating clients on how to maintain their beauty routines at home.