
Are you tired of spending a fortune at the hair salon whenever you want to dye your curly hair? Well, we have good news for you – it is possible to achieve vibrant and beautiful colors at home without damaging your curls!

How to dye curly hair at home can be a fun and empowering way to refresh your look, experiment with new colors, or simply maintain your current shade. However, curly hair requires special care due to its unique texture and structure, which can make the dyeing process slightly different from straight or wavy hair.
Taking the right steps and using proper techniques will help ensure vibrant results while preserving the health and integrity of your curls.
With the right tools, preparation, and patience, you can achieve professional-looking results from the comfort of your home.
What Will You Need?
Before diving into the dyeing process, gathering all the necessary tools and products is essential. Here are some things you will need:
- Hair dye kit (choose a gentle formula specifically formulated for curly hair)
- Gloves
- Plastic or glass bowl
- Wide-tooth comb
- Old T-shirt or towel to protect your clothes
- Hair clips or elastic bands
- Deep conditioner
Once everything is ready, follow these steps to dye your curly hair at home.
10 Easy Steps on How to Dye Curly Hair at Home
Step 1: Patch Test
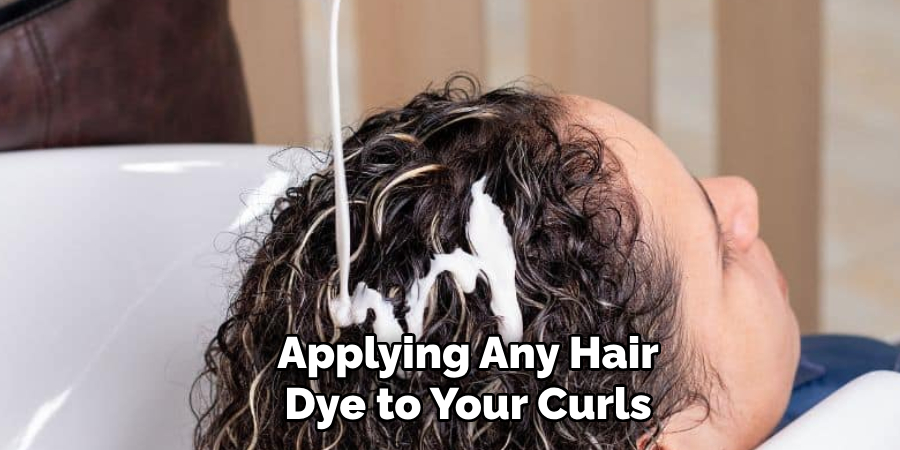
Before applying any hair dye to your curls, it’s crucial to perform a patch test to check for possible allergic reactions or sensitivities to the product. To do this, mix a small amount of the dye according to the instructions in the hair dye kit. Apply a dab of the mixture to a discreet area of your skin, such as behind your ear or on the inside of your elbow.
Allow the area to dry and observe it for 24 to 48 hours for any adverse reactions like redness, itching, swelling, or irritation. If no issues arise, the dye is safe to use. While it may seem unnecessary, a patch test ensures that your skin and scalp remain healthy throughout the dyeing process, avoiding discomfort and potential health risks.
Step 2: Prepare Your Hair
Start by ensuring your hair is clean and free of any heavy product buildup. Wash your curls with a sulfate-free shampoo a day or two before dyeing to remove dirt and oils without stripping away natural moisture. Avoid applying conditioner during this wash to help the dye adhere better to your strands.
Dry your hair thoroughly; applying dye to damp hair can dilute the color and lead to uneven results. Finally, detangle your curls gently with a wide-tooth comb to avoid knots or tangles that could interfere with the application process. Preparing your hair properly sets the foundation for an even, vibrant color.
Step 3: Protect Your Skin and Clothes
Before applying the dye, protecting your skin and clothing from stains is essential. Wear an old T-shirt or drape a towel around your shoulders to shield your clothes.
Apply petroleum jelly or a thick moisturizer along your hairline, ears, and neck to create a barrier preventing the dye from staining your skin. Wear gloves to keep your hands clean and avoid potential irritation from the dye. These precautions will make the process cleaner and ensure a more pleasant experience.
Step 4: Section Your Hair
Divide your hair into manageable sections to ensure the dye is even applied. Use hair clips or elastic bands to separate your curls into four to six sections, depending on your hair’s thickness and length. This step makes the process more organized and ensures that every strand is coated evenly with the dye.
Work on one section at a time, starting at the back of your head and moving toward the front, as this helps maintain better control and focus during the application process. Sectioning is especially important for curly hair, as it helps maintain order and prevents tangling while applying the dye.
Step 5: Mix the Dye
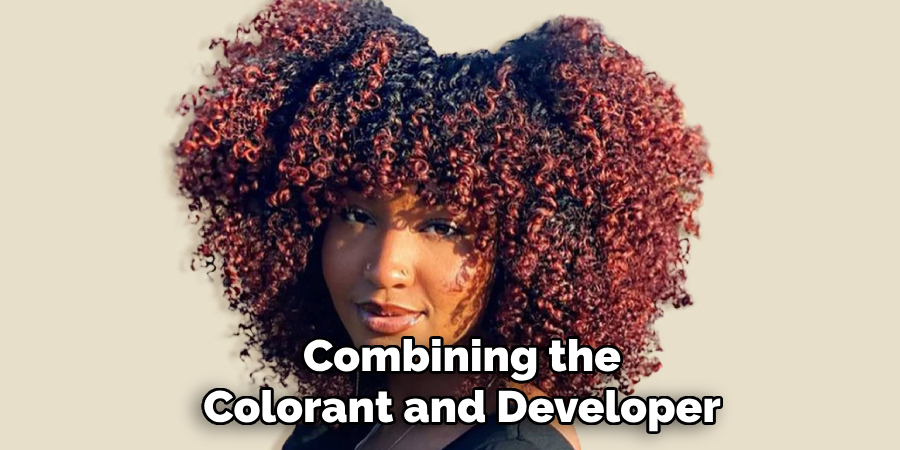
Follow the instructions in your hair dye kit to prepare the mixture. Typically, this involves combining the colorant and developer into a plastic or glass bowl (avoiding metal, as it can interfere with the dye’s chemical composition). Use the applicator brush or a plastic spoon to stir the mixture until it achieves a smooth and consistent texture.
Mix only the dye needed for your hair length and thickness to avoid wasting the product. Mixing the dye properly ensures even color application and optimal results, so take your time to get it right. Once your dye is fully prepared, you can begin transforming your curls with vibrant color!
Step 6: Apply the Dye
You are using the applicator brush to apply the dye evenly from root to tip, starting with one section of hair. Begin at the roots, where color tends to fade quickly, and work your way down to the end.
If you’re touching up your roots, focus the dye on the regrowth area first, blending it into the rest of your hair to create a seamless transition. Use your gloved fingers to gently massage the dye into your curls, ensuring all strands are fully coated. Repeat the process for each section until your entire head is covered.
Step 7: Set the Timer
Once you’ve applied the dye to all sections of your hair, check the instructions in your hair dye kit for the recommended processing time. Use a timer or clock to keep track and ensure you don’t leave the dye on for too long, as this can damage your curls or result in an unintended color.
While waiting, avoid touching or moving your hair to prevent uneven color or stains on your skin and clothing. Allow the dye to process according to the instructions, as following the recommended time is crucial for achieving your desired shade while preserving the health of your curls.
Step 8: Rinse Out the Dye
When the processing time is complete, rinse your hair thoroughly with lukewarm water until the water runs clear. This step ensures that all excess dye is removed from your curls.

Avoid using shampoo during this rinse to preserve the vibrancy of the color. Instead, gently run your fingers through your hair to help remove the dye, all while being careful not to tangle your curls. Once rinsed, pat your hair dry with an old towel to avoid staining, and get ready to nourish your freshly colored curls in the next step.
Step 9: Condition and Hydrate Your Hair
After rinsing out the dye, it’s time to restore moisture to your curls. Use the conditioner in your hair dye kit or opt for a deep-conditioning treatment designed for color-treated hair. Apply the conditioner generously, focusing on the mid-lengths and ends of your hair where moisture tends to be most needed.
Leave it on for the recommended time to allow your curls to absorb the nutrients fully. Rinse thoroughly with lukewarm water, and gently detangle your hair using your fingers or a wide-tooth comb while the conditioner is still in.
Step 10: Style and Maintain Your Colored Curls
Now that your curls are freshly colored and hydrated, it’s time to style them to perfection. Use a leave-in conditioner or curl cream to enhance your curl pattern and provide additional moisture. Avoid heat styling for the first few days after dyeing to prevent damage and protect your new color.
Instead, opt for air-drying or use a diffuser in a low heat setting if needed. To maintain the vibrancy of your color, use sulfate-free shampoos and conditioners specifically formulated for color-treated hair. Incorporate weekly deep-conditioning treatments into your routine to keep your curls nourished and glossy.
By following these ten simple steps, you can achieve vibrant and beautiful colored curls without sacrificing the health of your hair.
5 Things You Should Avoid
- Using Harsh Chemicals: Avoid dyes that contain harsh chemicals like ammonia or strong bleach. These can strip moisture from your curls, leaving them dry and brittle.
- Overprocessing Your Hair: Leaving the dye on longer than recommended can severely damage your hair. Always follow the instructions on the dye packaging to prevent overprocessing.
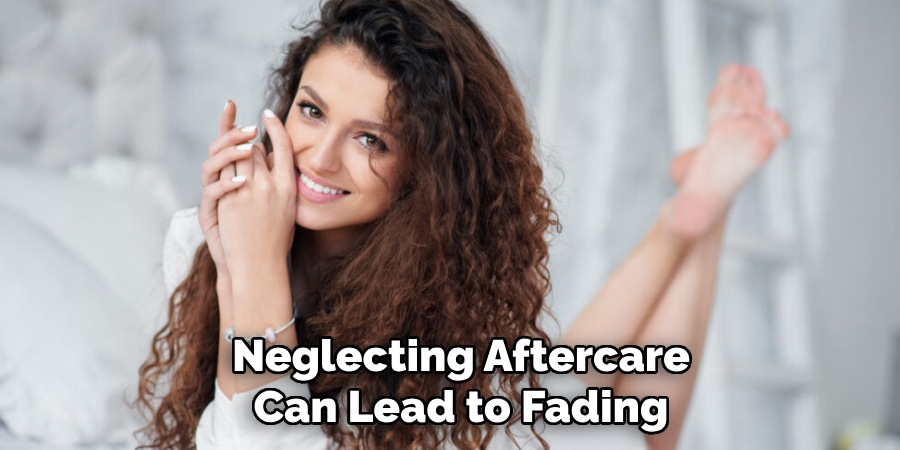
- Skipping Aftercare: After dyeing, it’s vital to take care of your curls using color-safe shampoos, deep conditioners, and hair masks. Neglecting aftercare can lead to fading color and unhealthy curls.
- Avoid Excessive Heat Styling: Using heat styling tools like straighteners and curling irons can damage your curls, leading to breakage and split ends. Opt for air-drying or using heat-protectant products before styling.
- Ignoring Allergies: Hair dyes contain chemicals that can cause allergic reactions, so it’s crucial to do a patch test before applying the dye all over your hair. Avoid using that dye if you experience any itching or burning sensation.
When it comes to coloring curly hair, there are some things you should avoid.
Conclusion
How to dye curly hair at home can be a rewarding experience when approached with care and preparation.
Start by selecting a dye specifically formulated for curly or textured hair to minimize damage. Always follow the instructions provided with the dye, and never skip a patch test to ensure your safety.
Proper preparation, including moisturizing your curls beforehand and protecting your scalp, is essential to achieving the best results. Once your hair is dyed, prioritize aftercare with color-safe and nourishing products to maintain vibrant color and healthy curls.
With patience and the proper techniques, you can achieve salon-worthy results from the comfort of your home.
About the Author
Jane Hubbard is a passionate beauty expert with a wealth of experience in makeup, hair, and overall beauty techniques. After years of working as a hairdresser specialist, she followed her entrepreneurial spirit and started her own consultancy business.
Jane has always been driven by her desire to help others feel confident in their own skin, and she does this by sharing her knowledge, experiences, and practical beauty tips. Through her consultancy, she empowers individuals to embrace their unique beauty, offering tailored guidance that boosts both self-esteem and personal style.
Professional Focus
Specializes in makeup, hairstyling, and beauty consulting.
Provides personalized beauty advice, tips, and techniques to help individuals feel confident in their appearance.
Dedicated to staying up-to-date with the latest industry trends and developments.
Passionate about creating a comfortable and empowering experience for every client.
Education History
University of Craft and Design – Bachelor of Fine Arts (BFA) in Woodworking and Furniture Design
Woodworking Apprenticeships – Extensive hands-on training with skilled craftsmen to refine carpentry and furniture making techniques
Online Courses & Masterclasses – Continued education in advanced woodworking techniques, design principles, and specialized tools
Expertise:
Makeup artistry, hairstyling, and beauty consulting.
Personalized beauty techniques to enhance confidence and self-expression.
Educating clients on how to maintain their beauty routines at home.